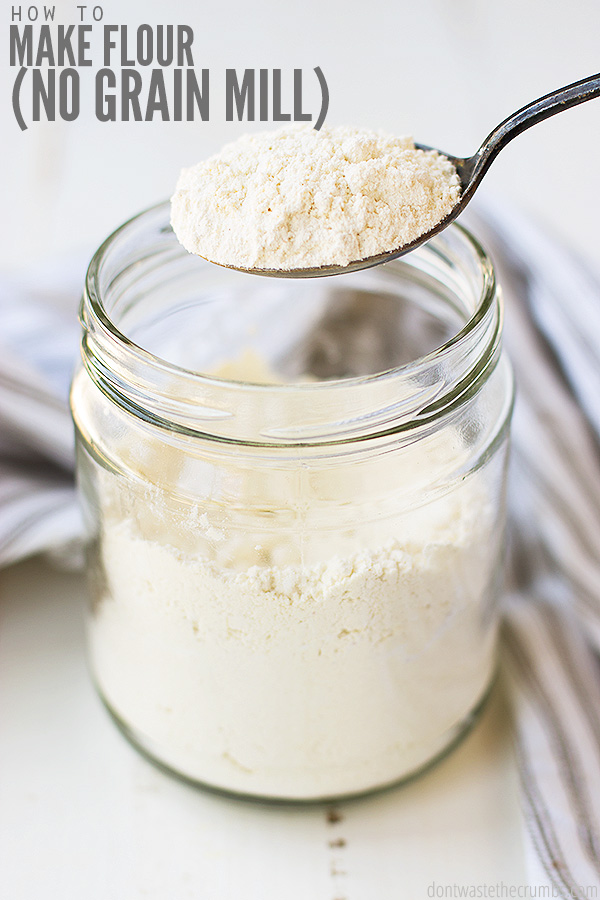
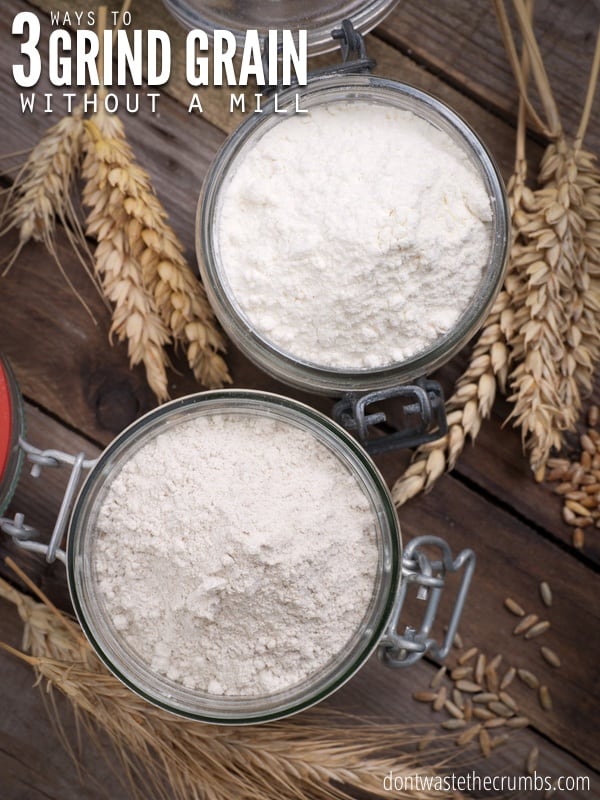
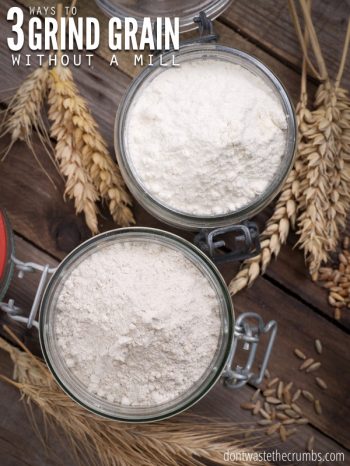
Home bakers, I have three methods for how to make flour without a grain mill! Packed with more nutrition and flavorful than store-bought flour, you’ll also save money! Using freshly milled flour is perfect for homemade bread.
I have a really hard time spending money on appliances that I don’t need because:
a) they serve one purpose
b) take up more room than I have available
c) or cost A LOT of money
That’s why I don’t own a yogurt maker. Or a quesadilla maker. Or a juicer.
- I use a heating pad to make yogurt. My standard cast iron skillet for quesadillas. And I have a super-cool Blendtec that will pulverize anything I feed it, including an iPhone.
- That Blendtec is actually the first thing on my list of things to grab if the house is on fire. I use it every single day. Sometimes twice a day.
- My lovely, red Kitchen Aid stand mixer (a wedding gift) is number two. I use it at least once a week and really saves time in breads and desserts. And it’s red, my favorite color.
Now neither of these are must-haves. You can make high-protein smoothies just fine with any standard blender (which we used for a long time, without a lid mind you, before getting the Blendtec). You can use a simple hand-held mixer, like what Walmart offers for $5 on Black Friday, for cakes and cookies, and your own two arms for bread dough.
When it comes to grain, you need something a little stronger than a mortar and pestle so I poked around my kitchen to see what might work.
How to Make Flour Without a Grain Mill
1. Coffee Grinder
A coffee grinder is one of those must-have appliances for die-hard coffee drinkers. I mean, it’s seriously just better that way.
It doesn’t have to be a fancy grinder. This basic coffee grinder will work just fine.
To get a finer grind, run the wheat berries through two cycles on the grinder. My grinder has an auto-timer and shuts off when the cycle is complete. If yours does not shut off automatically, grind for 45 seconds and then repeat.
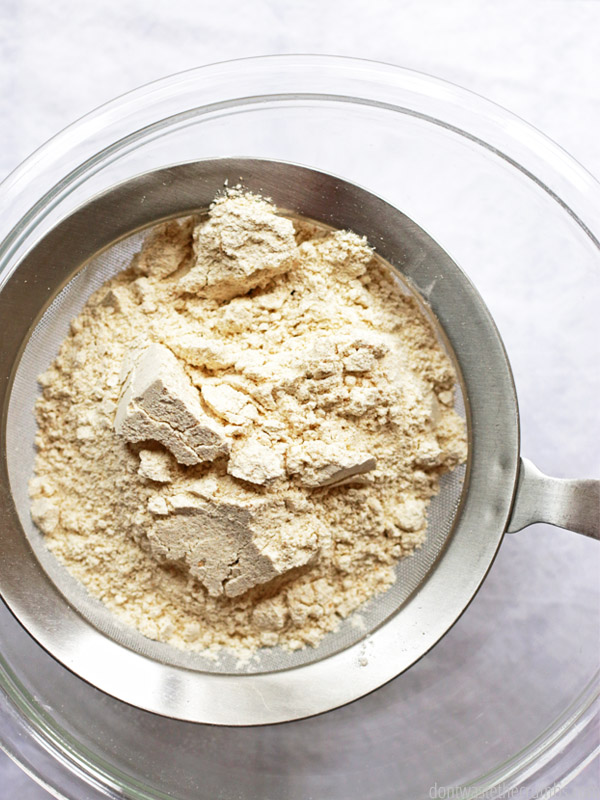
You will need to sift out a few larger pieces with a fine mesh sieve. But you are left with a fairly decent whole-grain flour that’s on the coarser side.
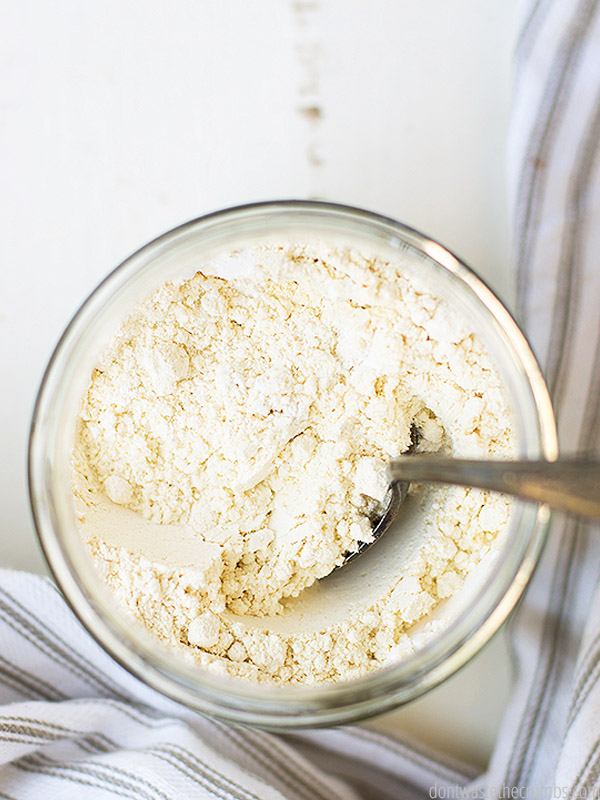
Note: If your grinder is a bit aged like mine, you may notice it getting a bit warm during the process. Just take your time, letting it rest and cool as necessary. If you know you’ll be needing the flour for bread baking immediately, you may want to grind it a day or two ahead of time. See the tips below on proper storage.
2. Food Processor
If you don’t have a coffee grinder, you probably have a food processor. You may have even received one like this for your wedding or Christmas. Don’t let it collect dust any longer and put it to use grinding your grain for fresh bread!
When I tried mine, it worked similarly to the coffee grinder. I had to run my berries in it twice to get the powdery grind needed for baking. There was a little bit left over when sifted.
3. High Powered Blender
Using my blender is my favorite solution to my no-grain-mill problem, especially since it can turn an Apple phone into dust.
As you read above, I use often use my blender multiple times per day. Blending protein smoothies is my favorite way to start the day. And I use it for my kids’ favorite snack, chocolate chip cookie dough hummus. Even tomato soup and pancakes can be made in a blender!
A blender like the Blendtec is quite an investment, but one I highly recommend considering its various uses.
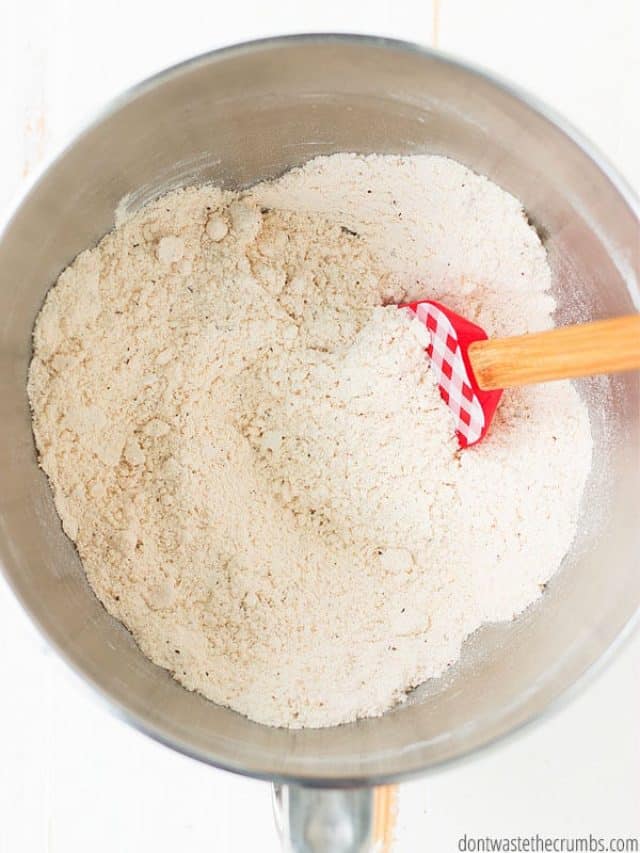
Grinding grain in a high-powered blender works amazingly well. I sifted the flour after I was done to make sure it was all ground and barely got any bits left over. It was the best grind I got out of any of these three methods.
One thing to consider with these non-mill methods of grinding. These machines aren’t designed for grinding hard grain. If you use any of these appliances for lots of other things, you might wear out your blades quicker than desired.
Once you determine if grinding your grain fresh works for you, I suggest saving up for a mill. (We ended up getting this grain mill after a while.) This will save your other appliances and also give you a better grind of homemade flour.
Tips on Making Flour
- 1 cup of whole berries yields approximately 1 1/4 cups of freshly milled flour. Bagging and shipping flour make it settle before you find it at the grocery store. Freshly ground flour is light and fluffy.
- Measurements of flour in most recipes refer to settled flour. You can prepare your flour in advance to account for this, or gently tap the measuring cups to settle the flour within the cup.
- Freshly milled flour contains all parts of the berry, including the fat. Store any unused flour in an airtight container, in the freezer, for up to 30 days to prevent the flour from going rancid.
- If you want a white flour texture, follow this tutorial on homemade all purpose flour.
FAQs for How to Make Your Own Flour
Is it worth it to make your own flour?
Absolutely! When you mill your own flour, it will be as nutritious as it can be! The taste is more flavorful than store-bought flour.
Is it cheaper to mill your own flour?
Milling your own flour will save you a lot of money in the long run. Wheat berries can be cheaper than buying the same amount (in weight) of flour. Although, this depends on what is available in your area. It’s worth checking out!
What type of wheat berry should you use?
There are several types of wheat including hard white, hard red, soft white, and white wheat to name a few.
Why Fresh Milled Flour?
You may be wondering why freshly milled flour is desirable when whole wheat flour is readily available at the stores. When you grind fresh flour, you retain the highest amount of nutrients available in the grains. The entire bran (outer coating), which has a lot of nutrients, remains with the flour.
Now, I know whole wheat flour at the store is darker in color like the wheat you grind at home, but oftentimes companies will refine all their flour and then add it back in the bran to make it “whole wheat”. Similar to how they enrich all-purpose white flour.
This defeats the purpose of whole-wheat flour being less refined and more nutritious. Don’t get me wrong though, there is a time and place to buy pre-ground flour! I’ve been in that boat as well before we could regularly grind our own grain. When you soak the flour or make homemade sourdough bread this helps you regain some of the nutrients that turn dormant after grinding.
Another reason grinding your own flour is better is because of the cost. It is much more cost-effective to buy bulk grain and do the work yourself. Palouse Brand has good prices on bulk grain. Also, check your area for a local coop. That is often the best way to get the most from your dollars.
If you are looking into getting a grain mill, I highly recommend the Mockmill Grain Mill. You can find my review here.
More Helpful Tips
- How to Raise Backyard Chickens
- Healthy Homemade Lunchables
- DIY Homemade Lunch Meat
- How to Do No Spend Challenge
- The Ultimate Guide to Homemade Instant Oatmeal Packets



Hi, I just wanted to ask about using a food processor. I just have a little Hamilton Beach one, and the manual specifically says not to grind grain :(. Do you know, is it a question of dulling the blades, overheating the engine, or will it break it? I have like 10 pounds of wheat berries I’ve inherited from my in laws and would love to make bread. We don’t currently have the funds for a fancy blender (just have a magic bullet for smoothies) and definitely not a wheat grinder. I also don’t want to kill my food processor, but I have plenty of blades for it. Thanks for reading!
It can overheat your machine and dull the blades especially if it is not a strong appliance. Moreover, it is important to know that the grains will need to be run twice to get smooth.
Had a first go yesterday with a Nutribullet, it got quite hot so left a coarse grind and produced a tasty but firm loaf.
Next time we’ll use a Kenwood vintage coffee grinder and sieve and regrind any that doesn’t pass through. Growing 2500 tonnes of bread wheat so i can tolerate a disaster if that happens!
Hi, I was wondering if you could share your Blendtec settings for grinding wheat? Thanks!
Hi CJ! I no longer use my Blendtec for grinding wheat, as it doesn’t get as fine as you really need it to be for baking. However, when I did use my blender, I cranked it up to 10 for 50s at a time (the default time setting) and repeated until the flour no longer became smaller after each grind!
Dear Tiffany
You mentioned you use a heating pad when making yoghurt, how does that work because I’m never successful when I make yoghurt in the winter. Do you mean the heat pads you buy at the pet shop or is there some other kind.
I would appreciate your advice.
From Robyn
Hi Robyn! I turn the heating pad on, put the jars on top and cover with a towel. You can find the tutorial and method here: https://dontwastethecrumbs.com/2013/11/making-homemade-yogurt-a-simpler-method/
Hello Tiffany, I was wondering what you thought of the KitchenAid mill attachment? I’m looking at investing in a KitchenAid but if I do that, I would rather get a professional version (600, 650, or Pro Line 7) and perhaps also use it for milling. Was wondering if you had any experience with this as some of the articles I’ve read say the mill will burn out the Artisan, but I can’t find anything on milling with the 600,6500 or Pro Line!
Thanks:-) . Leah
Hi Leah! I haven’t milled using the KA attachment, and just recently bought a separate grain mill because while you CAN mill grain without a mill, it doesn’t have near the texture you really want if you’re a frequent baker. Hopefully someone else can chime in regarding the attachment for you!
Too little too late but KA takes Hours to get enough for 2 loaves. I cleaned it up and sent it back and love my wondermill
Thanks for sharing your experience MJ!
Hello Tiffany,
At first thanks for your great article to make a wonderful recipe flour. Such an interesting recipe helpful for every housekeeper specially friday or office holidays. My sons like this recipe. please keep it up.
I don’t have a mill and was looking every where for a method to grind my grains. Thanks to this article, now I have three different ways!
Enjoy Isabella!
Thank you for your answer ma’am, I managed to see it just before taking off for my quest. The reason I asked you was because one of the comments got me confused as to how much really a blender good for grinding grains would cost and your link cleared my doubt. I am just starting out and I totally agree with you, but this is just the best i can afford at the moment in this time frame, which is a bit on the longer side and that’s why I needed a better coffee grinder. Its not because I’m expecting any major differences in results as far as the finness of the flour is concerned. compared to the other grinders i have access to, this one has more room for grains, it grinds and stops by itself, and is overally more convenient in terms of cleaning and maintaining and pretty much everything else.
Update: I tried grinding wheat with a 750watt 2in1 blender and a processor, i started off with the blender then I used the processor, the result was a powder with specks of tiny grains here and there, how is that compared to a coffee grinder? Do i still need a coffee grinder?
Nope, it sounds like you made a great flower with the 2-in-1 Emmanuel!
That’s perfect, I’ll use it as I invest in either a manual grain grinder or better yet an electric grinder, thank you!
Would a burr coffee grinder do the trick too?
Oh and granted that I’m planning on paying 54usd for the coffee grinder would a powerful blender be a better investment around this price point ? if so how can i tell if a blender is “powerful”. Thank you.
Emanuel – If you’re just starting out, yes. I’d use a coffee grinder in conjunction with a blender if you don’t have a high powered blender. Vitamix and Blendtec are the two industry leaders in high powered blenders, but I’ve heard good things about Ninja as well, and they’re a bit cheaper. I wouldn’t pay $54 for a coffee grinder if you’re ONLY using it to grind grains. Honestly, I’d save and invest in a high powered blender because you’ll get so much more out of it. https://dontwastethecrumbs.com/go/blendtec
I read a lot of comments about KitchenAid mixers. I was a life long fan too , until my friend Kelly the Kitchen Kop introduced me to the Bosch. I felt like a fool. Since I eat for health and feed many generations, I soak my breads and grain recipes overnight. This breaks down the gluten, eliminates phytic acid and releases maximum nutrition. The Bosch comes with a beautiful clear cover that lets my recipes sit overnight w/o drying out. It also handles twice the capacity of the largest KitchenAid . Check out the video on the Bosch site. The CS with Bosch puts KitchenAid to shame. Your local Bosch dealer will gladly tell you when a sale is coming up and the price difference is nothing. There r grain mill and blender attachments available. No fancy colours, just white or stainless but this wonder machine also weighs a fraction of that hefty other machine. Bosch is rated number 2 in mixers but only because they don’t advertise. It is also quieter. I make all my own bread and the Bosch can make 6 loaves at one time. KitchenAid can’t come close. I burnt out 2 of them and doing my research, found out this is common. If you are considering buying a new stand mixer, the Bosch is really the only option.