What is sourdough bread and why should you make it? Here’s everything you need to know about sourdough: making sourdough starter, the benefits of sourdough bread, the best sourdough tips and tricks, and of course, yummy sourdough bread recipes!
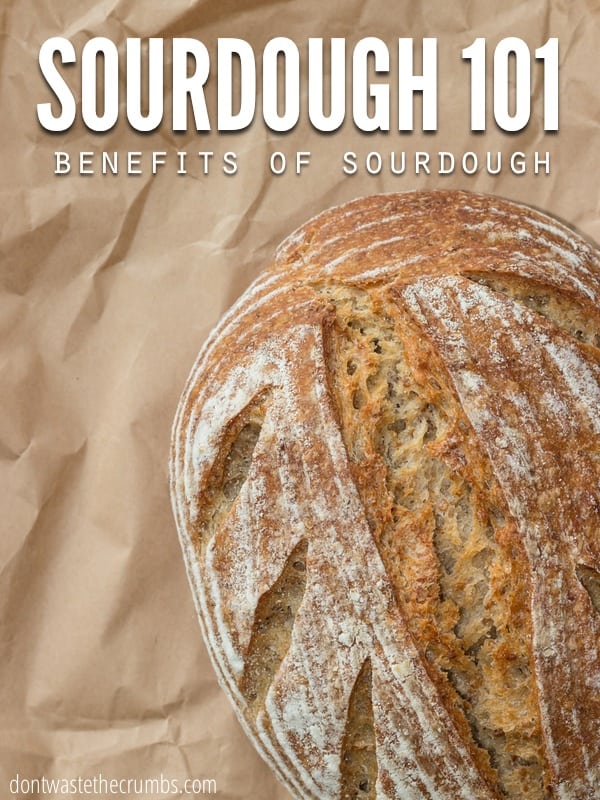
If you’ve ever asked yourself “What is sourdough bread?” or “Is sourdough bread healthy?” or “What are the benefits of sourdough bread?” or even “Do I really need to spend 24 hours making ONE loaf of bread?” – then you’re in the right place.
I’ve had these same questions myself and spent way too many hours trying to figure it all out on my own.
I’m saving you the time and headache and compiling the answers to these questions (in plain English) as well as a simple method for making a sourdough bread starter, details on gluten-free sourdough, and plenty of easy sourdough bread recipes, in this beginner’s guide to sourdough.
Read on to learn about sourdough and how to get started!
WHAT IS SOURDOUGH BREAD? (A PRIMER)
Regular bread (typical store-bought white or wheat sandwich bread) is made using active dry yeast or instant dry yeast. This is the key ingredient that makes the bread rise in anywhere from 30 minutes to several hours.
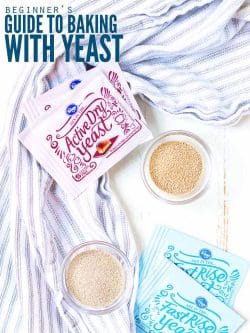
Active dry yeast and instant dry yeast most often come in little 3-packs at the grocery store. The most basic bread recipes use commercial yeast, water, all-purpose flour or whole wheat flour or bread flour, and salt, whether the bread is store-bought or made at home.
WHAT IS SOURDOUGH?
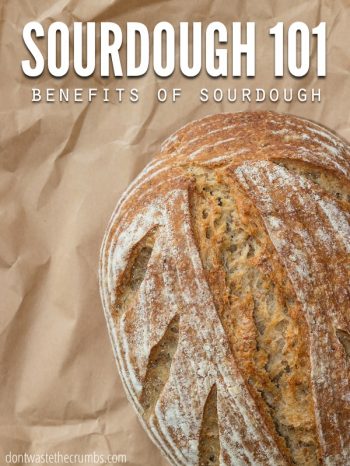
Sourdough is slow-fermented bread. It’s made using an active sourdough starter that contains wild yeast – NOT the little packets of yeast from the store. Wild yeast (also known as natural leaven) is captured from the air in a sourdough starter. This is what makes the sourdough bread rise, but it takes significantly longer – anywhere from 12 to 36 hours, depending on the recipe and method. (The rise time in sourdough baking is often called a proof or bulk fermentation.)
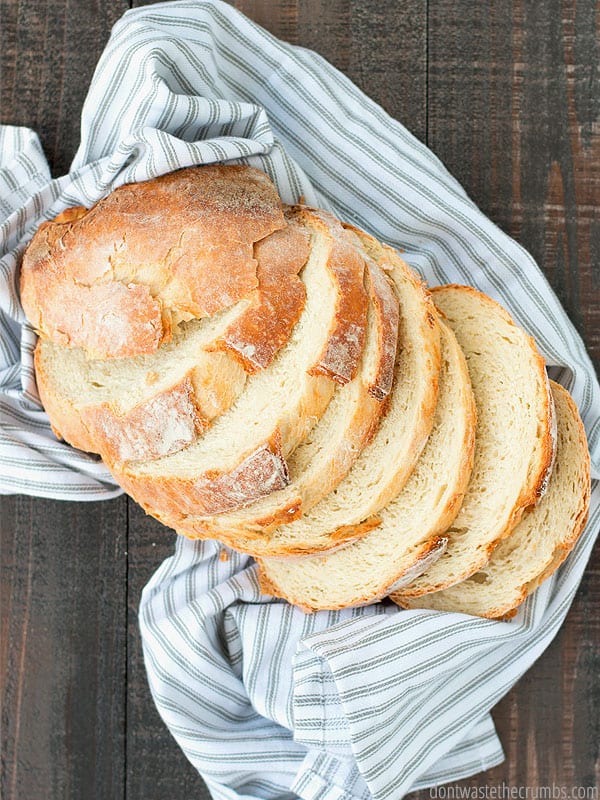
Sourdough bread is known for its tangy and sour flavor, chewy texture on the inside (sometimes with big holes, sometimes without), and golden crispy crust on the outside.
MAKING SOURDOUGH STARTER
Sourdough is probably the absolute easiest homemade ferment I’ve ever made. In fact, it nearly ties kefir for the easiest fermentation ever.
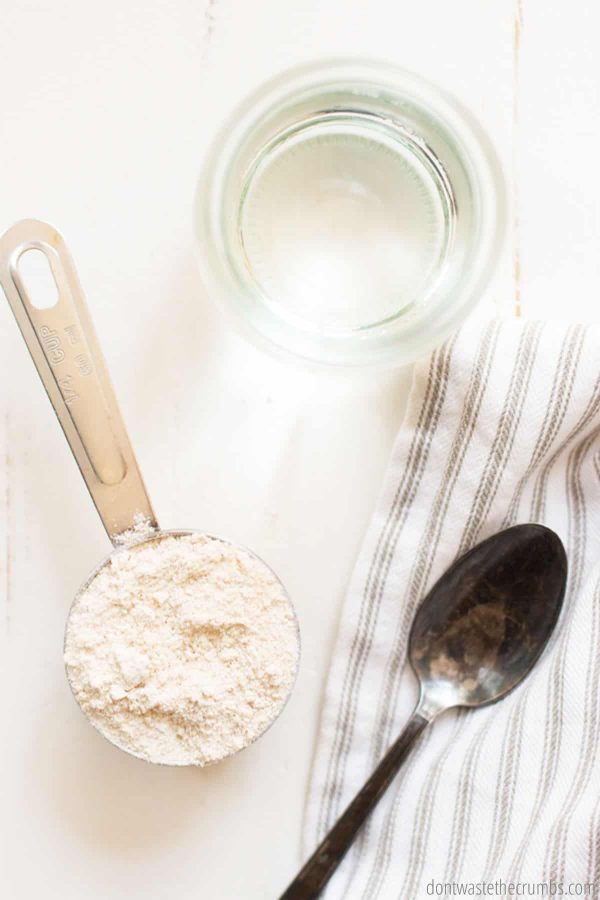
- Mix flour and water.
- Wait.
- Repeat.
Seriously? In seven minutes – one minute a day – I had natural leaven ready for homemade bread. It’s the perfect recipe for those with busy schedules (and bloggers testing out various types of flour in an assortment of baking recipes).
Sourdough starter is a live culture made by adding water to room-temperature flour. This combination activates the good bacteria found in both the flour and your environment. Here’s a simple explanation of the process:
- flour + water = natural enzymes break down starches into glucose (sugar), and good bacteria create lactic acid and acetic acid (tang)
- glucose (sugar) + natural bacteria (tang) = food for wild yeast (leaven) which it attracts from the environment
- wild yeast (leaven) + more flour + more flour = more wild yeast
- more wild yeast + even more flour + even more flour = natural leaven (carbon dioxide)
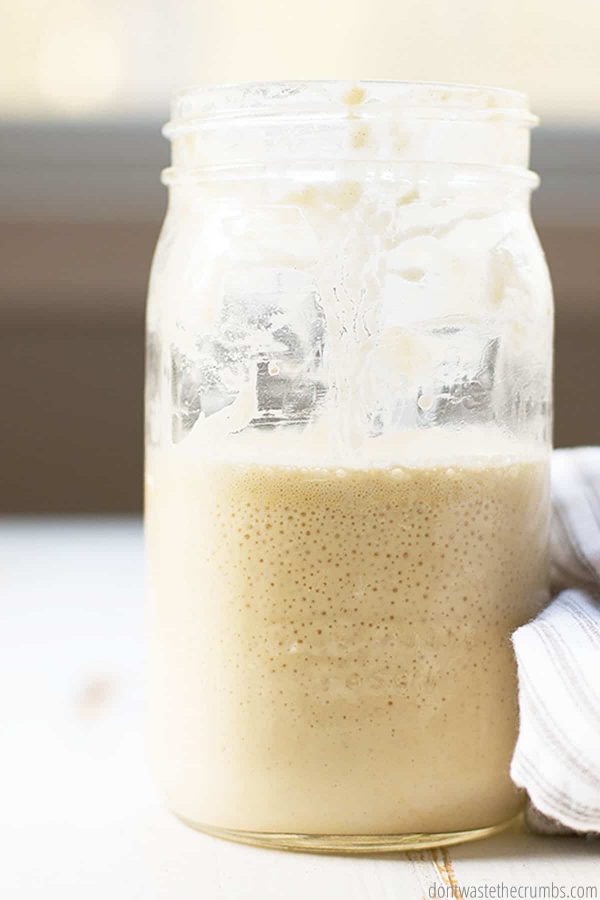
Once your sourdough starter is mature (at least 30 days old) and consistently bubbles when you feed it, you are ready to bake sourdough bread!
Here’s a step-by-step tutorial on making a sourdough starter, including how much flour and water to start with, how much and how often to feed the starter, and what to do with the sourdough starter discard so you aren’t throwing away good food.
TIPS FOR THE BEST SOURDOUGH BREAD STARTER
- Water kefir can be used instead of filtered water when making a starter. In general, this method produces a ready starter in less time.
- Feeding the starter more often will cause the yeast to multiply faster.
- Yeast thrives better with more rather than less air circulation.
- Pouring off the excess liquid on the top of your starter will lessen the sour taste. You can also just mix it back in.
- In general, thicker starters yield better-baked goods, so use less water when feeding the starter. Alternatively, if the starter feels too thick for a recipe, add water.
- Sourdough is forgiving. It thrives when fed regularly but won’t throw fits if you miss a feeding (or two).
BENEFITS OF SOURDOUGH BREAD
Is sourdough bread healthy? When compared to typical white or wheat sandwich bread, there are some pretty obvious sourdough bread benefits.
Sourdough bread is essentially fermented, just like yogurt, sauerkraut, and kombucha. Most of the population inherently knows that these foods are good for you, and there are other benefits of sourdough bread too:
- More B vitamins. During the fermentation process, the good bacteria unlock B vitamins in the bread, including vitamin B12 which is typically found in animal-based foods.
- More prebiotic and probiotic properties. Prebiotics feed existing gut flora and cause it to multiply. Probiotics do good things while they’re temporarily passing through the digestive system. Both prebiotics and probiotics help improve gut health.
- May help digest gluten. Sourdough bread is not inherently gluten-free, but the long fermentation of the gluten can help improve the digestion of gluten, making it possible for some who are sensitive to gluten (not Celiac) to enjoy bread again.
- Helps digest starches. The long soaking required of sourdough breaks down much of the phytates that bind the minerals in grains. With the phytates gone, our bodies can more easily digest starches and use the nutrients in the grains. Read more about soaking grains here.
- May promote healthy aging. This study found that sourdough contains antioxidants and qualities that are anti-hypertensive and anti-diabetic.
- May lower blood sugar. Sourdough bread doesn’t cause your blood sugar to rise as high, or as quickly, as typical white bread or whole-wheat bread. Sourdough also tends to be higher in fiber, which counteracts the strain on blood sugar.
One last neat tidbit: sourdough bread is less likely to get stale, retains much of its moisture as it ages, and its acidity helps prevent the growth of mold! Now this doesn’t mean your sourdough won’t EVER go stale and will NEVER grow mold. But it’s nice to know that the artisan loaf you treated yourself to at the farmer’s market won’t go bad too quickly.
IS SOURDOUGH BREAD HEALTHY?
In traditional sourdough recipes, you’ll find just four ingredients:
- Starter Culture (a.k.a. sourdough starter made with flour and water)
- Flour
- Water
- Salt
There is no yeast, no milk, no oils, and no sweeteners in most traditional sourdough bread recipes. It’s about as simple of an ingredients list as you can get when it comes to bread!
That doesn’t mean you CAN’T add milk or oils or sweeteners to sourdough. My Sourdough Sandwich Bread uses milk and butter to create a softer crumb, and my Whole Wheat Sourdough Bread uses honey to balance the heartiness of the whole wheat flour. You could easily add herbs or cheeses or dried fruit to create endless flavors of delicious sourdough bread.
What you want to be on the lookout for, though, is store-bought sourdough bread that contains yeast, processed oils, and preservatives. These are considered “cheats” in the sourdough world, and any “sourdough” loaf that has them isn’t a true loaf of sourdough bread.
IS SOURDOUGH BREAD GLUTEN-FREE?
No, sourdough bread is not inherently gluten-free. I mentioned above that the fermentation process breaks down the gluten in flour, making it easier to digest, but it doesn’t eliminate the gluten altogether.
You CAN, however, make gluten-free sourdough bread. This is a trusted recipe that yields a great loaf.
In order to make gluten-free sourdough, you need a gluten-free sourdough starter. Find the complete step-by-step process here.
SOURDOUGH VS. SOAKING VS. SPROUTING
In a real food kitchen, we only have so much time. This means that sometimes, we have to choose which foods or methods get our priority, and which ones we take shortcuts on. In an ideal world, I’d have time for making sourdough bread, soaking the oats, and sprouting the almonds.
But if I have to choose, which of these real food methods is giving me the most bang for my buck?
SOURDOUGH
Sourdough Pros: Takes very little hands-on time, is the least expensive bread recipe, plenty of nutrition benefits (see above).
Sourdough Cons: Rise times are a bit unpredictable depending on your kitchen, occasional fails happen.
SOAKING
Soaking Pros: Soaking is mostly hands-off and doesn’t cost extra if you already have the soaking liquid (such as whey) in your kitchen, soaking breaks down gluten and phytic acid, and soaking predigests starches, easing the work of the body.
Soaking Cons: Need to plan ahead to include soaking time, sometimes you have to convert recipes to include soaking, the cost of soaking liquid, doesn’t break down all of the phytic acid, only works for whole grains so no point if using white flour.
Read more about The Science Behind Soaking Grains here.
SPROUTING
Sprouting Pros: Doesn’t take much time or extra ingredients, plenty of benefits to sprouting.
Sprouting Cons: Possible equipment cost if you want to use a dehydrator or a grain mill, can take up to four days to complete the whole process, and you have to check often during dehydrating to see if they’re done.
Read more about sprouting here.
SO WHICH IS THE BEST METHOD?
Ultimately, I generally choose sourdough because of the benefits of sourdough bread. Even though I don’t have any wheat or gluten sensitivities, I’ve noticed it is easier on my own body to digest, and I’ve been able to fit regular sourdough bread baking into my kitchen time.
I typically use about 50% white flour in a lot of my bread recipes. And since soaking has no effect on white flour and only minimally reduces phytic acid, I can’t say I’m all-in for soaking for bread.
There are significant benefits to sprouting, and sprouting nuts is something that can easily be incorporated into a busy schedule, even when you include the dehydrating time (now that I know we prefer them after a full 24 hours).
However, the issue of sprouting grains is like a teeter-totter and I’m not yet completely on board. Sprouting grains means we have to buy them whole, and I haven’t yet found a quality source that is affordable. So, for now, sprouting is just an occasional choice for me.
Whether you choose to include any or all of these real food methods for getting the most nutrition out of your food will depend on your particular time, budget, and priorities.
If you choose sourdough, like me, here’s a great place to get started!
EASY SOURDOUGH BREAD RECIPE
Now that you know all about sourdough, and you have a sourdough starter established, it’s time to make this easy sourdough bread recipe!
Sourdough has always seemed like a specialty bread to me. Little did I know it would almost beat out No-Knead Artisan Bread in its simplicity. A fancy sourdough loaf I can make at home and slather with butter? Yes, please.
Seriously, sourdough bread is so easy to make!
The only downside of sourdough bread is that it does take time. The work itself isn’t hard, but you must plan ahead if you’re wanting to make sourdough 100% from scratch.
Most sourdough bread recipes call for a long rise, anywhere from 6 to 24 hours. It’s during this long rise time that the yeast and good bacteria from the sourdough starter spread throughout the rest of the ingredients and ferment the dough. A combination of the sourdough starter and the fermentation time is what gives sourdough bread its signature tang.
- Long Ferment [long rise time(s)] = more tang, more sour bread
- Short Ferment [short rise time(s)] = less tang, less sour, more mild bread
Making sourdough bread is my favorite way to use my Sourdough Starter, but you can also switch things up and make sourdough baguettes, sourdough rolls, or even sourdough pizza dough, all using that same sourdough starter.
HOMEMADE SOURDOUGH BREAD RECIPES
Try one of these homemade sourdough bread recipes once your sourdough starter is ready to go!
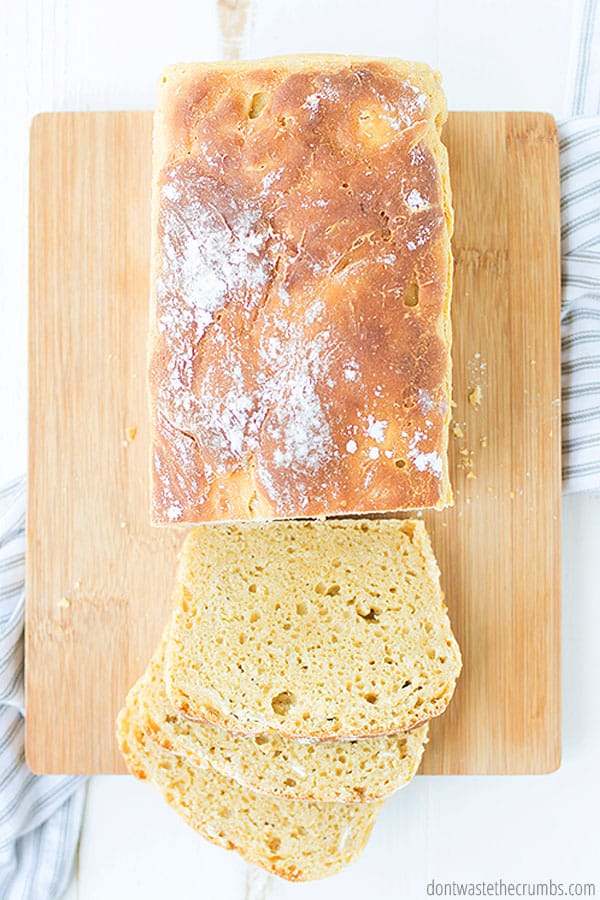
- Simple Sourdough Bread Recipe: This is the perfect sourdough bread recipe for beginners, with step-by-step instructions!
- Sourdough Sandwich Bread: Bake a loaf or two of sourdough sandwich bread for lunch all week long.
- Whole Wheat Sourdough Bread: This whole wheat sourdough bread is slightly sweet.
- Gluten Free Sourdough Bread: A great place to start if you need to make gluten free sourdough.
SOURDOUGH BREAD TIPS AND TRICKS
Now that I’ve been making sourdough bread for a while, I’ve discovered some tips and tricks to get the best loaf, and I’ve got them for each step of the sour bread process.
MAKING DOUGH…
- You want to bake with a starter that is at its peak – when nearly all of the yeast has eaten but it hasn’t begun to go dormant because of the lack of food. You can see when a starter has peaked because it will have a dome shape on top.
- If you want to use freshly milled whole-grain flour, be sure to follow a recipe that calls for that. Freshly milled flour absorbs water at a different rate than store-bought flour.
- Starters peak in the 2-3 hour range after each feeding.
- Don’t skimp on the water that recipes call for. Sourdough recipes are wetter than traditional breads made with baker’s yeast. Use a kitchen scale for the most accurate measurements.
- Make the following alterations to all sourdough recipes:
- In the beginning, stir together the starter, water, and half of the flour and let it sit for 10 minutes. (This rest time is called autolyse.)
- Add the salt after all the remaining ingredients, knead briefly in a stand mixer (or by hand), and let it sit for 10 minutes.
- When the dough is just pulling away from the sides of the mixer bowl, dump it out onto a lightly floured surface and let the dough rest for 10 minutes.
- Knead by hand for 5 minutes (I like to make folds), then rest for five minutes. Repeat one more time.
- You can try the window-pane test. Grab a small ball of dough and roll it flat, then stretch it. If it stretches to the point where you can see through it (like a window pane) without breaking, it’s been kneaded enough. If it breaks, it needs more kneading.
- A digital scale and bench scraper are excellent tools for making sourdough often. I recommend investing in both once you’ve made your first loaf of sourdough bread and are committed to the process.
DURING THE FIRST AND SECOND RISE…
- The warmer the temperature, the quicker the dough will rise. Controlling the temperature allows you to be in greater control of when the dough will be ready, and in turn, when the bread will be ready.
- The quicker the dough rises, the less sour the bread will be.
- The longer the dough rises, the more sour the bread will be.
- The following methods will provide a consistent temperature for the bread to rise: a heating pad on low, in an oven with the light on, or in a dehydrator. Consider adjusting the temperature higher and lower to find the “sweet spot.” Using my heating pad on low gives me a rise time of 5-6 hours.
- Drier climates can benefit from using a damp kitchen towel to cover the dough as it proofs.
- It is possible for sourdough to over-rise. When baked, this dough will become flat discs. (You can still eat those as bread crumbs or croutons!)
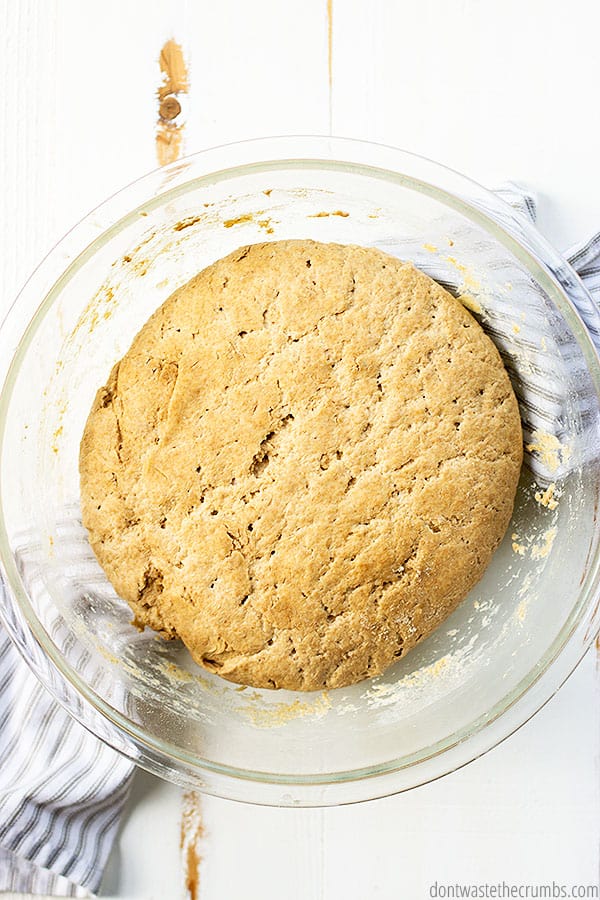
- The vessel in which dough rises can limit the extent of the rise. Be sure to leave plenty of room for expansion. (I almost always use my large mixing bowl and cover the large bowl with a towel. You can also use specially made proofing baskets.)
- Sourdough will not necessarily double in size during the rise(s).
- Press your thumb into the dough to check if it needs more rise time. If the indentation stays, it’s done rising. If it springs back, it needs more time.
- Two rises will produce a more sour bread than a single rise.
WHEN IT’S BAKING…
- Baking sourdough bread in pans lined with a piece of parchment paper, or baking in a cast iron Dutch oven, provides more reliable results than free-shaped round loaves, especially if you’re just starting out.
- Right before baking, slash the top of the dough with a very sharp knife or razor blade, making a 2-3 inch cut just into the surface of the dough. This allows steam to escape.
- Adding a pan filled with boiling water on the lower rack of the oven adds moisture to the bread as it bakes.
- Let the bread cool completely before slicing. Slicing too soon will give you a gummy texture rather than a crumbly slice of bread.
If your sourdough bread fails despite repeated attempts, use the starter for other baked goods for a few weeks to a month. Meanwhile, feed the starter consistently to build up the concentration of the yeast.
RECIPES FOR USING LEFTOVER SOURDOUGH DISCARD
Once your sourdough starter is established, you’ll end up with extra starter, which you can pour off (a.k.a. discard) and keep in the fridge in a jar with a lid. You can use that discard in recipes too, so you’re not wasting food and getting some of the benefits of sourdough. These are my favorite sourdough discard recipes:
- Sourdough Pancakes
- Sourdough Biscuits
- Sourdough Waffles
- Make Sourdough Crackers with either starter or discard
- Turn any pizza dough recipe into sourdough pizza crust by subbing some discard for the water and flour in the recipe!
SOURDOUGH BREAD FAQS
What does sourdough bread starter consist of?
Sourdough bread starter consists of only TWO ingredients, flour and water. It’s very easy to make and it’s worth the wait.
What does sourdough taste like?
The taste of sourdough is sour and tangy because of the natural fermentation process. It’s so delicious, you have to give it a try!
Is sourdough bread better for you than whole wheat?
There are benefits of sourdough bread that whole wheat bread just doesn’t have. Sourdough bread is more nutritious and digestible and is filled with probiotics that are great for gut health!
Is sourdough bread healthy?
Yes! Sourdough contains a list of vitamins and minerals (magnesium, B vitamins, zinc, calcium, & etc.), plus fiber and protein. Sourdough bread is made with a starter culture (rather than a yeast packet), which is thought to be good for gut health. Read more about the benefits of sourdough bread in the post above.
SOURDOUGH RECIPES AND TUTORIALS
- Sourdough Pancakes
- Simple Sourdough Bread Recipe
- How to Make a Sourdough Starter
- Gluten Free Sourdough Starter
- Sourdough Biscuits
- Whole Wheat Sourdough Bread
- Sourdough A to Z eCourse (plus recipe book!)




Thank you for explaining the benefits of eating sourdough bread. I’ve recently found a bakery near me that sells sourdough. It would be interesting to try it after learning about all of its benefits. https://villabate.com/
Does baking the bread destroy the lactobacillus and render it non existent or does some of it survive the heat?
Baking will destroy the good bacteria Janette, but it makes the grain easier to digest for some.
Our first time starter is 7 days old. Her name is Coco (son named her after the movie 😁). I just made your recipe using bakers bleached flour. Is this starter old enough? Now… Should I put him on the refrigerator now or wait one more week at room temperature to have a good sourdough starter like I read above? Thank you for your knowledge… It was a little hard to find a sourdough recipe out there that wouldn’t ask for added dry yeast… Vero
Hi Vero! I’d feed for another week before putting in the fridge. Great name for your starter!!
is sourdought bread french bread?
Nope!
Making your own starter is easier than you think. I’ve done this for years and most people do here in Ireland. Our mothers usually teach us to name your starter because, you’re going to be good friends for awhile.
I would recommend feeding your starter every day at the same time. I generally feed my starter at the same time that I feed my dog. The basics of your own sourdough starter is to feed it at about the same time. Use equal portions of flour and water. Mix well. Keep at room temperature (approx. 18C/65F). If you see mold starting. Throw it away and start again. Mold either means dirty utensils or there is mold present in your area. A good starter usually takes about 14 days.
There’s an American gal on Youtube who has a tutorial on how to make your own sourdough starter and how to bake with your very own sourdough starter. She makes her sourdough exactly as I do. I generally use 1c flour/128g to 1c water/128g. Sometimes a little bit more water is needed depending the humidity of the day. I keep my starter wet. I like it a bit like thin pancake batter.
Sometimes if you don’t see bubbles or if you don’t feel that your starter is growing or fermenting you’ll need to feed the starter twice a day or perhaps stir a few times a day incorporating air. Sometimes you may find that your starter may not need feeding on a particular day.
Visit this particular video on Youtube for helpful instructions on how to make your own starter:
Northwest Sourdough
https://www.youtube.com/watch?v=BIFPzoFeioQ
and here is a Youtube video on how to make the easiest and great tasting bread with your starter. I use parchment paper/baking paper and spray my paper with oil instead of water as seen in this video. This particular recipe is the easiest without having to punch down dough, needing dough for hours.
This gal is from Australia and she makes her dough exactly as like mine. Some people say that using salt inhibits your starter in bread recipes but, I don’t find that true. Salt gives your bread flavour.
Elly’s Everyday Sourdough
https://www.youtube.com/watch?v=KkA8JUmLT8k
Once your starter is finished and you’ve made your own bread. You can now feed it once more then place in the refrigerator with either a cloth in lieu of a lid or lightly cover the jar or bowl. Your starter will need to breath even in your refrigerator and should be fed once a week. Putting your starter (whatever name your chose for it) in the fridge will slow down the wild yeast growth. It sort of relaxes it.
When you’re ready to bake a loaf. I recommend taking the starter out three days ahead but, you can use it the same day. Just bring your starter up to room temperature.
*Your starter can also be frozen! Just bring it back to room temperature and feed it at least one day.
Here’s an American flour company in which you can actually purchase a very old starter (revolutionary war era), they also have a starter recipe, and you can purchase a crock to keep your starter in it.
I’m in no way affiliated with King Arthur Flour nor do I sell any product.
http://www.kingarthurflour.com/recipes/sourdough-starter-recipe
There’s nothing more satisfying than making your own bread from a starter. Don’t put too much into making a starter. You basically mix equal portions of water to flour and feed it every day by pouring out half of your starter and putting back either a half cup ratio of water/flour or a cup ratio of flour/water. You’ll see when it’s either over fermenting or under fermenting.
Your stomach is also going to love you. Your digestive system will wake up once your begin to eat fresh bread made from a starter.
Good luck.
Thanks for that. So here is the list of ingredients. Doesn’t sound good to me!! “Ingredients – Wheat flour,Water, Sourdough (Wheat Flour, Culture) Yeast, Fermented Wheat Flour, Iodised Salt, Bread Imporver (Wheat), Vegetable Oils(Palm Oil, Canola Oil) Vitamines (Thiamin, Folate – Contains Gluten”What you think? Thanks
That’s actually pretty good Stewart! You could probably do without the vegetable oils and vitamins, but it does contain the sourdough starter and not a “fake” sourdough flavoring. If this is the shortest list you find, I’d be okay with this bread!
I’ve eaten variously grain/seed bread and wholemeal bread most of my adult life (70 year old male). Discovered sourdough bread in the reduced counter of the local supermarket here in Canberra. I’ve always preferred savoury rather than sweet breads. I’m not going to make bread from scratch! So will buying sourdough bread from supermarkets still give the benefits? Or does supermarket bread just look like the real thing? Is it made from wholemeal flour? Or would I be better buying sliced and packaged wholemeal bread or seeds/grain bread? (all from an Australian and UK perspective) Thanks
Hi Stewart! Store-bought can give you the same benefits but you have to read the ingredients first. Some store-bought “tastes” like sourdough with added yeast and flavors, but isn’t truly sourdough. You want to see as little ingredients listed as possible, ideally: sourdough starter, flour, salt and maybe water (and not necessarily in that order). If you have smaller, local bakeries that sell in-store, that will likely be your best bet!
Excellent thanks
Recipe is too simple. How about how much flour?
How long you leave it ? How do you know it’s ready ?
Oven temperature/how long?
It’s simple when you know.
Also your comments box is too far down the page takes ages to get there.
Love Steve.
Hi Steve – this post was merely ABOUT sourdough. I have posts on the starter and the bread too, and you can find those here:
https://dontwastethecrumbs.com/real-food-101/
As for the comment box, I can’t really control that… but thanks for scrolling down and leaving a comment!
Can you please link me to the tutorial that came after this? I have the flour and water and am going to start my bread today. However, I am totally lost on how to pour off the excess liquid and how to use it. I stumbled across your blog about 4 hours ago and am in love! And my husband loves you because you have me attempting to make sourdough bread and it is his favorite. Not so much mine but I am willing to try it.
Hi! You mention that the long soaking required for sourdough must be breaking down the phytic acid, therefore making this better for us than regular bread ( my u derstanding of what you are saying), but that soaking is really only the starter. The recipe I use for my sourdough, that I got from King Arthur company, has me adding 5 cups of flour to my 1 cup of starter. But those 5 cups of flour arent soaked. So?
I also mill my own wheat, but after reading that sourdough is supposed to be even better decided to give it a try. I ordered the starter from King Arthur because I am not so great in the kitchen and didnt want another failure or should I say couldnt handle another failure in the kitchen right now! I am happy to say that it has worked out great and the sourdough is turning out great.
Thanks in advance for any info you can provide.
Hi Jen! Let’s see if I can clarify this a bit. Most sourdough recipes start with the starter, which is soaked for an eternity, lol, so that’s definitely soaked.
Then, you add flour and let it sit for awhile – overnight usually. Once that’s done, the flour you added is now soaked too (with the starter being the acid medium).
Then, you usually add another little bit of flour for a 2-4 hour rise before baking. This too is now soaked, although it’s the bare minimum required (but since you have such a high ratio of soaked flour to unsoaked, most traditional foodies consider this negligible).
Some traditional foodies will recommend using all-purpose flour in that last addition, since there’s only the endosperm left (the germ and bran have been stripped in AP flour). With no phytates to break down, there’s no need to soak and it makes it a bit more “suitable” for 100% traditional diets.
Does that help?
When buying sourdough, what should I and shouldn’t I look for on the label? Never really considered so I know nothing about it. Is there a whole wheat four version or just white flour? thank you.
Hi Jennifer! Yes, you can find whole wheat and white flour sourdough. You want a label that has flour, salt and cultures (something it’s ‘sourdough starter’ or ‘starter cultures’ or something like that). Avoid chemical-ish names if at all possible, which are sometimes added as a preservative. I also avoid sourdough that has added yeast, because I think it’s cheating, but that’s just a personal preference. Be sure to read all the labels of the breads available, then choose which has minimum ingredients. It might be hard at a supermarket, where food is shipped in, so it’s really choosing the least offender.
Most sourdough breads I’ve found in the stores have vinegar in them, which is SO not sourdough… so look carefully!
Tiffany,
Thanks for sharing the simplicity of this sourdough bread recipe. I already had created my starter, but was looking for other ways to use it and came across your site: Very clear and helpful.
Tried the bread recipe today and have 1 large round and 2 regular loaves baking right now, smelling tantalizingly delicious 😋
I’ll check the rest of your site and plan to try the coconut banana pancakes .
You’re most welcome Pauline! 🙂
I make water kefir with lemon & dried fig, now if I was using kefir water for sourdough would I make it without the fruit ? I’m planning on making sourdough, I’ve read you can use kefir water once in the fermenting is that right? Also how big a bowl or tub & do you put a lid on it?
You can use kefir water to help boost the process at the beginning, but I’ve heard that it only puts you 1-3 days ahead (so instead of being on day 2, your starter might look like it’s on day 3 or early day 4). I use a medium pyrex glass bowl and use a plate as a lid, but leave it slightly ajar for air flow. 🙂
I make my sourdough bread with a starter I purchased from King Arthur that dates back to 1790!
I make my loaves in pans with a 50/50 combo of unbleached King Arthur flour and Organic Whole Spelt Flour. Makes great pizza dough too!
How awesome to have such an old starter! I haven’t tried spelt yet, but I think I’m liking the 50/50 blend too. 🙂
I have baked with sourdough now for over a year and truly love the way it enhances the flavor of the bread. Storing the starter in the fridge and taking it out every week or so to fed makes this living creature incredibly easy to take care of. The health benefits are fascinating, which is what led me to your blog. Thanks for the info and happy baking! Enjoy sharing your starter with others!