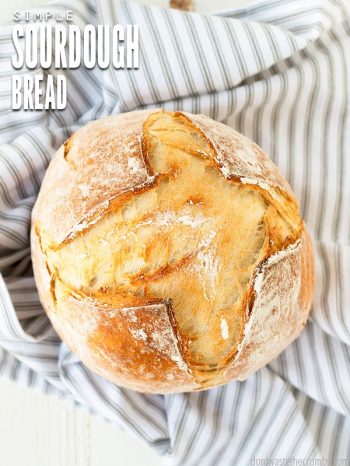
Think sourdough bread is too complicated to bake at home? Think twice! This sourdough bread recipe is so easy & simple that I promise you will want to bake it again and again! It’s delicious, frugal & healthy, plus there’s no kneading required!
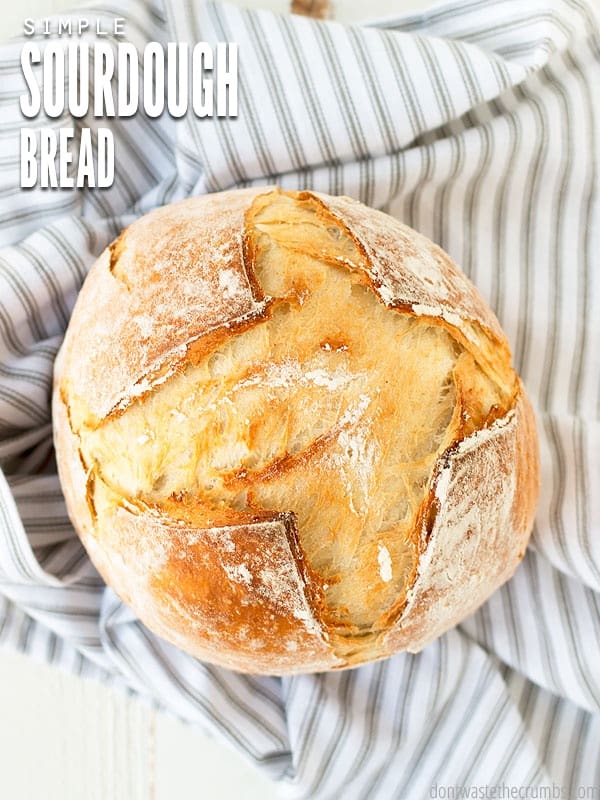
I love to make sourdough bread, AKA the “lazy man’s bread.” Yep. Because it’s that simple to make! Plus, the amazing benefits of sourdough are well worth giving it a try!
I also love it because:
- Making bread from scratch is one of the healthiest and most frugal ways to save money on food.
- All you need for sourdough is a starter, whole wheat flour, a pinch of salt, and some water!
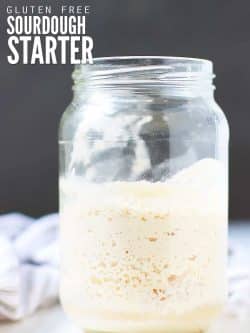
- You can even make a gluten-free starter and adapt this recipe for gluten-free sourdough bread!
Notes on Ingredients

Sourdough Starter. Sourdough bread needs an active starter culture (which is made of beneficial bacteria and yeast) to create the sour flavor of the bread. You can make your own sourdough starter from scratch (or get a sourdough kit to help speed along the process).
This sourdough bread recipe needs to have an active starter culture, but if you don’t have any currently, here is my post for tips on the sourdough starter.
Whole Wheat Flour. You can use white flour if you don’t have whole wheat or are not comfortable using whole wheat in baking yet. It may be easier to experiment with the lesser expensive flour and once you’ve found your sourdough groove, upgrade to whole wheat. Here are some tips on the dough:
- You want to bake with a starter that is at its peak – when nearly all of the yeast has eaten but hasn’t begun to go dormant because of the lack of food. You can see when a starter has peaked because it will have a dome-shape on top.
- Starters peak in the 2-3 hour range after each feeding.
- Don’t skimp on the water that recipes call for. Sourdough recipes are wetter than traditional bread recipes made with baker’s yeast.
- The press-your-thumb-to-test-for-springiness test works. Do it.
- The see-through-your-dough test works too. Try it.
- Two rises will produce a more sour bread than a single rise.
- I use a bread proofing basket called a “banneton” to let my sourdough bread rise. I use this kind here.
A complete list of ingredients with the amounts you need is located in the recipe card below.
Step-By-Step Instructions

Here’s how to make this sourdough bread recipe from scratch.
Step 1. In a very large bowl, mix the sourdough starter, water, and 3 cups of whole wheat flour with a wooden spoon and combine well.
Step 2. Add salt and remaining flour 1/2 cup at a time, attempting to completely stir in the flour with each addition. When you can no longer mix with a spoon, use your hands to mix in the flour. Continue adding flour until your dough begins to resemble dough, but is still sticky and “pourable.”
Step 3. Pour the dough into a banneton (I like this one) and fill 1/3 way up. Cover with a towel and allow it to sit in a warm place for 4-12 hours, until the dough is at least doubled in size and looks to be “domed” on top.
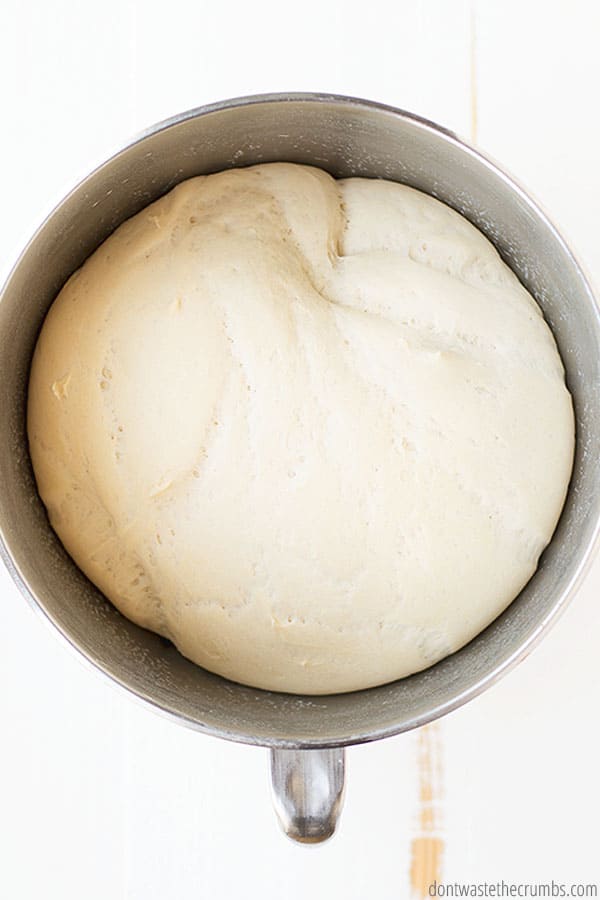
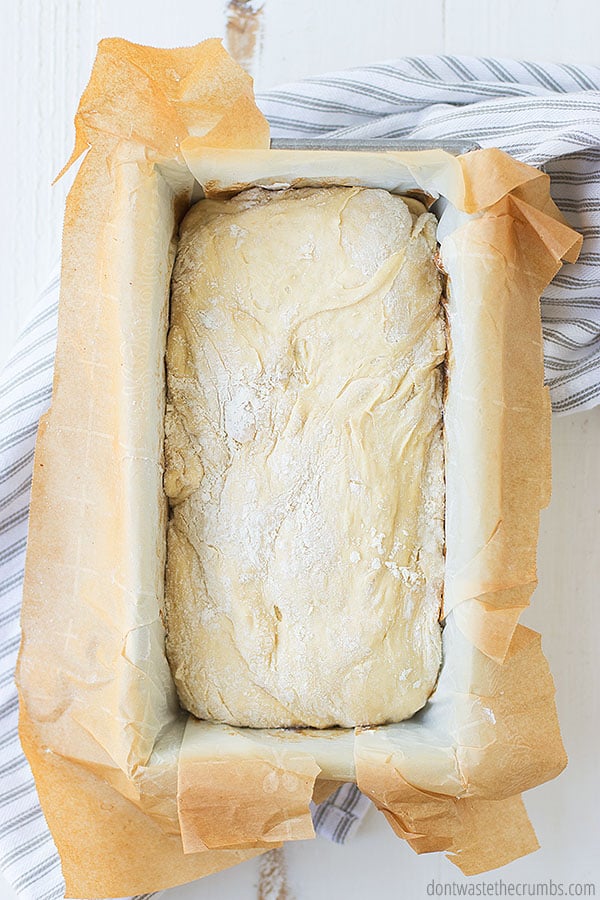
Step 4. When the dough is at least doubled in size, flip the banneton over so that the dough dumps directly into a Dutch oven, lined with parchment paper, (or loaf pans). If the dough doesn’t come out centered into the Dutch oven pot / loaf pans, wait 20 seconds, then grab the handles and shake the dough so it’s centered.
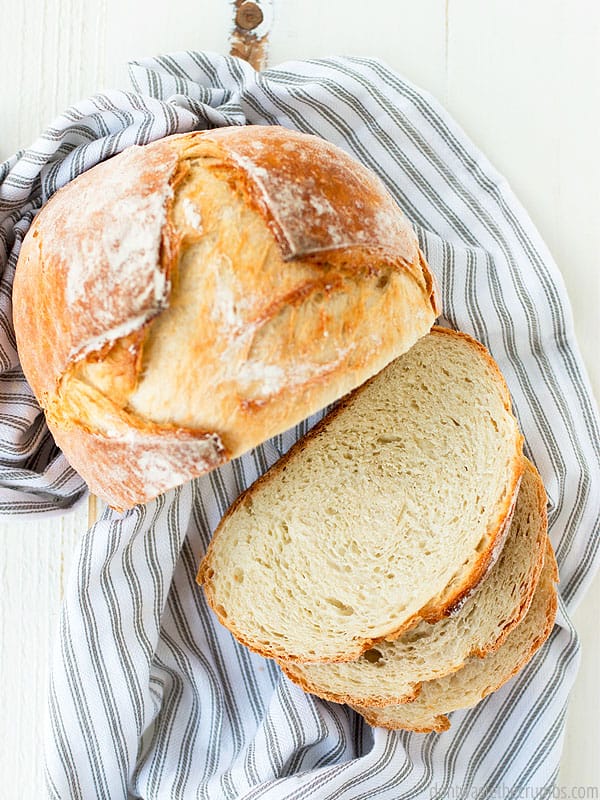
Step 5. Place the Dutch oven or loaves in a cold oven and turn the oven on to 350 degrees. Bake bread for 50-60 minutes, until the edges are golden and the bottom sounds hollow when tapped.
Step 6. Remove to cool on wire racks for at least 30 minutes.
Additional Recipe Tips
- Halving the recipe while striving for your “perfect loaf” will cut down the cost on ingredients and reduce food waste.
- Putting the dough into a cold oven and then turning it on gives the yeast a final boost to help the bread rise. Do not do this if your bread has already domed AND is starting to recede in the rise.
- If your bread fails, have no fear! Determine what exactly went wrong and try again, aiming to fix that problem. You wouldn’t be the first person who didn’t succeed on their first attempt!
- If bread fails despite repeated attempts, use the starter for other baked goods for a few weeks to a month. Meanwhile, feed the starter consistently to build up the concentration of the yeast.
During the Rise
- The vessel in which dough rises can limit the extent of the rise. Be sure to leave plenty of room for expansion.
- The quicker the dough rises, the less sour the bread will be.
- The longer the dough rises, the sourer the bread will be.
- The warmer the temperature, the quicker the dough will rise.
Temperature for Rising
Controlling the temperature allows you to be in greater control of when the dough will be ready, and in turn when the bread will be ready.
The following methods will provide a consistent temperature for the bread to rise: Heating pad on low, in an oven with the light on or in a dehydrator. Consider adjusting the temperature higher and lower to find the “sweet spot.” Using my heating pad on low gives me a rise time of 5-6 hours.
Rising Times
When experimenting with rising times, bake this bread on a day you plan to be at home. Numerous factors can affect the rise time overall and when the yeast peaks, so you want to have a vague idea of how long the bread will take in your home before you leave.
For a point of reference, I turned my oven on the lowest setting, placed it on top of my stove and it was ready in 4 1/2 hours.
FAQs
Sourdough bread is NOTHING like traditional bread. When you’re done kneading traditional bread, you likely have a firm, round piece of dough. When you’re done kneading sourdough, you will have a very loose and likely pourable dough on your hands. Literally.
In less than two hours, traditional bread will have doubled in size. In two hours, sourdough looks like it hasn’t even budged.
Traditional bread can be whipped up in half a day’s notice. Sourdough definitely requires advanced planning. Like, up to 24 hours in advance.
You will use 2 cups of sourdough starter for this sourdough bread recipe.
You can use white flour or whole wheat flour. It may be easier to experiment with the lesser expensive flour and once you’ve found your sourdough groove, upgrade to whole wheat.
Sourdough Recipes and Tutorials
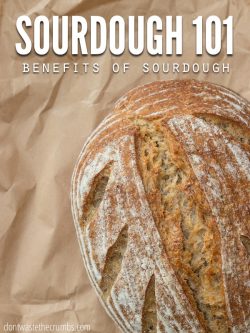
- Sourdough 101: The Benefits of Sourdough
- How to Make a Sourdough Starter
- Toasted Coconut and Banana Sourdough Pancakes
- How to Make a Gluten-Free Sourdough Starter
- Sourdough vs Soaking vs Sprouting: Which is best?
- Sourdough A to Z eCourse (Plus recipe book!)
Fight Inflation Workshop
Sign up for my FREE Fight Inflation Workshop and learn simple strategies to save money, even with rising food costs!Simple Sourdough Bread Recipe
Try my favorite Sourdough Bread Recipe. Super easy for beginner sourdough bakers, with simple instructions and just one rise. It’s healthy, frugal, and can be made gluten-free!
- Prep Time: 12 hours, 15 minutes
- Cook Time: 1 hour
- Total Time: 13 hours 15 minutes
- Yield: 2 loaves 1x
- Category: Sides
- Method: Oven
- Cuisine: American
Ingredients
- 2 cups sourdough starter
- 5–6 cups whole wheat flour
- 1 heaping Tbsp salt
- 1 cup filtered water, cold or room temperature
Instructions
- In a very large bowl, mix starter, water and 3 cups of whole wheat flour with a wooden spoon and combine well.
- Add salt and remaining flour 1/2 cup at a time, attempting to completely stir in the flour with each addition. When you can no longer mix with a spoon, use your hands to mix in the flour. Continue adding flour until your dough begins to resemble dough, but is still sticky and “pourable.”
- Pour dough into large loaf pans or a banneton (I like this one) and fill 1/3 way up. Cover with a towel and allow to sit in a warm place for 4-12 hours, until the dough is at least doubled in size and looks to be “domed” on top.
- When the dough is at least doubled in size, flip the banneton over so that the dough dumps directly into a Dutch oven, lined with parchment, (or loaf pans). If the dough doesn’t come out centered into the pot / pans, wait 20 seconds or so, then grab the handles and shake the dough so it’s centered.
- Place loaves in a cold oven and turn the oven on to 350 degrees. Bake bread for 50-60 minutes, until the edges are golden and the bottom sounds hollow when tapped.
- Remove to cool on wire racks for at least 30 minutes.
Notes
If you’re using loaf pans, this recipe makes 2-3 loaves, depending on the amount of flour used and size of loaf pans.
Nutrition
- Calories: 456



Can einkorn be substituted?
I’m afraid this first attempt was a failure! |My fault entirely,I did the folding, but omitted to roll the dough after, and also to let it rise again before putting it into a cold oven. I thought being in the heating up oven would be sufficient to rise it, but it was not. It came out very heavy and crusty on top where it had been folded. The sides and bottom were quite soft, and we put it back in the oven for a bit longer.
Can I add the olive oil from the rosemary and olive oil bread to this recipe?
Already dough after the first 3 cups of flour. Not sure I should even try getting the extra flour in. Second attempt. First was very strong tight dough. Could hardly get the salt in. I followed the first two instructions exactly.
Hello Christy!
Tiffany says that sourdough is half recipe, half art, and lots of factors can play a role (humidity, season, location, etc.). If your dough gets tough, add the salt and knead. Only add more flour if you think it needs it. Whole wheat is slow to absorb liquid, so it will feel very tough when you knead, and it will loosen as it rests! Hope this helps!
I had a very hard time with this recipe. Followed the directions, and after 3 cups of flour the dough was very dry. Bread came out flat even though I did over 12 hours of rise time. Usually I find Tiffany’s recipes fool proof. Helpful to know if there was something I could have done when the dough was so dry after 3 cups flour.
Dubious. My dough isn’t pourable before I add the other 2-3 cups. What gives?
Hi Tari,
Did you have enough water? And only 1/2 cup of flour at a time?
I am not Sure this is gonna work.
It’s not wet and pourable.
My is a sticky ball.
Hoping foe best turnout
Dm,
How did it turn out?
I really love this recipe! I have found that if I make my dough the night before and let it sit in a warm place overnight – punch it down and let sit all day – makes for a great flavor. You can go about your business all day and then bake either late afternoon or early evening. Such an easy recipe – thank you for sharing!!!
You are most welcome, Sunny! Glad you liked it. 🙂
Can you give measurements in grams, please?
Haven’t tried this yet, but I am a regular sourdough baker, one quick question, did you put the lid on the dutch oven for any part of the baking (usually the first half)? Recipe doesn’t mention it but thought I’d ask before trying! One gal mentioned how she didn’t get the crust she wanted and I was curious if that might help?
I know this is quite a few months later than your comment, but I put the lid on for 30 minutes, then take lid off for the remainder 30-35 minutes – seems to make a nice crust.
Thanks for sharing your experience Sunny!
I don’t have wheat flour, just all purpose and bread flour. I usually use the bread flour. Will this change anything in the recipe?
Hi Cathie,
Assuming it’s white flour you can also try that! That’s a great way to start.
I made this recipe as my first sourdough attempt. I had a hard time working in that much flour, feeling like I needed more water to make it pourable but I did it somehow! My kitchen is pretty warm, as we have a coal stove that heats the house so my loaves were doubled and domed in about 4.5 hours. I baked them for 55 minutes, but I didn’t get a nice golden brown crust. The crust was kind of pale and tough, but the inside was good. In addition to getting a nicer crust, I would like to get more sourdough flavor. It seems like I need a lower/longer rise I guess? Looking forward to tweaking this one!
Nikki, your suggested tweaks sound like great ideas. I hope it turns out well for you!
If you put the dough into the frig overnight or longer, then bake it straight out of the frig, it will have more sourdough flavor.
Thanks for sharing the tip Connie!
Can you do a 24 hr bulk rise in the refrigerator with this? For more sour flavor
my starter is very wet I added more flour did not help how do I correct this
I’m getting ready to attempt this recipe, but I was wondering if anyone has used a cast iron skillet to bake in? We just got a set as a wedding present and I’m itching to try it out.
It would be great for an international audience if you could put the weights of your ingredients on the recipe. Most of us don’t use cups as a system of measurement and don’t have a standard cup size in our houses. Even if it were in ounces it would be handy. I read your whole article and had my starter ready, was about to start baking and had to stop when I saw ‘cups’. Now I’m off back to Google again! Thank you.
Adam,
Thanks for your comment and suggestion. 🙂
When you say whole wheat flour you mean whole wheat einkorn flour…right?
Hi Rebekah! This recipe was written before we switched to einkorn, so I mean red hard wheat here.
Is there a way to convert this recipe to use Einkorn flour? I see your recipe for Einkorn sandwich bread, but like a boule instead.
Hi Dawn,
Here is a whole grain einkorn sourdough recipe that isn’t in the shape of sandwich bread. Does this help? https://dontwastethecrumbs.com/whole-wheat-einkorn-sourdough-bread/