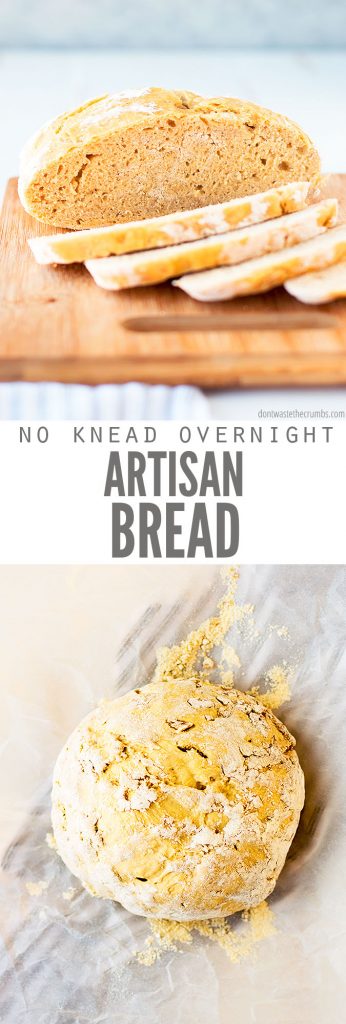
This artisan no knead bread recipe is perfect for beginning bakers. Easy to mix together with just 4 ingredients, you’ll make a beautiful loaf that’s crusty on the outside and soft and delicious inside – great for dipping in soups or even making bread bowls!
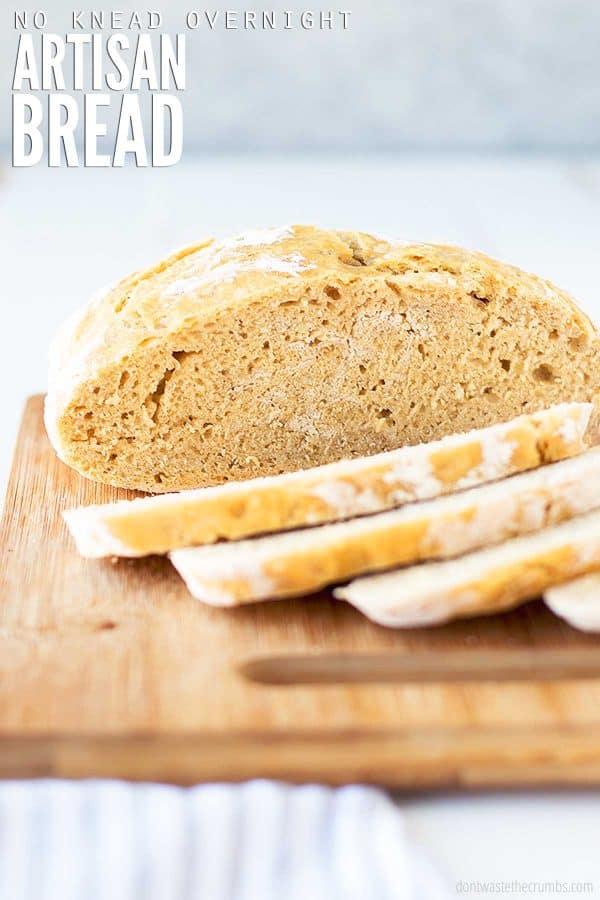
Homemade bread doesn’t last very long in our house, and since my schedule usually lands on the busy side, I’m always looking for an EASY bread recipe that requires very little effort on my part.
I can mix up a quick batch of this no knead bread after dinner and bake it the next morning. Since I’m already in the kitchen at dinner time (or making a smoothie in the morning), this is one homemade bread recipe that fits in well with my routine.
If you’re new to baking bread and intimidated by using yeast, this recipe is also perfect for you. Yes, we’re using yeast, but I’ll walk you through the VERY simple recipe steps.
Plus, since this is a NO KNEAD recipe, you pretty much can’t mess up!
WHY MAKE HOMEMADE NO-KNEAD BREAD?
Have I convinced you to try homemade no-knead bread yet?
- It’s really, really good (WAAAY better than store-bought)
- It’s really, really cheap (as little as 25¢ per loaf!)
- And it’s really, really EASY (it’s the perfect beginner bread recipe!)
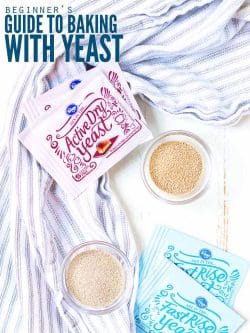
When you’ve nailed this no-knead bread recipe and you’re ready to try a more “intermediate” loaf of bread, here’s the official guide on how to use yeast.
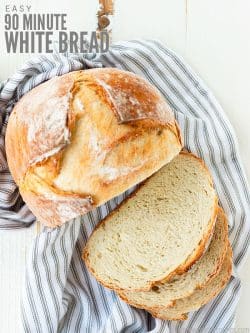
The tips in that guide helped me get over my fear of yeast and led me to Rosemary Olive Oil Bread and our favorite “sandwich” bread, 90-Minute Man Bread (which officially got us hooked on homemade bread).

NO KNEAD BREAD RECIPE INGREDIENTS
- Water. Every bread recipe needs liquid. Water is the best for this recipe.
- Active Dry Yeast. You may not be used to working with yeast (yet), but you will find that it isn’t so scary after all!
- Salt. A little bit of salt goes a long way when it comes to pulling out the flavor in bread. You really don’t want to skip this.
- Flour. I like to use all-purpose flour for this recipe. Whole wheat flour works too, but it will have a more dense nutty flavor.
- Vital wheat gluten (optional). You don’t need to include vital wheat gluten, but if you do, it makes for a softer, more pliable loaf of bread. Add 1 Tablespoon per cup of flour if you decide to use it. Skip if you are using bread flour.
Psst! Not all salts are made the same! I love Ava Jane’s Kitchen because it doesn’t have microplastics (gross, right?) and it’s SO GOOD! Plus, you can get a free 8oz. bag of sea salt (just pay shipping and handling!).
A QUICK NOTE ON THE FLOUR
For those who are gluten-free, einkorn may be the solution! Einkorn is an ancient grain with less gluten than modern wheat. It works great for my family members with gluten sensitivity! You can read more about it here.
Whether you use einkorn or stick with all-purpose flour, here are a few brands that I like that are easy to find at local grocery stores or online:
- Bob’s Red Mill is a brand I can often find in stores, and I’ve also found it on Amazon and Thrive Market (Click here to see the Exclusive Offer for Crumbs readers!).
- Jovial Foods offers einkorn flour in both whole wheat and all-purpose. Save 10% off all items in the store (with exclusions on special promotional items such as cookbooks and new harvest oil) when you use coupon code DWCRUMBS. Plus, get free shipping on orders over $99. You can also find Jovial Foods Einkorn Flour on Amazon.
HOW TO MAKE NO KNEAD BREAD
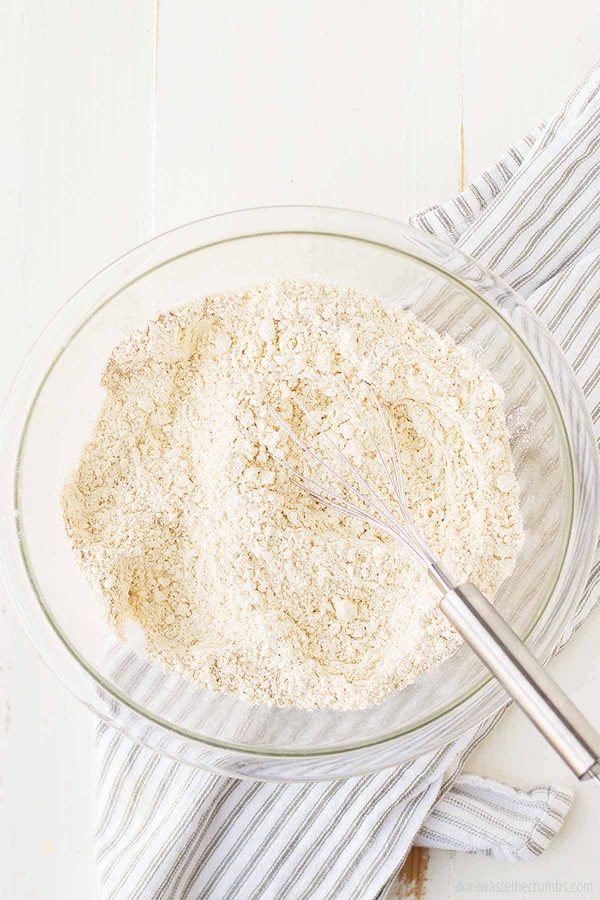
Step 1. Combine flour, salt, and yeast in a large bowl and stir with a wooden spoon to combine.
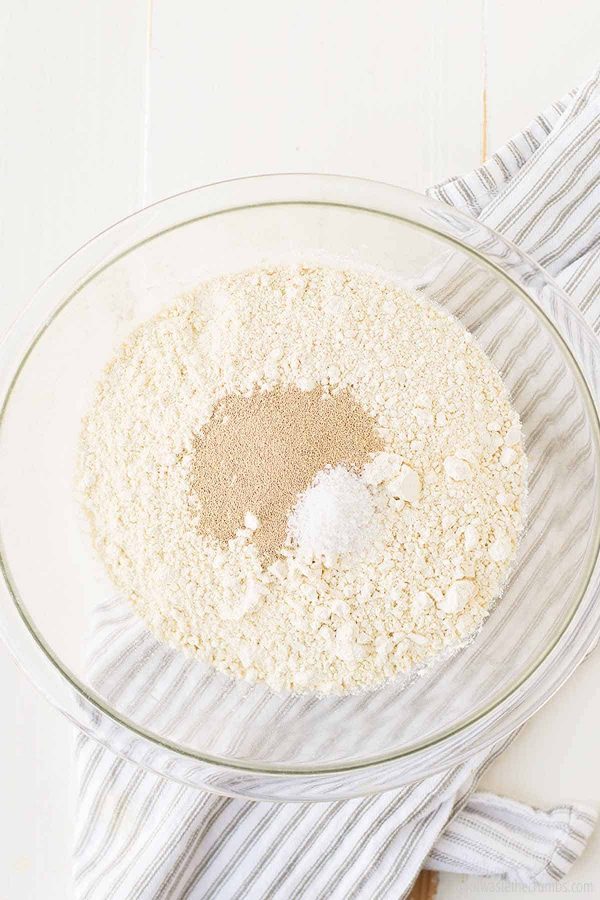
Step 2. Add warm water and mix well using your hands. Your goal is to incorporate as much flour as possible while handling the dough as little as possible. The dough will be hard to stir and shaggy, not smooth like traditional bread dough, and that’s okay!
Step 3. Cover the dough with a kitchen towel and let it rise overnight 8 to 18 hours at room temperature. The sticky dough will bubble and rise slightly.
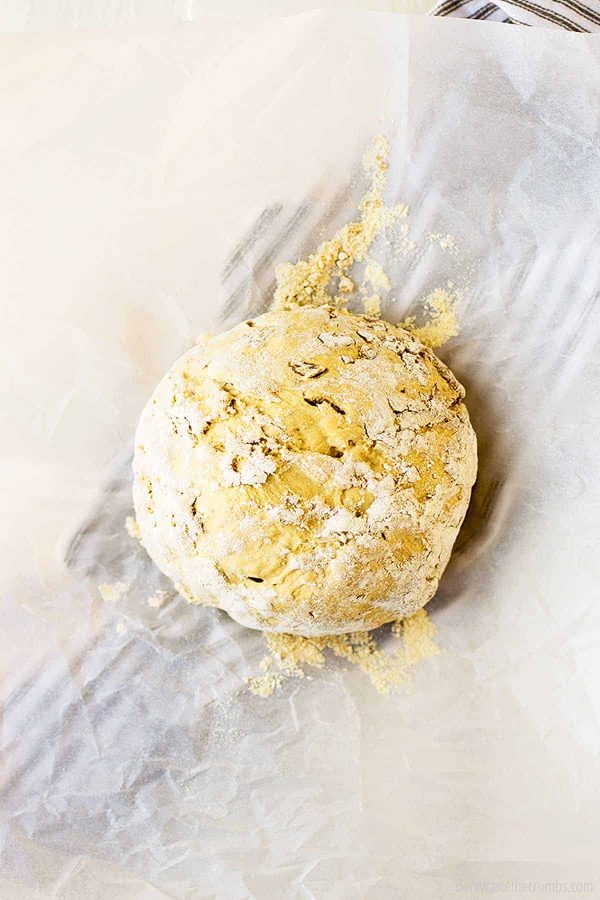
Step 4. When you’re ready to bake the bread, flour your hands and a silpat mat (or a piece of parchment paper) and turn the dough onto the floured work surface. Without kneading the dough, gently form it into a ball.
Step 5. Tear a piece of parchment paper about 12” square. Place the dough on the parchment paper and cover it with a towel. Let it rest for one hour.
Step 6. Let the dough rise for 30 minutes, then preheat the oven to 450F. Place a Dutch oven (or another cast iron or oven-safe pot that has a lid) inside – WITHOUT THE LID – to preheat. Preheat for 30 minutes.
Note: Do not put the lid in the oven.
Step 7. When the dough has rested for an hour (30 minutes by itself, then another 30 minutes with the pot in the oven), carefully remove the pot from the oven. Gently lift the parchment paper with the dough ball and place the whole thing in the pot.
Step 8. Put the lid on and place the pot back in the oven. Bake for 30 minutes with the lid on.
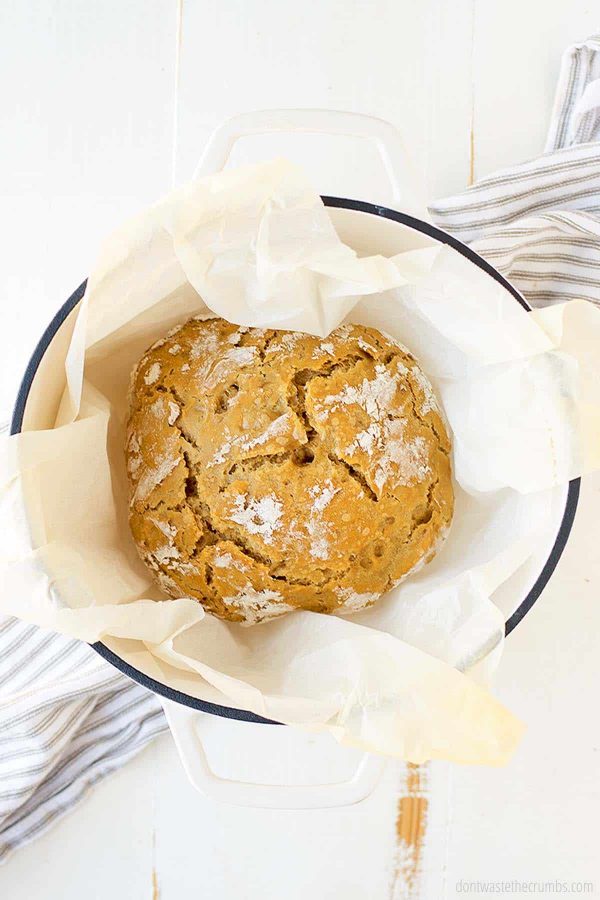
Step 9. Carefully remove the lid and bake for another 15 minutes, or until the top of the loaf is golden brown.
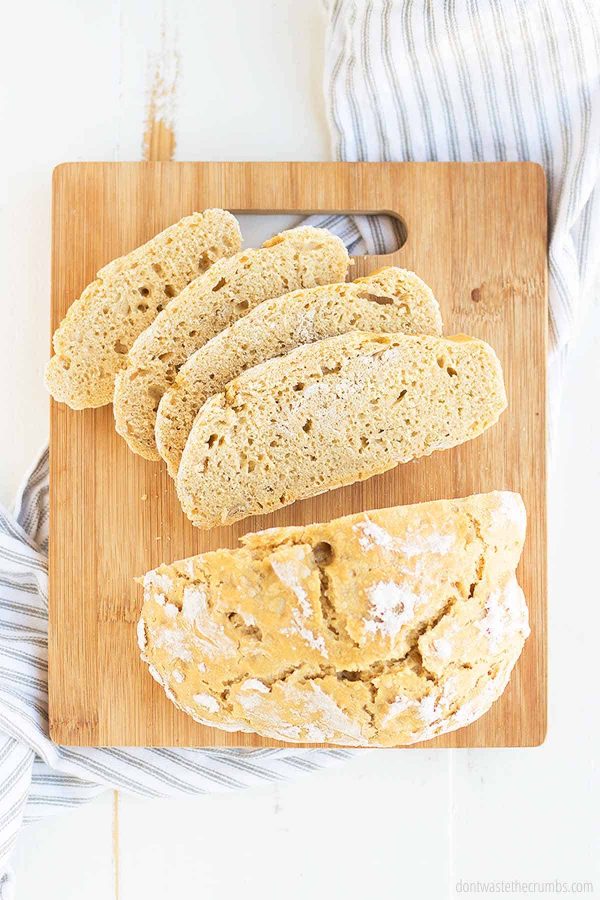
Step 10. Allow your no knead bread to cool completely before slicing. (I recommend at least 30 minutes in a spot where air can flow freely above and below, like on top of one of a wire rack, on the counter, or kitchen table.)
TIPS FOR NO KNEAD RECIPES
- You CAN knead no knead recipes, but it will change the texture so that it’s more like “sandwich bread” rather than artisan crusty bread.
- This recipe calls for using a Dutch oven (I have this one), but you don’t have to have one specifically. Any large pot with an oven-proof lid will work.
- The first rise on no-knead bread should be at least 8 hours long and up to 18 hours. The yeast needs long enough to ferment naturally but will cap out after so long. The heat from baking will finish out the rise on the bread.
- With one minor change, these loaves can become bread bowls (see below!).
NO KNEAD BREAD VARIATIONS
I like to mix up our bread flavors from time to time. Here are our favorite easy variations:
- jalapeno cheddar – add ¼ cup of sliced jalapenos and ½ cup of cheddar cheese
- cinnamon raisin – add ¼ cup of raisins and 1 tsp of cinnamon
- rosemary olive oil – add 1 tsp rosemary and 1 Tbsp olive oil
- onion & herb – add 2 tsp dried minced onion and 1 tsp Italian herb blend (or any other herb)
HOW TO MAKE NO – KNEAD BREAD BOWLS
No – knead bread bowls are the best thing ever! Homemade artisan bread is perfectly sturdy and makes great bread bowls.
- Follow the instructions to mix your dough and let rise overnight.
- Then, divide the dough into two balls before allowing it to rest for 1 hour.
- Use two smaller oven-safe pots (with lids) and proceed with the remaining directions as written.
- After the bread has cooled completely, cut the tops out like you would remove the top of a pumpkin: angle a sharp, serrated knife both down and in towards the center of the loaf. Take care not to cut too far down; otherwise, you’ll poke a hole through to the bottom.
- You can serve the top of the bread bowl with your soup or reserve it for Homemade Croutons or Breadcrumbs.
PAIR WITH NO KNEAD BREAD
No knead bread is perfect with a bowl of soup! Try one of these favorites:
- Garlic White Bean Soup with Kale
- Tomato Basil Soup
- Cheeseburger Soup
- Roasted Red Pepper Tomato Soup
- Instant Pot Butternut Squash Soup
- The Best Minestrone Soup
If you’re not in a soup mood, enjoy your no-knead bread with one of these yummy dishes instead:
- Spring Vegetable Pasta Salad
- Healthy Broccoli Salad
- Greek Quinoa Salad
- Roasted Vegetable Kale Salad
- 15-Minute Spaghetti
- Savory Pasta with Greens
Add a flavorful twist with herb-infused oil for dipping (don’t forget to freeze any extra herbs!).
NO KNEAD BREAD DUTCH OVEN FAQS
What kind of bread is no knead bread?
No knead bread is a method of bread baking that uses a really long rising time instead of kneading the dough. It is a wet dough and has a low yeast content.
Why is my homemade no knead bread so dense?
This happens when there is too much flour. Keep in mind that the dough will be sticky – there’s no need to add extra flour!
Can you make no knead bread without dutch oven?
This is a no knead bread dutch oven recipe, but if you don’t have a dutch oven, you can use a different pot with an oven-proof lid. Keeping the lid on for the first part of the baking time ensures that you end up with bread that is fluffy inside instead of overly dry and crumbly.
Can you score a no knead bread?
You can score no knead bread if you want to add a pretty design to the top of your loaf, but it’s not necessary for this no knead bread recipe to be scored for it to bake correctly. Use a sharp knife to cut simple patters on the top of the dough before baking.
MORE OF OUR FAVORITE BREAD RECIPES
- The Easiest White Sandwich Bread
- 90-Minute Man Bread
- No-Knead Einkorn Sourdough Bread
- Homemade Focaccia Bread
- Homemade French Bread
- No Yeast Bread
- Easy Homemade Dinner Biscuits
30 Minute Dinners Sample Meal Plan
Sign up to get instant access to my 30 Minute Dinners Sample Meal Plan, complete with recipes and step-by-step instructions!WATCH HOW TO MAKE NO KNEAD BREAD
No Knead Overnight Artisan Bread
This artisan no knead bread recipe is perfect for beginning bakers. Easy to mix together with just 4 ingredients, you’ll make a beautiful loaf that’s crusty on the outside and soft and delicious inside – great for dipping in soups or even making bread bowls!
- Prep Time: 8 hours 15 minutes
- Cook Time: 45 minutes
- Total Time: 9 hours
- Yield: 1 loaf 1x
- Category: Bread
- Method: Bake
- Cuisine: American
Ingredients
- 3 cups all-purpose flour
- 2 tsp salt
- 1 tsp active dry yeast
- 1 ½ cups room temperature water
- vital wheat gluten* – 1 Tbsp per cup flour (optional)
Instructions
- Combine flour, salt, and yeast in a large mixing bowl and stir to combine.
- Add water and mix well. The dough will be hard to stir and shaggy, not smooth like traditional bread dough.
- Cover with a towel and let rise overnight, 8 to 18 hours. The sticky dough will bubble and rise.
- When you’re ready to make bread, flour your hands and your working surface and turn the dough out. Without kneading the dough, gently form it into a ball. Cover with a towel and allow to rest for one hour.**
- After the dough has risen for 30 minutes, preheat the oven to 450F and put your Dutch oven or oven-safe pot (that has a lid) inside to preheat. Do not put the lid on the oven. Preheat for 30 minutes.
- When the dough has rested for an hour, and the pot has preheated, remove the pot from the oven. Carefully lift the dough from the surface and place it into the pot. If your pot is stainless steel and not lined, you can line it with a piece of parchment paper first.
- Replace the lid and place the pot back in the oven. Bake for 30 minutes with the lid on.
- Carefully remove the lid and bake for another 15 minutes, or until the top is golden brown.
- Allow to cool completely (at least 30 minutes in a spot where air can flow freely above and below).
Notes
- *Vital wheat gluten is optional but helps create a more pliable, softer loaf.
- ** To turn this recipe into individual bread bowls, divide the dough into two balls before allowing it to rest for 1 hour. Use two smaller oven-safe pots (with lids) and proceed with the remaining directions as written.
- To cut the tops out, cut like you would the top out of a pumpkin: angle a sharp, serrated knife both down and in towards the center of the loaf. Take care not to cut too far down, otherwise, you’ll poke a hole through to the bottom. Cut out the top and either serve, reserve for Homemade Croutons or Breadcrumbs.
Nutrition
- Calories: 115



I would like to know if you use sugar. I like soft and fluffy bread. I usually make a non-knead overnight bread using the combination of yeast Rice koji, bread flour, oats, soy milk, salt, butter, potates, and eggs. Some recipe calls for water as a replacement of eggs. Have you ever tried it? Let me know.
Hi Noriko! Some of our bread recipes call for sugar or honey for the yeast. Since this dough rises overnight, it has enough time to rise without the additional sweetener added.
Do you know if this process helps to break down phtyic acid in the wheat since its sitting overnight? I know its not sourdough, but I wonder if this recipe has a similar effect to soaking flour overnight to make the grains easier to digest. I need to try this recipe either way though.
Can you use instant yeast? And what amount or changes in rising?
Hi Jeni,
You would use one packet of instant yeast. I don’t think it would change the rising. Hope this helps.
When you mention sticky, could you expound? I measured accurately. The dough sat overnite in the oven proofing drawer with no heat. When I attempted to remove from the bowl, I had a sticky mess that barely would hold a ball. I am waiting to put in oven. Can you send me a photo of sticy?
I had the same problem! I measured ingredients accurately, but after 12 hours of rising the dough is too liquid gooey to hold any shape at all!
Hi Angela,
Tiffany says, “My only guess would be environment. The dough should be shaggy, but not “gooey.” If that’s the case, add more flour, 1/4 cup at a time, until it’s shaggy.” Hope this helps!
This is a seriously amazing bread recipe abc I’ve said that in the past. However, this updated version shows images that don’t match the bread and do not look as wonderful as the bread this makes. I do give my dough a bit of a knead in the morning and place it to rise in a bread basket. It is the best bread ever, but these pictures don’t do it justice.
Hello! Thank you Tiffany for this great recipe. So delicious. I’ve been baking it for years now and it’s always a hit!!
I also use it as a basic recipe to try new ingredients. This time and I’ve done it many times I’ve added a package of onion soup mix and some organic caraway seeds (T) in the mix as well as a sprinkle on top just before baking and voilà!! Onion Rye. Adding half 1/2cup organic Rye flour if you want as I have before makes it more authentic yet the caraway seeds remind me of rye bread and I enjoy the taste of them even without the added rye flour. God bless you all
Hello John!
We’re so glad you enjoy this bread recipe. Those sound like delicious additions! Thank you for sharing. 🙂
As I write this, the bread is in the oven baking. It smells wonderful. Had a great yeasty smell as it sat all day. My family like bread with some ‘crunch’. So I threw in a handful of steel cut oats, flax seed and chia seeds. I can’t wait to try it!!
Hey Abbi! May I ask, did you add those in right before baking or right from the get go? I’d like to try that too!
Made this twice now. It really is fool proof! Last time I used all whole wheat flour and a Tbsp of Tapioca starch. This time I used all whole wheat and forgot the starch. Still turned out great!
What is the easiest way to double this recipe? My oven proof pot is the perfect size for 1 loaf. I’m guessing I’ll just bake one loaf at a time and the second one gets extra time sitting on the counter in a ball?
Hi Shannon, yes that works or if you have a second Dutch oven or oven safe pot with a lid you can bake at the same time.
I usually make the loaves at the same time. I mix them up seperatrly so that I know each will be pretty well the same. I also have two dutch ovens so bake at the same time. My Family love this bread. Presently I have two on the go for a Family down the street who have been ill.
I would like to make this with a whole wheat flour, can I adjust with adding gluten ? I want to keep the carbs down
Even just a little white flour has enough gluten to give the dough better structure. White and whole wheat flour can be substituted one-to-one, so just play with the ratio of the two until you end up with a loaf you like. Add one tablespoon of vital wheat gluten for every 2-3 cups of flour in your recipe
I made this bread on Super Bowl Sunday. Everything that was expected from this recipe exceeded my expectations. The best loaf of bread I ever made. I haven’t made many and usually did more focassia loaves. But this was a work of beauty. I did add some olive oil and rosemary and we loved it. Brought the rest to the office on Monday and my staff finished it off. Making another one tonight. Thank you for the easiest, best bread ever. It made me look like a star.
I haven’t tried this one yet, but, I have a sourdough starter. How can I use that, instead of the store bought yeast? I haven’t had a lot of great tasting bread from it, but, my kefir sourdough waffles are killer! (; Thx for this!
Substitute 1 cup of starter for each package of yeast, and then subtract about 1/2 cup of water and 3/4 cup of flour from the recipe to compensate for the water and flour in the starter.
This bread is a gorgeous, tasty bread. I do have one problem, though. This is the first time I have made it. The middle seems nice and crusty, but the edges are so hard I’m afraid of breaking a tooth. Any suggestions on what to do next time to have an even crustiness to it?
Charlene, You can cook it for a shorter time or serve with a soup for dipping! https://dontwastethecrumbs.com/?s=soup
Have you made this bread with fresh ground Einkorn flour? And if so, are there adjustments needed?
I have not but we often use that here at Don’t Waste The Crumbs. Just make sure you make it all purpose.
How can this recipe be adjusted to baking in a loaf pan?
Hi Donna,
This recipe needs no adjustment for baking in a loaf pan. Just bake it in a loaf pan with the same temp and bake time. 🙂
I use parchment paper in the Dutch oven which makes it easier and then after baking I drape the paper loosely over the cooling loaf on the rack. It allows the steam to slightly soften the crust but not make it soggy. Worth a try.
Hi! I am a newbie to bread making. Wondering if I can make this in a bread maker? If so, what adjustments, if any, are needed? Thanks so much!
Hi Anne! I wouldn’t recommend the bread maker on this one. You want the oven for that quick bake and crispy crust! I assure you – this is one of the easiest breads you can make. You won’t even want the bread maker after you try it! ♥
This is the second time I’ve made this bread. It turned out perfectly the first time but this time the bottom burned and stuck to my pan well before the baking time was up. Next time I’m going to try reducing the oven temp to 350 for the final baking. I love the taste and the easy method to make bread at home.
Good luck with your bread, Peggy. Let us know how it turns out for you!