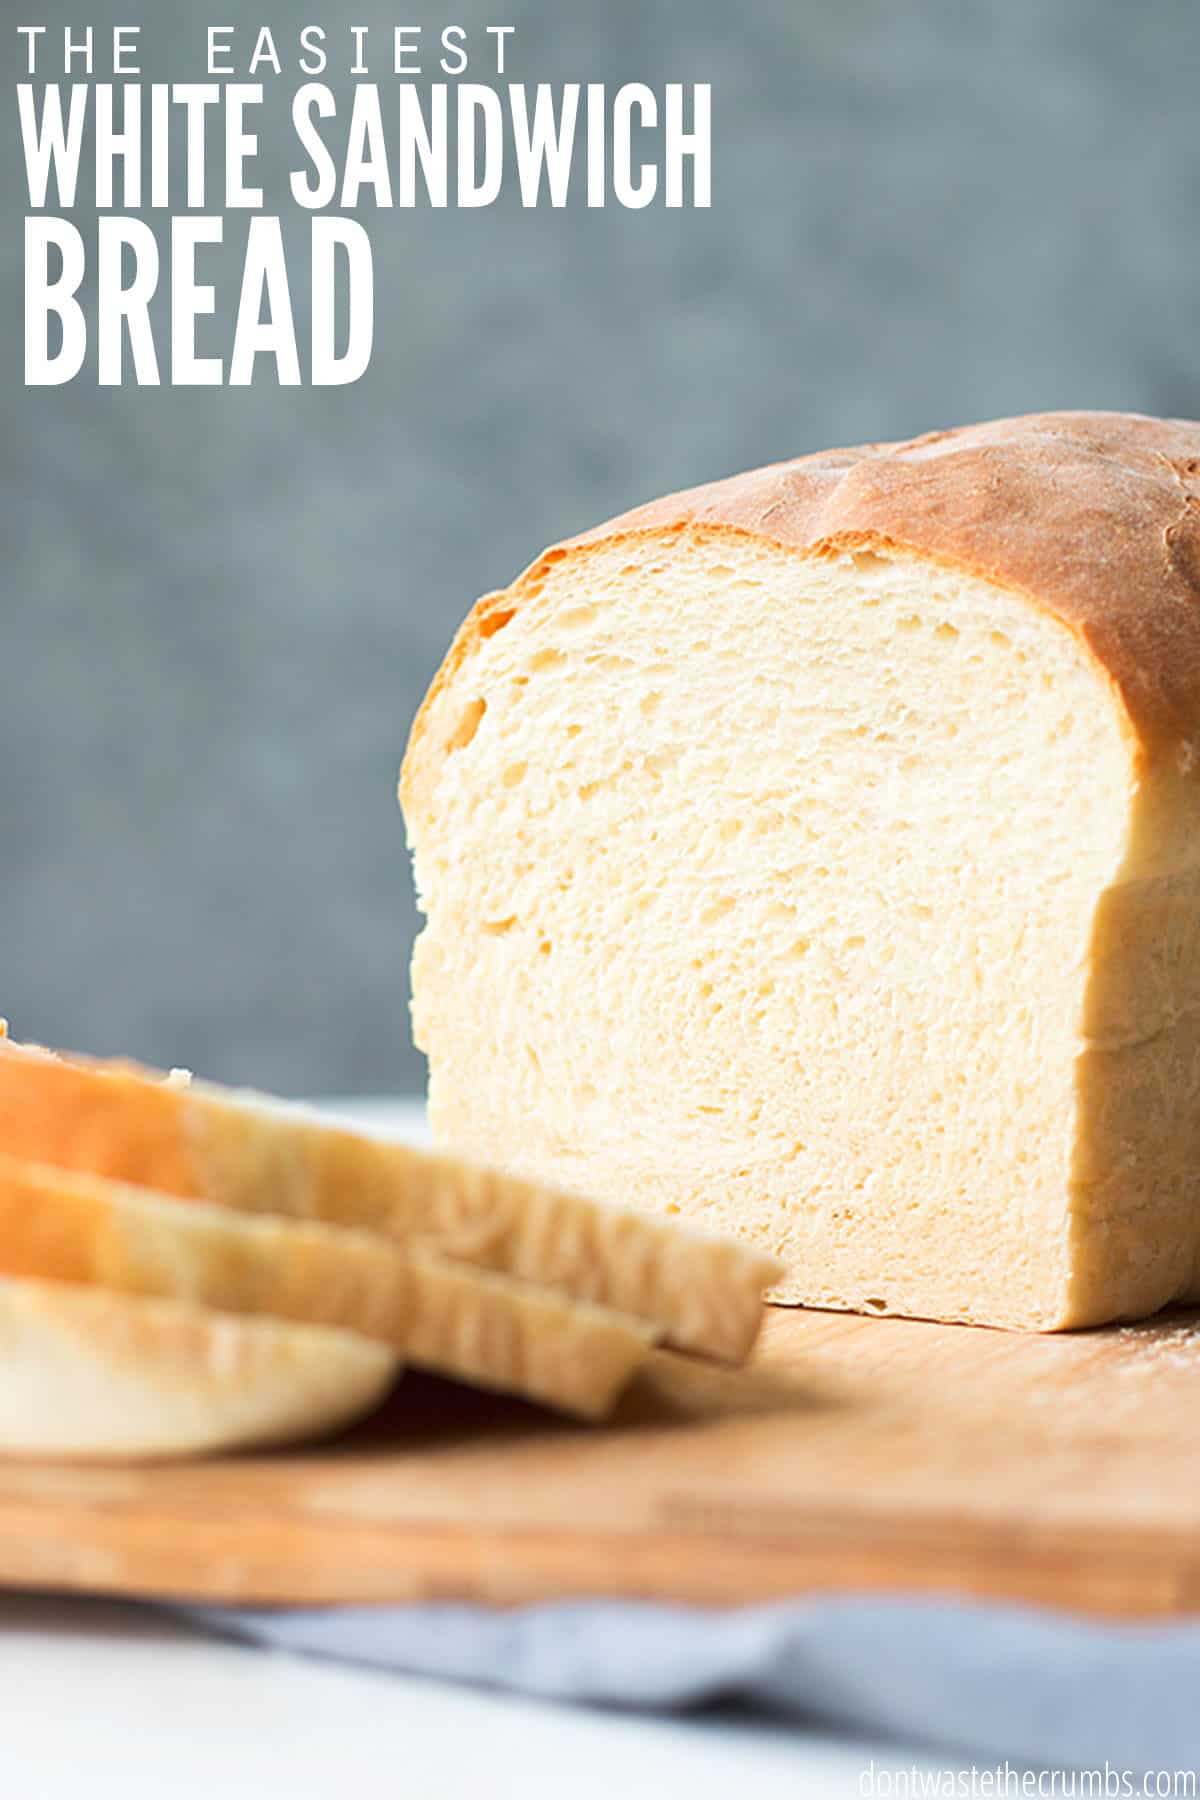
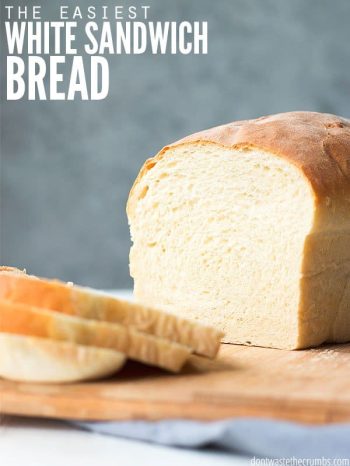
A perfect fluffy homemade white sandwich bread for toast, sandwiches, and PB&J! This white sandwich bread recipe is so quick & easy to make and doesn’t require a machine. My picky eaters love it!
Ever since my husband created his infamous 90 Minute Man Bread, so many readers have emailed saying that Man Bread is the only bread they make, and they use it for nearly all their bread purposes, including sandwich bread. But it’s a little denser than your typical sandwich bread.
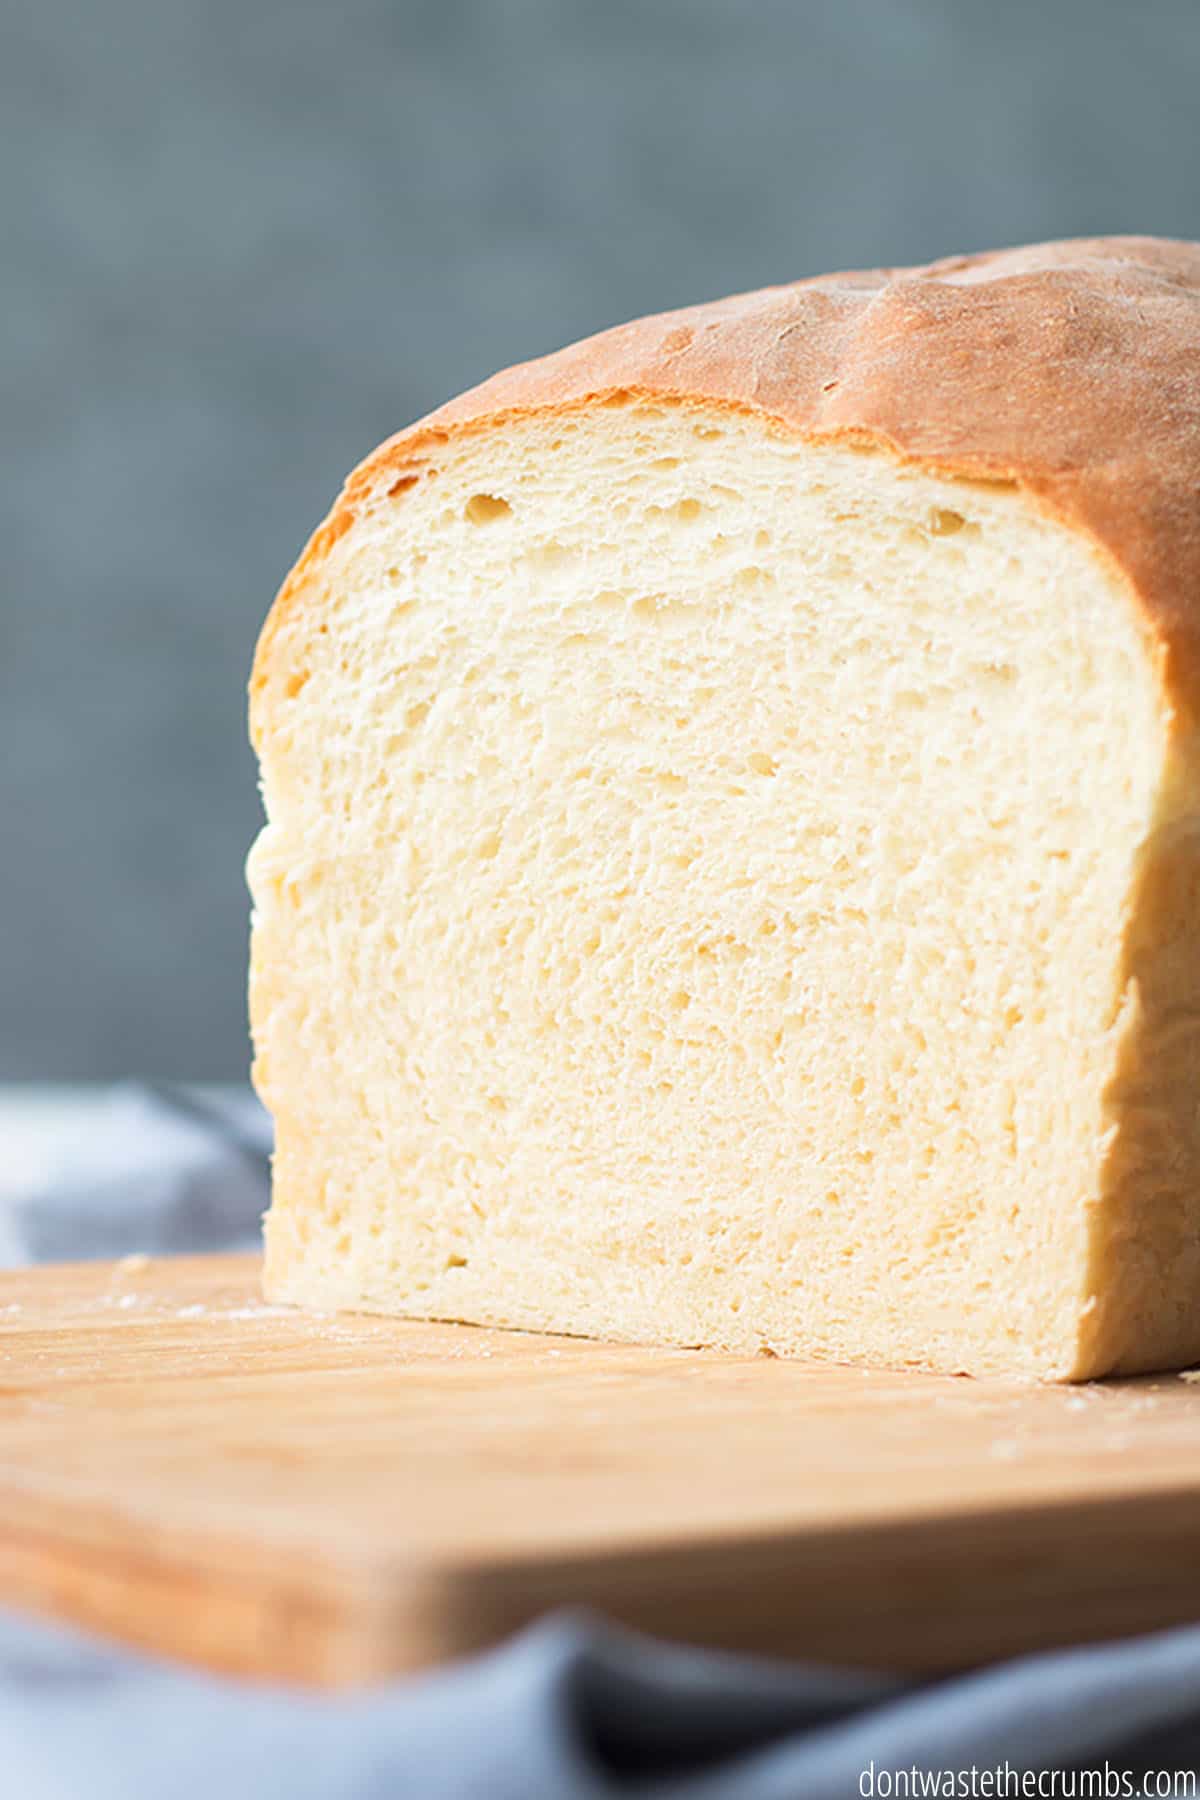
So I took Mr. Crumbs’ original idea, modified it slightly, and created a homemade white sandwich bread recipe that is everything white bread should be:
- White!
- A soft, lightly brown crust (that is worth eating and not cutting off)
- Durable enough to hold hearty sandwich fillings
- Soft enough for a Peanut Butter & Jelly Sandwich to slightly stick to the roof of your mouth
Friends, this is when we ban together and rejoice. YES, we can feed our family healthy food and NO, it doesn’t have to taste like cardboard!
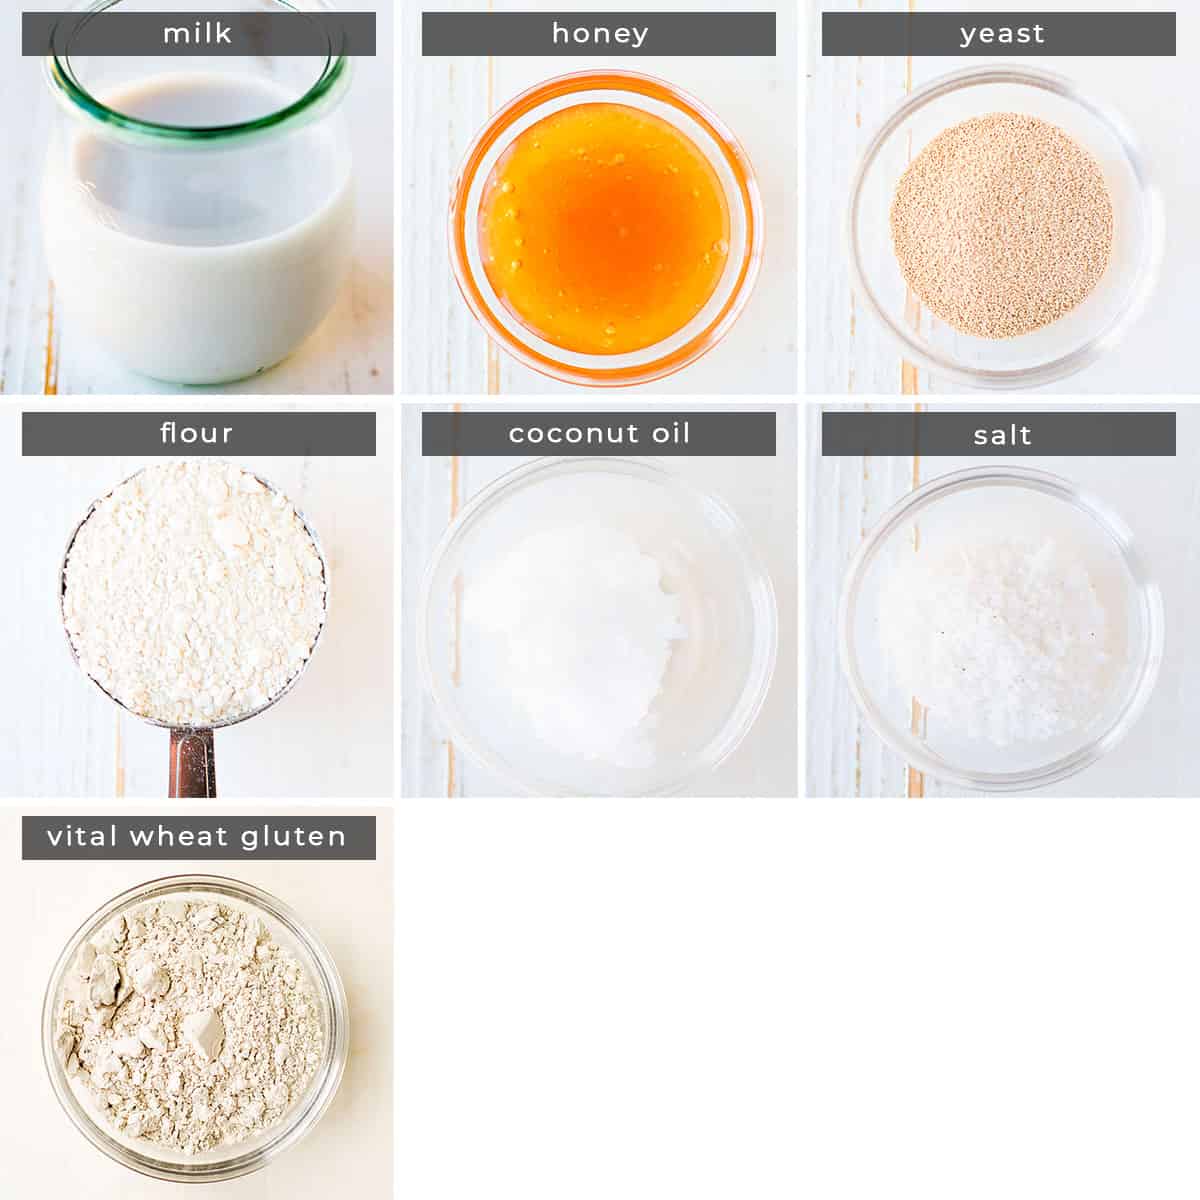
PERFECT SANDWICH BREAD INGREDIENTS
The ingredients list for this white bread recipe is pretty short:
Yeast. I like to use this brand of active dry yeast. As long as the milk, yeast, and honey create bubbles, that means your yeast is active, and you’re all set to make your bread. If you get no bubbles, start over. You may have to use a new packet if your yeast is no longer viable.
Honey. Yeast feeds off sugar, and I like to use honey as a sweetener for sandwich bread.
All Purpose Flour. I prefer to buy high-quality flours, like this one, that are organic and processed as little as possible. Of course, it’s perfectly okay to use any all-purpose flour that you have on hand for this white bread recipe.
WHITE BREAD RECIPE INSTRUCTIONS
Step 1: Whisk together milk, honey, and yeast in a large mixing bowl, or in the bowl of a stand mixer. Allow the yeast to proof until the surface is covered with bubbles. If you don’t see bubbles, your yeast has gone bad.
Step 2: Add 1 cup of flour and either mix by hand with a wooden spoon or on low with a dough hook until the flour is mostly combined.
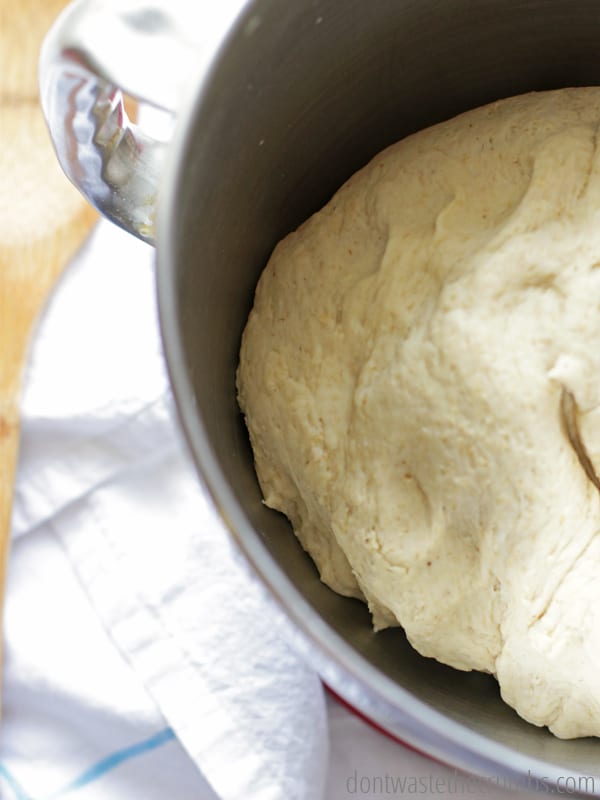
Step 3: Next, add coconut oil, salt, and 3 ½ cups of flour and knead by hand or on medium-low until the dough is soft and smooth. Add additional flour if necessary. I consider the dough done when the bowl is mostly clean and it is tacky to the touch (not sticky).
Step 4: Cover with a towel and place in a warm spot to rise for about an hour.* Meanwhile, butter and flour in a loaf pan.
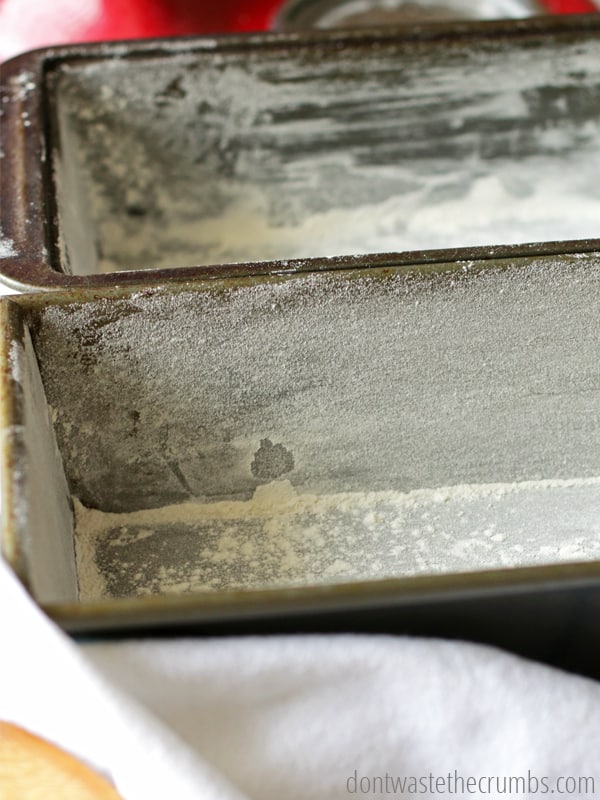
Step 5: When the dough is about double in size, lightly flour the counter or a baking mat. Turn the dough out onto the mat and knead for a few minutes to get rid of the excess air bubbles.
Step 6: Shape the dough and place it seam down in the loaf pan.**
Step 7: Cover the dough with a towel and let it rise for about an hour.*
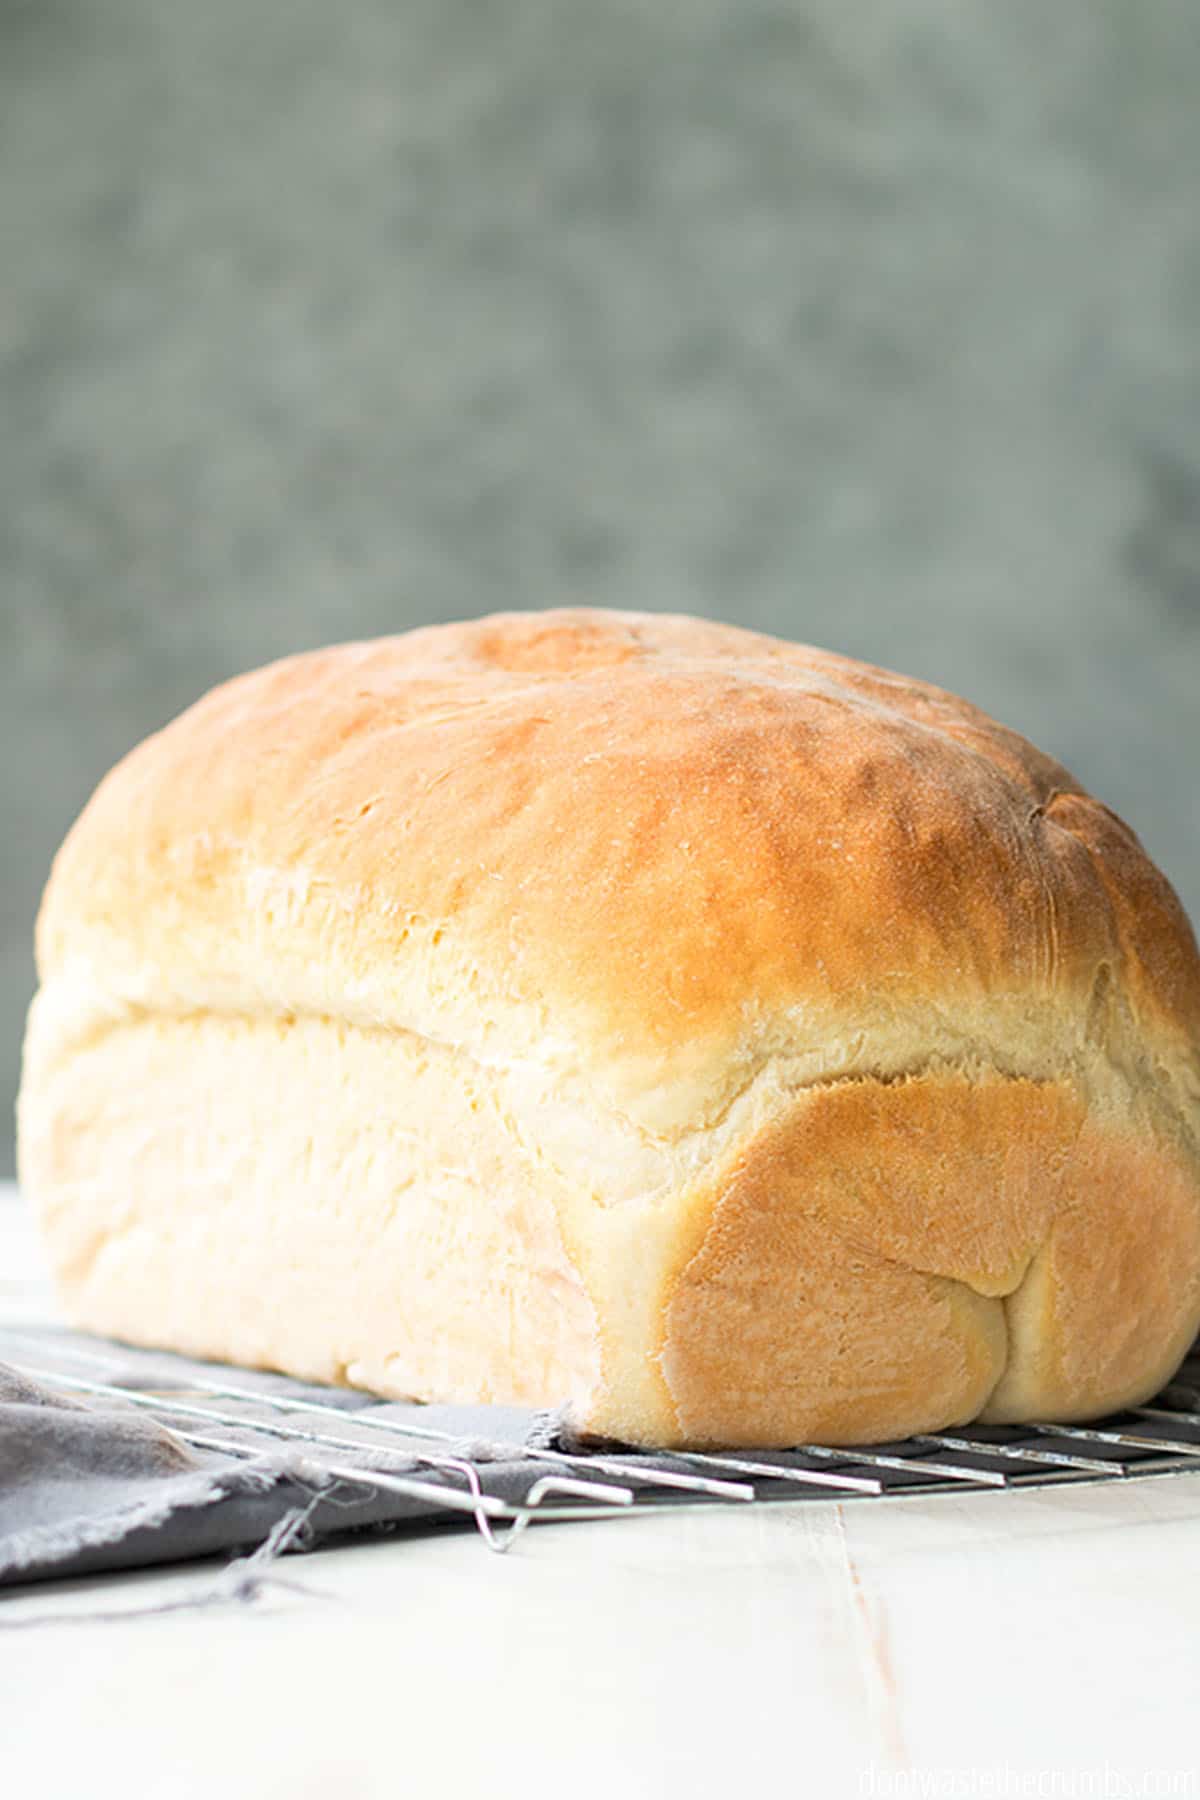
Step 8. Preheat the oven to 350F. Bake the bread for 20-23 minutes, until it is golden brown on top and sounds hollow when tapped on the bottom. You can also test with an instant-read thermometer to see that it has reached an internal temperature of 190F. Let the loaf of bread cool on wire racks before cutting, about 20 minutes.
*The rise time of this recipe is very flexible, but you get a softer crumb (the inside) when it rises for at least an hour. You could shorten the rise time to 30 minutes each, but the dough will be more dense.
** To make two loaves, let the dough rise for 90 minutes the first time. Divide into two loaves before kneading and shaping, and then let it rise for another hour or so.
WHITE SANDWICH BREAD TIPS & TRICKS
Anytime I talk about food, my inner self is actually teaching about food (which kind of explains why I created a course teaching you how to eat real food on a budget!). Making homemade bread is not hard, but, I don’t want you to jump into this recipe without a few bits of advice:
WORKING WITH YEAST IS NOT HARD
This recipe includes proofing the yeast, which is basically making sure your yeast is active. If you mix yeast and water (milk in the case of this recipe) and honey and get bubbles, keep going. If you don’t, get new yeast. (Read more in my Beginner’s Guide to Using Yeast.)
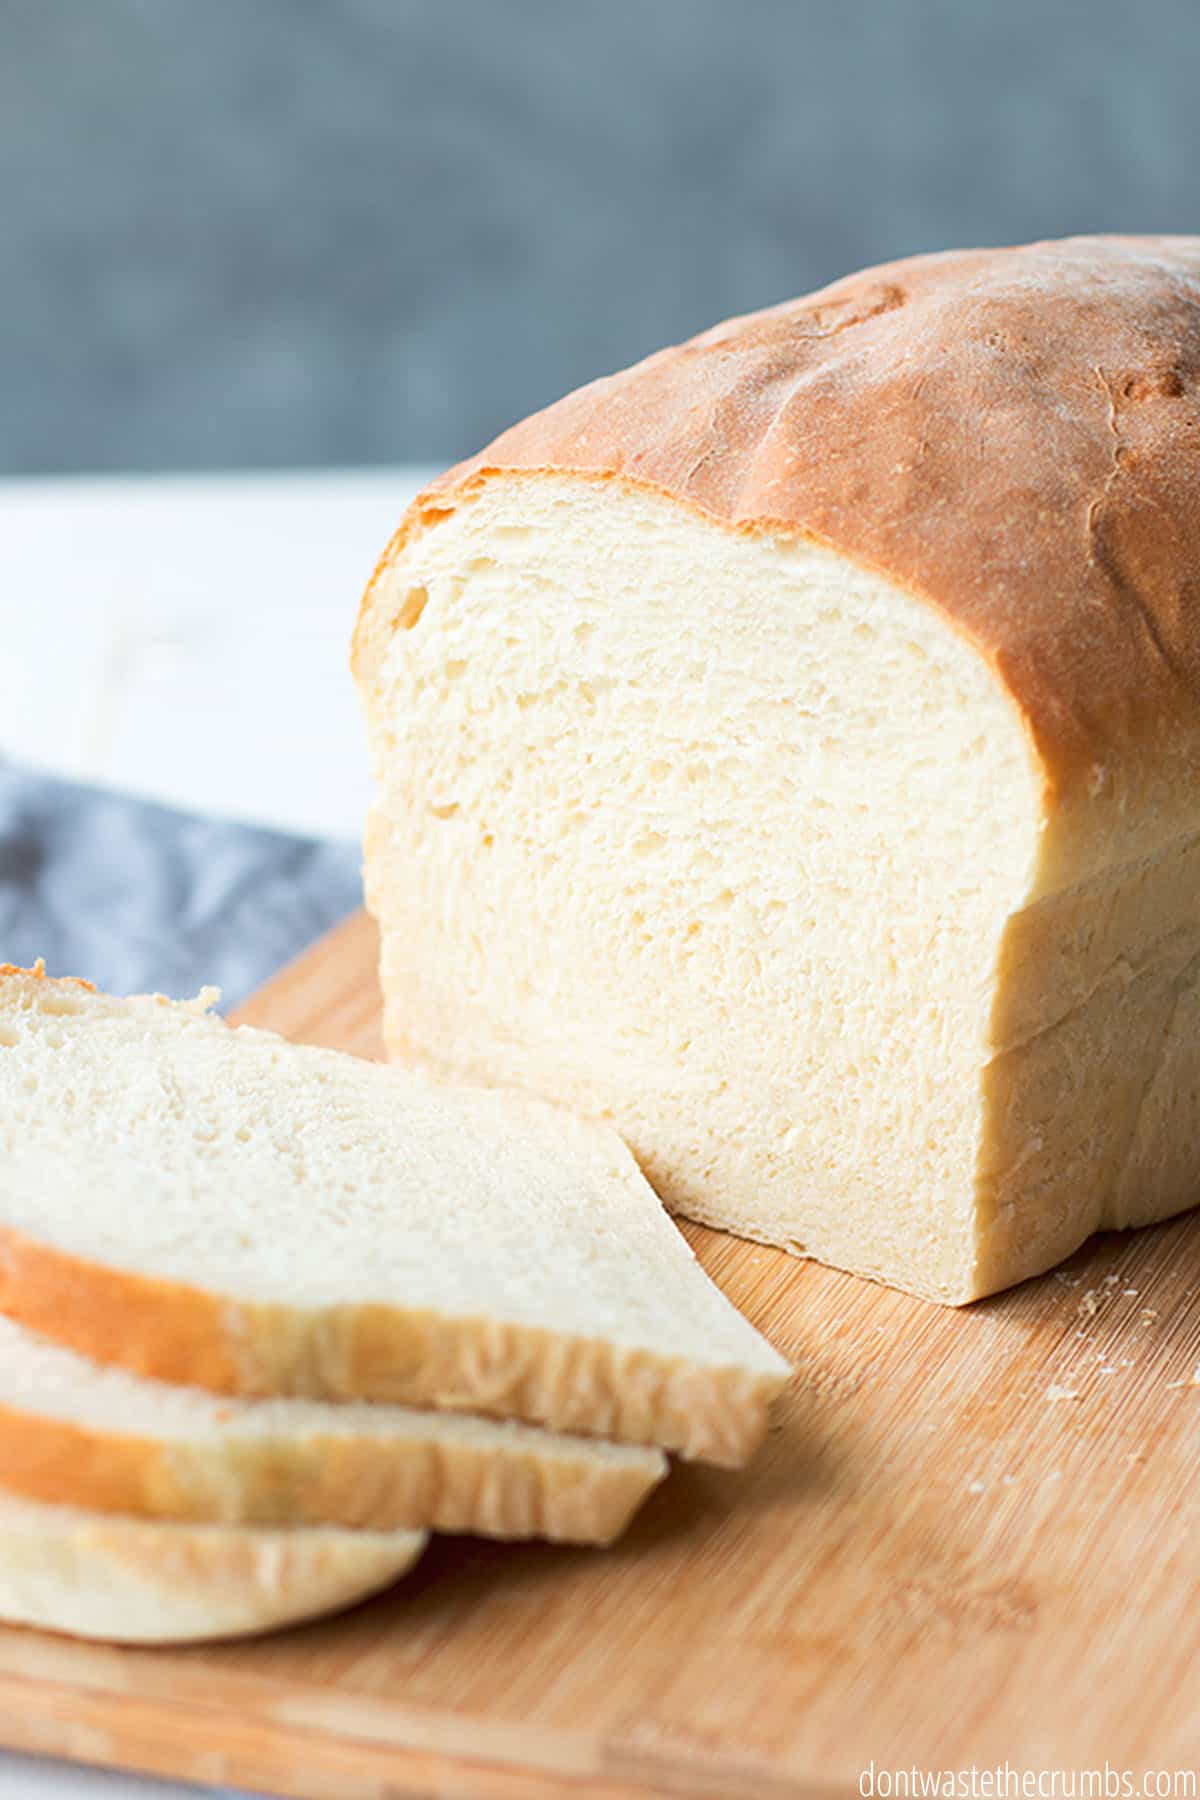
KNEADING BREAD IS NOT HARD EITHER.
The purpose of kneading bread is to work the strands of gluten. Gluten is what makes bread light, fluffy, and sponge-y. This recipe calls for kneading twice. Your mixer can do the first, but you’ll do the second after the first rise.
There is an art to kneading, but if you focus on folding in thirds and pushing the air bubbles out, you’ll be fine. Spreading it on a lightly floured surface is helpful too.
SHAPING THE LOAF OF BREAD IS PROBABLY THE HARDEST PART.
I’m not an expert at shaping, and I’m not pleased with the shape of my loaf in these pictures, BUT know this: even ugly bread tastes good.
My method for shaping bread is, once I’ve kneaded it well enough (usually 3 times the folding in thirds method above), I roll the bread as tightly as I can and then place it in loaf pans. This probably isn’t the professional way, but I’m not a professional so it works for me!
SANDWICH BREAD RECIPE FAQS
What is the best white bread for sandwiches?
This quick and easy homemade white bread recipe is the best, of course! It’s perfect because it’s healthy and so fun to make at home! It has all of the classic ‘fluffiness’ and flavor that you’re looking for in a white sandwich bread – minus the additives, preservatives, and corn syrup of store-bought bread, which we aim to avoid.
Is white bread good for sandwiches?
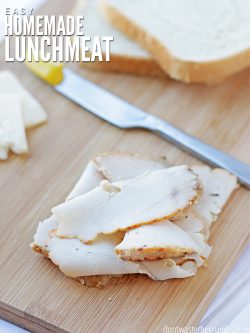
Yes! We love this homemade sandwich bread recipe for PB&J or with our Homemade Lunch Meat! It’s also perfect as toast with butter for breakfast!
Can I use all-purpose flour instead of bread flour?
Yes! This homemade white bread recipe calls for all-purpose flour, which makes for a nice and simple recipe to make at home using the all-purpose flour that you have on hand. I skipped the 100% whole wheat flour in this recipe and still believe I am feeding my family good food.
How do I store sandwich bread?
Cover the bread tightly or put it in a reusable bag. Store bread at room temperature for 2-3 days. You can also freeze baked bread whole or by the slice in a freezer bag. Here’s a tutorial on freezing baked goods.
Can I make this sandwich bread gluten free?
I have not personally tried this recipe gluten free, but you could try to substitute a 1-to-1 gluten free flour like this one. You may need to add 1 tsp. xanthan gum to help your gluten free bread hold together if your flour mix does not already include it.
OTHER FAVORITE BREAD RECIPES
Here are a few other bread recipes that the family loves (and that are easy!).
- No-knead Artisan Bread
- Rosemary Sea Salt Flatbread
- Maple Oatmeal Bread
- Homemade Hamburger Buns
- And, of course, Man Bread
AND A FEW BAKING-HACK POSTS TO HELP YOU IN YOUR BREAD ENDEAVORS:
- How to Make Bread Machine Recipes By Hand
- Ultimate Guide to Freezing Bread
- Ultimate Guide to Troubleshooting Bread
- How to Cook Bread in the Slow Cooker
Fight Inflation Workshop
Sign up for my FREE Fight Inflation Workshop and learn simple strategies to save money, even with rising food costs!Watch How to Make the Best White Sandwich Bread
Easiest White Sandwich Bread Recipe
A perfect fluffy homemade white sandwich bread for toast, sandwiches, and PB&J! This white sandwich bread recipe is so quick & easy to make and doesn’t require a machine. My picky eaters love it!
- Prep Time: 2 hours
- Cook Time: 23 minutes
- Total Time: 2 hours 23 minutes
- Yield: 1 loaf 1x
- Category: Breads
- Method: Bake
- Cuisine: American
Ingredients
- 1 ½ cups milk, warmed to 105-110F
- 2 Tbsp honey
- 1 Tbsp yeast
- 4 – 4 ½ cups all purpose flour, divided, plus more for dusting
- 2 Tbsp coconut oil, melted
- 1 ½ tsp salt
- Vital wheat gluten – 1 Tbsp per cup flour (optional)
Instructions
- Whisk together milk, honey, and yeast in a large mixing bowl, or in the bowl of a stand mixer. Allow the yeast to proof until the surface is covered with bubbles. If you don’t see bubbles, your yeast has gone bad.
- Add 1 cup of flour and either mix by hand or on low until the flour is mostly combined.
- Next, add coconut oil, salt, and 3 ½ cups of flour and knead by hand or on medium-low until the dough is soft and smooth. Add additional flour if necessary. I consider the dough done when the bowl is mostly clean and it is tacky to the touch (not sticky).
- Cover with a towel and place in a warm spot to rise for about an hour.*
- Meanwhile, butter and flour in a loaf pan.
- When the dough is about double in size, lightly flour the counter or a baking mat. Turn the dough out onto the mat and knead for a few minutes to get rid of the excess air bubbles (see my method in the post).
- Shape the dough (again, see the post for my method) and place it seam down in the loaf pan.**
- Cover the dough with a towel and let it rise for about an hour.*
- Preheat the oven to 350F. Bake the bread for 20-23 minutes, until it is golden brown on top and sounds hollow when tapped on the bottom.
- Let it cool on a cooling rack before cutting, about 20 minutes.
Notes
* The rise time of this recipe is very flexible, but you get a softer crumb (the inside) when it rises for at least an hour. You could shorten the rise time to 30 minutes each, but the dough will be more dense.
** To make two loaves, let the dough rise for 90 minutes the first time. Divide into two loaves before kneading and shaping, and then let it rise for another hour or so.
***Vital wheat gluten is optional but helps create a more pliable, softer loaf.
Nutrition
- Serving Size: 1 slice
- Calories: 157






What size loaf does this make? I want to make it in my bread machine.
I just made this today and it’s absolutely delicious! Looking forward to making your homemade lunch meat with this bread as well for many years/lunches to come!
How do you store this bread for just a day or so on the counter? Plastic Wrap? 🥴. Thank you!
Tiffany uses either a gallon ziplock bag, or re-use an old plastic bag that store-bought bread came in. Hope this helps!
I made this yesterday and it was a huge hit here. Everyone loves it. The taste and texture are perfect. It is just what I was looking for. And easy to make. Love it and it is a keeper. Than you~!
Hi Joan! We’re so glad you love this bread. Thanks so much for sharing!
I’m having a hard time getting the bread to cook in the center. I’ve made it twice now And followed the instructions to a t, but both loaves were dough in the center. What can I do to avoid that? I’m still giving it a 5 because the bread that is good taste amazing!
Hello Ginger,
We’re glad to hear you enjoyed the recipe!
There could be a few reasons why your bread had dough in the center. Either the oven was too hot or the bread didn’t fully bake. I highly recommend using an oven thermometer to verify the temperature of the oven. Allow the bread to bake until an internal thermometer reaches 190F or sounds hollow when thumped. You can get more helpful tips from my Ultimate Troubleshooting Guide for Baking Bread post. Hope this helps!
This is a solid recipe, ratio wise! I like to use 2 cups AP flour, 1 cup white, and 1.5 cups bread flour. It’s just my boyfriend and I. We aren’t picky so I can make us about anything 🙂
Awesome Alexandria! Thanks for sharing. 🙂
Thank you so much for this post. Just what I needed to hear. I’ve been baking bread regularly since July and sometimes struggle with feeling like white bread is so bad. I usually do 50% bread flour and 50% whole wheat. The texture is definitely better than 100% whole wheat. Thanks forthe reminder that I don’t need to feel guilty about eating homemade white bread. I’ve tried to find white whole wheat flour because of its milder taste but it’s almost $8 for a 5lb bag and difficult to find. Have you had any success with white whole wheat flour? Thanks
I have no experience with white whole wheat flour but based on my research $8 for 5 Lbs. is a pretty good deal. I did find this for bulk buying though, https://www.webstaurantstore.com/extra-fine-white-whole-wheat-flour-50-lb/104KANSAS.html?utm_source=google&utm_medium=cpc&utm_campaign=GoogleShopping&gclid=CjwKCAiA_eb-BRB2EiwAGBnXXvldKROYw30TU15TS2wcOJgxqj_7s2U4cIBC_Cx2RZwIEb9_g85iFhoCFeoQAvD_BwE
Tiffany-I made this recipe for the first time today. I have been baking home made bread for about 12 years-this not my first rodeo! I cut my teeth on “Artisan Bread in Five Minutes a Day” , graduated to America’s Test Kitchen then other sites and blogs, baker’s books, etc. I was stunned at the amount of flour for one loaf of bread, but I always follow any recipe exactly to the directions first time then I know that if I want to make it a second time what I may want to change to suit my own tastes-if anything. I always weight my flour for consistent results. Well, 24 ozs (!) of flour later( I only used 20 in the mixer and some of the remainder for the board) and all the rest, after first rise I had me one pretty stout wad of dough for my 5×9 bread pan. I thought, “Maybe I should cut that in half and use two 4×8’s”. But Tiffany hadn’t said I needed to do that- and I realized, after reading “The Healthy Bread Fiasco” with her and children…well, like Mother Nature, it wasn’t nice to fool with Mother Tiffany. So I merrily proceeded with the second rise and it was about 3/4ths of an inch above the rim after around 45 minutes-so into the oven it went and I set the timer for 21 minutes.
I did add two cups of boiling water to a hot bread pan under the Bread loaf pan on the bottom rack…and man, oh man did I get oven spring! Now, as they say, I had ‘a situation’. Out came the probe thermometer, 119 degrees- bad. Into the oven for another 21 minutes-another probe-146 degrees-bad. Another 10 minutes (one hour) hit 195 and out she came and onto the cooling rack. This loaf of bread had already earned it’s name-Mother Tiffany’s White Bread Panettone (deconstructed). The candied fruit is used to make a sauce when you make french toast with it! I have photos but don’t how to load them here.
This is Man Bread and it doesn’t want to be put in a can (or a pan). It wants to ‘Man spread’ all over a hot pizza peel, it wants to make crunchy rolls to go with beer and spicy chili and beans at a football tail- gate on a cold autumn day. This is proud American Man Bread and it doesn’t give a “tinker’s dam* who’s offended. You go Mr Crumbs!
In the past twelve years of bread baking I have searched high and low (and baked) endless homemade white bread sandwich loaves and they all, without fail, end up being nothing other that rustic country white bread. That’s not IT. This is “IT”. I want bread that puts Wonder Bread and Sara Lee to shame. I want soft, tender, moist crumb and a nice crust…sturdy, but not too sturdy. This is IT!
It wasn’t until I read the reviews on Man Bread that I realized I could have left the bread in to 220 degrees-amazing. Mine could have gone a little longer, but it was delicious! The loaf is already half gone and it’s left-over meatloaf sandwiches for dinner tonight.
A thousand thank yous, Mother Tiffany. You’re the best.
JohninNCmtns
*this is not a curse. A Tinker repairs cooking pots (back in the day). A tinker’s dam is a dam made of lead used to surround a hole or leak while making a repair (with molten lead) and is a brief, temporary device and hence insignificant. Much the same meaning as “I couldn’t care less”.
Hello John,
Thank you for sharing your experience! We’re so happy you enjoyed it!
Can you use sourdough starter as the yeast in this recipe?
I’ve not done it, Kasey, but here is what I found… Substitute 1 cup of starter for each package of yeast, and then subtract about 1/2 cup of water and 3/4 cup of flour from the recipe to compensate for the water and flour in the starter. … Sourdough needs more rising time than quick yeast.
Tiffany,
I’m new to bread making, and your recipe turned out very well. I can’t eat bread (at this time), but my husband devoured three slices in abut 15 minutes! LOL I have one question: why does the recipe add one cup of flour and mix first? I’m trying to understand the science behind bread making. Thanks!!
Bonnie, honestly I am not 100% sure science isn’t my strong suit. I think it is to get the clumps out but the science behind it might be a better question for google. LOL
Want to know if this recipe is enough dough for a 4×12 bread pan. If not how can I adjust this recipe for enough dough or what size pan should I use for this recipe, is not listed with recipe about as to what size pan you are using…can’t wait to make this bread. Thank you!!
What size loaf pan do you suggest for this?
I use a 9×5 and it rises quite a bit – big, beautiful bread!
I am going to try this bread tomorrow. However, I am a 63 yr old widow living alone & rather new to this way of eating. Hopefully it will help me be healthier while saving money. I am also trying to teach a friend to do the same.
Normally I never post prior to making a recipe, but I am stumped. I just cant find your instructions on putting dough into a loaf pan the “proper” way. I knead the dough, form a log by squashing the dough long and flat enough to fit the pan, let it rise, & then bake it. Your instruction sound more involved than squash, flop, and rise. Please direct me to the right spot for more info. Thank you.