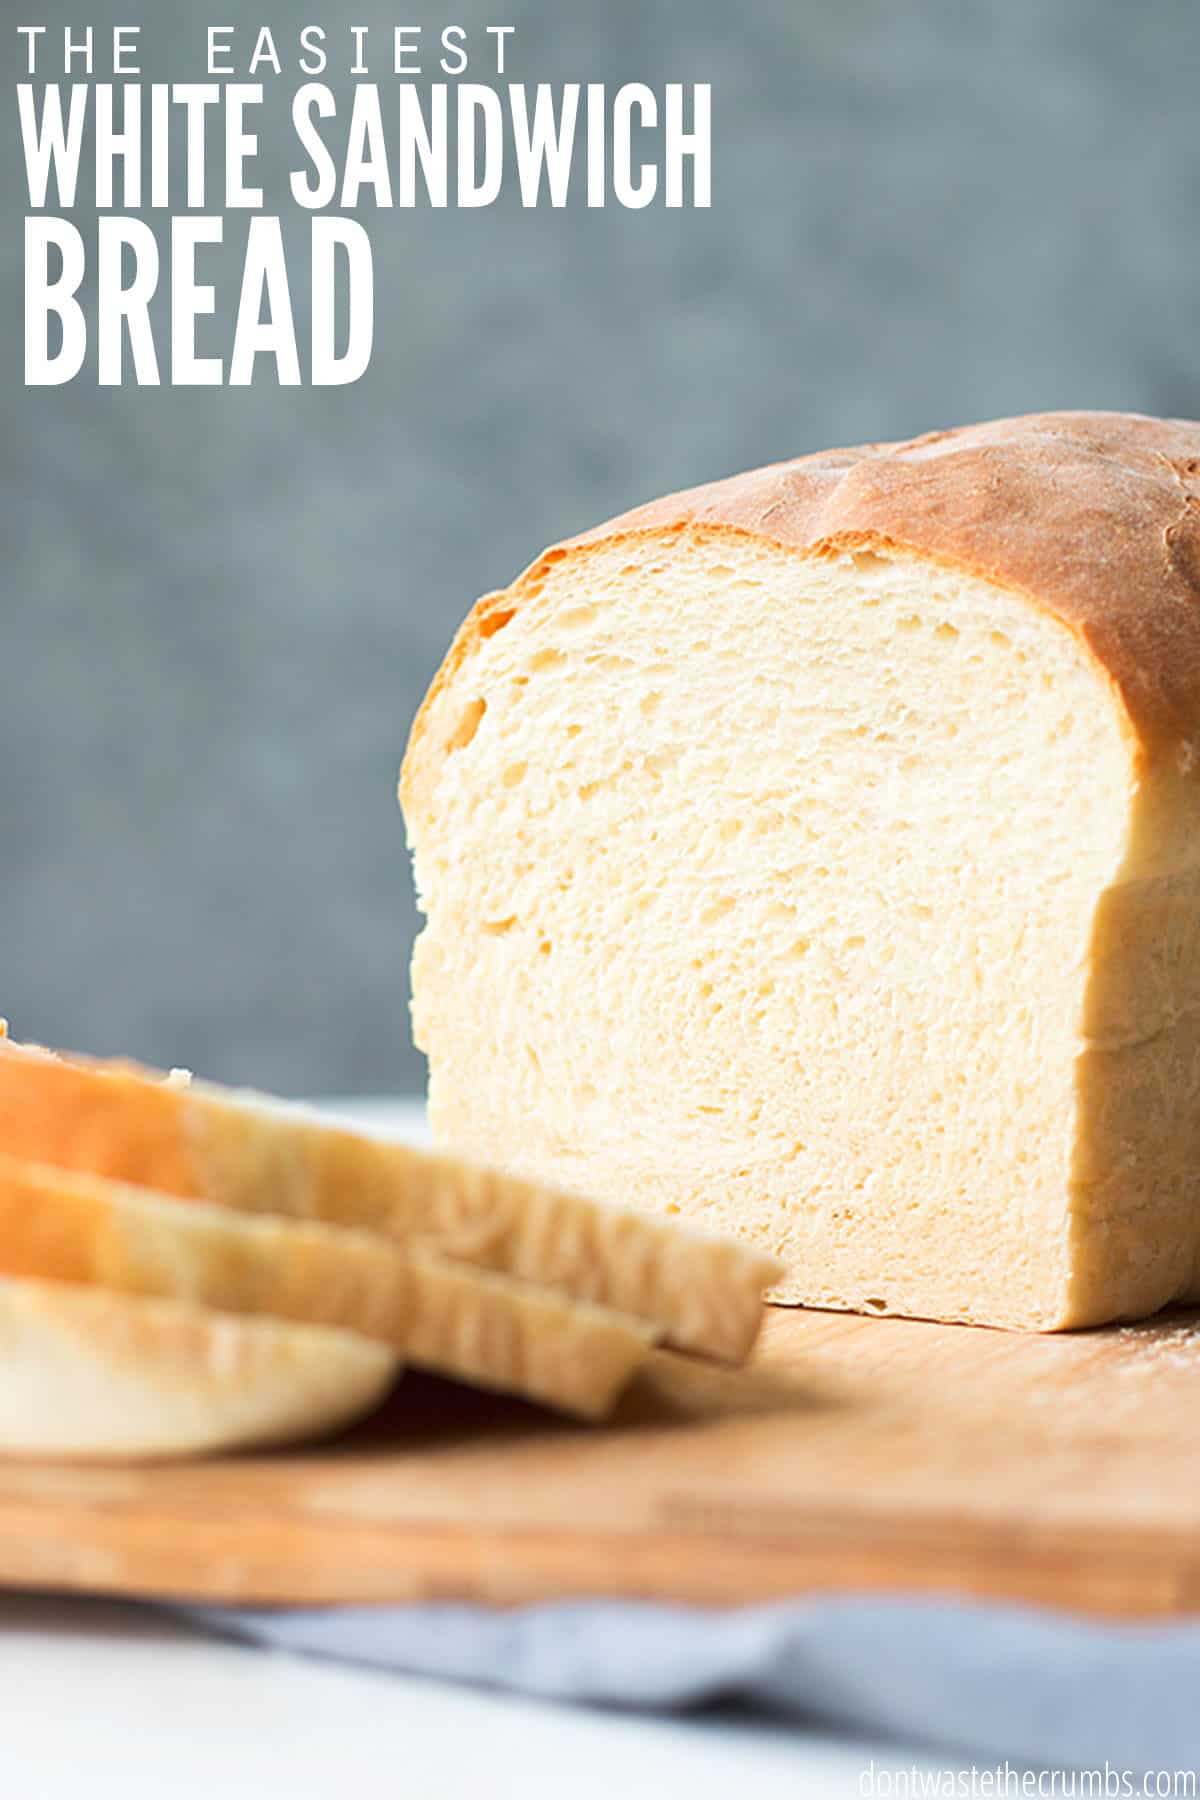
A perfect fluffy homemade white sandwich bread for toast, sandwiches, and PB&J! This white sandwich bread recipe is so quick & easy to make and doesn’t require a machine. My picky eaters love it!
Ever since my husband created his infamous 90 Minute Man Bread, so many readers have emailed saying that Man Bread is the only bread they make, and they use it for nearly all their bread purposes, including sandwich bread. But it’s a little denser than your typical sandwich bread.
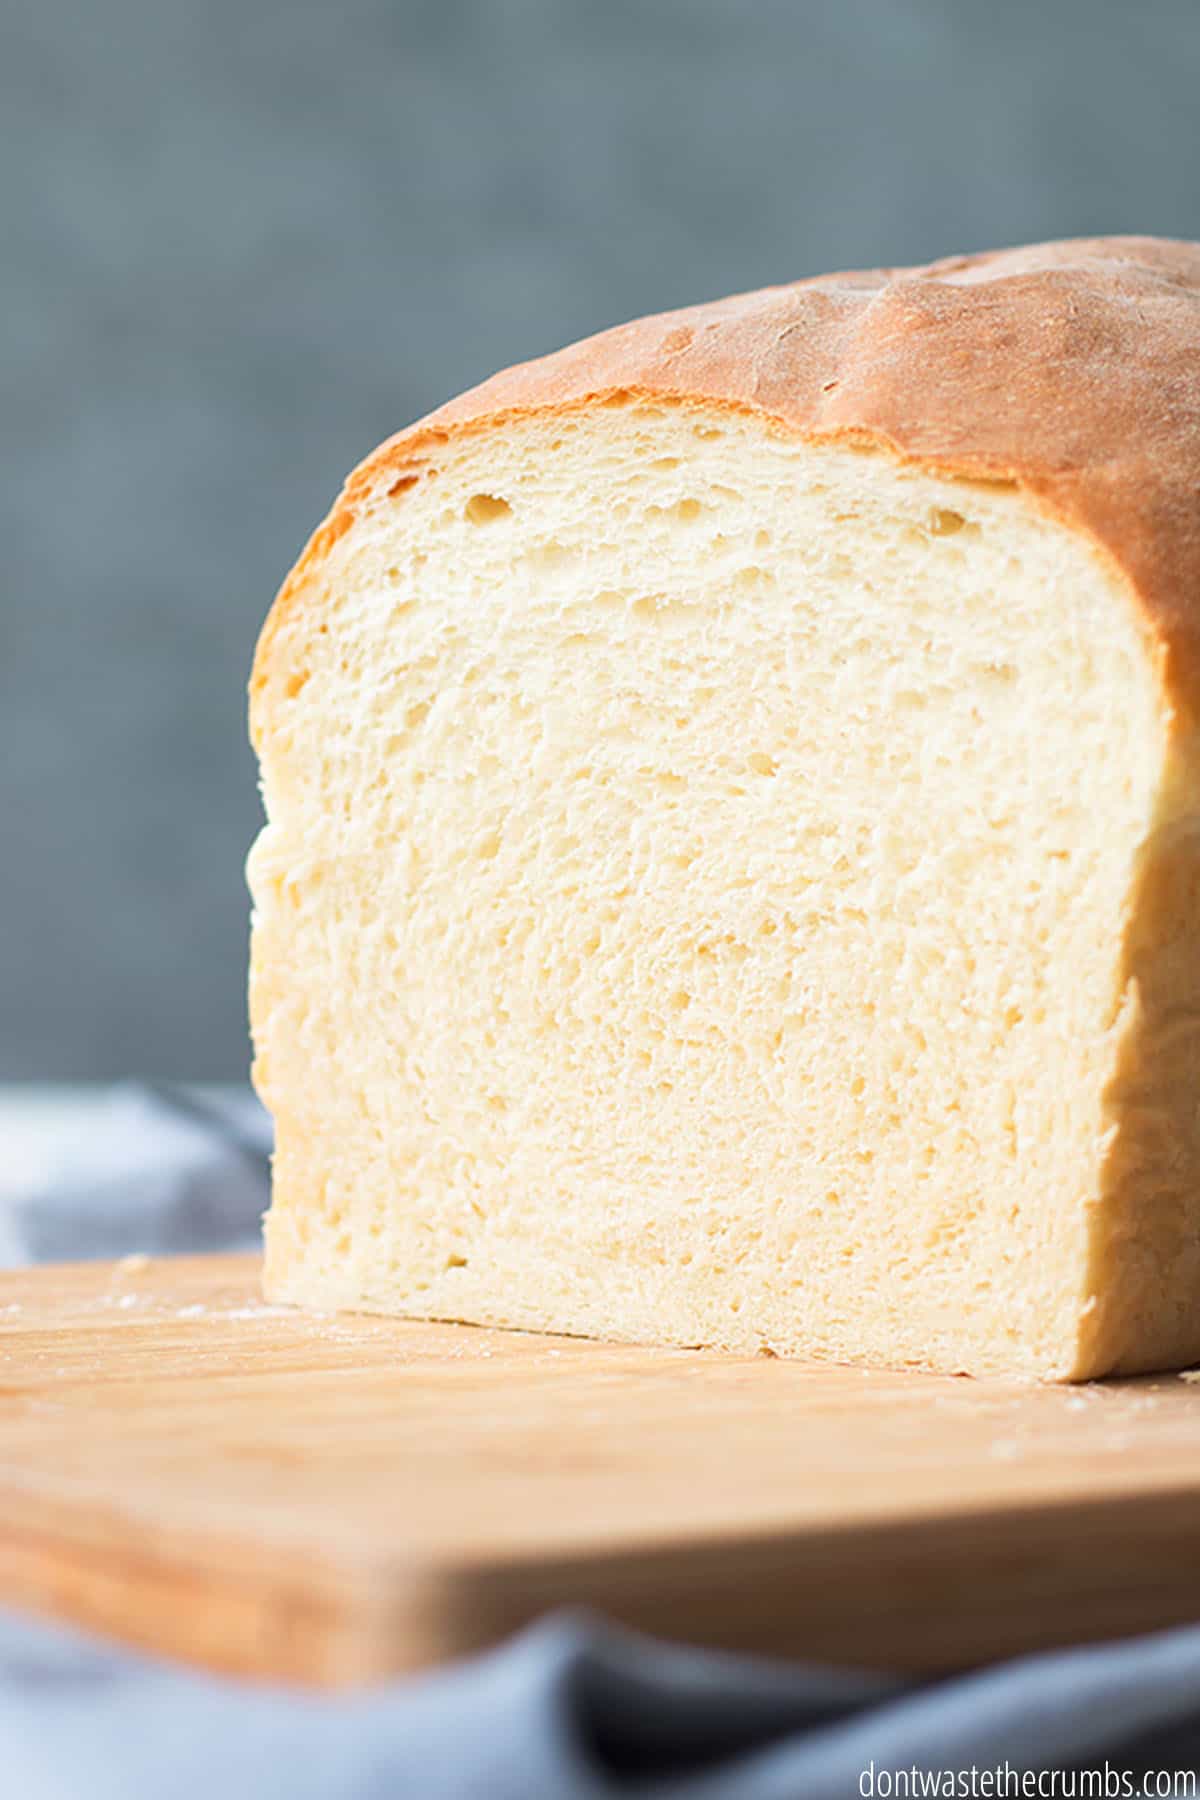
So I took Mr. Crumbs’ original idea, modified it slightly, and created a homemade white sandwich bread recipe that is everything white bread should be:
- White!
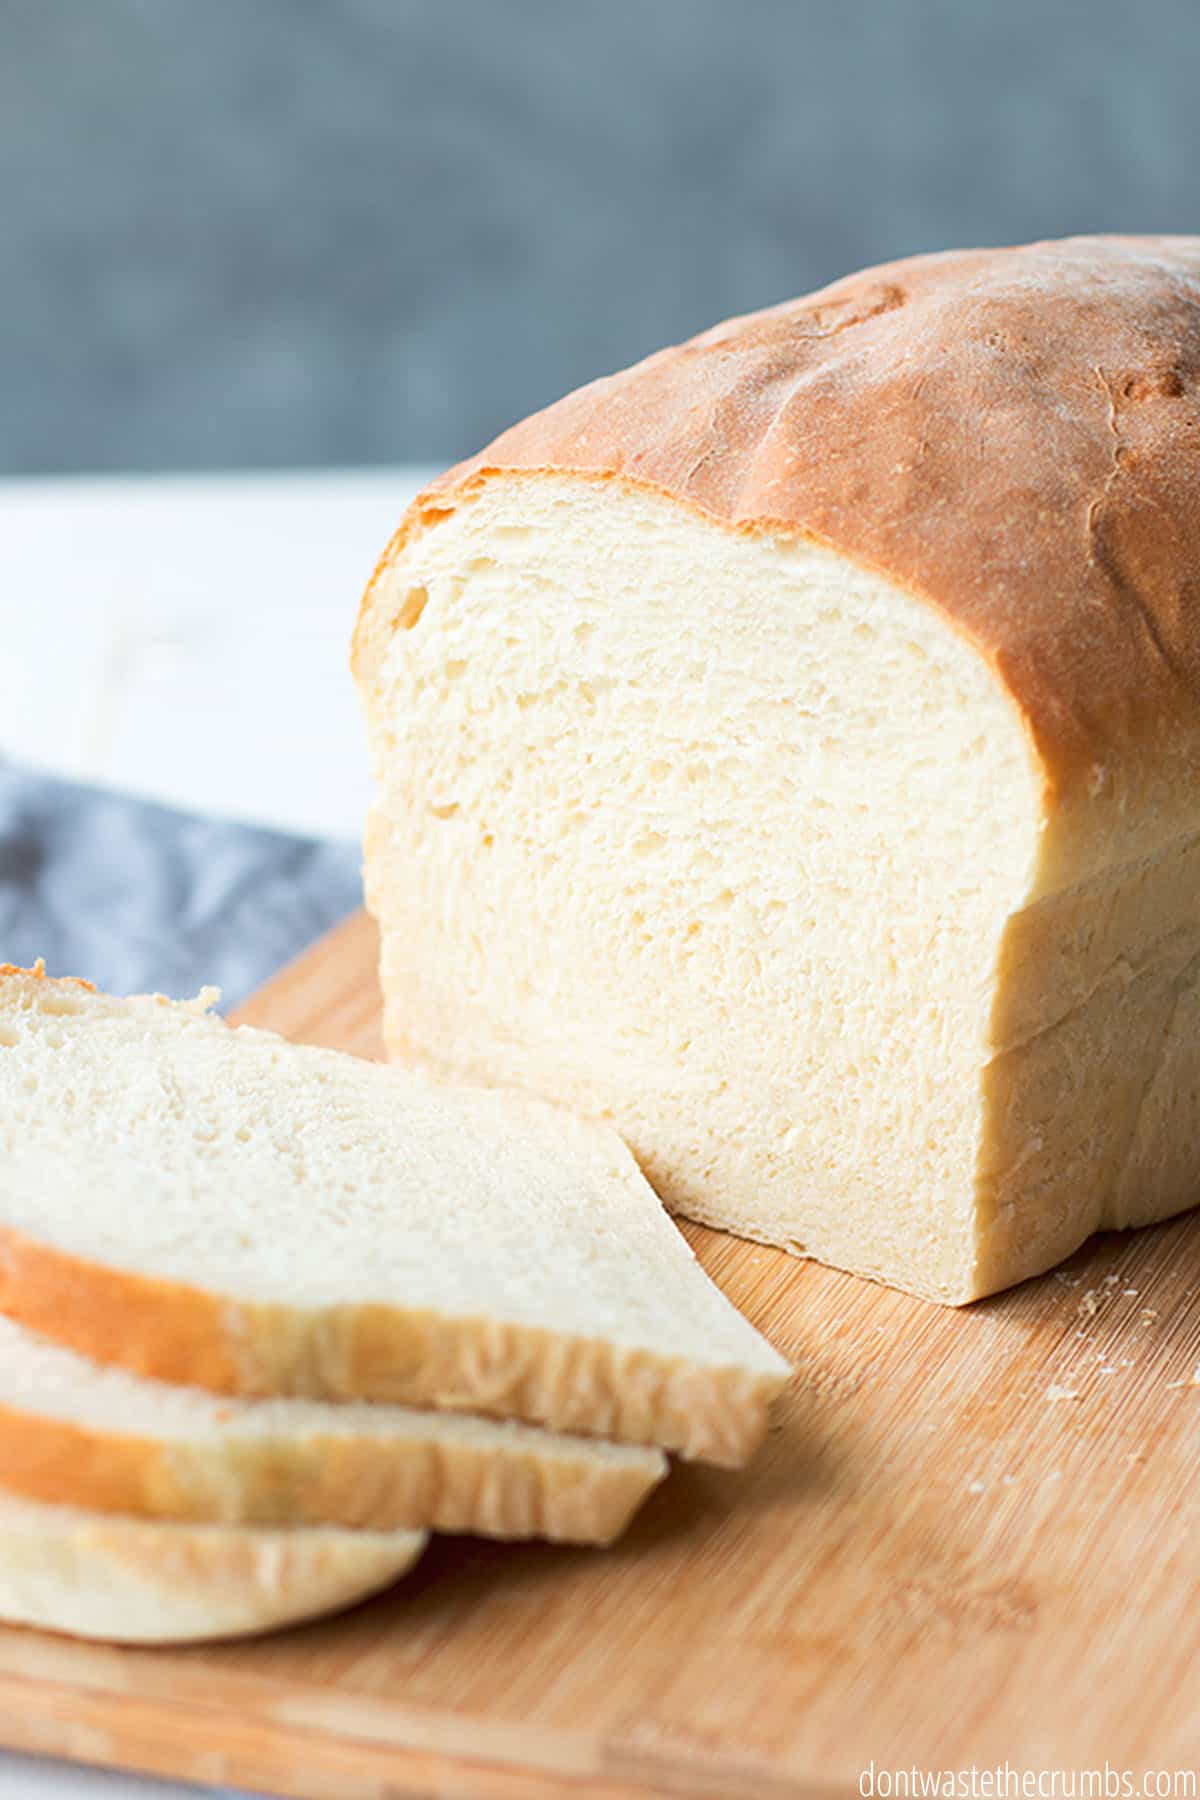
- A soft, lightly brown crust (that is worth eating and not cutting off)
- Durable enough to hold hearty sandwich fillings
- Soft enough for a Peanut Butter & Jelly Sandwich to slightly stick to the roof of your mouth
Friends, this is when we ban together and rejoice. YES, we can feed our family healthy food and NO, it doesn’t have to taste like cardboard!
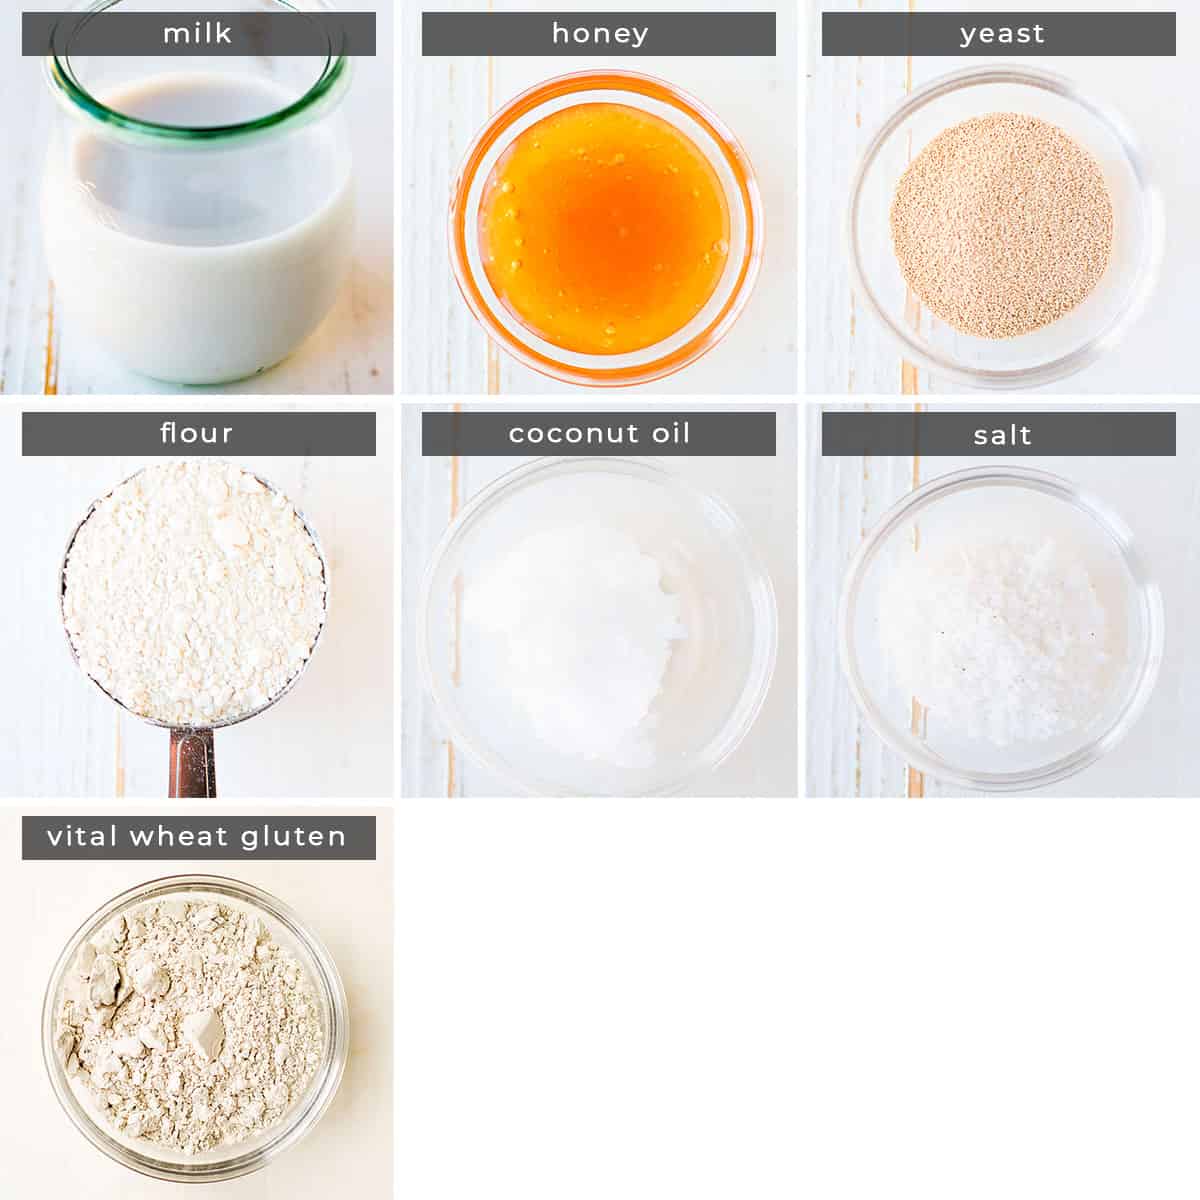
PERFECT SANDWICH BREAD INGREDIENTS
The ingredients list for this white bread recipe is pretty short:
Yeast. I like to use this brand of active dry yeast. As long as the milk, yeast, and honey create bubbles, that means your yeast is active, and you’re all set to make your bread. If you get no bubbles, start over. You may have to use a new packet if your yeast is no longer viable.
Honey. Yeast feeds off sugar, and I like to use honey as a sweetener for sandwich bread.
All Purpose Flour. I prefer to buy high-quality flours, like this one, that are organic and processed as little as possible. Of course, it’s perfectly okay to use any all-purpose flour that you have on hand for this white bread recipe.
WHITE BREAD RECIPE INSTRUCTIONS
Step 1: Whisk together milk, honey, and yeast in a large mixing bowl, or in the bowl of a stand mixer. Allow the yeast to proof until the surface is covered with bubbles. If you don’t see bubbles, your yeast has gone bad.
Step 2: Add 1 cup of flour and either mix by hand with a wooden spoon or on low with a dough hook until the flour is mostly combined.
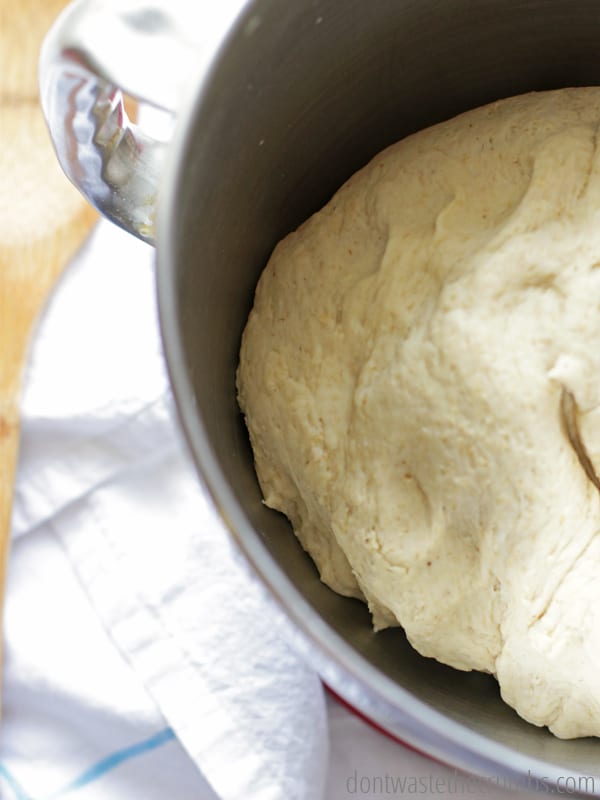
Step 3: Next, add coconut oil, salt, and 3 ½ cups of flour and knead by hand or on medium-low until the dough is soft and smooth. Add additional flour if necessary. I consider the dough done when the bowl is mostly clean and it is tacky to the touch (not sticky).
Step 4: Cover with a towel and place in a warm spot to rise for about an hour.* Meanwhile, butter and flour in a loaf pan.
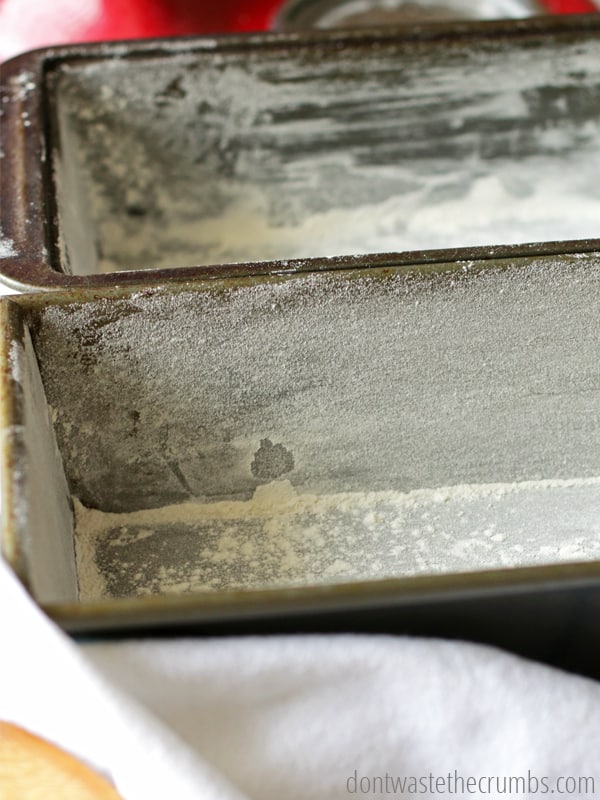
Step 5: When the dough is about double in size, lightly flour the counter or a baking mat. Turn the dough out onto the mat and knead for a few minutes to get rid of the excess air bubbles.
Step 6: Shape the dough and place it seam down in the loaf pan.**
Step 7: Cover the dough with a towel and let it rise for about an hour.*
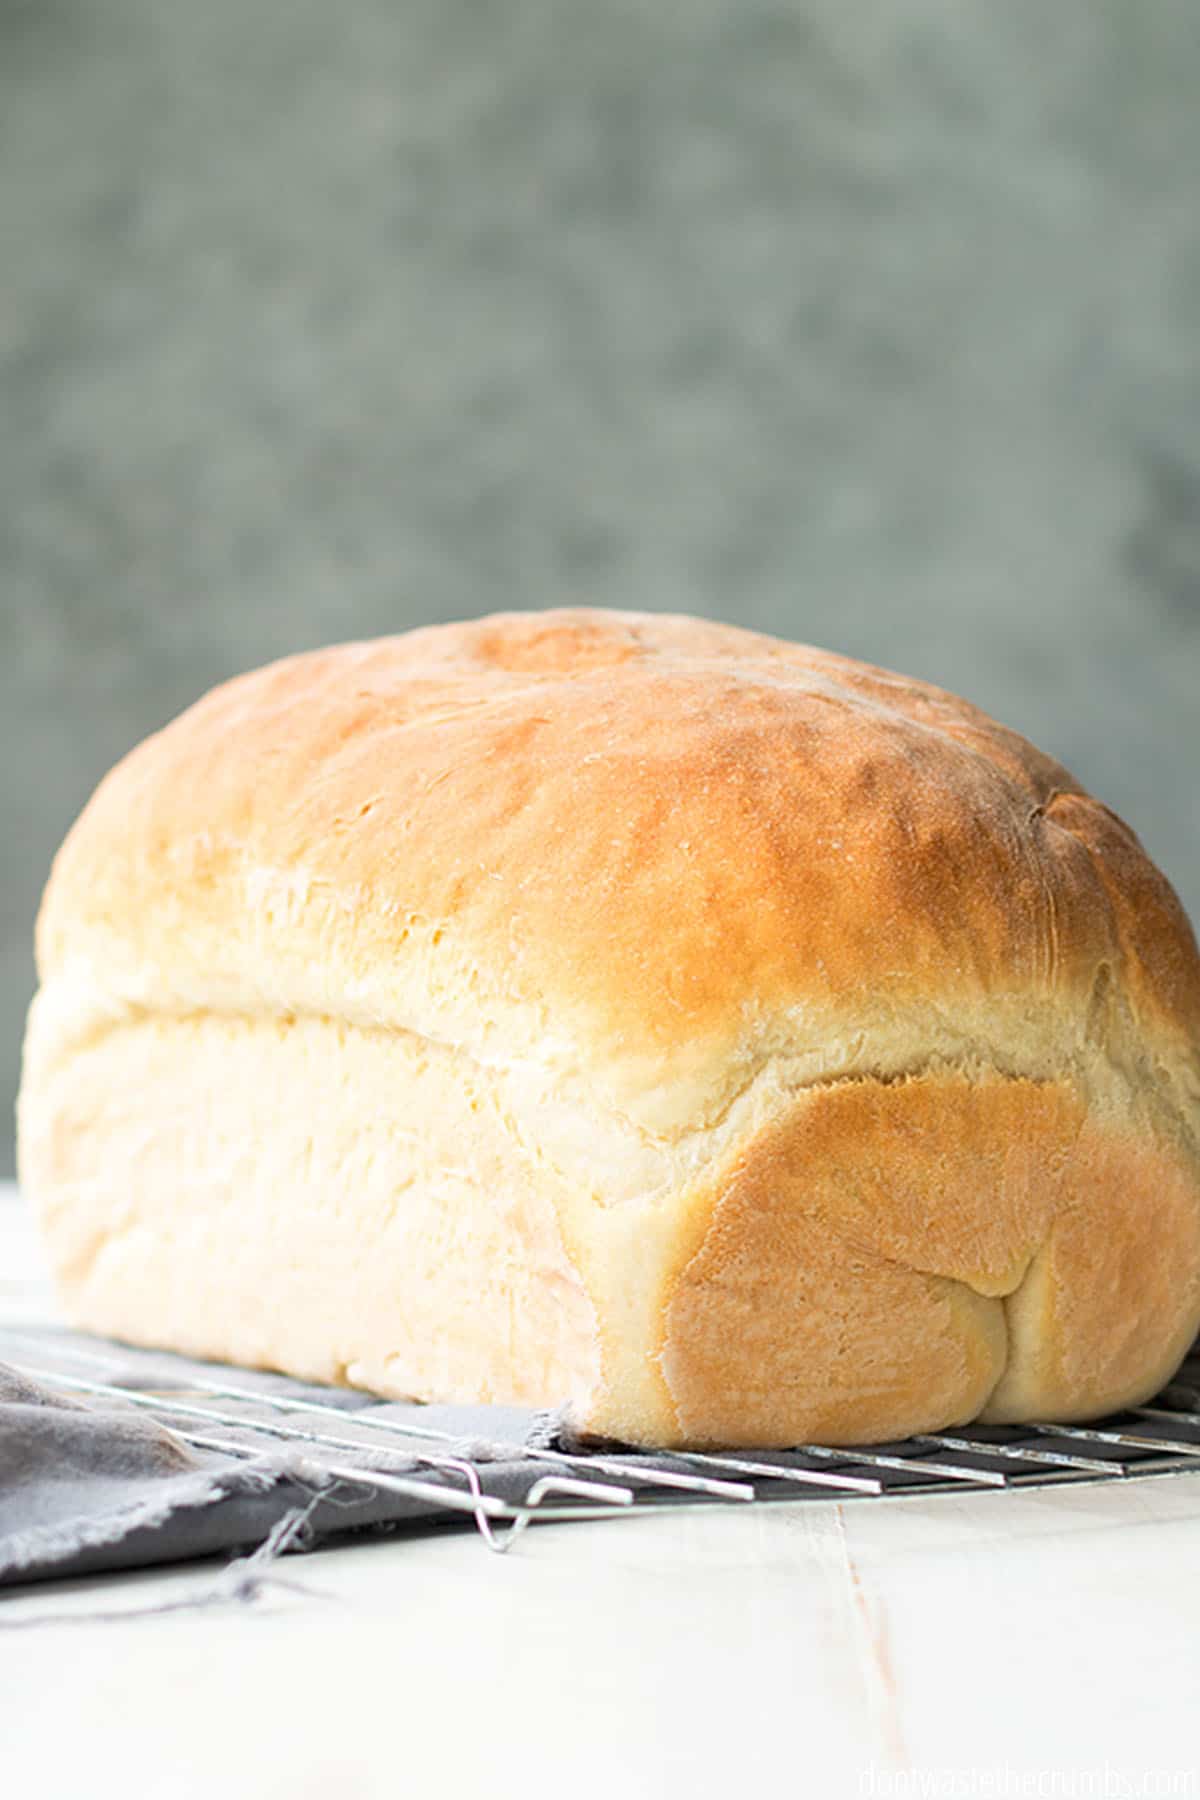
Step 8. Preheat the oven to 350F. Bake the bread for 20-23 minutes, until it is golden brown on top and sounds hollow when tapped on the bottom. You can also test with an instant-read thermometer to see that it has reached an internal temperature of 190F. Let the loaf of bread cool on wire racks before cutting, about 20 minutes.
*The rise time of this recipe is very flexible, but you get a softer crumb (the inside) when it rises for at least an hour. You could shorten the rise time to 30 minutes each, but the dough will be more dense.
** To make two loaves, let the dough rise for 90 minutes the first time. Divide into two loaves before kneading and shaping, and then let it rise for another hour or so.
WHITE SANDWICH BREAD TIPS & TRICKS
Anytime I talk about food, my inner self is actually teaching about food (which kind of explains why I created a course teaching you how to eat real food on a budget!). Making homemade bread is not hard, but, I don’t want you to jump into this recipe without a few bits of advice:
WORKING WITH YEAST IS NOT HARD
This recipe includes proofing the yeast, which is basically making sure your yeast is active. If you mix yeast and water (milk in the case of this recipe) and honey and get bubbles, keep going. If you don’t, get new yeast. (Read more in my Beginner’s Guide to Using Yeast.)
KNEADING BREAD IS NOT HARD EITHER.
The purpose of kneading bread is to work the strands of gluten. Gluten is what makes bread light, fluffy, and sponge-y. This recipe calls for kneading twice. Your mixer can do the first, but you’ll do the second after the first rise.
There is an art to kneading, but if you focus on folding in thirds and pushing the air bubbles out, you’ll be fine. Spreading it on a lightly floured surface is helpful too.
SHAPING THE LOAF OF BREAD IS PROBABLY THE HARDEST PART.
I’m not an expert at shaping, and I’m not pleased with the shape of my loaf in these pictures, BUT know this: even ugly bread tastes good.
My method for shaping bread is, once I’ve kneaded it well enough (usually 3 times the folding in thirds method above), I roll the bread as tightly as I can and then place it in loaf pans. This probably isn’t the professional way, but I’m not a professional so it works for me!
SANDWICH BREAD RECIPE FAQS
What is the best white bread for sandwiches?
This quick and easy homemade white bread recipe is the best, of course! It’s perfect because it’s healthy and so fun to make at home! It has all of the classic ‘fluffiness’ and flavor that you’re looking for in a white sandwich bread – minus the additives, preservatives, and corn syrup of store-bought bread, which we aim to avoid.
Is white bread good for sandwiches?
Yes! We love this homemade sandwich bread recipe for PB&J or with our Homemade Lunch Meat! It’s also perfect as toast with butter for breakfast!
Can I use all-purpose flour instead of bread flour?
Yes! This homemade white bread recipe calls for all-purpose flour, which makes for a nice and simple recipe to make at home using the all-purpose flour that you have on hand. I skipped the 100% whole wheat flour in this recipe and still believe I am feeding my family good food.
How do I store sandwich bread?
Cover the bread tightly or put it in a reusable bag. Store bread at room temperature for 2-3 days. You can also freeze baked bread whole or by the slice in a freezer bag. Here’s a tutorial on freezing baked goods.
Can I make this sandwich bread gluten free?
I have not personally tried this recipe gluten free, but you could try to substitute a 1-to-1 gluten free flour like this one. You may need to add 1 tsp. xanthan gum to help your gluten free bread hold together if your flour mix does not already include it.
OTHER FAVORITE BREAD RECIPES
Here are a few other bread recipes that the family loves (and that are easy!).
- No-knead Artisan Bread
- Rosemary Sea Salt Flatbread
- Maple Oatmeal Bread
- Homemade Hamburger Buns
- And, of course, Man Bread
AND A FEW BAKING-HACK POSTS TO HELP YOU IN YOUR BREAD ENDEAVORS:
- How to Make Bread Machine Recipes By Hand
- Ultimate Guide to Freezing Bread
- Ultimate Guide to Troubleshooting Bread
- How to Cook Bread in the Slow Cooker

Crush Inflation Challenge
Sign up for my FREE Crush Inflation Challenge and learn simple strategies to save money, even with rising food costs!Watch How to Make the Best White Sandwich Bread
Easiest White Sandwich Bread Recipe
A perfect fluffy homemade white sandwich bread for toast, sandwiches, and PB&J! This white sandwich bread recipe is so quick & easy to make and doesn’t require a machine. My picky eaters love it!
- Prep Time: 2 hours
- Cook Time: 23 minutes
- Total Time: 2 hours 23 minutes
- Yield: 1 loaf 1x
- Category: Breads
- Method: Bake
- Cuisine: American
Ingredients
- 1 ½ cups milk, warmed to 105-110F
- 2 Tbsp honey
- 1 Tbsp yeast
- 4 – 4 ½ cups all purpose flour, divided, plus more for dusting
- 2 Tbsp coconut oil, melted
- 1 ½ tsp salt
- Vital wheat gluten – 1 Tbsp per cup flour (optional)
Instructions
- Whisk together milk, honey, and yeast in a large mixing bowl, or in the bowl of a stand mixer. Allow the yeast to proof until the surface is covered with bubbles. If you don’t see bubbles, your yeast has gone bad.
- Add 1 cup of flour and either mix by hand or on low until the flour is mostly combined.
- Next, add coconut oil, salt, and 3 ½ cups of flour and knead by hand or on medium-low until the dough is soft and smooth. Add additional flour if necessary. I consider the dough done when the bowl is mostly clean and it is tacky to the touch (not sticky).
- Cover with a towel and place in a warm spot to rise for about an hour.*
- Meanwhile, butter and flour in a loaf pan.
- When the dough is about double in size, lightly flour the counter or a baking mat. Turn the dough out onto the mat and knead for a few minutes to get rid of the excess air bubbles (see my method in the post).
- Shape the dough (again, see the post for my method) and place it seam down in the loaf pan.**
- Cover the dough with a towel and let it rise for about an hour.*
- Preheat the oven to 350F. Bake the bread for 20-23 minutes, until it is golden brown on top and sounds hollow when tapped on the bottom.
- Let it cool on a cooling rack before cutting, about 20 minutes.
Notes
* The rise time of this recipe is very flexible, but you get a softer crumb (the inside) when it rises for at least an hour. You could shorten the rise time to 30 minutes each, but the dough will be more dense.
** To make two loaves, let the dough rise for 90 minutes the first time. Divide into two loaves before kneading and shaping, and then let it rise for another hour or so.
***Vital wheat gluten is optional but helps create a more pliable, softer loaf.
Nutrition
- Serving Size: 1 slice
- Calories: 157




Thanks for sharing this recipe, I’m going to try it tonight and then put the dough in the fridge while I sleep. It should rise nice and slow while I sleep. I sure hope this raises nice and high yesterday’s bread didn’t and was much more than 2 inches high. I think taht was because the recipe had me let it rise for two hours and punch it twice before even adding to the pan. Too much yeast gasses coming out, maybe?
O.o Ticked off as that was a long wait to be… disappointed.
Was the bread recipe you made yesterday this same recipe? Or a different one?
I have made 12 loaves in the last two weeks because the family keeps devouring it. It’s been perfect each time. I’ve been using oat milk, canola instead of coconut oil, and sugar instead of honey (since I didn’t have any). I’ve made some with all purpose flour, some with bread flour and some with half and half bread flour and white whole wheat and it’s all been good. I’ve been making two loaves, using the longer rise time. It slices so well.
Thank you so much. I have been wishing for a sandwich bread recipe since I found out I can’t eat corn or soy. Came out beautifully the first try, but it did take 3 hours not 90 minutes.
I appreciate the feedback, Marianne!
I made this and used two cups of white bread flour and two cups of spelt flour instead of 4.5 cups of AP flour. I substituted butter for the coconut oil and it turned out perfectly. It rose a lot during the second rising so I left it in the oven an extra ten minutes. Next time I might add a bit more honey to counteract the spelt taste but that’s it.
I’m so glad you liked this loaf, Nancy!
Can I say that I am pleasantly surprised. I bake bread because my dad never liked store bought bread. Both my dad and mom baked traditional Belizean Creole Bread, and so do I. Creole Bread is made with coconut oil and milk. But I’ve never made sandwich bread. I followed your recipe exactly, and it was quite an adventure because I’ve never gone from wet to dry. I usually add the wet ingredients to the flour. I recognized the tacky feeling, as opposed to the dry or sticky feeling of the dough. I was concerned that the dough would smell yeasty with so much resting but it smelled great. The loaf was huge. It didn’t have a perfect bread loaf shape, but it still didn’t have a yeasty smell. And finally, the taste. Wow! I liked it. Not as flavorful as our recipe but much more flavorful than sandwich bread. Thanks for sharing. I learned another way to prepare dough. I will try it again and hopefully perfect the shape of the loaf.
Oh my, I’m so glad you liked this Aivez!!
Whole wheat bread requires a lot more sugar to make it palatable. Whole wheat flour is also thirstier than white flour, so it will need a little more liquid than what you would use for white bread to prevent it from tasting dry. Try 1c water, 2t dry yeast, 1/4c honey (could sub in some molasses if you like the flavor), 405g whole wheat bread flour, 2T butter, 1t salt.
When it comes to sandwiches, I could go either way on white vs whole wheat. But when it comes to toast, it’s whole wheat all the way (assuming there’s no rye bread, of course). If not toast for breakfast, try it for grilled cheese or other toasted sandwiches.
Also, King Arthur has a white whole wheat flour you could try.
I just tried this recipe, and I wasn’t 100% happy with the taste. It had a bit too much of a yeasty quality for my taste and it didn’t rise as much as I expected. Normally I make a bread recipe with 4 cups of flour that calls for 2 tsp of yeast. This one was 4.5 cups flour and 1 tbsp (3 tsp) yeast. So maybe it was just more than I am used to. But I also use my bread machine on the dough cycle. So what I did in this case was I let the bread machine do it’s knead and rise for 1.5 hrs and then I took it out, kneaded it a couple times and then rolled it and let it ride in a warm kitchen for 1 hour. With my usual bread recipe I do not knead after it comes out of the machine, I handle it as little as possible, letting it kind of stretch out into a longer loaf shape in my hands, but not kneading. Then I lay it on a pan and let it, rise for 45 min. So maybe I need to try that method with this recipe. My other recipe has less yeast and less rise time and it usually gets huge and doesn’t have the over powering yeast taste. The loaf I got from this recipe is ok, but too dense and too yeasty. I might try again but without the handling after the bread machine. Also I might reduce the yeast. As a general rule I usually use 1/2 tsp per cup of flour.
Not a bad recipe, but the quantity of dough is insufficient for making in a standard 5 qt stand mixer
I’m not sure what you mean by “insufficient.” I have a standard 5 qt mixer and can make this recipe just fine… ?
Making a tight roll and tucking the ends IS the way professionals do it! Great recipe!
Thanks Shannon!
I’ve read somewhere that sourdough bread is really healthy for you, since the yeast helps with the bacteria in your gut, and aids in smooth digestion. I believe strongly that quality ingredients and recipes made from scratch are what nature intended us all to have! That being said, I wonder, How would I make sourdough slices that look and feel like the “Texas toast” slices that my American dad used to buy for me when I lived in Baltimore?
1. I’d like them to be thick and soft.
2. I’d like them to be able to fit all the way in the toaster so I won’t have to turn them over.
I usually buy Old Town Sourdough bread, which I’m not sure if that’s made in Seattle or San Francisco. They’re not thick slices, but standard thickness, and unfortunately, I have to sometimes turn them over and toast them a second time. On a side note, did you say you live in California now? If so, which part of California do you live in?
I love this bread! It’s very similar to the one my mom made with a little whole wheat flour in the mix but no milk. Her recipe made 5 loaves. Your recipe is simple and perfect! I use a powdered whole milk (Nestle Nido Fortificada) and hot water. Then I use my thermometer to make sure it’s not too hot before adding my yeast. I don’t like heating up milk in a pan, just makes more dishes for me to wash 🤪 And if my center comes out a little doughy, it’s sliced and toasted and smothered in butter and honey😋
I love your remedy for “failed” pieces – sounds delicious!!
If I wanted to make extra and freeze it, should I do it between the first and second rise? Or just bake it, let it cool, then freeze? I live in Southern California and rarely turn my oven on (if I can help it) because its always so warm here! I would love to be able to make extra and stock up for the month.
Hi Elizabeth! It’s best to bake it all, let it cool, slice then freeze. I know what you mean about the warm temps!
Can you substitute almond milk for regular milk? We have cows milk allergies in our house
Yes!
I have made this bread a few times and it is very easy to make wanted something a little different for my other halfs sandwiches for his work lunch so I decided to use his father’s day gift in this bread I used mikes hot honey it’s chilli infused honey and it came out great with a nice hint of spice!
Yum! That sounds great.
Hi! This was my first attempted at bread…and it was a bit daunting. I followed the directions to a T, and I baked it for 23 minutes at 350 degrees. The top was golden, the bottom sounded like a drum. I let it cool 30 minutes and began slicing. The first slice was perfect, but the second revealed a large hole in the center of the loaf, filled with sticky dough. I tried putting it back in the oven for 15 minutes, but the doughy hole remains. What did I do wrong???
Welcome to baking bread Elizabeth! It can be any numerous factors, but odds are it either didn’t bake long enough, or the oven temperature isn’t a true 350. The milk in this recipe will cause the bread to look more done than it actually is in the center. You want the internal temperature of the bread to be 190-200F. Once you cool and slice, you can’t really go back and re-bake (the baking process has ended at that point). I would use an oven thermometer and use a meat thermometer to check the temperature of the bread. If that doesn’t work, let me know!
Would you be so kind to let me know what is the size of the loaf pan you used?
I have two, so it’s either an 8″x4″ pan, or a 9″x5″. 🙂
It worked! Finally found that White Bread! Thank-you! I added an egg in place of lecithin. Going to try this with Whole Wheat tomorrow!
Let us know how the whole wheat version turns out Krystal!
Ok I may have figured it out. I left the house for an errrand the dough had its first rise for at least 90 min maybe longer. I bet I needed to split the dough, I thought it looked like too much in pan but didn’t halve it….
You’re commenting faster than I can reply, LOL!! A long rise (first or second) will ruin bread, usually as it bakes. As for the milk, it shouldn’t matter!!
I did use 1% milk- would that impact it? Thanks!
Hi there! My bread turned out beautifully on top but wasn’t cooked in the center. Any idea what I might be doing wrong? Thanks!