
Making homemade bread crumbs is so quick and easy! Use whatever bread you have, enjoy the delicious crispy flavor, and save money.

With all the bread we make in our house (Man Bread, No-Knead Artisan Bread, Rosemary Olive Oil Bread…just to name a few), it drives me absolutely insane to have to buy breadcrumbs.
In case you’re wondering why I would BUY them when it’s so easy to make homemade Italian bread crumbs, well, I have two answers for you.
First, we very rarely ever have leftover bread. Every single person in the family loves the ends AND the middles. I mean, they’re homemade and slathered in butter – how can you go wrong?
Second, I’ve never actually sat down and figured out how to make homemade breadcrumbs before. I used to think it took too much time and too much effort.
But I was so wrong!
WHY MAKE HOMEMADE BREAD CRUMBS
Making homemade bread crumbs is a lot like making Homemade Granola – a few prep steps and then setting the timer while the oven does the work. And bread crumbs are even easier, because if you start with harder bread, you may not even need the oven.
It’s SO incredibly easy, and I’m so happy to say that I’m never going to buy breadcrumbs again!
The more I can make at home from scratch (when it’s worth my time!), the more I can save on my grocery budget. Just like I teach in my eCourse Grocery Budget Bootcamp. Enrollment is currently closed, but you can join my FREE 5-day Crush Inflation Challenge and start saving money on groceries tomorrow!

TWO MYTHS ABOUT MAKING SEASONED BREADCRUMBS
1. YOU NEED DAY-OLD BREAD.
Some breadcrumbs recipes start off by saying you need bread that’s at least a day old. That’s not true. You can use fresh bread to make breadcrumbs, and in fact, that’s the only way I do it because my family will eat every last slice!
2. YOU NEED STALE BREAD.
Some breadcrumbs recipes also say to start with stale bread. That’s not true either. Using stale bread to make breadcrumbs will give you stale breadcrumbs. They simply won’t taste good. Fresh bread crumbs are so much better!
How then can you make homemade bread crumbs using whatever bread you happen to have, whether it’s fresh, seasoned, or plain? Let me show you.

HOMEMADE ITALIAN BREAD CRUMBS RECIPE INGREDIENTS
BREAD
First, you need bread.
You can use any kind of bread you have to make homemade breadcrumbs. Fresh bread slices, a few days old bread, hamburger buns, hot dog buns, whole wheat loaves you’ve pulled frozen from the freezer… it all works. What you see pictured is leftover slices of baguette from Mr. Crumbs’ birthday party (it was Greek-themed, and we had Greek bruschetta).
Personally, I keep every last ounce of bread we have in a freezer-safe gallon bag in the freezer. Anytime I have a stray slice (rare!), a Biscuit, or a single Homemade Hamburger Bun left over, it goes into the plastic bag. Even Homemade Tortillas and not-quite-fresh English muffins get tossed in there!
BUTTER
All good things start with butter really, so the fact that we’re using butter to help toast our bread here (and add flavor) shouldn’t come as a surprise.
ITALIAN SEASONING
This is what gives our breadcrumbs the “seasoning” flavor that you find on store shelves, but you can omit this if you just want plain breadcrumbs too.
I’ve included my own recipe for homemade Italian breadcrumb seasoning in the recipe below, but you can substitute all the green spices with Italian herbs if that’s what you have. (Just be sure to still add the salt, onion powder, and garlic powder to your breadcrumbs – those aren’t green.)
Psst…Did you know that many salts contain MICROPLASTICS? It’s a sneaky toxin that may be in your everyday salt, and thus your everyday food (um, gross). I love Ava Jane’s Kitchen because their salt is FREE of microplastics, and it tastes delicious! (PLUS, you can get a free 8oz. bag of sea salt – just pay shipping and handling!)

HOW TO MAKE BREAD CRUMBS
Now, when it comes to working in the kitchen, I’m all about flexibility and making do with what you have. With that said, you’ll follow this recipe differently depending on which type of bread you’re starting with.
PREP THE BREAD
No matter what type of bread you’re starting with, the goal is to have slightly hard bread. That means, if you’re starting with fresh bread, you’ll need to toast it first.
If you have older bread that isn’t as soft as freshly baked bread, you might not have to toast it at all.
The amount of toasting you have to do to the bread depends on how hard your bread is right now. You want bread that is hard enough that when you tap on it, your fingers don’t bounce back.

MAKE THE BREADCRUMBS
Once you butter and toast the bread (if needed), you’re going to pulse it with spices in either a food processor or a blender.
I use this high-powered blender, but I prefer to pulse instead of blend because it allows for greater control of the size of breadcrumbs.
- Do you want larger, panko breadcrumbs? Pulse and stop when the breadcrumbs are a bit coarser, or still in larger pieces.
- If you want fine breadcrumbs that most closely resemble the canisters of breadcrumbs you buy at the store, keep on pulsing. I still avoid blending entirely so I can control the finished result. But in general, you’ll have to pulse a bit longer.
If you don’t have a blender or food processor, you can just cut the bread into small pieces, toast in the oven, and cool. (Just like making croutons!) Then place the toasted bread bits in a resealable bag that is partially sealed and crush with a rolling pin to break them down further.

WHAT TO DO WITH BREADCRUMBS ITALIAN
Once you’ve pulsed all the bread into the size and texture of homemade bread crumbs you want, you have three choices.
1. TOAST THE BREADCRUMBS AGAIN UNTIL THEY’RE EXTRA CRISPY.
Personally, I don’t do this step. My breadcrumbs were crispy enough by the time I had put them in the blender and let them cool.
If you want yours to be extra crispy though, spread them on a large baking sheet like this one in a single layer, and toast for another 5-10 minutes, until golden brown. Stir frequently and keep a careful eye on the clock so the breadcrumbs don’t burn.
Otherwise…
2. USE THEM.
There will be plenty of people who read this recipe because they need breadcrumbs RIGHT THIS VERY MOMENT.
If that’s you, you’re good to go. Enjoy that crunchy topping, my friend!
If not…
3. PUT THEM IN A FREEZER-SAFE CONTAINER AND FREEZE THEM.
Store-bought breadcrumbs come with a bunch of preservatives and additives that allow long storage on the shelf for eternity and never go bad.
Your homemade breadcrumbs don’t contain all that, so it’s best to store them in the freezer until you’re ready to use them. They’ll only last a week or two in the pantry in an airtight container.
They’ll keep up to a year if you freeze them the right way (here’s my ultimate guide to freezing bread).
And if you can believe it, that’s it! That’s how to make bread crumbs. Now that you know how easy they are to make, neither of us has to buy them ever again!
HOW TO USE BREADCRUMBS
You’ll find breadcrumbs in most recipes for meatballs and meatloaves, but I tend to go beyond that. Here are some of the ways we use breadcrumbs:
- Fish Fingers
- Almond Crusted Baked Chicken
- Homemade Chicken Nuggets
- Chicken Jalapeno Popper Casserole
BREAD CRUMBS FAQS
Can you make gluten free bread crumbs?
Yes. Start with gluten-free bread and you’ll be set!
What can I use for bread crumbs substitutes?
Making bread crumbs is really simple, but if you don’t want to make your own, there are a ton of easy bread crumbs substitutes, like chopped nuts, cracker crumbs, croutons, old-fashioned oats, or ground flaxseed.
Are Panko crumbs the same as bread crumbs?
Panko bread crumbs are traditionally made from crustless white bread and are drier and flakier than regular breadcrumbs. They’re also ground more coarsely, so the crumbs themselves are a bit larger than regular breadcrumbs. To make a panko version of homemade bread crumbs, follow the steps above, using white bread and pulsing only until you have coarsely ground crumbs.
OTHER HOMEMADE PANTRY STAPLES
- Homemade Bisquick
- How to Make Apple Cider Vinegar
- How to Make Oat Flour
- How to Make Powdered Sugar
- Homemade Sweetened Condensed Milk
- Homemade Almond Milk
- The Ultimate Guide to Homemade Instant Oatmeal Packets
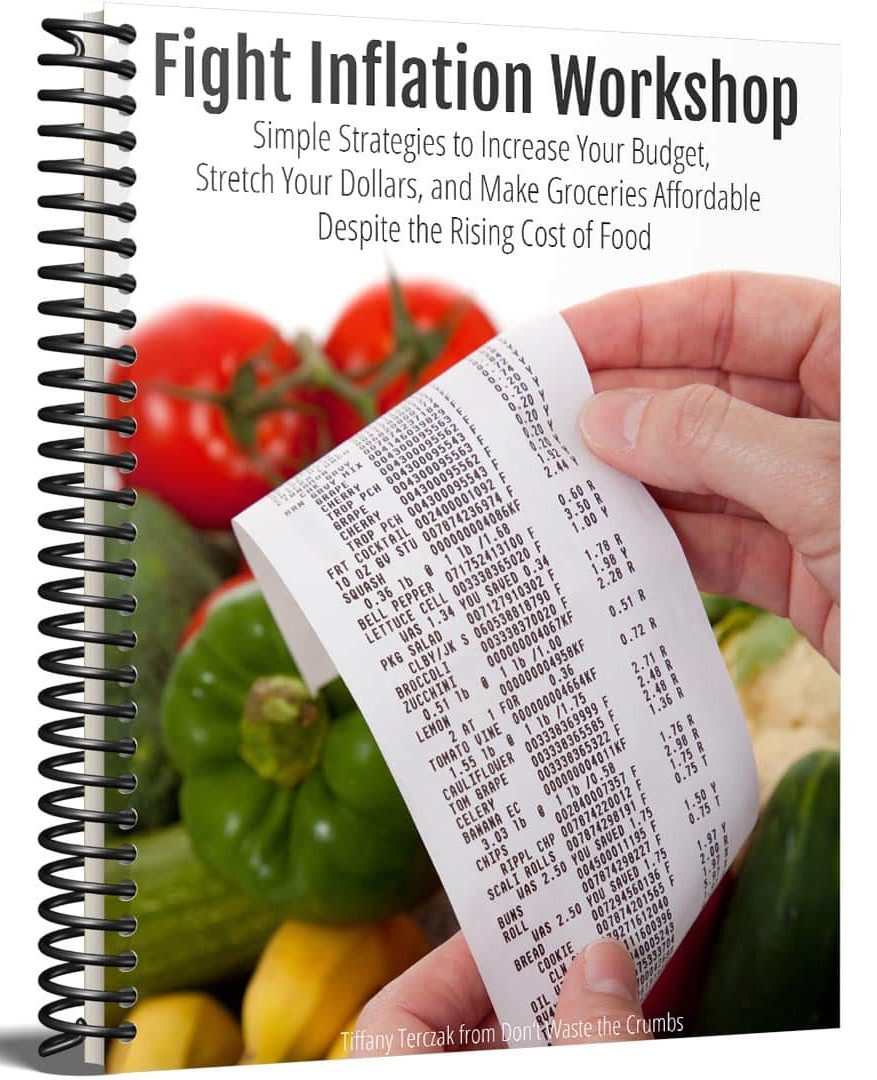
Fight Inflation Workshop!
Sign up for my FREE Fight Inflation Workshop and learn simple strategies to save money, even with rising food costs!How to Make Italian Bread Crumbs

Making homemade bread crumbs is so quick and easy! Use whatever bread you have, enjoy the delicious crispy flavor, and save money.
- Prep Time: 5 minutes
- Cook Time: 25 minutes
- Total Time: 30 minutes
- Yield: 1–2 cups 1x
- Category: Breads
- Method: Bake
- Cuisine: American
Ingredients
- 4 oz bread (equivalent of 4 slices)
- ½ tsp each: salt, parsley, pepper, garlic powder, onion powder, oregano and basil
- 1–2 Tbsp butter, room temperature
Instructions
- Preheat the oven to 300F.
- Meanwhile, very, very lightly butter the bread.
- Place the bread butter side down on a large cookie sheet and toast in the oven for 10 minutes.
- Using tongs, flip each piece of bread over and toast for another 10 minutes.
- Place the bread and seasoning in a food processor or blender and pulse until the breadcrumbs are the desired size.
- Remove the breadcrumbs and allow to cool before using. The breadcrumbs can be stored in a freezer-safe container for up to one year.
Notes
- Making bread crumbs is really simple, but if you don’t want to make your own, there are a ton of easy bread crumbs substitutes, like chopped nuts, cracker crumbs, croutons, old-fashioned oats, or ground flaxseed.
Nutrition
- Calories: 3148


If you don’t have a blender or food processor, just break up the dry bread into pieces and put them in a heavy freezer zip lock bag, squeezing out the air as you close it. Use a rolling pin to crush the bread cubes. Use what you need, then ziplock the bag and toss in the freezer (with a date on it). Nothing to clean up!
Hi Sue!
Great ideas! Thank you so much for sharing. 🙂
You have a typo: “cool” not “cook” before using
Fixed, =). Thank you for letting us know Jase!
I’d like to see a post on all your uses for bread crumbs.
The obvious ideas I can think of: as an ingredient/filler, such as in meatloaf/meatballs, as a breading on oven “fried” chicken/fish, as a crumb topping on a casserole.
I wonder how well toasted breadcrumbs would work when making new bread? For example, instead of lining a pan with cornmeal, or instead of garnishing the top with oats or a sprinkle of flour? On items with longer baking times, they might burn, but on rolls/buns/savory biscuits they might add a bit of interest.
This brainstorming is going to inspire new recipes. I might have to make an extra loaf of bread on my next batch, dedicated to restocking my freezer’s breadcrumb supply!
We make our own crumbs from the ends of the bread we buy. When the loaf is down to the ends, it goes into the freezer until we have enough to work with. We put the ends in the dehydrator rather than the oven, crush them when they are fully dry, and store the crumbs in the freezer until needed. We don’t season the crumbs until we are ready to use them. However, our favorite casserole topping is simply butter, crumbs, parmesan cheese and parsley. We started making our own crumbs as a way to use all of the bread, cut out the unnecessary expense of buying crumbs, and as an additional way to insure there is no garlic in them. (I’m allergic to garlic.) Why compost dry bread ends when crumbs are so easy to make?
Yes! What a great way to use something you’d ordinarily throw away!