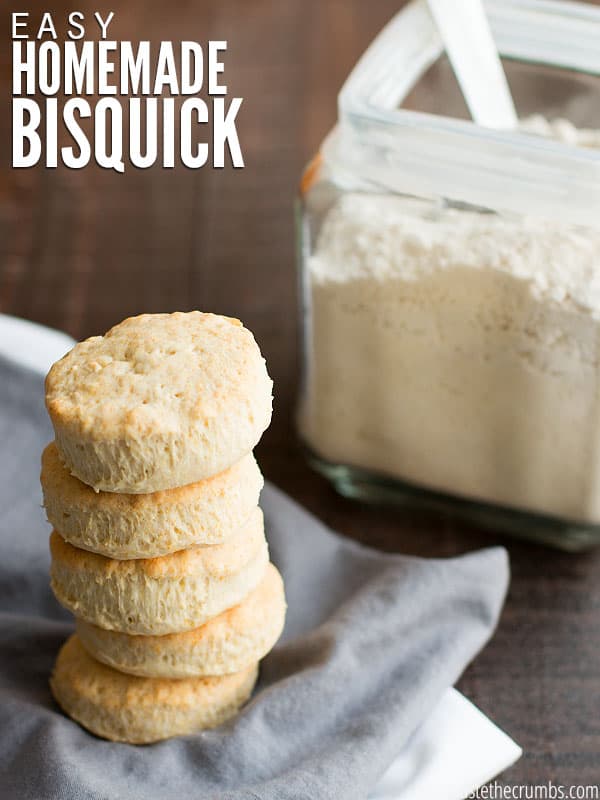
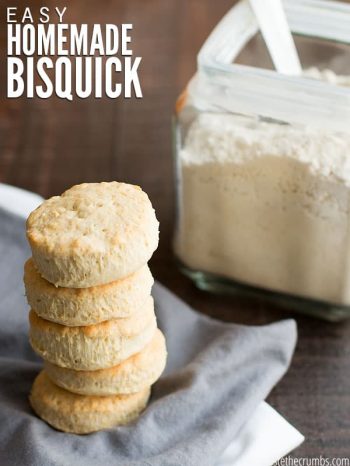
Homemade Bisquick comes together in less than 5 minutes, giving you all of the convenience and classic flavor of the yellow box, without the unnecessary additives and sweeteners. Save money and mix up a batch today!
Even though I make most of our foods from scratch now, it’s still nice to have some shortcuts.
Cooking every single meal from scratch is hard work, and every now and then I just want something easier. Faster. Something that requires fewer steps and less brain power so I can focus on other things.
Know what I mean?
That’s when homemade Bisquick comes to the rescue.
WHY YOU SHOULD MAKE YOUR OWN HOMEMADE BISQUICK
The more time I spend in the kitchen, the more I’ve learned that meals coming from “just adding [this]” to a box are probably not that healthy, including Bisquick. In fact, when I cleaned out the kitchen, about half of the boxes I threw away were considered “health foods.”
Bisquick would have been tossed too, because it contains hydrogenated oils and artificial sweeteners – both of which are on my top list of ingredients to avoid.
But like other processed boxed foods, you can make DIY Bisquick mix from scratch, and it’s well worth your time.
- It’s quick and easy to make. It takes less than 5 minutes to measure the ingredients and mix them together.
- Convenience food that’s Crumbs approved, for making quick biscuits, pancakes, waffles, and more.
- Only 4 ingredients, and they’re all basic staples. Way better than those hydrogenated oils and artificial sweeteners in the yellow box.
- Store for up to 3 months, meaning you can make a big batch and have the convenience of a premade mix in your kitchen.

HOMEMADE BISQUICK INGREDIENTS
One of the benefits of making your own baking mixes like homemade bisquick is the ability to substitute with ingredients you already have on hand. Here are just some of the ways you can customize the homemade Bisquick ingredients to fit your pantry and your family:
- Flour: Use whole wheat flour, all-purpose flour, or a mix of the two.
- Baking Powder: If you run out of baking powder, make your own with ¼ teaspoon of baking soda + rounded ½ teaspoon of cream of tartar. And if you run out of cream of tartar, you can make this substitution instead.
- Salt: This spice is used for flavor, but you can leave it out if you’re on a low-sodium or salt-free diet.
- Butter: Butter is the most affordable fat at just 63¢ for the whole recipe. It’s also the most commonly available fat for most families. If you don’t want to use butter, you can also use organic vegetable shortening or coconut oil. As a general reference, palm oil shortening will cost around $2.28 in this recipe, and coconut oil will cost about $2.
Psst…did you know that many salts contain MICROPLASTICS? It’s a sneaky toxin that may be in your everyday salt, and thus your everyday food (um, gross). I love Ava Jane’s Kitchen because their salt is FREE of microplastics, and it tastes delicious! (PLUS, you can get your own penny bag of salt on this page!)
HOW TO MAKE BISQUICK
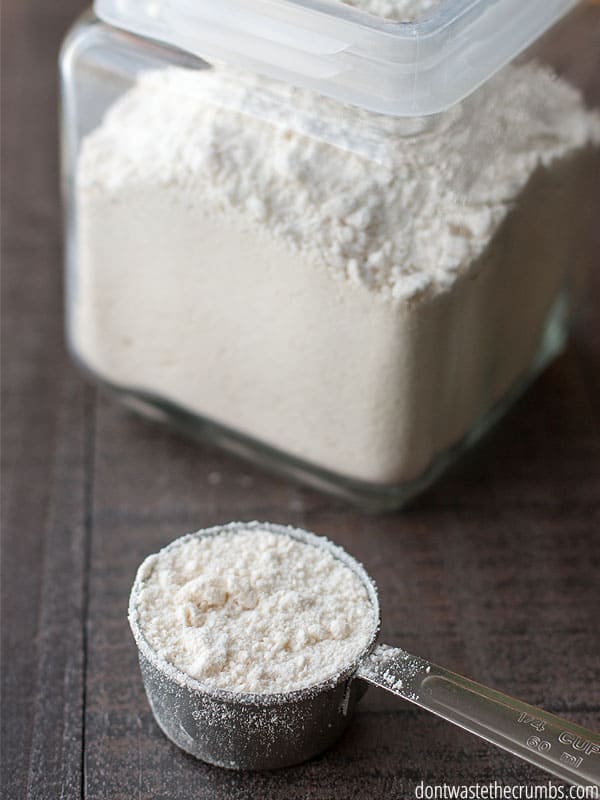
Step 1: In the bowl of a stand mixer, add flour, baking powder, and salt.
Step 2: Add the cold, cubed butter and, using the paddle attachment, mix the ingredients on low until the flour mixture resembles coarse breadcrumbs.
Alternatively, you can combine the ingredients in a large bowl using a pastry cutter, two forks, or your fingers. A food processor will also cut the butter, just be sure to use it on low so the butter doesn’t get creamy.
Step 3: Store homemade Bisquick in an airtight container or mason jar in the fridge or the freezer, for up to 3 months. You won’t want to store this blend at room temperature because of the butter.
CLASSIC BISQUICK RECIPES
Since you won’t be needing the big yellow box anymore, I don’t want to leave you hanging! Here are three of the classic recipes for all purpose baking mix.
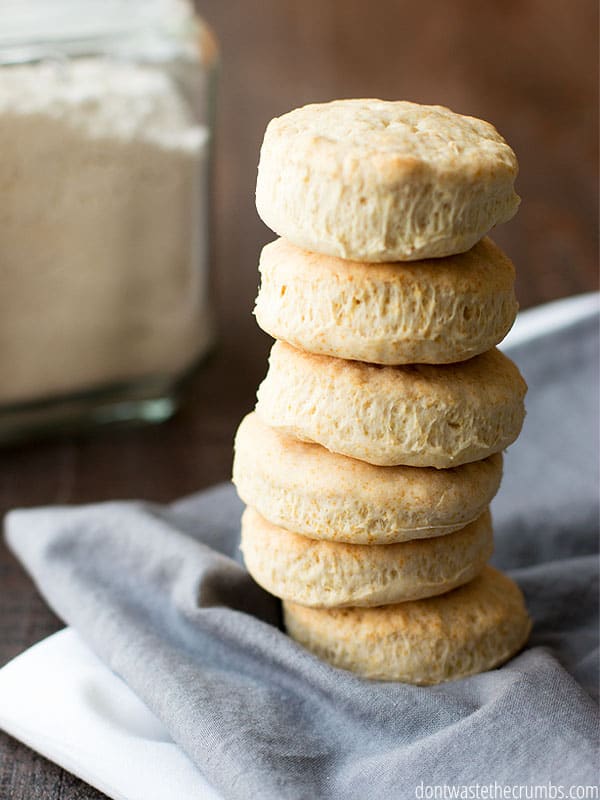
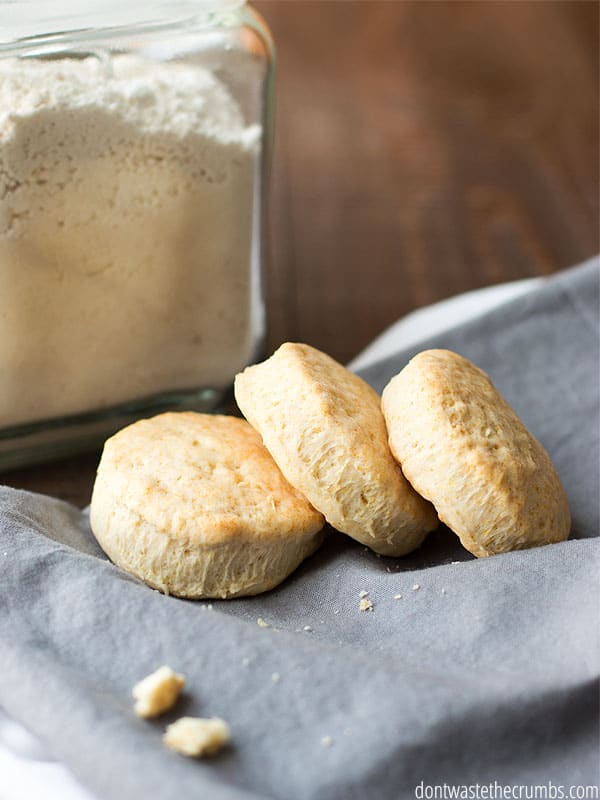
CLASSIC BISQUICK BISCUITS MADE WITH HOMEMADE BISQUICK:
- 1 ½ cups homemade Bisquick
- ½ cup milk
Combine ingredients until a soft dough forms. Knead 10 times. Roll out dough to ½″ thick and cut into circles. Bake for 7-9 minutes at 450F.
CLASSIC PANCAKES MADE WITH HOMEMADE BISQUICK:
- 2 cups homemade Bisquick
- 2 eggs
- 1 cup milk
Whisk together milk and eggs until well blended. Add the homemade bisquick mix and stir until just combined. Pour ¼ cup of batter onto a hot griddle. Cook until the pancakes start to bubble, and the edges are slightly dry. Flip and cook until golden.
CLASSIC WAFFLES MADE WITH HOMEMADE BISQUICK:
- 2 cups homemade Bisquick
- 1 ⅓ cup milk
- 1 egg
- 2 Tbsp melted butter (optional)
Preheat the waffle iron and coat with melted butter, if necessary. Stir milk and eggs together until well blended. Add homemade bisquick and stir until just combined. Pour a small amount of batter onto the waffle iron and cook according to the manufacturer’s directions.
HOMEMADE BISQUICK FAQS
What can I use if I don’t have Bisquick?
Follow the simple instructions above to make your own homemade Bisquick! You can use it immediately in the recipe you’re cooking, or store it in the refrigerator for another time.
Can you substitute regular flour for Bisquick?
Not quite – Bisquick also includes fat (butter) and a leavening agent (baking powder), plus salt for flavor. Regular flour doesn’t have those. Luckily you can use your regular flour to make your own homemade bisquick!
Can I use pancake mix instead of Bisquick?
Pancake mix is a baking mix like Bisquick, but it may have different ingredients in it depending on the brand (and chances are, it has some of the ingredients we’re trying to avoid). For super quick pancakes, use the classic pancakes with homemade Bisquick recipe above, or try my Strawberry Pancakes.
MORE EASY HOMEMADE STAPLES
- How to Make Buttermilk
- Homemade Almond Milk
- Homemade Instant Oatmeal Packets
- Homemade Yellow Cake Mix
- How to Make Powdered Sugar
- How to Make Sweetened Condensed Milk
Fight Inflation Workshop!
Sign up for my FREE Fight Inflation Workshop and learn simple strategies to save money, even with rising food costs!WATCH HOW TO MAKE HOMEMADE BISQUICK:
Homemade Bisquick
Homemade Bisquick comes together in less than 5 minutes, giving you all of the convenience and classic flavor of the yellow box, without the unnecessary additives and sweeteners. Save money and mix up a batch today!
- Prep Time: 4 minutes
- Total Time: 4 minutes
- Yield: 3 cups 1x
- Category: Make It Yourself
- Method: Bowl
- Cuisine: American
Ingredients
- 3 cups all-purpose flour
- 1 ½ Tbsp baking powder
- ½ Tbsp salt
- 8 Tbsp butter, cold and cubed
Instructions
- In the bowl of a stand mixer, add flour, baking powder, and salt.
- Add the cold, cubed butter, and using the paddle attachment, mix the ingredients together on low until the mixture resembles coarse breadcrumbs.
- Alternatively, you can combine the ingredients using a pastry cutter, two forks, or your fingers. A food processor will also cut the butter, just be sure to use it on low so the butter doesn’t get creamy.
- Store the baking mix in an airtight container or mason jar in the fridge or the freezer, for up to 3 months.
Notes
- You won’t want to store this blend at room temperature because of the butter.
Nutrition
- Serving Size: 1
- Calories: 245



I’d saved this recipe knowing that one day I’d need it and last evening was the time to pull it out of the archive. I needed this for a clean out the fridge quiche (with left over cubed meatloaf !) and it worked like a charm. Thank you for a great home made recipe that is cheap, clean and easier than running out to the store!
Thank you so much for sharing this and the recipes for what to make with it. As far as l know Bisquick hasn’t made it to New Zealand yet but, as someone who finds a lot of meal inspiration on the net, l’ve often come across it and wondered what it was. Will definitely be making a batch as l love the idea of having scone (what we call biscuits), pancake and waffle mixes on hand.
this turned out great and it lasts a lot longer than you stated. I have been using mine for the last few months and it has not gone bad! Love it thank you for sharing this great idea!
You’re most welcome Naomi! 🙂
Excellent! Thank you for this. It makes great shortcakes for strawberry shortcake!
That’s awesome Danielle! Thanks for sharing. 🙂
The best biscuits I’ve ever made!!!! Sooooo much better than using boxed mixes! Thanks!!!!
You’re most welcome Sherri!
I too like to make as much as possible from scratch. I’m also a label reader. Homemade Bisquick is all I use, otherwise you are buying additives. I prefer buttermilk for my biscuits as well 😊
Hi Sharon, Buttermilk does sound delicious! Thanks for sharing 🙂
How long can you store the home made bisquick? Do you store in fridge or on shelf?
Hi Gloria,
It will keep for 4-5 days in the pantry!
If you don’t add the butter until you are making something, then it will last as long as flour last.
Peach Cobbler
Ingredients
½ Cup Baking Mix Bisquick
½ Cup Milk
¼ tsp nutmeg
¼ cup butter – melted
½ cup sugar
1 15.9 oz can of sliced peaches drained
½ tsp real vanilla extract
¼ tsp real almond extract
½ tsp cinnamon
Instructions
Preheat the oven to 375.
Stir together the baking mix, milk and nutmeg in a medium sized bowl then add the melted butter and mix some more. Use a 1 quart baking dish if making this dish for two people. Upgrade to a 9×9 pan if doubling to make for 4-6.
In a separate medium sized bowl, mix together the sugar, drained peaches, vanilla, almond and cinnamon. Mix well.
Pour the peach mixture on top of the batter mixture that you already put in the bottom of the 1 quart baking dish.
Bake at 375 for 40 minutes (if you double the recipe – bake a little longer). Its done when it is golden brown and bubbly and smelling like PURE heaven! Serve warm. Allow it to sit for a minute because it is like hot lava when it comes out of the oven
How would I use your bisquick recipe in this peach cobbler recipe and please provide measurements?
Just use it in place of the 1/2 of cup Bisquick above.
If you use this mix in a recipe with sour cream or buttermilk, do you add some baking soda?
Not if the recipe calls for it!
Will this recipe work for all the Bisquick Impossible Pie recipes? Thanks!
Yes!
what would be the sodium content for this mix Hopefully its lower than Bisquick thats why i want to make my own so it has lower sodium
I recently made pancakes with your Homemade Bisquick Mix recipe, and let me say, you’ve got yourself a winner! They actually taste like buttermilk pancakes. They remind me of the Eggo pancakes I sometimes buy, however, they’re thicker and not as fluffy as I expected. Mama Jane says they look amazing as well. I made enough to last 8 days, since even though I would usually have three pancakes in a serving since they’re small, I only made enough to have one at a time. I freeze the pancakes individually wrapped in plastic wrap. I’m planning to make more Bisquick mix so I can make more biscuits and pancakes. Mama Jane says she likes the recipe as well, and since Mama Jane likes dumplings, I wonder, is it possible to make dumplings with it?
If you can make dumplings with Bisquick, then you can with this homemade version!
How much milk or water do I add to make a chicken pot pie where you put all the ingredients in a pie dish and then pour the “bisquick” over the top and then bake?
Thanks!
I’m not sure Dianne – I always wing it!
FYI: The best pancakes and biscuits are made with WHOLE fat buttermilk. They rise beautifully and are delicious!!!
Thank you for the recipe. i want to make impossible quiche for a luncheon.. Also,i love your sense of humor..
You’re very welcome!
HI – thank you very much for the recipe for Bisquick. I searched the net for it and came up with your recipes. Thank you again
This entry is a little late, but I’ve just found your site. Thanks again. I agree with everybody’s comments where they apply – I’ve yet to give your recipes a go, but will certainly do so and I will report back
Live Long & Prosper!
Daz
You’re very welcome Daz!