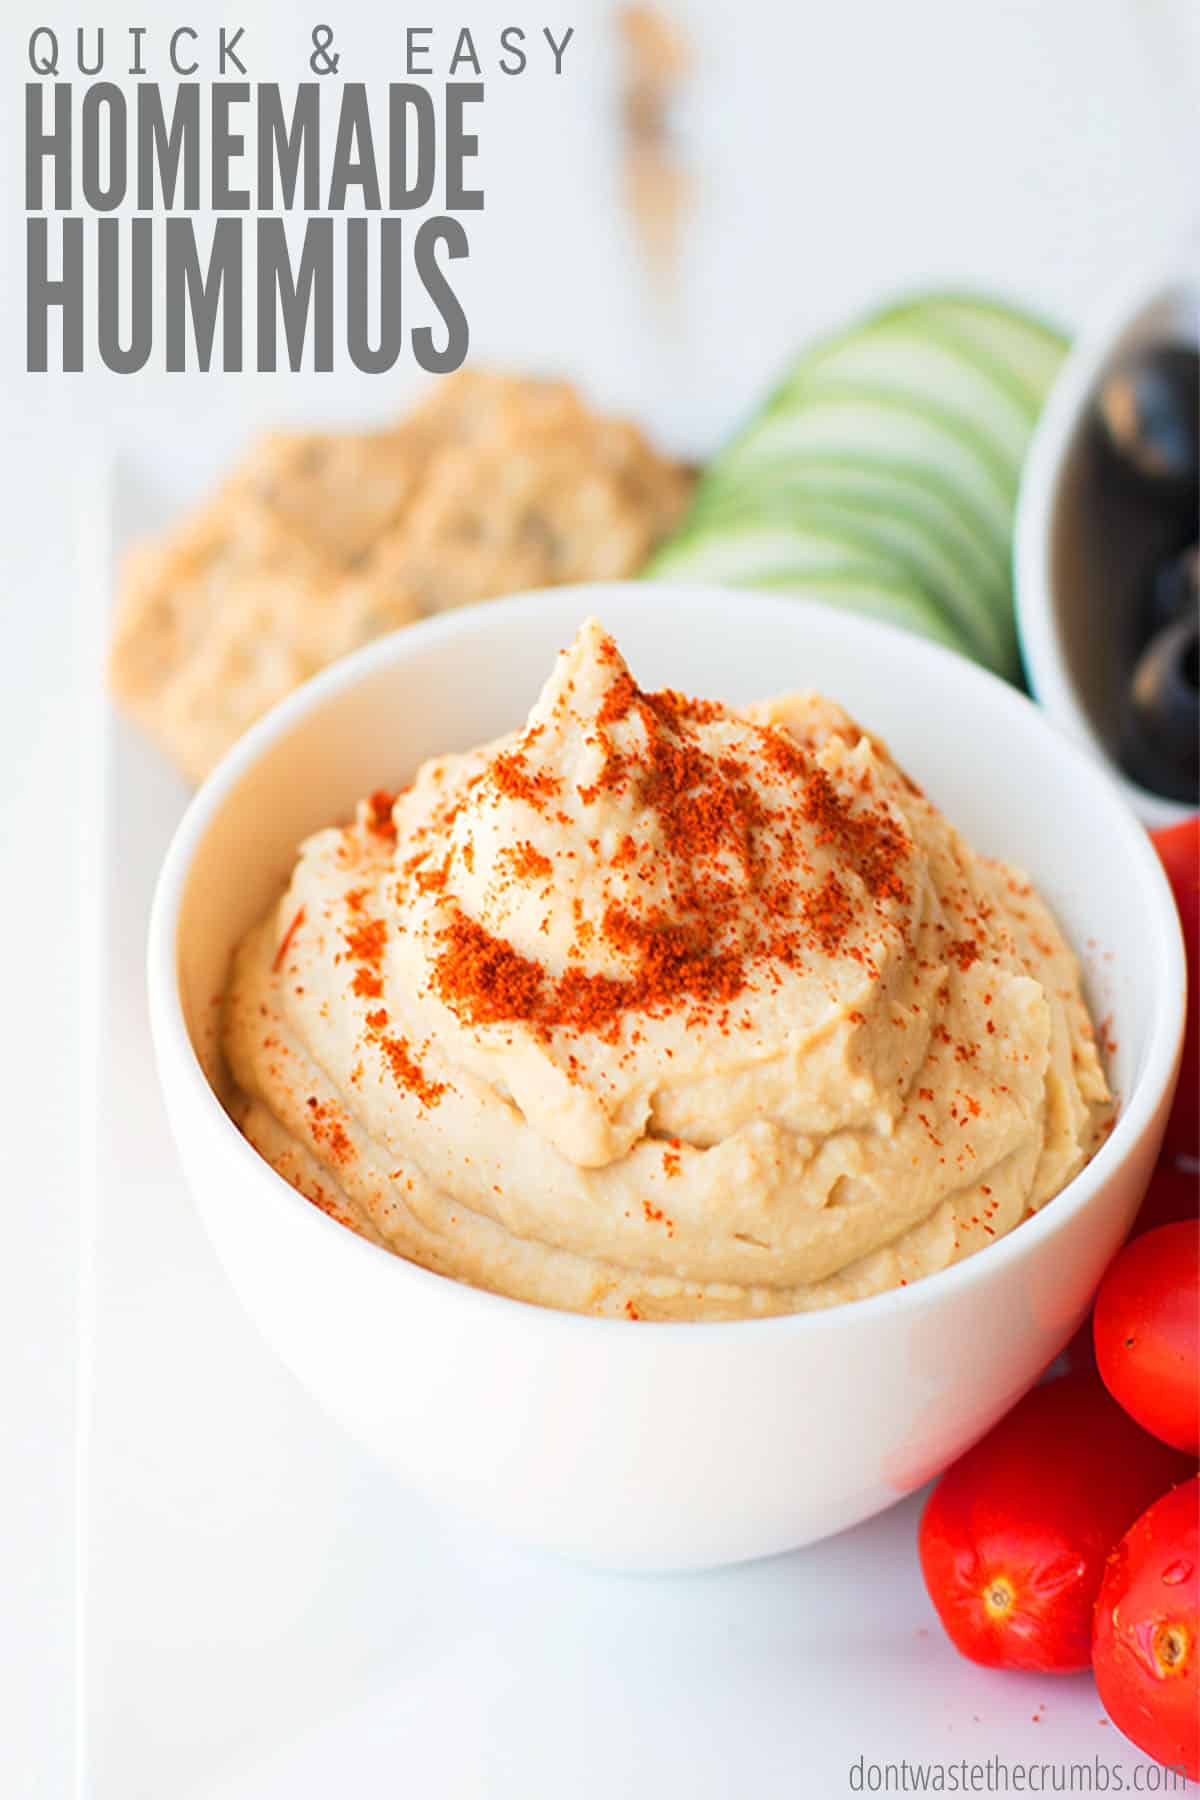
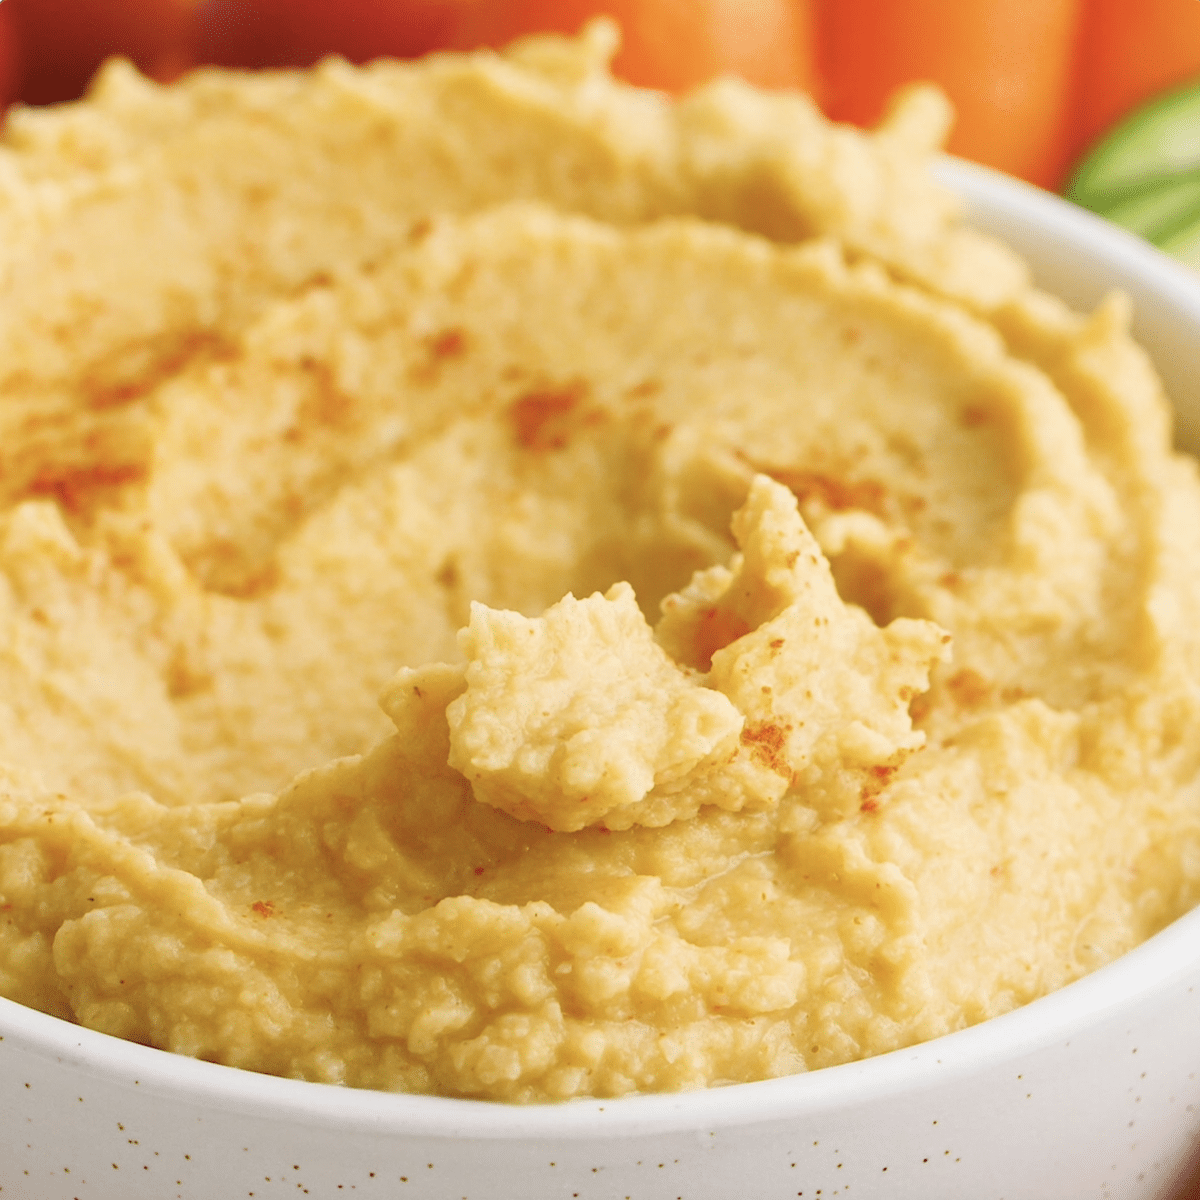
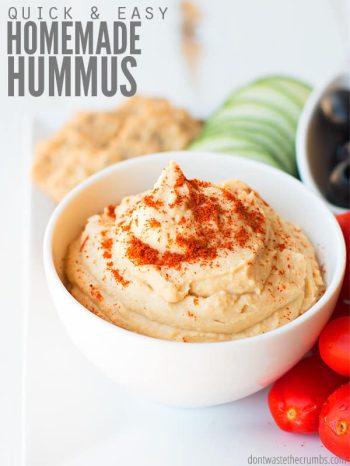
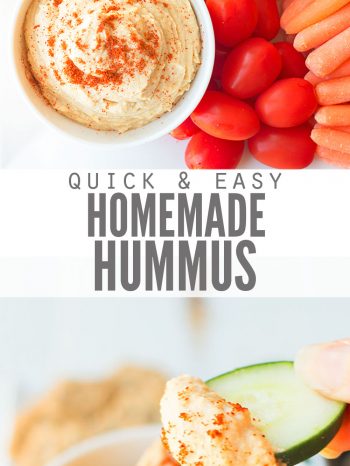
Looking for a quick and easy classic hummus recipe? Look no further! This simple hummus (made without tahini) is creamy with a hint of garlic and spice. Vegan and gluten-free, it comes together fast and it’s SO delicious!
Several years ago, my husband WILLINGLY started eating beans (Spicy Citrus Black Beans are his favorite), which is why we now have a classic Rice and Beans Dinner almost every week and why we clean out the fridge using this Crunchy Quinoa Salad as a starting point.
But no frugal bean-loving menu would be complete without a batch of creamy homemade hummus!
CLASSIC HOMEMADE HUMMUS
Why do we love this classic-style hummus recipe?
- It’s not fussy or complicated.
- It doesn’t even call for tahini!
- Great plant-based source of protein
- It’s incredibly delicious and versatile
- Perfect for vegan and gluten-free lifestyles!
- The kids love it!
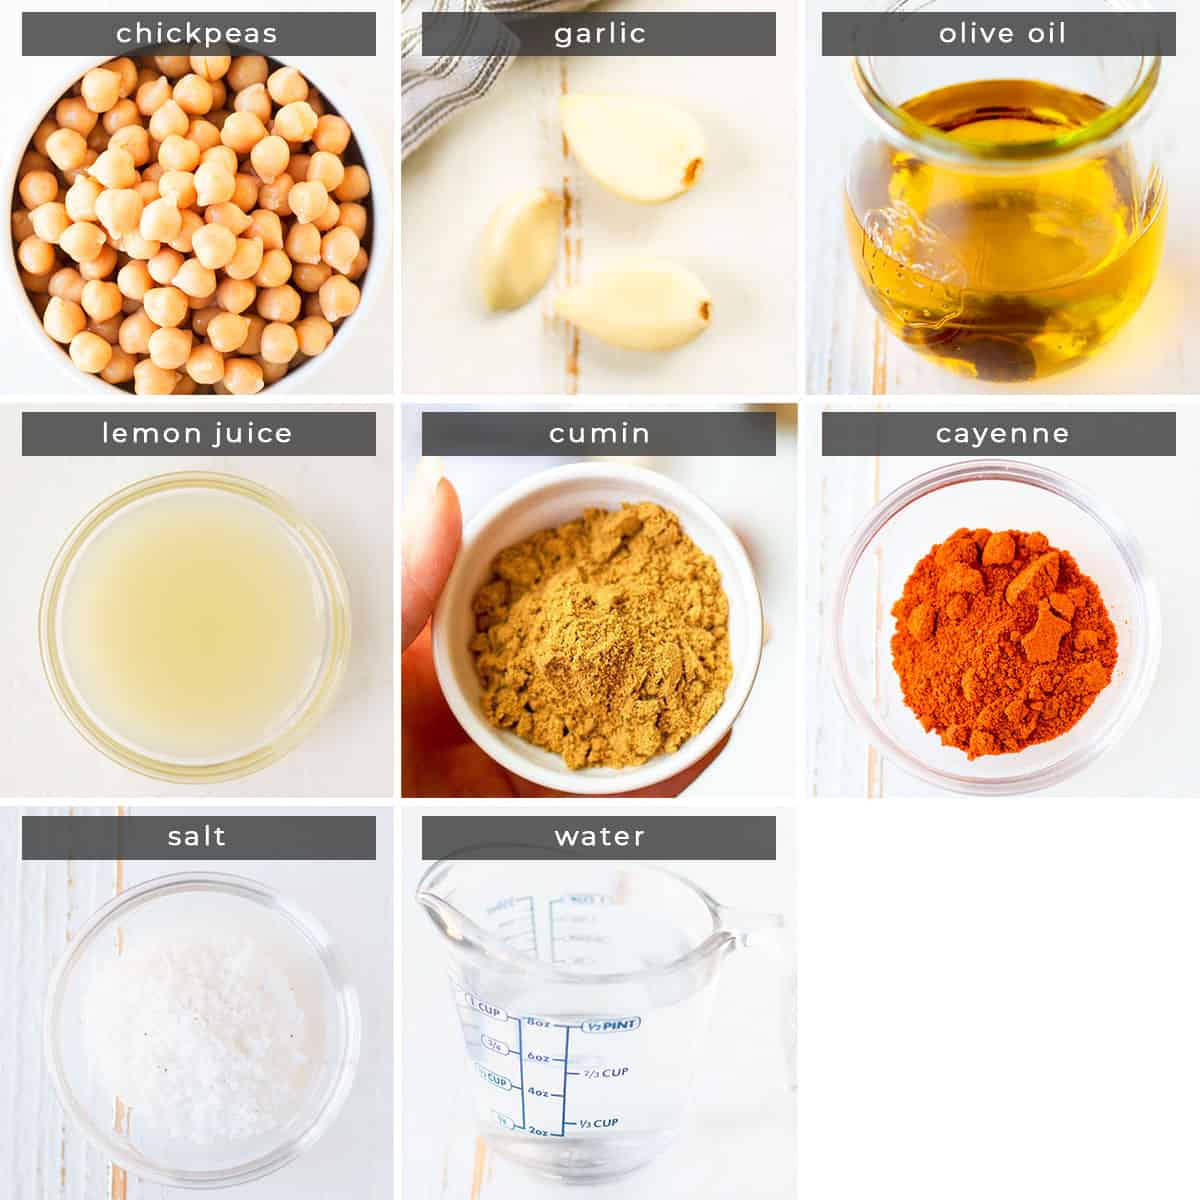
THE BEST HUMMUS RECIPE INGREDIENTS
- Chickpeas (also called garbanzo beans).
- My preferred method for cooking garbanzo beans is the Instant Pot, although you can easily use a slow cooker too.
- Note: If you’re using canned chickpeas, be sure to drain and rinse three times. One 15 oz can is equal to 1 ½ cups cooked chickpeas in this recipe.
- Extra Virgin Olive Oil. I mentioned earlier that this recipe doesn’t use tahini. Tahini is sesame seed paste, and while you CAN find it at a regular grocery store, I feel like it’s on the pricy side. Instead, we can use olive oil and still get delicious results without adding to our grocery tab!
- Lemon Juice. For a bit of tang and a burst of fresh flavor. Fresh lemon juice tastes amazing, but bottled lemon juice works just fine.
- Garlic. Make sure you use fresh garlic clove here. The flavor of granulated garlic doesn’t come through nearly as well, and it will taste like something is missing. You can peel your own OR use the garlic that’s been peeled for you (that’s what I keep in the fridge) OR you can use the jars of minced garlic. All will work well.
- Ground cumin. This isn’t typically a Mediterranean spice, but it is middle eastern and really tastes good in this hummus.
- Cayenne Pepper. You don’t need much to give the hummus a kick, but you do need it. I recommend using ¼ tsp if you have anyone who is sensitive to spicy things. Remember you can always add more if you like it spicy!
- Salt. Salt brings out the natural flavor in everything, so you can’t skip it here…unless you’re using canned beans that have added salt. Then taste the hummus before adding additional salt.
- Water. To help get the hummus to the perfect creamy texture.
Psst! Not all salts are made the same! I love Ava Jane’s Kitchen because it doesn’t have microplastics (gross, right?) and it’s SO GOOD! Plus, you can get a free 8oz. bag of sea salt (just pay shipping and handling!).
HOW TO MAKE HUMMUS
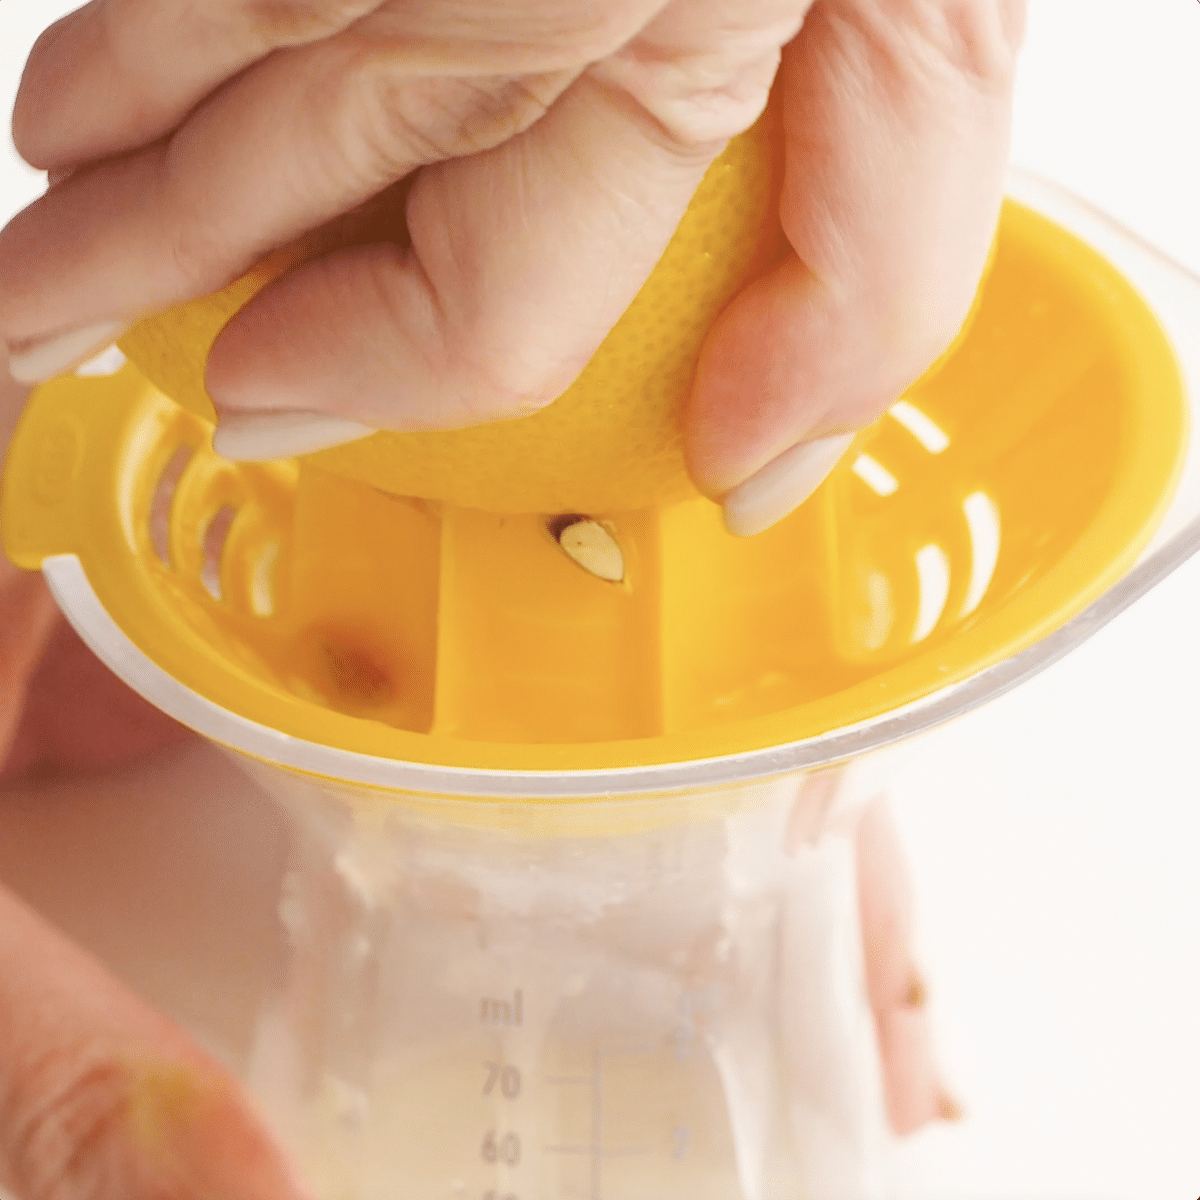
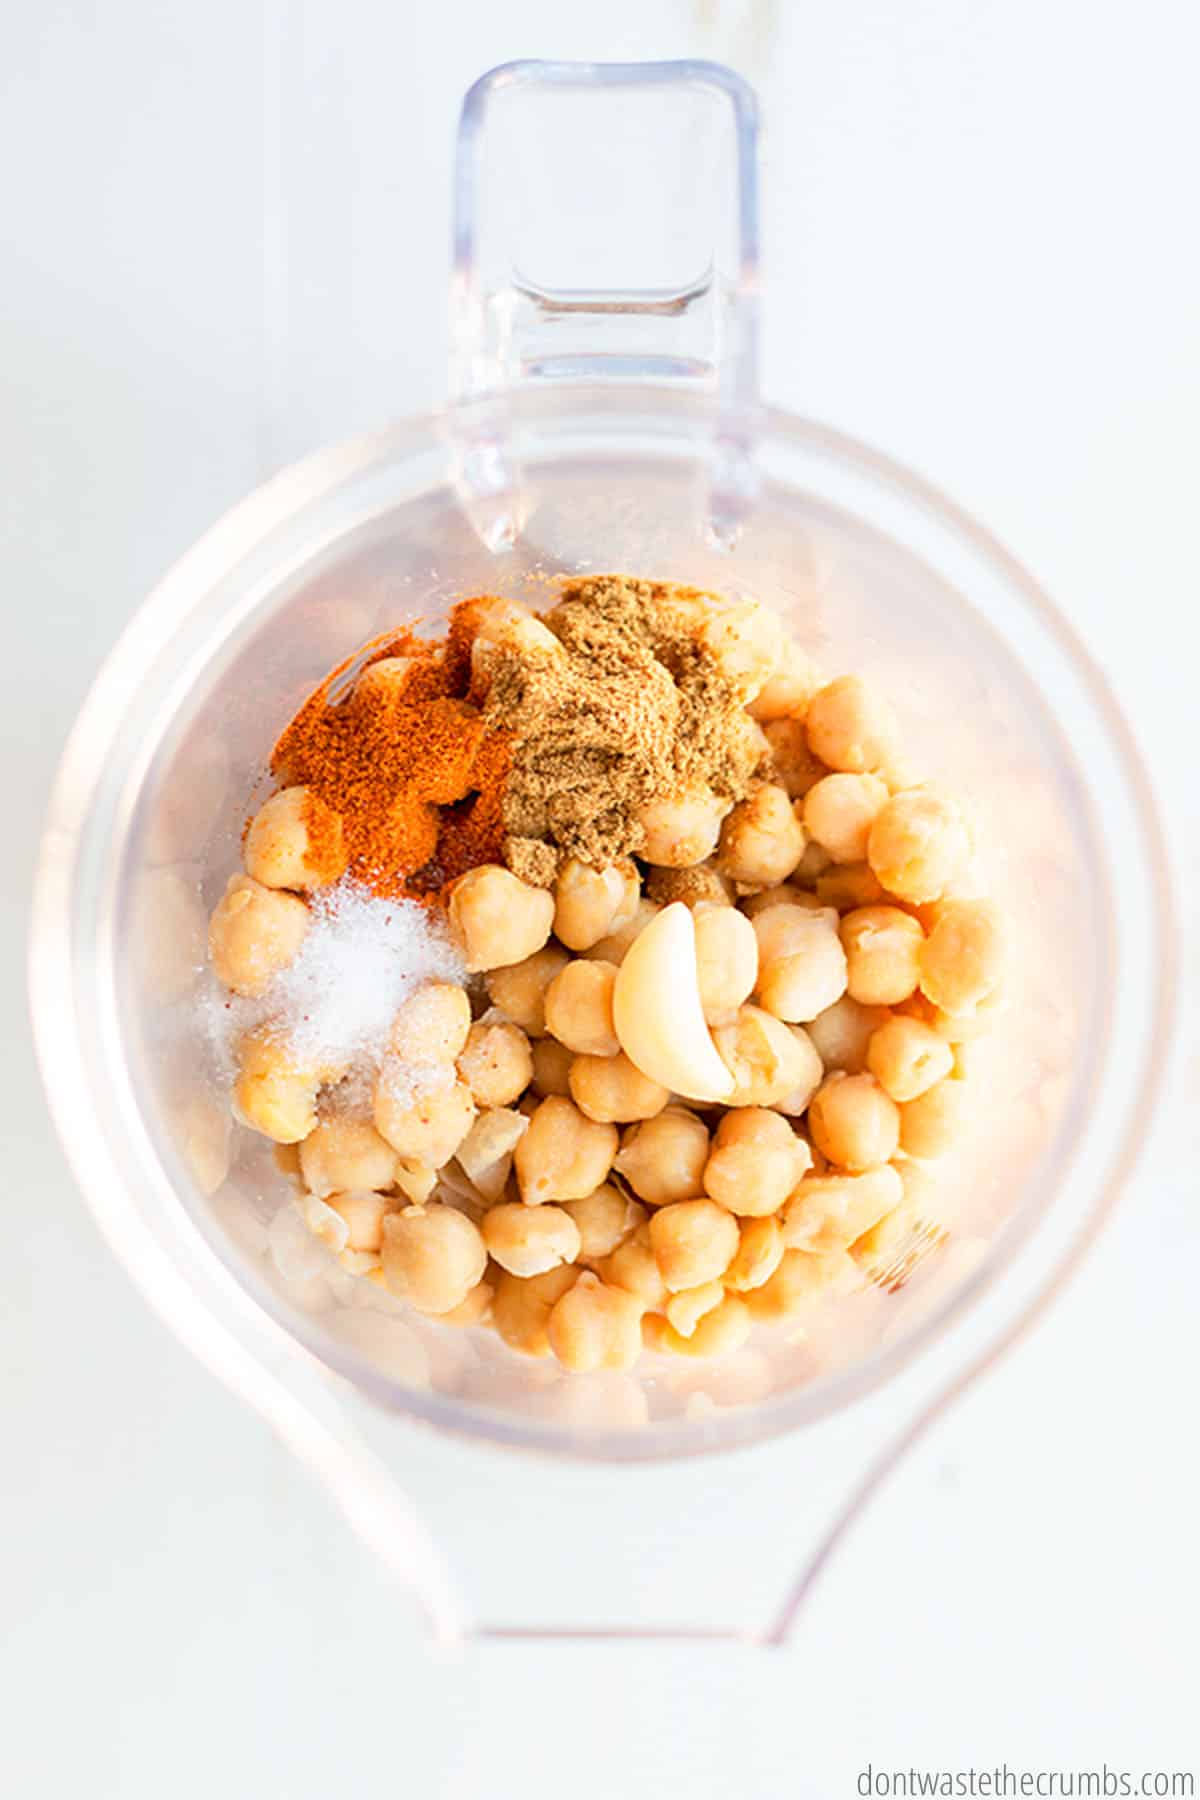
Step 1. Put the garbanzo beans, olive oil, ½ Tablespoon lemon juice, spices, and 2 Tablespoons of water in a food processor OR a high-powered blender (I have a Blendtec Blender).
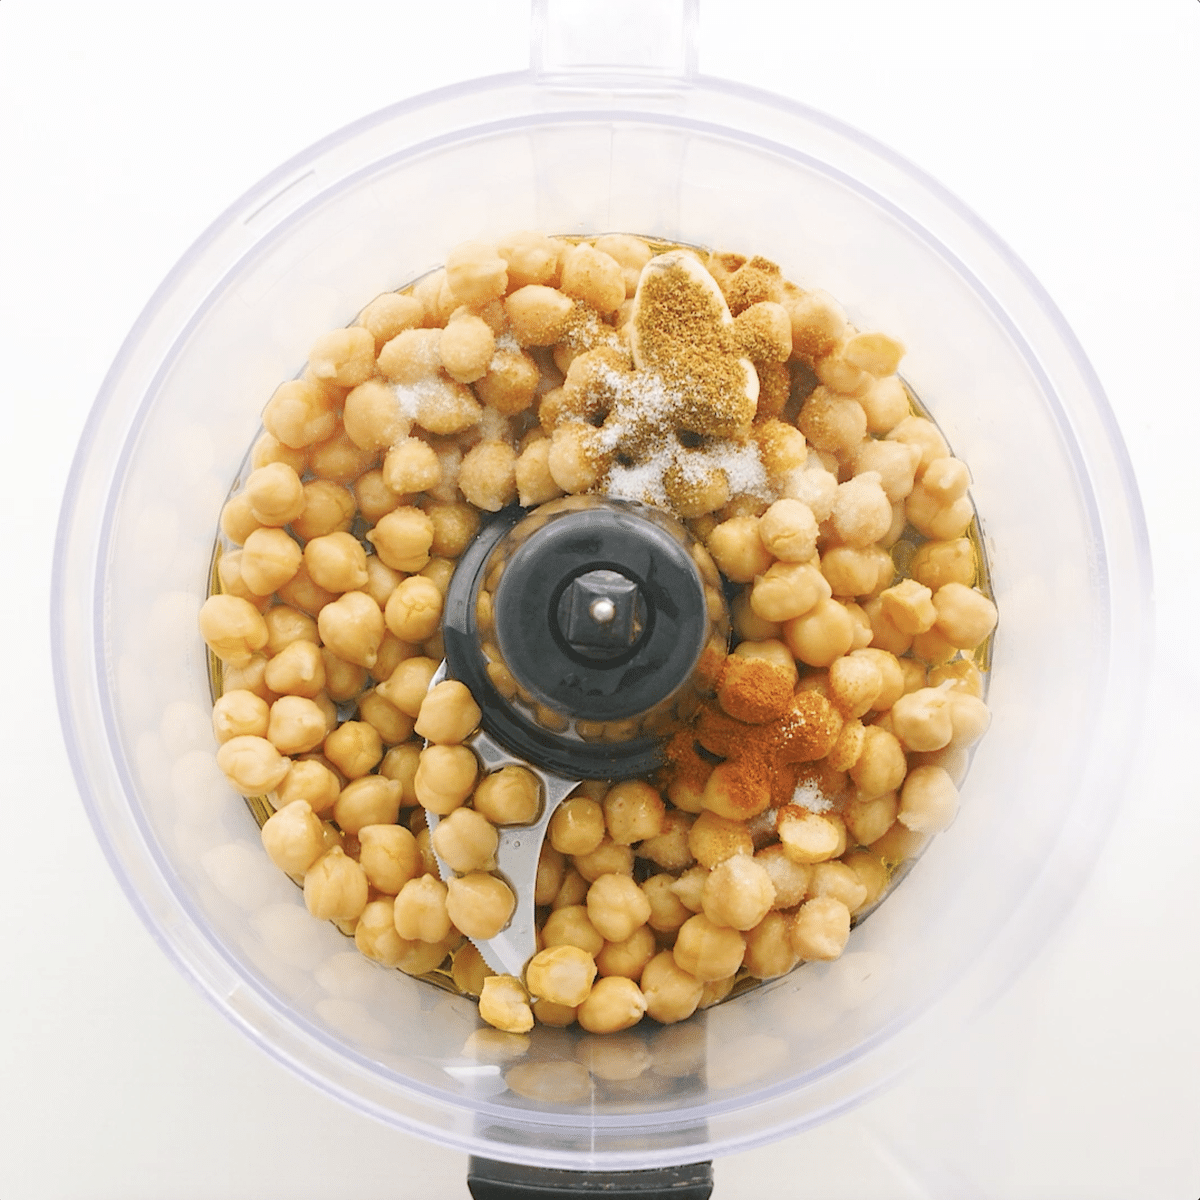
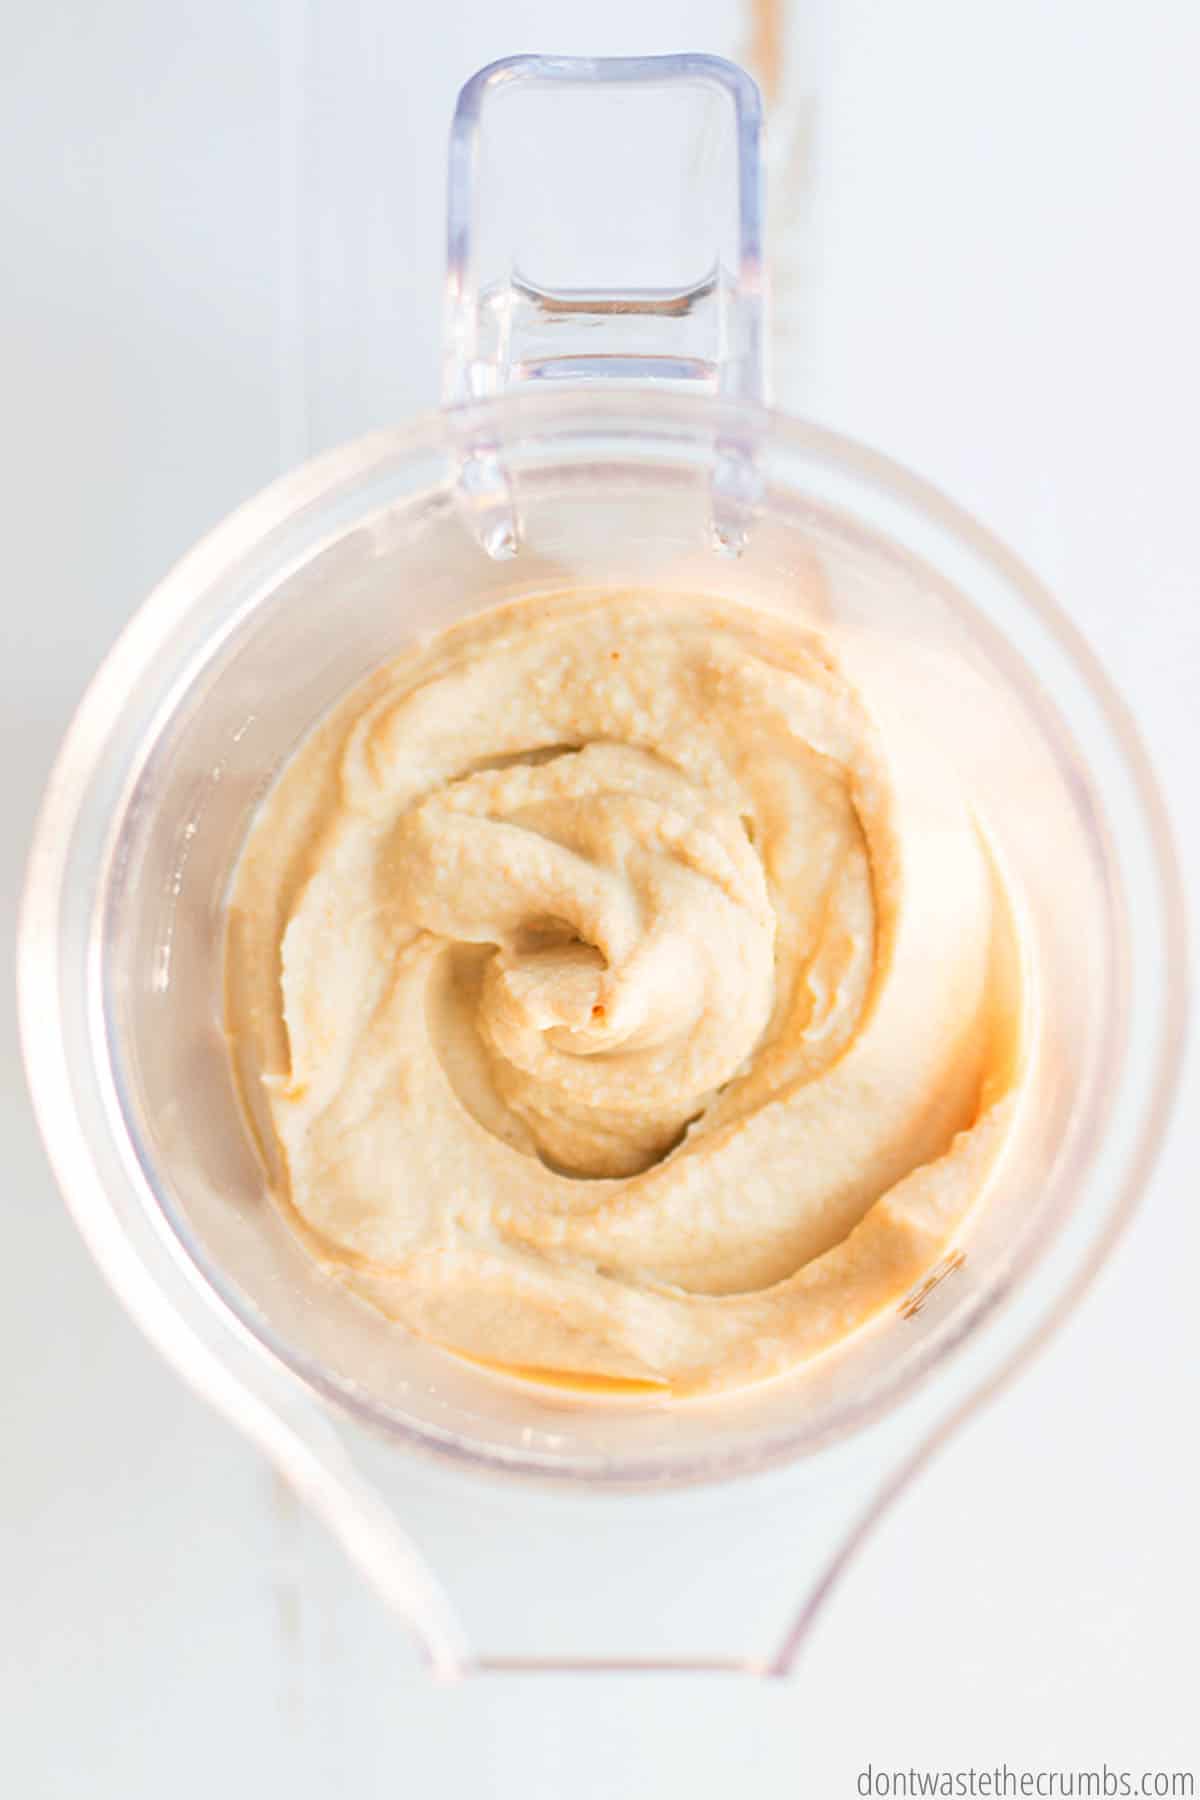
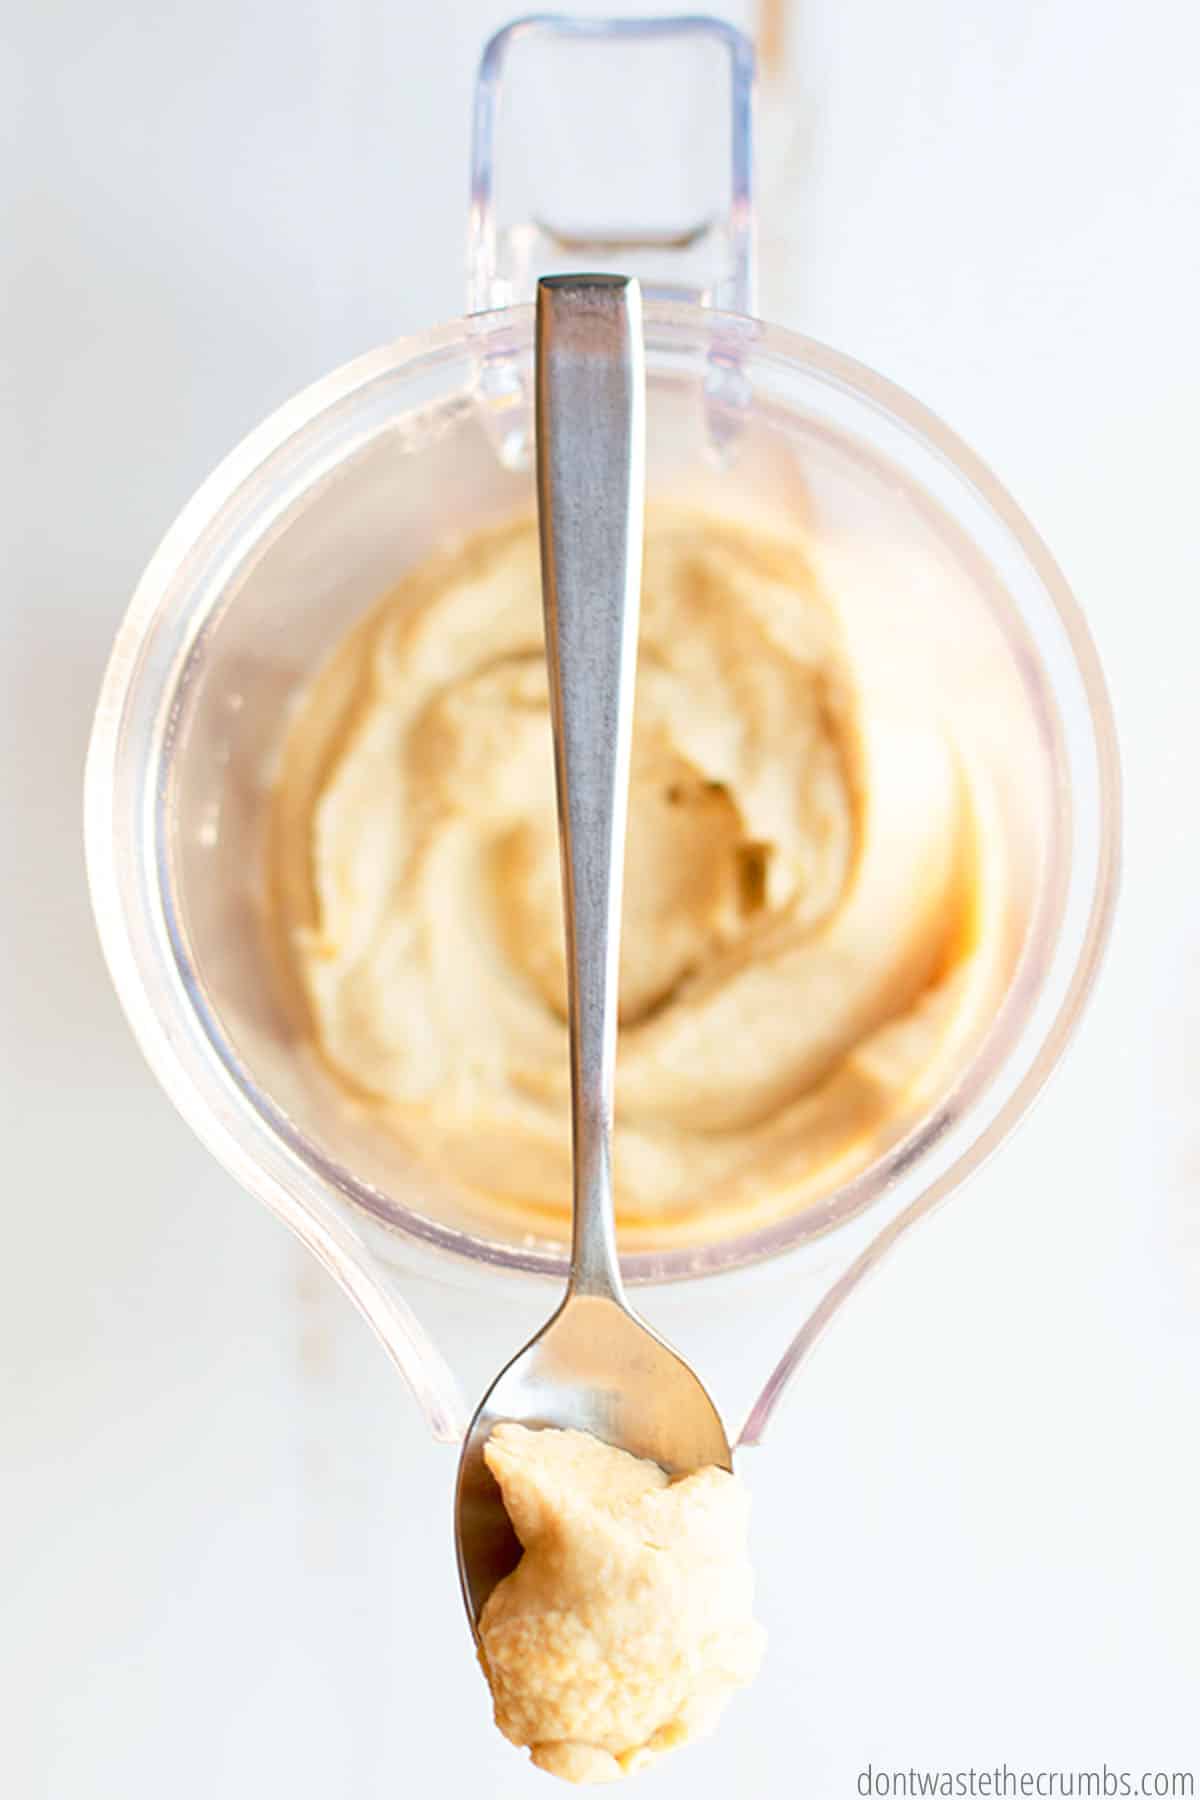
Step 2. Blend the beans until they are smooth. You may need to add water, 1 tablespoon at a time and up to 2 additional tablespoons, to achieve the right consistency.
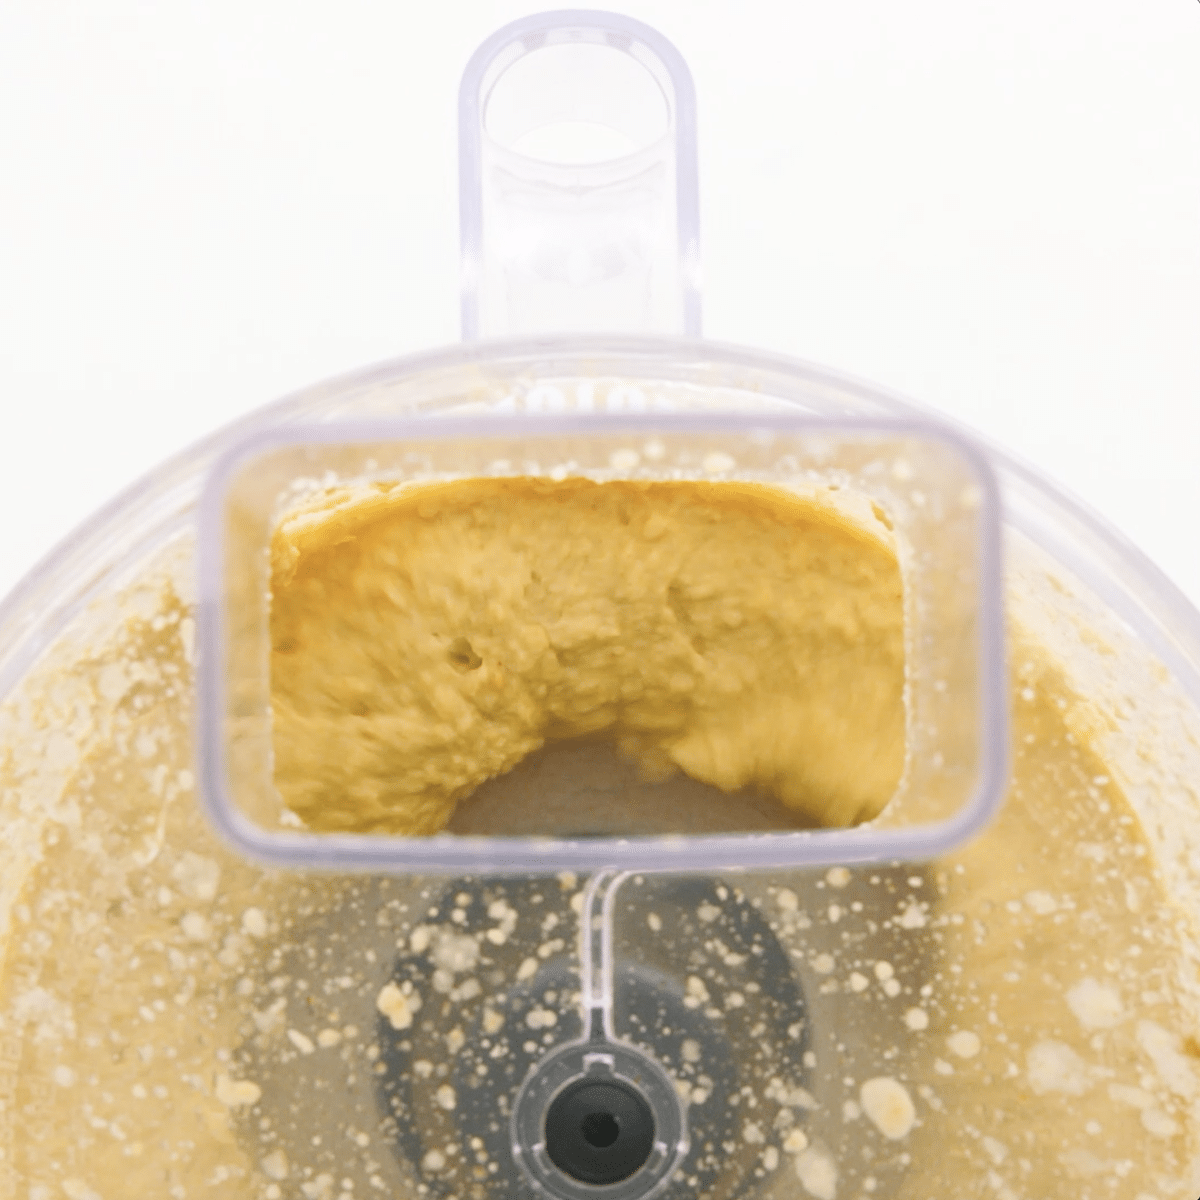
Step 3. Taste the hummus and add additional spices or lemon juice if desired. I almost always add a total of 1 teaspoon of cumin and ¾ tsp of cayenne pepper. Process again and taste again, adjusting the spices as needed.
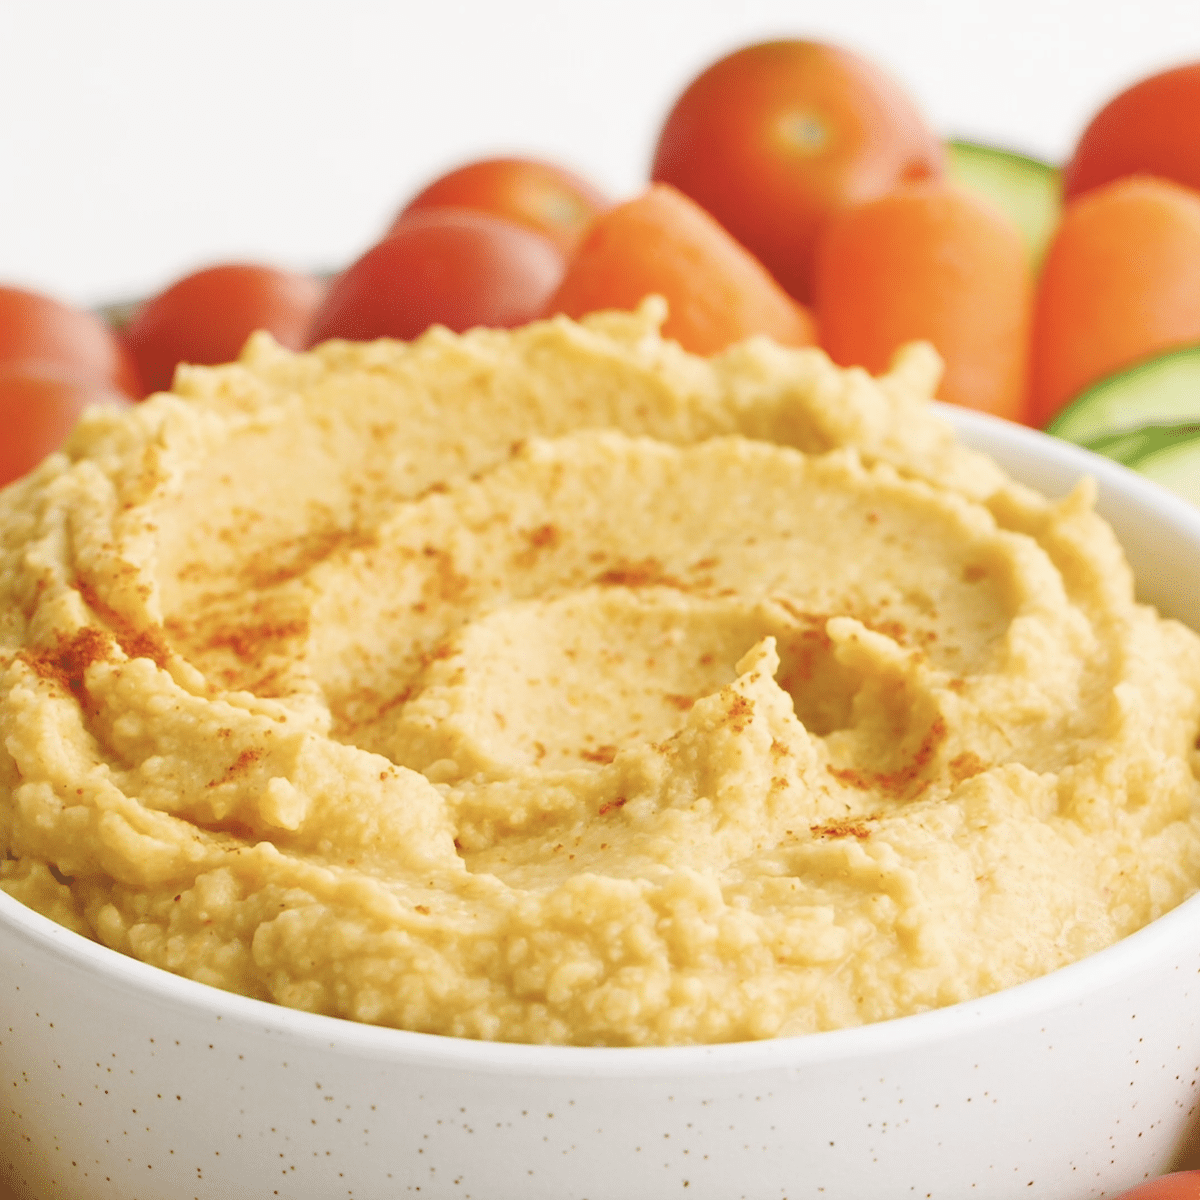
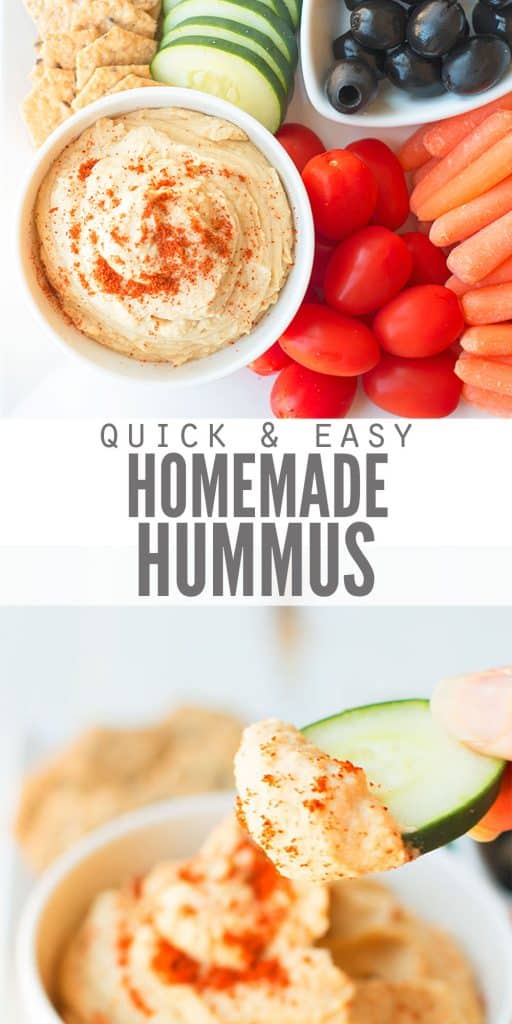
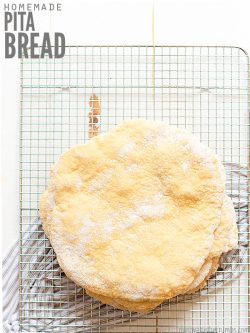
Step 4. Serve with raw vegetables or Homemade Pita Bread!
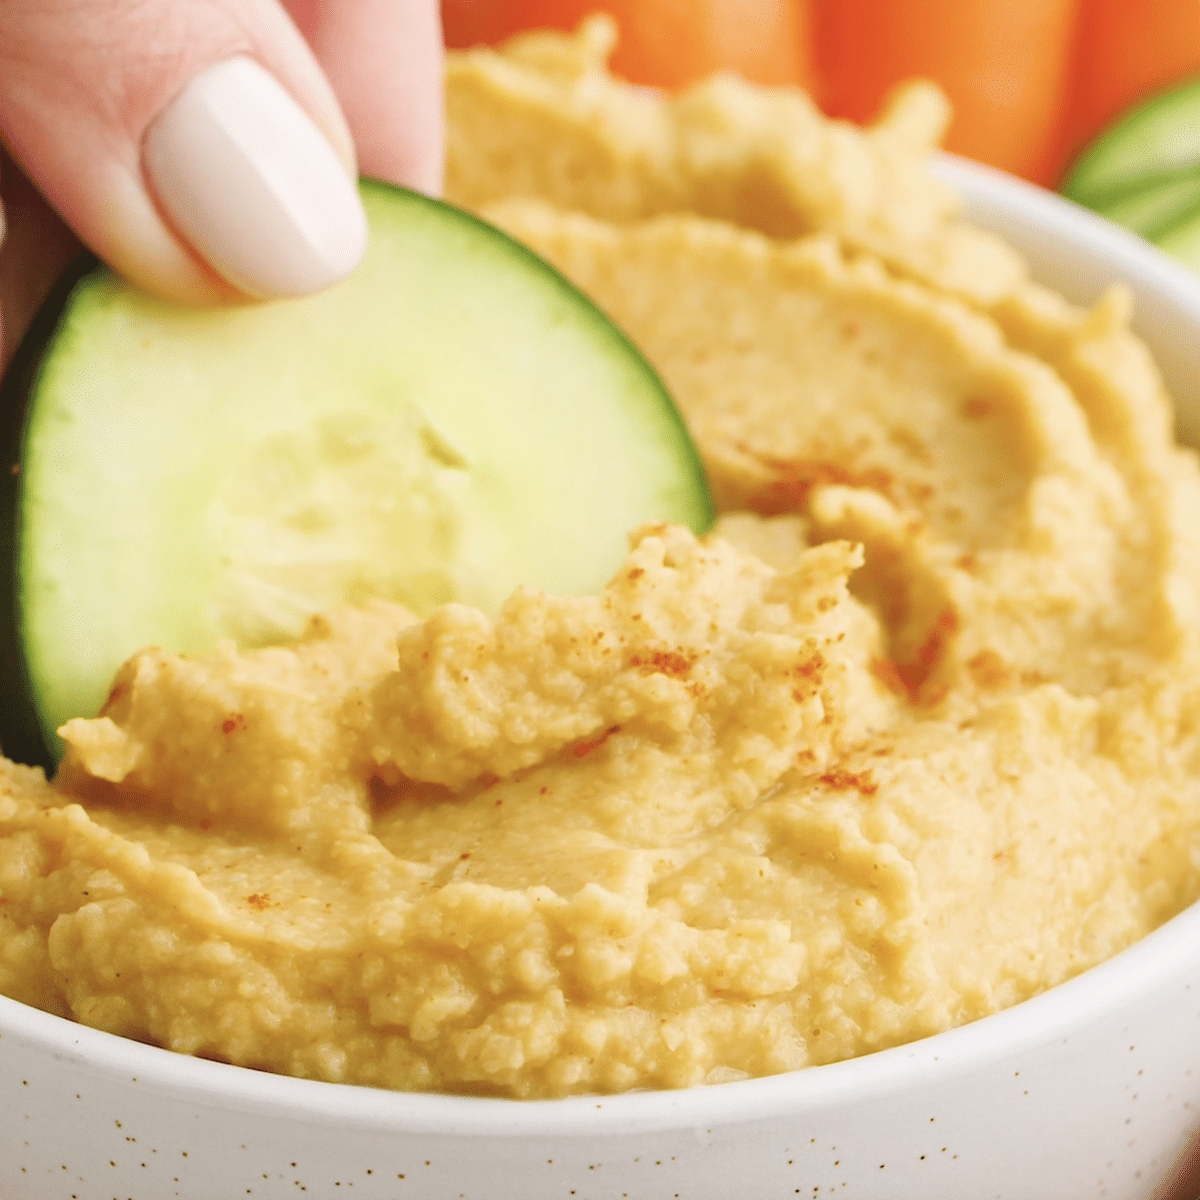
Store homemade hummus in an airtight container in the refrigerator for up to a week.
HOMEMADE HUMMUS RECIPE TIPS & TRICKS
- If you’re short on time, you can use one 15 oz can of garbanzo beans, drained and rinsed three times. Remember that it’s the canned beans that tend to cause gas for sensitive tummies.
- If beans tend to make you gassy, you’ll also want to cook your own beans. I explained in this article how to de-gas beans, but those with super sensitive bellies can add a strip of kombu (seaweed) to the beans during the soaking process as well. That can also help break down the enzymes that give you tummy troubles.
- I’ve also read that adding a slice of ginger, some fennel seeds, or cumin seeds can also help.
- Whatever you add to your beans during the soaking process, be sure to remove them before you start cooking the beans. Using a metal tea ball or a silicone tea bag can help keep the small seeds together, and make it easier to remove them later on.
HUMMUS VARIATIONS
If you ever look at store-bought hummus at the grocery store, you’ll see a wide variety of flavors! We can recreate those in this hummus recipe too!
- Drizzle extra olive oil on top.
- Turn it into red pepper hummus using roasted red peppers.
- Stir in chopped fresh parsley or a bit of pesto.
- Use roasted garlic instead of fresh garlic cloves.
- Add sun-dried tomatoes.
- Sprinkle sesame seeds on top.
TO SERVE HOMEMADE HUMMUS
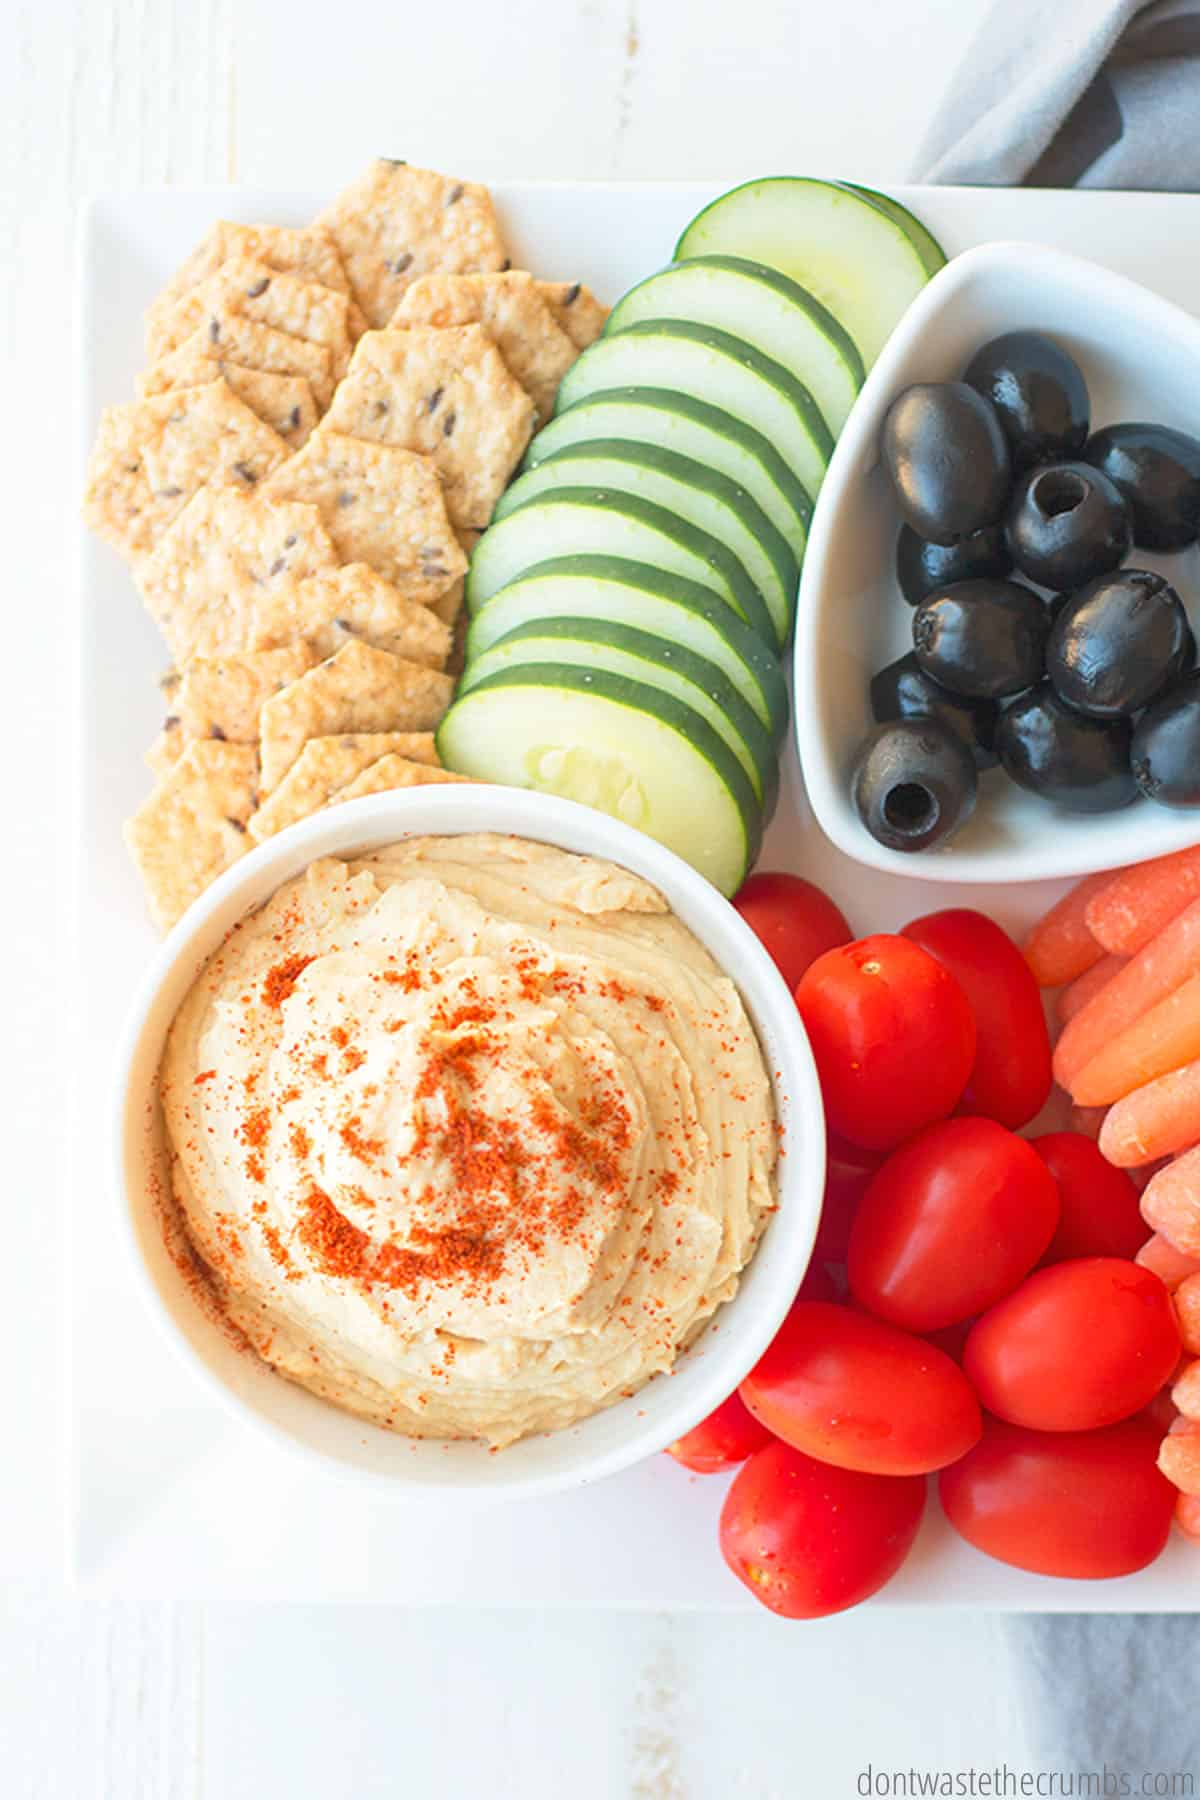
An authentic hummus recipe is traditionally eaten warm with pita bread, but we love to eat hummus for any meal of the day! Try it…
- As a dip for raw veggies and olives. Cucumbers, carrots, celery, and bell peppers are perfect for dipping.
- With Homemade Crackers or pita chips
- On a sandwich with Homemade Pita Bread, or as the dressing in a wrap
- Spread it on Homemade Crostini for an easy and delicious appetizer
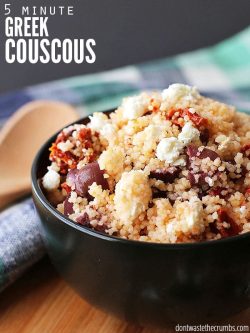
- Alongside Greek Couscous or Greek Quinoa Salad
- Pack it for lunch inside a Healthy Homemade Lunchable
DESSERT HUMMUS RECIPES
Hummus isn’t just for lunch and dinner anymore! Try one of these yummy dessert hummus recipes for a treat.
- My kids really like Chocolate Hummus.
- My favorite is Chickpea Cookie Dough Hummus. I could literally eat it with a spoon!
- Cake Batter Hummus is perfect for when you’re in the mood for something sweet but not too heavy.
- Snickerdoodle Hummus is a yummy non-chocolate dessert option, plus cinnamon tricks your tastebuds into thinking something is sweeter than it actually is.
- Pumpkin Pie Hummus. We love this one as a fall treat!
RECIPE – HUMMUS FAQS
Should you peel the garbanzo beans first?
No doubt, peeling the beans first will yield a creamer hummus in the end. But to be honest with you, I don’t have time for that. I’d rather add an extra tablespoon of water to make my hummus smoother or just give it an extra round or two in my Blendtec Blender than stand around the sink, taking the skin off the garbanzo beans.
Can you use canned beans for this hummus recipe?
Of course! Be sure you drain the liquid from the beans first. This is called aquafaba and CAN be used in vegan recipes, but it’s also where you’ll find the enzymes that cause gas…so that’s your call. If you use canned beans, make sure you rinse them 3 times, thoroughly, and adjust the salt in the recipe.
Which hummus is the best?
This recipe for hummus is the best, of course! It tastes like traditional hummus, but it’s free of the expensive tahini. Plus, it’s super easy, healthy, and delicious. A perfect snack or lunch (with raw veggies, or in a sandwich or wrap) and ideal for vegan and gluten-free lifestyles!
MORE YUMMY DIPS AND SAUCES
- Dairy-Free Homemade Ranch Dressing
- Dry Onion Soup Mix Recipe (for mixing up onion dip)
- Easy Guacamole
- Caesar Salad Dressing
- Homemade Mayo
- Homemade Buffalo Wing Sauce
- Homemade Sweet and Sour Sauce
- Thai Peanut Sauce
Fight Inflation Workshop!
Sign up for my FREE Fight Inflation Workshop and learn simple strategies to save money, even with rising food costs!WATCH HOW TO MAKE HOMEMADE HUMMUS
Our Favorite Homemade Hummus Recipe
Looking for a quick and easy classic hummus recipe? Look no further! This simple hummus (made without tahini) is creamy with a hint of garlic and spice. Vegan and gluten-free, it comes together fast and it’s SO delicious!
- Prep Time: 5 minutes
- Cook Time: 1 minute
- Total Time: 6 minutes
- Yield: Serves 4-6 1x
- Category: Sauces and condiments
- Method: Blend
- Cuisine: American
Ingredients
- 2 cups chickpeas (cooked from scratch, or 1–15 oz can drained and rinsed 3 times)
- 1 clove garlic
- 3 Tbsp olive oil
- ½ – 1 Tbsp lemon juice
- ½ – 1 tsp cumin
- ¼ – 1 tsp cayenne pepper
- ½ tsp salt
- 2–4 Tbsp water
Instructions
- Put the garbanzo beans, olive oil, ½ Tbsp lemon juice, spices and 2 Tbsp of water in a food processor OR a high powered blender (I have a Blendtec Blender).
- Process the beans until they are smooth. You may need to add water, 1 tablespoon at a time and up to 2 additional tablespoons, in order to achieve the right consistency.
- Taste the hummus and add additional spices or lemon juice if desired. I almost always add a total of 1 tsp of cumin and ¾ tsp of cayenne pepper. Process again and taste again, adjusting the spices as needed.
- Serve with raw vegetables or Homemade Pita Bread!
Notes
- If beans tend to make you gassy, you’ll want to cook your own beans. Those with super sensitive bellies can add a strip of kombu (seaweed) to the beans during the soaking process as well. That can also to help break down the enzymes that give you tummy troubles.
- Adding a slice of ginger, some fennel seeds, or cumin seeds can also help.
- Be sure to remove them before you start cooking the beans. Using a metal tea ball or a silicone tea bag can help keep the small seeds together, and make it easier to remove them later on.
Nutrition
- Serving Size: 1
- Calories: 85



Just made a batch of this, can’t wait to try. So far I like the taste, but now I’ll wait a couple of hours to try again. thanks for sharing.
You’re most welcome Regina! It’s delicious!
I just tried this recipe and it was ah-mazzzing! Seriously the best hummus I’ve ever had, surpassing store-bought easily. I omitted measuring the ingredients and instead just threw everything into the Vitamix LOL. Thank you for this easy yet delicious recipe!
I am ecstatic to hear you love this recipe!
I’m going to try this for thanksgiving this year. Looks like an easy recipe. Thanks.
I just made a double batch of this and can not wait for it to settle up in the fridge. Of course I had to taste it as it was going in the bowl, soooo yummy!
If I use tahini, omit the olive oil?
Hi Elaine,
Yes, you’d replace the olive oil with the tahini (about the same amount, but of course tahini is thicker. You can always blend in more after tasting it, if you’d like). Traditionally, hummus is served with a swirl of olive oil on top if you still want to incorporate it. Enjoy! 🙂
Thank you! I love this recipe!
I used ground flax seed instead of tahini which I didn’t have. It was delicious.
This recipe doesn’t call for tahini (I very rarely have it on hand!), but I bet adding flax seeds would taste great!
How many calories in tbsp?
I make my own tahini in my tiny food processor. It’s no different than making peanut butter. A touch of salt, do not toast the sesame seed for a milder taste. Good olive oil is necessary. Your recipe looks great.
Hello! I’m excited to make this! Can you freeze hummus? Is the quality not as good?
Hi Ashley! I’ve never tried freezing hummus, but you can take a couple tablespoons from the next batch to see how it goes. Worst case, it’s just a few bites. Best case, freeze your heart out!
Good idea! Thank you! I just cooked my first batch of beans! Next step: Hummus 😊
I do add tahini to my homemade hummus- but just 1Tbsp per batch. This actually makes it pretty economical, and you get that authentic taste.
Personally I love hummus with lemon but other than that, the recipe looks great! Thanks for all the wonderful recipes and money saving ideas. I’ve shared your blog with lots of my friends and get happy responses.
Thanks Tamara! You can actually add lemon as well, and you just reminded me that I forgot to add it in the recipe! I use 1/2 – 1 Tbsp. 🙂
Great recipe thank you! How long will this last in the fridge?
Hi Kelly!
We’re glad you like it! It’s good in the fridge for about a week. 🙂