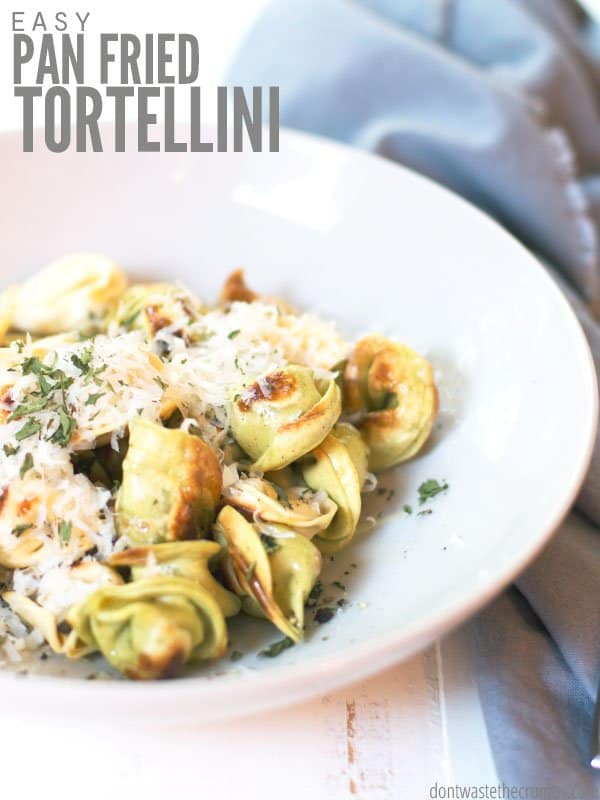
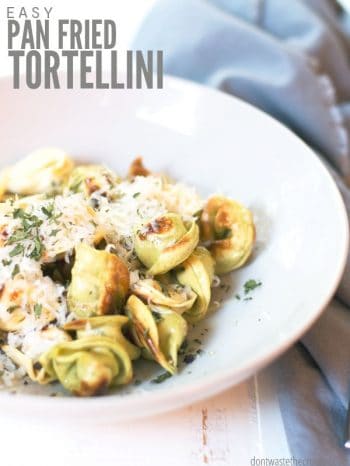
Pan fried tortellini comes out perfectly golden, crispy, and makes for a quick & easy weeknight dinner. Serve with a light homemade tomato sauce, or simply with olive oil, salt & pepper!
When we first moved to Georgia, we spent 3 months living in a one bedroom apartment. My kitchen tools consisted of a cast iron skillet and a ceramic baking sheet that my aunt gave me as we drove through Texas. We didn’t even have a microwave to reheat anything.
It was, what I thought, a very minimal kitchen.
In order to make dinner happen AND stay on budget, I had to pick and choose shortcuts carefully.
Instead of making homemade tortillas, loaves of man bread and my husband’s favorite granola bars, I bought it all.
I even bought a rotisserie chicken one night, and a few bags of ready-to-eat salad mixes.
I knew these shortcuts were temporary, but I was losing faith in my creativity. It felt like the ONLY things I knew how to make, revolved around store-bought foods. It felt like the days when we first switched to real food.
Why pan fried tortellini?
For me, the light at the end of the tunnel was fried tortellini. And my family LOVED it!
- The outer edges are crispy, while the stuffed portion is soft.
- It’s a love affair of soft and crispy that my family adores and keeps asking for. YUM!
Fried Tortellini Ingredients
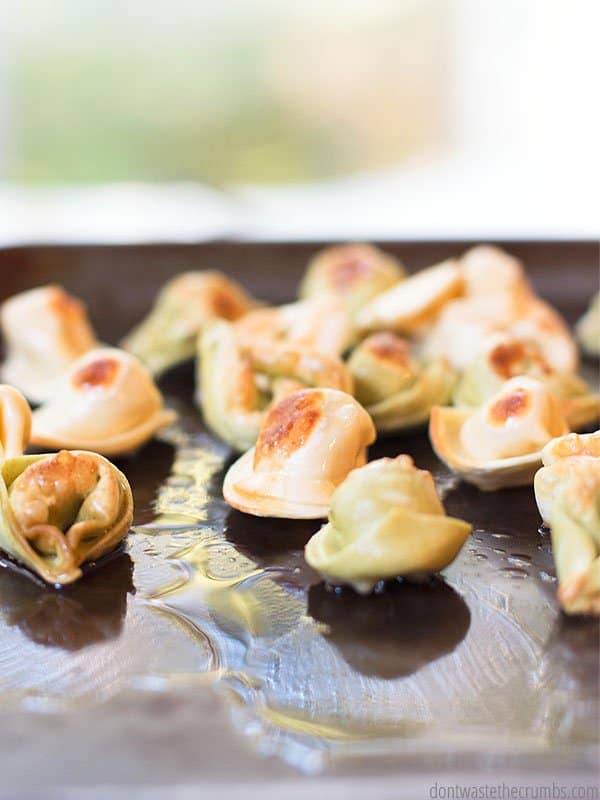
- tortellini
- bacon grease OR butter
- olive oil
- salt and pepper for seasoning
Easy Pan Fried Tortellini Notes
Done right, you don’t even need a sauce
The first time I made this, I added a light tomato sauce. The second time I drizzled olive oil and seasoned with coarse salt and cracked pepper and it was SOOO good. That was the moment we deemed it blog worthy.
My advice? Skip the sauce. This is a great way to let the flavors of a good olive oil shine!
You can add veggies!
- While your pasta cooks at one end of the skillet, add some veggies to the other end. Halved cherry tomatoes, fresh spinach, sliced mushrooms, sliced zucchini or yellow squash would all be excellent.
- Cubed squash or sweet potato, broccoli, cauliflower and kale would be really good!
- As long as you cut the vegetables small and/or thin (because veggies won’t “heat through” like they do in the oven), you’re good.
You can do fried ravioli too!
While my families preferred the extra bits of fried pasta on the fried tortellini, you can definitely make fried ravioli if that’s what you have. If you can, aim for smaller ravioli rather than the large ones so you get more edges to fry.
Friends, don’t let life overwhelm you. If you get lemons, make healthy homemade lemonade. If you get tortellini, fry it!
Why you should use a griddle for tortellini
A griddle really performs best.
- I tested this recipe in my cast iron skillet, but thought that the pasta didn’t get as crunchy in the skillet as it did on the griddle.
- I think this is because a griddle has a place for liquids to drain. This means the pasta doesn’t sit in the liquid for long. Once the edges get crispy, they stay that way.
- In a cast iron skillet, all excess liquid stays in the pan. The pasta then cooks and absorbs the liquid, rather than frying.
How to pan fry tortellinis (step-by-step)
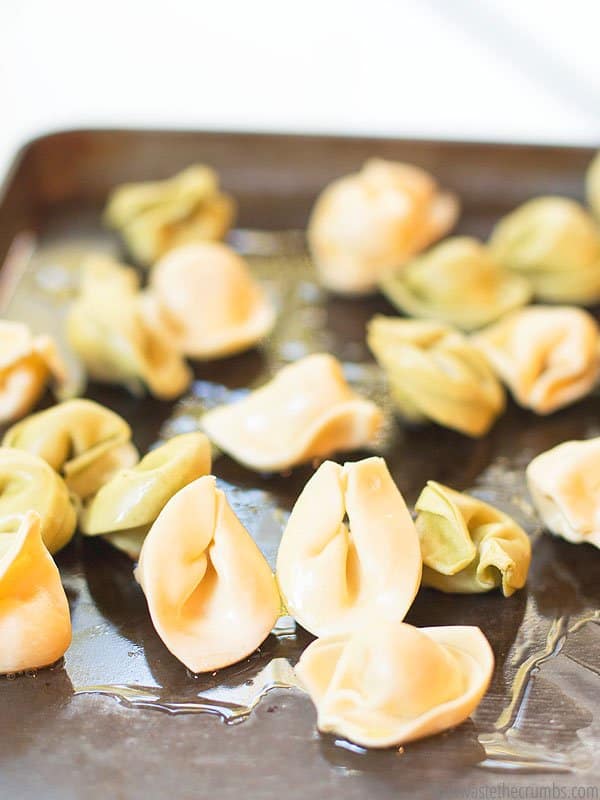
Step 1. Preheat a griddle (we have this one) to 350F. When the griddle is ready, measure 1 Tbsp of bacon grease or butter onto the griddle.
Step 2. Place tortellini on the griddle on a single layer. If you have more tortellini than space, do this in multiple batches.
Step 3. Stir the tortellini around in the fat until all the pieces are partially coated. Add more fat if needed.
Step 4. Let the tortellini sit and cook, undisturbed for about 5 minutes. Turn one tortellini over to see if it’s ready. You want a dark golden brown color, but not burnt. If it’s not ready, let it cook for another 2-3 minutes. Add additional fat if the tortellini seems to not be cooking very fast.
Step 5. When the tortellini is ready, flip them all over and continue to cook for another 5 minutes undisturbed, or until the pasta is dark golden brown in color. Add additional fat if necessary.
Step 6. When all the tortellini has cooked on both sides, randomly flip the pasta around, letting the awkward edges cook as well. When most of the tortellini pieces are dark golden brown in color, remove to serving plates.
Drizzle each serving with olive oil and season with salt and pepper.
FAQs
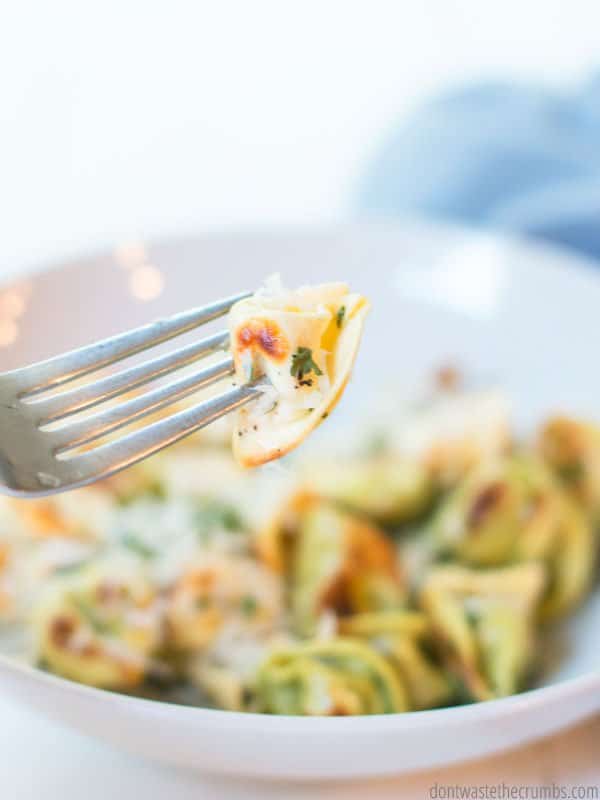
This method of cooking bagged tortellini on the griddle is the BEST! It’s quick, easy and delicious!
I started this recipe from unfrozen bagged tortellini. If you are starting from frozen, I would recommend that you allow the tortellini to thaw in the fridge before cooking on the griddle.
My easy meatballs would be a perfect side for fried tortellini. A roasted veggie would also be delicious like my broccoli recipe.
What to serve with tortellini
Try any one of these simple suggestions to serve alongside tortellini
Fight Inflation Workshop
Sign up for my FREE Fight Inflation Workshop and learn simple strategies to save money, even with rising food costs!Fried Tortellini
Pan fried tortellini comes out perfectly golden, crispy, and makes for a quick & easy weeknight dinner. Serve with a light homemade tomato sauce, or simply with olive oil, salt & pepper!
- Prep Time: 5 mins
- Cook Time: 15 mins
- Total Time: 20 mins
- Yield: Serves 4
- Category: Main meals
- Method: Stove top griddle
- Cuisine: American
Ingredients
- 1–2 packages of tortellini (8–20 oz total, depending on your family size)
- 1/4 cup (ish) of bacon grease OR butter
- 2–4 Tbsp olive oil
- salt and pepper for seasoning
Instructions
- Preheat a griddle (we have this one) to 350F.
- When the griddle is ready, measure 1 Tbsp of bacon grease or butter onto the griddle.
- Place tortellini on the griddle on a single layer. If you have more tortellini than space, do this in multiple batches.
- Stir the tortellini around in the fat until all the pieces are partially coated. Add more fat if needed.
- Let the tortellini sit and cook, undisturbed for about 5 minutes. Turn one tortellini over to see if it’s ready. You want a dark golden brown color, but not burnt. If it’s not ready, let it cook for another 2-3 minutes. Add additional fat if the tortellini seems to not be cooking very fast.
- When the tortellini is ready, flip them all over and continue to cook for another 5 minutes undisturbed, or until the pasta is dark golden brown in color. Add additional fat if necessary.
- When all the tortellini has cooked on both sides, randomly flip the pasta around, letting the awkward edges cook as well. When most of the tortellini pieces are dark golden brown in color, remove to serving plates.
- Drizzle each serving with olive oil and season with salt and pepper.
Notes
The first time I made this, I added a light tomato sauce. The second time I drizzled olive oil and seasoned with coarse salt and cracked pepper and it was SOOO good. That was the moment we deemed it blog worthy.
Nutrition
- Serving Size: 1 serving
- Calories: 517




What a wonderful idea, pan-fry tortellini.
I used frozen tortellini, so I boiled them for a few minutes.
Then I sauteed them in a heavy skillet, using butter since no bacon fat in the house.
Light sprinkle of Sea Salt and some Garlic Powder, fry for a few minutes, and Voila, what an excellent side dish. Crispy on the outside and soft on the inside.
Definitely going into the rotation! Thank you very much for posting it.
This was amazing!! My husband loved it and I loved the simplicity. Fried some bacon bits in the cast iron, then fried the tortellini + chopped mushrooms in the grease; let it sit for quite some time, ended up covering for awhile to soften the middles. At the end added some microwaved frozen spinach, lots of minced garlic, sea salt and pepper; topped each bowl with generous GOOD olive oil, green onions, and grated parm (shaved parm would be better). Only cleanup was the cast iron and kitchen shears. So delicious and simple! Thanks for the recipe!!
So, you don’t boil the Tortellini first, then fry it?
Hi Barb, the tortellini is simply fried. No boiling required. 🙂
Beef Shepard’s Pie kind of!!! I’ll hsbe to try yours. I had thought of biscuits before, but I make garlic Parmesan potatoes for on top abscond everyone seems to really like that!! Total comfort food!!!
Here’s something we do quite a lot in England: pan-fry a package of ground beef or lamb with some chopped onions and garlic. When it’s cooked through, stir in a bit of water and some instant gravy granules or a stock cube–just enough to mix with the meat juices and make a gravy. Add frozen peas or mixed vegetables and simmer for a few minutes more. Make up a batch of dumpling batter or Bisquick and drop the dumplings on top of the meat/veg and gravy. Cover until the dumplings are done (15-20 minutes). There you are–mince and dumplings, good English comfort food. 🙂
Sounds easy and delicious Tina!
Does it become soft or kind of hard? X
The edges get crispy, but it’s still soft where the cheese is. We really like them cooked this way!
Is the tortellini that you use in the frozen section or in the refrigerated section?
Refrigerated. 😉
I have dried tortellini. If I follow your recipe, will the result be palatable? Please and thank you.
Hi Corinne,
The tortellini would have to be precooked in order to fry it. I wouldn’t recommend frying from dried. You could use any refrigerated tortellini, or you could boil it, then fry it. Hope this helps. 🙂