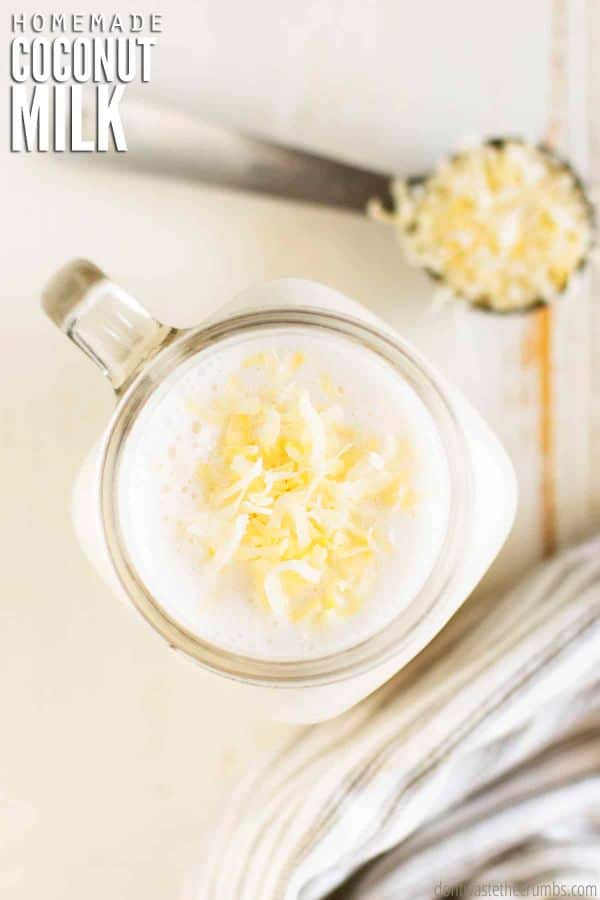
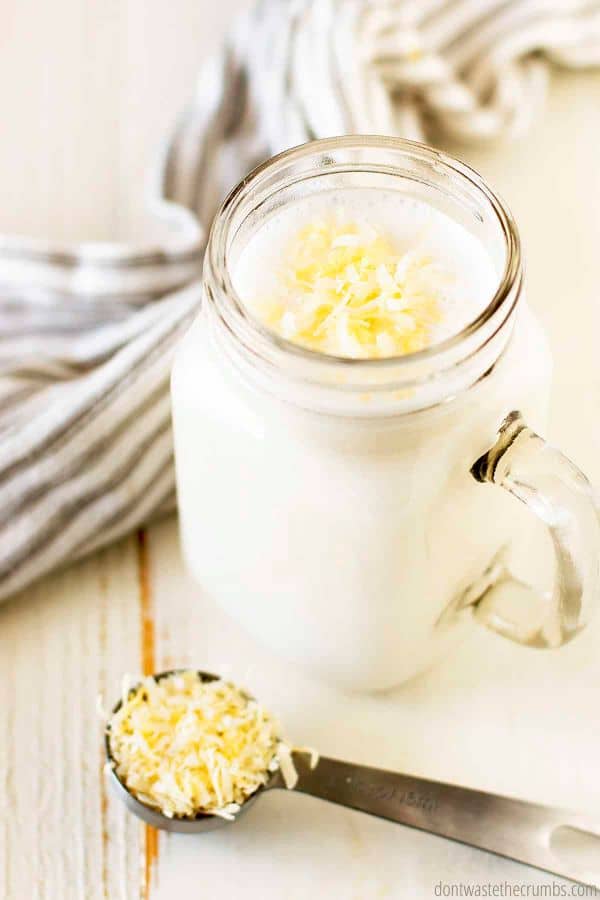
Learn how to make coconut milk at home with only 2 ingredients! Rich, naturally sweet, and WAY cheaper than store-bought, this coconut milk is the perfect dairy-free alternative for cooking, baking, or drinking.
Although we don’t have any dairy allergies, we still use a variety of dairy free milk substitutes. We realized after doing the Whole30 that we do best when we keep dairy to a minimum.
And if we’re looking for a dairy-free milk alternative, I usually turn to almond milk.
I like almond milk when I’m going to make plant-based beverages, like in my morning smoothies, or if I want to make my dairy-free ranch dressing a little bit thinner. And it makes a delicious dairy-free alfredo sauce!
But coconut milk is the other dairy-free milk I turn to most often, and that’s because it’s yummy in smoothies too, but it’s also a must-have when you’re making recipes like Instant Pot Curried Butternut Squash Soup and Coconut Rice.
Luckily, learning how to make coconut milk couldn’t be easier!
COCONUT MILK
Not only is this coconut milk recipe naturally sweet and delicious, it’s also:
- Frugal. Homemade coconut milk is WAY more affordable than buying organic coconut milk from the store.
- Simple. You only need 2 ingredients to make coconut milk. You can’t get much simpler than that!
- Healthy. Coconuts are rich in saturated fat among other health benefits, but people generally don’t want to drink milk with chunks of fat in it (or chunks of coconut). To make commercial coconut milk smooth, they have to add a bunch of additives and preservatives. The homemade version skips all that!
- Versatile. Use it in sweet or savory recipes, for making smoothies, or just for drinking!
- Dairy-free. And naturally gluten free. Perfect for those who eat dairy-free, or follow vegan or paleo diets.

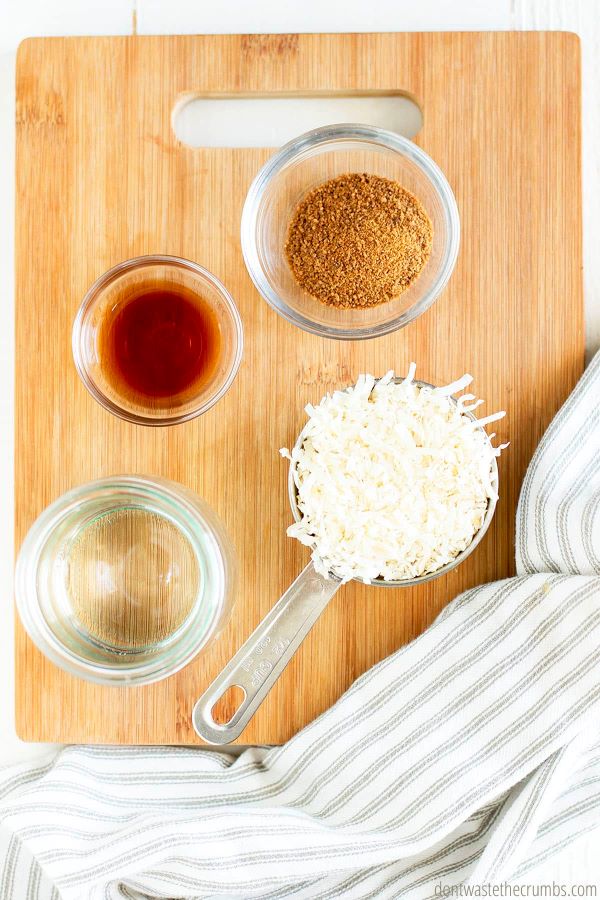
HOMEMADE COCONUT MILK RECIPE INGREDIENTS
- Unsweetened coconut flakes or shredded coconut (see note below for amounts)
- Hot water, filtered
- Sweetener (optional)
- Vanilla extract (optional)
HOW TO MAKE COCONUT MILK
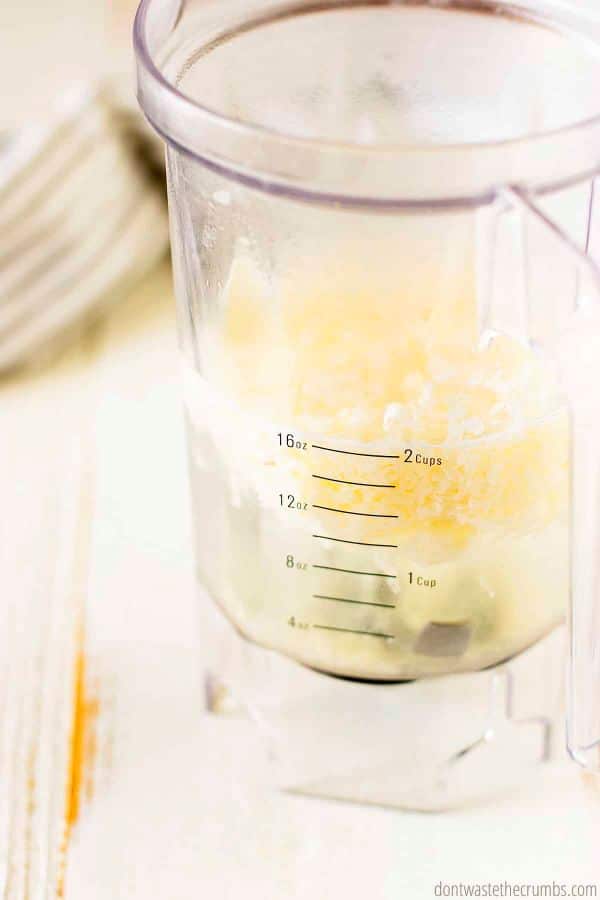
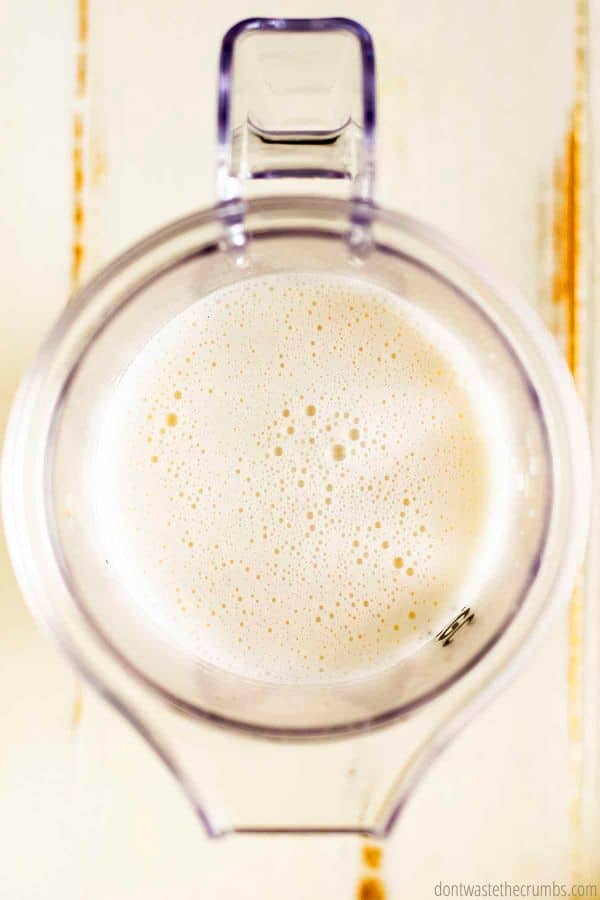
Step 1: Measure coconut flakes and hot water into a blender.
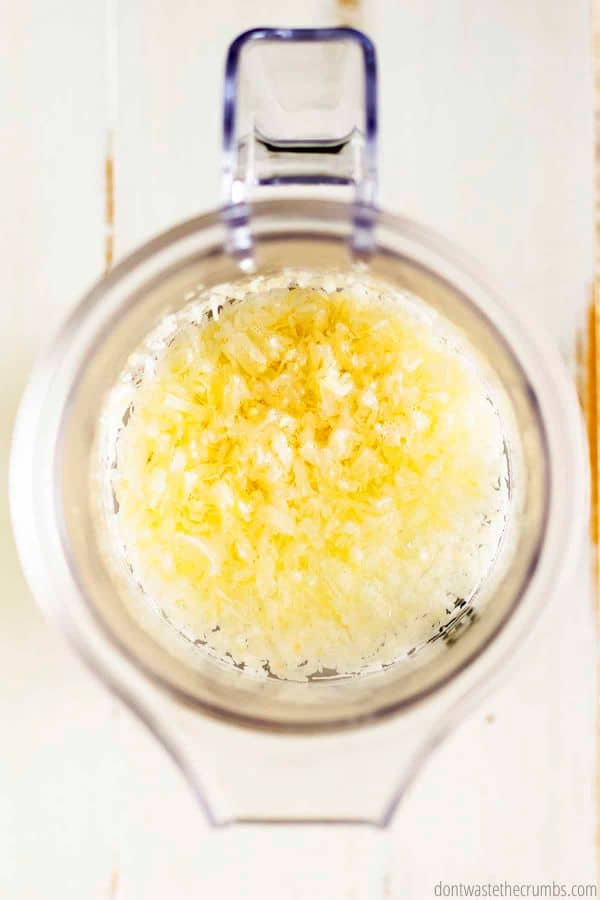
Step 2: Process for 45 seconds to 1 minute and repeat as needed. Add optional sweetener and vanilla extract to the final blend.
Note: Shredded coconut and coconut flakes lie differently in the measuring cup, so you don’t need as much shredded coconut if you choose to use that instead.
- To use shredded coconut instead of coconut flakes, use ¾ cup instead of 1 cup.
- For two cups: ½ cup shredded coconut, 2 cups hot water.
- For one cup: ¼ cup shredded coconut, 1 cup hot water.
Wasn’t that easy? In less than 3 minutes (including the time to measure), you have some of the best quality coconut milk you’ll find. And it’s SO delicious!
COCONUT MILK RECIPE TIPS
Make sure you use a blender capable of holding at least 6 cups. Be careful when you blend – the contents will be hot! Hold the lid on the blender with a towel.
I have a Blendtec and use the “whole juice” function twice to get creamy milk. You may have to run your blender for several rounds to get a creamy texture.
Some people like to use a nut milk bag to strain any remaining coconut pulp from the milk after blending, but I haven’t needed to do that for this recipe. If you feel like you need to strain any solids remaining after blending, you can use a nut milk bag, cheesecloth, or a fine mesh strainer. Add any coconut solids to granola or oatmeal for a bit of extra flavor.
Add optional sweetener and/or vanilla, starting with the least amount (1-3 tsp sweetener and ½-1 tsp vanilla) and tasting as you go. You may enjoy adding these if you plan on drinking the coconut milk, but not necessarily if you plan on using it in a savory recipe. Consider what you plan to use your coconut milk for before adding these.
Store homemade coconut milk in an airtight container or jar in the fridge for up to 7 days.
HOW TO MAKE COCONUT MILK FOR BAKING
The only real differences between the coconut milk that comes in a 32oz cardboard container (the drinking kind) and the coconut milk that comes in a can (the cooking kind) are:
- the drinking kind is thinner (think light coconut milk)
- the cooking kind has more fat (think full-fat coconut milk)
- the cooking kind has fewer additives
Fortunately, you can make your own homemade coconut milk for cooking too. Here’s how:
- Make a batch of homemade coconut milk following the steps above.
- Put it in the fridge to cool. The healthy fats will rise to the top and solidify.
- When cool, scoop out the cream that has risen to the top. Mix in enough of the separated coconut water to achieve the desired consistency.
Tip: Bringing the coconut cream to room temperature, or slightly warmer, will help make mixing easier.
Psst! You can also use that delicious coconut cream that you scoop off the top to make No Bake Blueberry Coconut Cream Pie – yum!
COCONUT MILK RECIPES
Whether you use your homemade coconut milk for drinking or baking, here are some recipes with coconut milk to get you started!
- Instant Pot Curried Butternut Squash Soup
- Coconut Rice
- Slow Cooker Thai Pineapple Vegetarian Curry
- Zuppa Toscana Soup
- Instant Pot Oatmeal
- Coconut Cream Popsicles
- 7 Days of Green Monster Smoothies
- Bulletproof Matcha Green Tea Latte
MILK FROM COCONUT FAQS
Is canned coconut milk better?
Canned coconut milk typically has fewer additives than the kind that comes in a carton, but it still has some. Learning how to make coconut milk at home means you can skip those additives AND save money!
Is coconut milk the healthiest milk?
Making your own coconut milk means that you control the ingredients, so you can choose a simple recipe without unnecessary additives and preservatives. Remember that the healthiest milk for you is going to be the one that works best for your diet, whether that’s dairy milk or a milk alternative like this one.
OTHER NON-DAIRY MILK ALTERNATIVES
Fight Inflation Workshop!
Sign up for my FREE Fight Inflation Workshop and learn simple strategies to save money, even with rising food costs!WATCH HOW TO MAKE COCONUT MILK
Homemade Coconut Milk: Recipe and Dairy Alternative
Learn how to make coconut milk at home with only 2 ingredients! Rich, naturally sweet, and WAY cheaper than store-bought, this coconut milk is the perfect dairy-free alternative for cooking, baking, or drinking.
- Prep Time: 1 minute
- Cook Time: 0 minute
- Total Time: 1 minute
- Yield: 1 quart 1x
- Category: Beverages
- Method: Blend
- Cuisine: American
Instructions
- Measure coconut flakes and hot water into a blender. Process for 45 seconds to 1 minute and repeat.
Notes
- To use shredded coconut, use ¾ cup.
- For two cups: ½ cup coconut, 2 cups hot water
- For one cup: ¼ cup coconut, 1 cup hot water
- Store homemade coconut milk in an airtight container or jar in the fridge for up to 7 days.
Nutrition
- Calories: 400





I wonder if you can buy a coconut, whole, and do this same thing?
I am from Indonesia. Yes, you can buy whole coconut, grate it using a fine cheese grater, add water, squeeze it onto a container covered with cheesecloth. We usually throw out the squeezed-out coconut flakes, never thought of using it as flour. At least this is how my grandma and mom used to make coconut milk. Now we just buy it in a carton or a can. I never give a second thought that there are additives and chemicals added. The old traditional way is definitely healthier.
One more thing, I have never heard anybody (in Indonesia especially) drinking coconut milk before, to us it is only for cooking or baking.
Okay, so I made this using 3/4 cup of shredded coconut and 4 cups of hot water. Blended for 2 minutes. It is basically coconut flavored water. I put it in the fridge and it has separated. But the thick part that rose is not very oily or fatty…it’s more like coconut puree. This doesn’t remind me of carton milk or canned milk. What is it supposed to be like?
Is a high-powered fancy blender a requirement for making creamy coconut milk? I have a fairly cheap blender. While my coconutty water won’t be wasted…I’ll use it in a smoothie if nothing else…I would not use it in recipes calling for coconut milk.
Hi Lyss! Homemade coconut milk won’t be as creamy as store-bought since you’re not adding emulsifiers, but it should be more than coconut flavored water. If your blender isn’t blending well, try running the coconut through a food processor first to make it smaller, then several rounds in the blender.
I recently received an ice cream maker as a gift to try and make non-dairy alternatives as buying things like coconut ice cream by the pint is very expensive! Most recipes I’ve found call for full fat canned coconut milk. Do you think this homemade version of coconut milk with the fat will be a good substitute for ice cream?
It is -18 this morning in the Northeast so I am not yet craving ice cream but will have to try this out this summer in order to make it an affordable treat!
First I need to take my appliance savings and buy either a Blendtec or a Vitamix. Have been trying to decide between them and find a good price for months!
What is TT?
Tropical Traditions. Sorry about that Heather!
Hey Tiffany, thank you for updating it! What a star! You really are amazing in your quick responses! I’ll give it a try as soon as I can as it sounds delicious. Have a good day. Petra
You’re welcome!
Hey Tiffany, thank you for your useful information. Would you be able to update the recipe for when using shredded coconut? I would really appreciate that. I mean what the measurements would be? Thank you. 😉
Hi Petra! I’d start with 1/4 cup of shredded coconut, minus 1 Tbsp. I’ll update the recipe to include this for you. 🙂
Hi! I’m so glad I found your website this morning! You are going to save me a fortune!
I had a question about the TT link. On the page, it has shredded coconut, coconut flakes, and coconut chips.
Your recipe specifically calls for the flakes, but for my money, I’d rather buy the pail of shredded coconut. Does the milk HAVE TO be made with the flakes? Especially as how you recommend trying to get it to a flour-like consistency before adding the water?
I’m glad you’re finding some helpful information! Welcome to Crumbs Lehua!
No, you don’t HAVE to use flakes. Flakes are just the most prevalent form of coconut on the market, so it’s what would resonate with most people. You can really use any dried coconut you want, but know that the measurements might have to be adjusted slightly depending on how much space the fruit takes up in a measuring cup. 🙂
I have been making coconut milk very similar to this way for a few months now quite consistently (also almond milk, but I know we’re on the topic of coconut milk here). I strain it through a cotton cloth, sort of like cheesecloth but a tighter weave. Then I put the pulp onto a baking sheet and put it in the oven on “warm” until it’s completely dried out and then put it into the blender again to get coconut flour. My husband, our 3 year old son, and I all enjoy drinking the coconut milk, fat chunks and all – we do shake it well before pouring. And if you use it in a hot drink, the fat chunks will dissolve and you won’t even notice. When I think about how easy it is to make, how much healthier it is than store-bought coconut milk, and how much cheaper it is (especially considering we’re getting coconut milk AND flour out of the deal!), I just can’t help but be happy about it.
Thanks for the info about making coconut milk for cooking. I will definitely try that soon, as my husband likes to buy the canned kind for making curry dishes.
Would using grass fed gelatin work as a thickener instead of the typical carrageen ? Thanks .
Ooh, I bet it would Deanna! I haven’t tried it personally, but it wouldn’t be a bad place to start. 🙂
Agar and or arrowroot (usually tapioca flour in Australia) could be added as thickeners. The tapioca /arrowroot needs to be made into a paste with some cold (room temperature) water or coconut milk so as not to clump, then boiled in water or coconut milk on medium heat and stirring for several minutes until it becomes thickened rather like custard. The agar (powder or flakes) needs to be boiled in liquid until it dissolves into a clear gel. It solidifies at room temperature.
Thank you for this awesome idea. I want to try it. However, the link for the unsweetened coconut flakes is broken and I don’t know what TT (in comments) is. Could you tell me which flakes you use. Thanks so much!
The link should be fixed now – thanks for letting me know Heather! TT is Tropical Traditions. They’re quality of coconut products is AMAZING and they’re prices are the most fair across the board.
If I win the Blendtec I would love use it for this recipe! Eating whole foods and avoiding addivitives is SO difficult, sometimes daunting and can be hard on the budget. Making homemade stuff always reassures me that I know exactly what’s in the food that feeds my family.
BTW-I’m so impressed that each comment that I’ve read was responded to!
Thanks for all the great info and recipes!
Good choice Jesse! Thanks for noticing! 🙂 And you’re most welcome!
And to think, I thought making coconut milk was difficult. It’s ironic I was looking to buy coconut milk this morning and said there must be an easy way to make it. Thanks, I’ll be giving this a try next week.
Oh Chef Ria – it’s SO simple! Welcome to Crumbs – let us know how it goes! 🙂
I am confused as to which coconut you recommend–Bob’s or the one from TT. Maybe you were just giving two options for price comparisons?
Sorry for the confusion Barbara! Bob’s was for price comparison since there’s so much variety on Amazon, but I recommend TT because of their sourcing (and price too!).
I was eager to try making my own coconut milk and attempted it a few months back but found that it was clumpy as it separated once it was in the fridge (and didn’t blend easily when shaken). Is that normal? Any suggestions?
Yes, normal to be clumpy as that’s the fat and solid coconut separating from the water. Suggestions:
1. blend the coconut first, alone, without water. Or do it in a food processor. Get it as fine as you can, like coconut flour.
2. use boiling water if necessary. kinda like how things dissolve in hot water? same theory. tiny coconut, super hot water.
3. blend twice, or three times.
4. strain immediately. try lining a fine mesh sieve with a coffee filter. hot water should go through while coconut doesn’t.
5. when it’s COMPLETELY cool, scoop as much fat as you can from the top.
6. shake super hard in a sealed jar before drinking!
Hope that helps!
Thanks for the tips! I’ll try that.
Just reviewing Tiffany’s series again, before I make almond and/or coconut milk this weekend. I know she says in her post to use the coconut chips, but I buy the shredded from TT and it is like a coarse flour, not like what I normally think of as shredded! I was still straining it though.
Did I say chips? I meant flakes! Oops! Flakes are probably more like what you’re describing, not quite flour, but smaller than chips. I would venture to say that even if we used flour, we’d still have to strain a bit. Maybe the only work around would be very hot water, or dissolving coconut flour first, then blending.
Even with hot water and the TT shredded I still strain even with my blendtec. I know some people that then dehydrate the pulp and use it as flour
Has anyone considered using a coffee grinder to really get very fine powder (flour) before blending. I would assume that the finer the flour particles, the better the suspension. Oil and water don’t mix but I guess you could make an emulsion which would hold the suspension. Thoughts ?
The only downside to blending the coconut first is that the coconut will release its oils and you’ll create coconut butter if you’re not careful. Do you know of an ingredient that serves as an emulsifier that would work in this recipe? All I know of is mustard, and I don’t think that will work, lol!
A little lecithin (granules or liquid) should work as it is the classic emulsifier. The granules may need to be powdered first. They are a light yellow colour whereas the liquid is darker and viscous, but only small amounts would be needed.
Do you use soy-based or other types of lecithin Maria? I’ve read bad things about lecithin in general, and I’m totally against using soy lecithin. But I’d be interested in hearing about other forms, if they’re not as bad!
Tiffany- there is now a sunflower based lecithin on the market. I can’t tell you much about it, other than I was able to eat some products (chocolate covered banana chips come to mind) because they are subbing it instead of using the soy lecithin.
I like to pass mine through a mesh strainer to remove most of the solids before cooling. It’s still a little pulpy, so I’m trying to figure out the most efficient way to remove the rest (I’m thinking some of the muslin hubby uses to strain our goats’ milk after he milks them) but haven’t tried another step yet.
The coconut fat is yummy in coffee. It’s not exactly a creamer, but it’s good with the soy creamer I’ve been using.
I have heard people mention a paint straining bag from a paint store! you can also find a ‘nut milk bag’ on Amazon
Thanks Helen!
Yes Melody – a fine mesh strainer, a nut bag or even cheesecloth will help with straining the pulp. Maybe even a simple coffee strainer could do the trick! I’m hoping your soy is organic Melody. 😉
Your post was very informative, and the only one I found that mentions the solidifying of the top layer. So you don’t squeeze yours through cheesecloth after using the blender? How do you find the consistency? Is there lots of pulp? Also, I transfered all of the solid fat into a different container to store in the fridge…how long will the fat last? Do I have to use it right away? I don’t have a need for it at the moment. Also, can I freeze the coconut milk (and/or fat)? I’d like to make a lot of it at once and be able to store it.
Great website 🙂
Hi Amanda! I did not strain any coconut out of my milk. I let it solidify and then scooped the fat. Then shook the jar really hard before putting it in the blender for a smoothie, lol. I didn’t drink it straight (after scooping the fat), but I’m sure there were little chunks in there. If I were picky, I’d blend just the flakes, then the milk twice, then strain twice, just to make it extra smooth. The fat should be good for several weeks – it’s just coconut and water, neither have “expiration” dates so to speak. You could probably freeze both w/o a problem; I haven’t done it, but don’t see why you couldn’t! Thanks for your kind words!
Unfortunately my son didn’t like the milk, nor the yogurt I made him! Toddlers 😉 we buy half gallons of the refrigerated almond milk for $2.50. While he loves it, I haven’t been able to source almonds that don’t have a peanut contamination risk without costing an arm and a leg! Wish I could convince him to like the coconut because even buying from TT the milk is so cheap then. Plus their coconut is from a dedicated facility.
Bummer Helen. 🙁 Maybe give him some time with neither version, then slowly introduce the homemade. Kids can be picky when something that’s the ‘same’ tastes different, ya know? Have you tried JustAlmonds.com?
I tried the coconut milk (we have nut allergies in our house so the cashew milk will unfortunately not work 🙁 ) Question: After refrigerating, if I just want to drink it, should I remove the solid “fat” at the top and drink the remaining or should I just shake it up and drink the whole thing…mine was pretty chunky with coconut, not as smooth as I would like, but maybe I just need some time to get used to it..
Ive posted a few times and forgot to tell you how much I love your website. It is becoming quite a valuable resource for me. Cant wait to try more of your recipes!
Ive answered my own questions by trial and error (and another website that was linked from yours) I strained the coconut out right away (toasted it and put in the food processor to make coconut “flour”. Then after the milk cooled I took off the fat (strained it again) dried the fat on a paper towel overnight and ( I think this might be the only place I can say this without sounding absolutely crazy..) used it as a moisturizer on my legs this morning…hhahah love it! Between the milk, flour and moisturizer, I really saved quite a bit of money! 🙂
Not only are you not crazy, but you are so smart for thinking of using the fat as a moisturizer! And genius for the coconut flour too! What I love the most is that despite hitting a road block of ‘what do I do with this?!’ you thought outside the box and came up with brilliant ideas – WAY TO GO! So 1 cup of coconut flakes got you milk, coconut flour, and moisturizer… absolutely amazing!
You are my kind of gal!
I use coconut milk as the basis or the only ingredient in all my moisturizer. Face, body, legs, the only other ingredients I add when I’m in the mood are a little organic evoo (very little) and some essential oil like lavender to soothe redness in the skin (and because I like the scent!).
You’re an impressive gal to have found ways to use every single ounce of the coconut like that. Try making muffins, pancakes or quick bread with the coconut flour (combined with other non-wheat flours like rice, quinoa, almond (nut alert) or even sorghum). The pancakes with just quinoa flour and coconut flour are nutty and yummy.
You’re so sweet Melissa! I’m happy you found the answer to your own question – I’m sorry for not being able to get back to you sooner! Another idea to make the milk smoother, without straining, is to blend the coconut flakes into a powder first, before adding any the water. Now, onto your other brilliant comment… !
Definately going to try this, Cow milk gives me heartburn, so I made the switch to first soy milk, and just recently to coconut milk. But at 3.99 a quart,its really expensive. Im worried that the consistancy will be different..but its certainly worth a try…
Definitely worth a try Melissa. Cashew milk is a bit thicker, so that may work too. Post coming on Monday!
Could you just add coconut oil to thicken it up or so you need to do the fat skimming thing?
The fat skimming thing is the basis for the cooking milk. It’s mostly ground coconut, with just leftover water holding it together. You could try using melted coconut oil to thin it out, but I don’t believe adding coconut oil to drinking milk will give you the consistency you’re looking for.
However, you could substitute coconut milk and coconut oil for canned coconut milk in certain recipes, like coconut rice. But for a blanket “this will always work” solution, you’ll need to go the skimming route. It’s not hard though; once it’s cold, it’s solid. It’s like scooping out hard peanut butter. 🙂
I’ve been making brown rice & oat milk; good “body’ to it, as well as coconut milk from frozen shredded coconut found in ethnic markets (southeast asian)
the MCT (medium chain triglycerides) are a good thing..and should be retained.
I’ll use warm water when blending it down, strain it (rinse blender jar ) put -back- into the blender & slowly blend in a scoop of sunflower lecithin; it’s good for you (the heart/blood) as well: it emulsifies the fats so there’s no congealed coconut fat (or very little flecks that didn’t get blended in)
__
I’ve found that also: doing a soak of the brown rice (and oats/ separately) for 1/2 day, then rinse off (phytic acid), cook, then cool with 1-2 Tb of coconut oil on the rice, in the fridge(< research shows that lowers carb value).
Remove from fridge (overnight/ next day) and use warm water to blend down. I use a strainer bag/ nut milk bag to filter it nice & smooth. grainy bits are gone, and you can make it -very- thick if you want..
Seems like a lot of steps but each serves a purpose.
I make 2x 64oz mason jars' worth, and it lasts up to a week, generally. (between a bit of added salt, and a TB of sugar plus some stevia , or 2TB honey to sweeten in the 2nd blending w/the lecithin; the reviews have come back good every time. )
__
Now that was a post! Thank you for your information! i was just wondering if I should soak my rice before blending. I did it with natural almonds for about 12hrs and my body LOVED it! It was really inexpensive to make..though almonds in my area are about 10 a lb to 16 a lb and it takes 1c. to 4. water. I go through the different milks fast during the week :). Love your info and will ask about lecithin next time I am at my health food store since I have never used it in cooking or preparing foods before.
Can you make yogurt with your homemade coconut milk?
As long as you follow a coconut yogurt recipe it should work.