Whether you have an hour, four hours, or just 20 minutes, this Step-by-Step Freezer Meal Guide will work for anyone, anywhere, in any size kitchen!
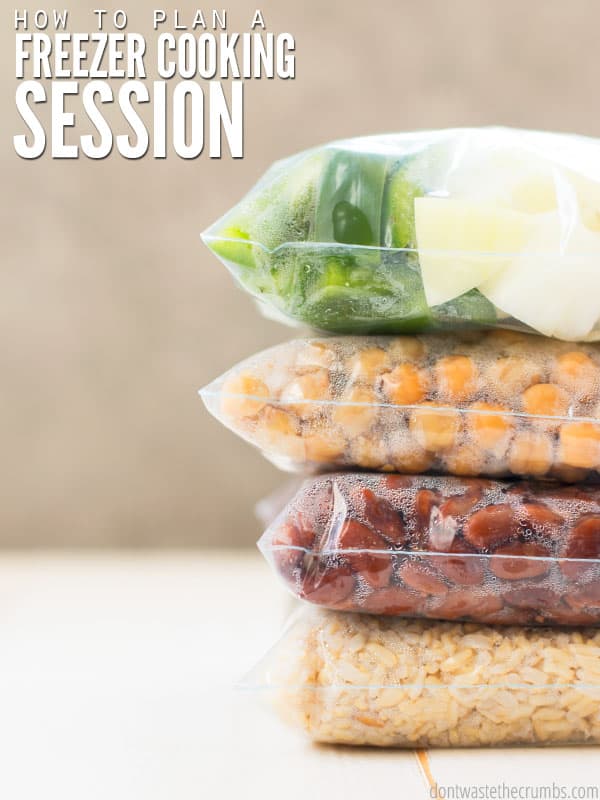
It’s a well-known fact that freezer meal planning is an incredible way to save time in the kitchen. If you’ve never cooked for the freezer before, I’m here to show you how to plan for a freezer cooking session, so you can finally take this awesome time-saving tip and put it to good use in your own kitchen!
I think this is the best way to freezer meal plan because I want to:
- Feed my family healthy food on a budget…
- Without spending a lot of time shopping
- Or cooking…
- Or being a short-order cook three times a day, seven days a week.
Step-by-Step Freezer Meal Guide
Step 1: Decide what type of food will benefit you most.
You can cook full meals, or just portions of meals. Here are some ideas:
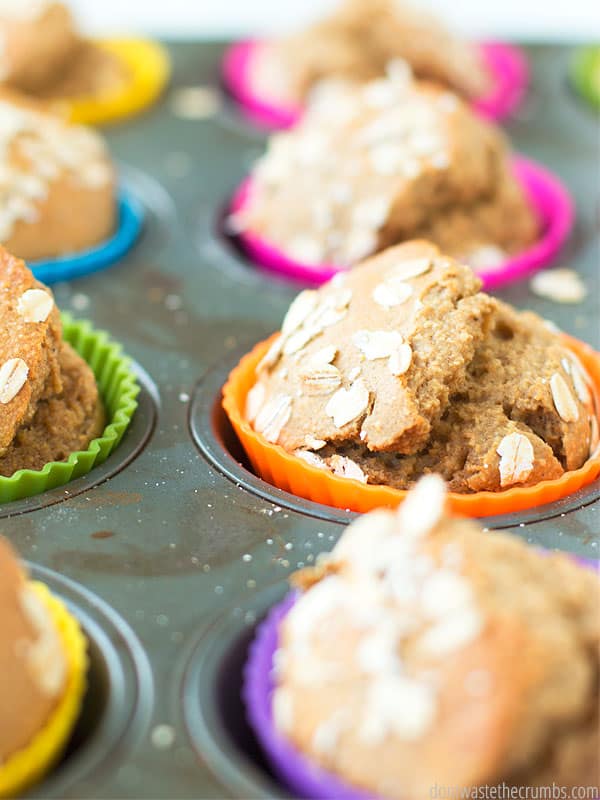
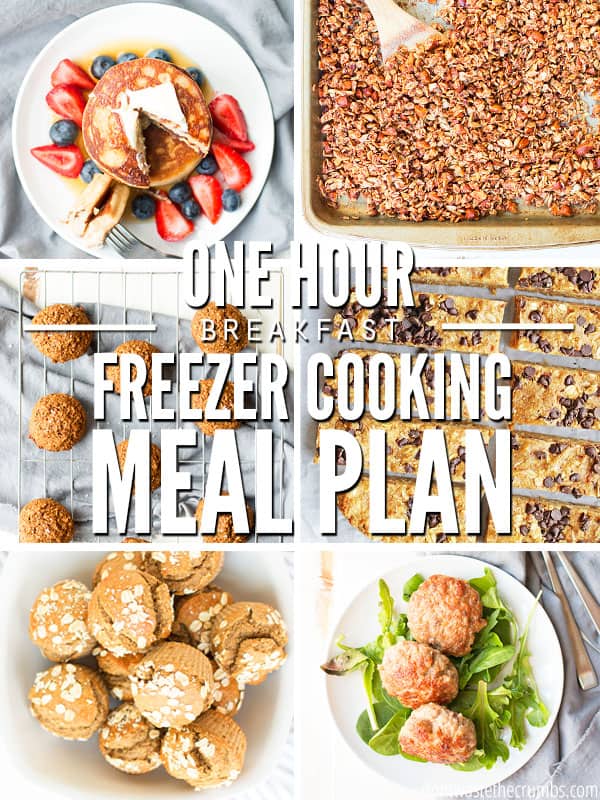
- Breakfast: (ex: pancakes, muffins or baked oatmeal)
- Lunch: (ex: lentil pasta or homemade hot pockets)
- Dinner: 100% ready-to-go meals (ex: chicken & spinach enchiladas or creamy squash pasta bake)
- Just the meat: (ex: northern beans & ham soup and make fresh rice, or chicken for tacos with fresh homemade tortillas)
- Breads: (ex: soaked whole wheat bread or tortillas)
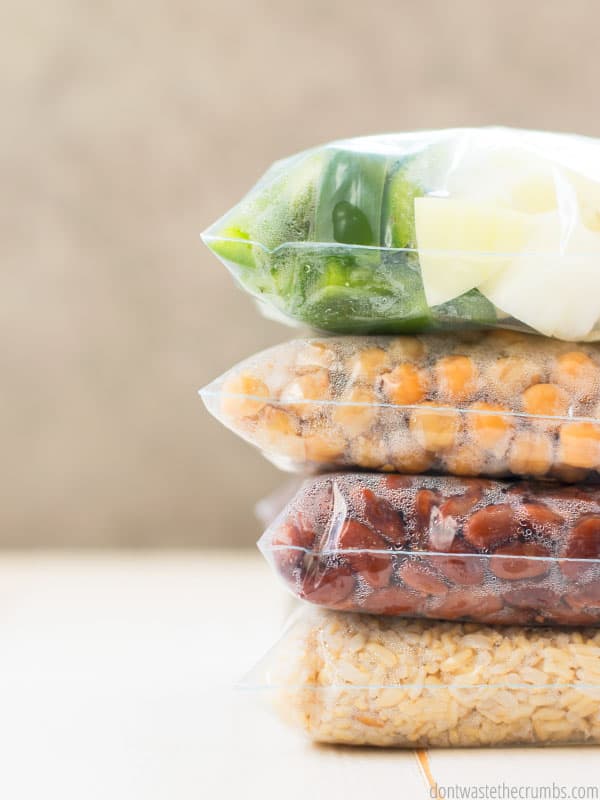
- Single ingredients: (ex: beans from scratch or applesauce)
Step 2: Choose meals with ingredients that are similar.
Choose foods with similar ingredients and even a similar cooking method, to make the most of your prepping & cooking time.
Example: We had a bunch of bananas that were about to go bad, so I planned my breakfast meals around them (smoothies, sourdough banana pancakes).
Also, Recipes should be similar enough where ingredients overlap so you can buy in bulk and save money.

Step 3: Think about your tools and supplies.
Before you commit to any particular meal, think of what you’ll need. This is different from your ingredients. This point talks about all the stuff… measuring cups, spoons, storage containers, lids, bag holders…
For example:
- You can’t efficiently make 4 dozen muffins if you only have one pan.
- You also can’t cook a whole chicken in the slow cooker if it’s already in use for yogurt.
- I’m limited on muffin liners, so I skipped those altogether and opted for two loaves of banana bread since I have plenty of loaf pans.
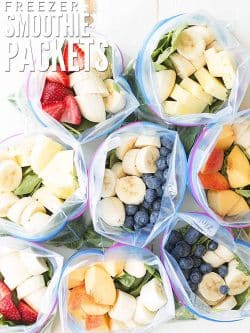
- I chose banana pancakes and smoothie packets (which don’t require any tools) for fast smoothies later on.
- I also decided to blend up all the berries and freeze in an ice cube tray so that they could be added to the smoothie packets when they were frozen.
Step 4: Use kitchen appliances and tools to help you.
One hour seems like a long time to be cooking, but when you’re looking at making 3+ meals in that time frame, you should enlist the help of any gadget you have.
- Bake bread in a slow cooker
- Bake smaller items in toaster ovens
- Boil in microwaves
- Use the cooking space of a griddle
- And use the whipping power of a blender
Since I was focusing on bananas, and making two different types of batters, I used my Blendtec to make both. I also used my griddle (because it fits more pancakes per batch).
Step 5: Choose 4 recipes and print / write them out.
It’s really not feasible to complete more than 4 recipes in an hour, so don’t bite off more than you can chew. You can’t add more time to the clock, and it’s always better to feel accomplished at the end than defeated because you didn’t make it to that one last recipe.
Step 6: Take the time to write a really good shopping list.
- Go through each recipe line by line.
- Write everything down on a piece of paper, even if you think you have it.
- Shop from the kitchen FIRST.
- Make a note next to each item what store you need to get it from. (I put “C” next to items I get from Costco, “W” for Walmart, etc.)
- If you want to save time while shopping at the store, re-write it so that all the dairy is listed together, all the produce is listed together, all the meat is listed together.
Step 7: Pull out everything you need.
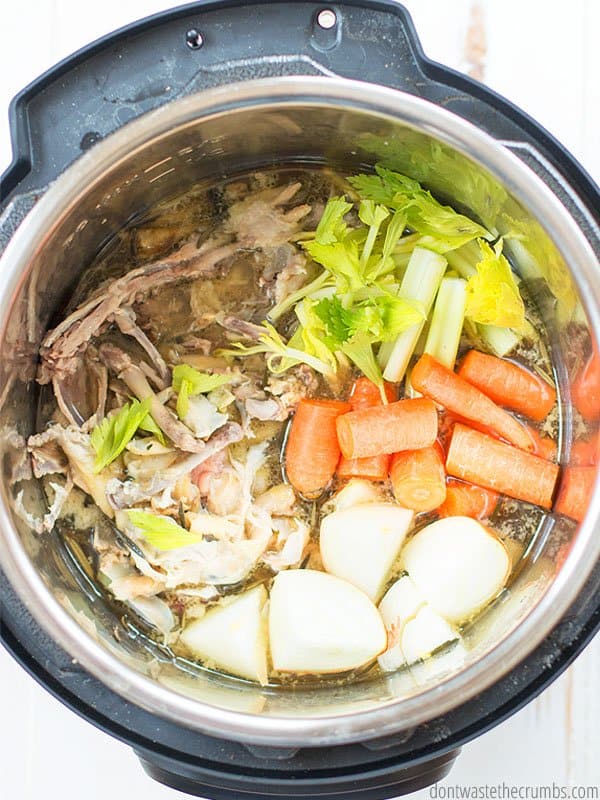
Food, tools, bags, sharpie, containers, utensils… pull it all out so you can survey what you have and make the most of your hour. You only have so much time- don’t waste it digging around in your spice cabinet!
- The night before I do my freezer cooking breakfast meal plan, I pull every ingredient out, one at a time, and put them together on the counter.
- Then I do the same thing for all of my supplies. This helped me make sure that I wasn’t missing anything, but also that I had enough CLEAN cooking sheets and cooling racks and Pyrex dishes to make all the meals, at the same time.
Step 8: Write a prep sheet.
Depending on the type of cooking session you’re doing, you may need to get a few ingredients ready ahead of time. That could be:
- Soaking Beans
- Thawing meat
- Chopping vegetables
Make sure you’ve freezer meal planned for what needs to happen beforehand – and then do it – so your cooking session doesn’t get derailed before it even begins.
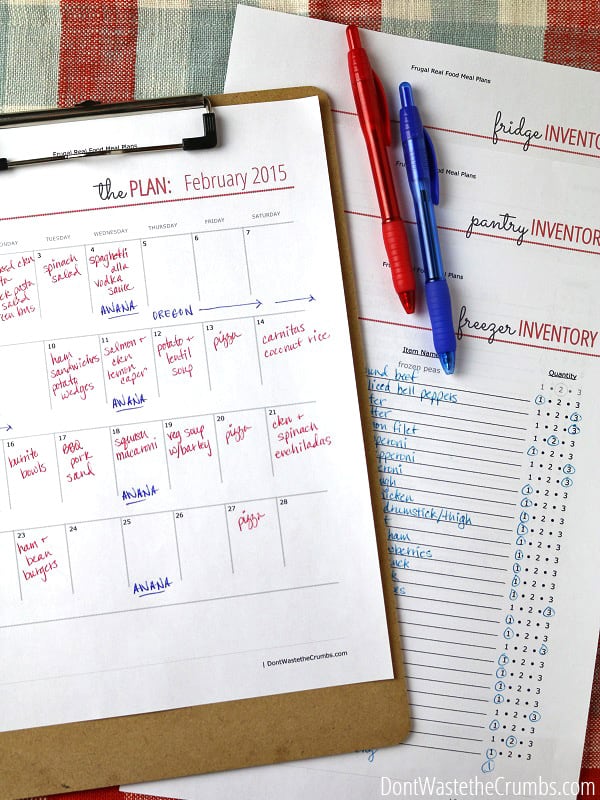
Step 9: Write a step-by-step cooking plan.
Create a logical method for your work. Think about what takes the longest to bake, and do that first. Ask yourself, what meals need:
- the oven temperature on higher?
- to use more burners?
- to sit and cool?
All of these things are important, so come up with a logical approach BEFORE you start.
Example: My banana bread takes about 45-50 minutes to bake, which means that I had to get done first. Here is what I did:
- I made a batch of batter in the blender, poured into a loaf pan and set the time.
- I made another batch of the same batter and froze it for a future breakfast using a method similar to this one for freezing unbaked muffin batter.
- Then I made a double batch of pancake batter in the blender.
- While they were on the griddle cooking, I used another blender jar for the soft berries, poured them into the ice cube trays, chopped various fruit and veggies and portioned it all out for “just add yogurt” smoothies later.
Step 10: Don’t clean as you go.
Instead, fill your sink with hot soapy water and only wash what you MUST as you go along. Leave all the dishes for when you’re done, because whether or not you had a freezer meal cooking session, you’ll still have to do the dishes at some point in time anyway.
Step 11: Create a “finished” station.
This is so you can seal, label, and freeze when you’re done, so your cooked items are out of your way. Set items at this station as you complete them, but label everything at the end when you’re done cooking.


I’m trying to figure out how you cook these freezer meals – for example the sheet sausage/peppers/onions – do you thaw the meals first then cook in the oven?
Thanks! Just trying out these dump dinners in preparation for baby!
Hi Tara,
You can do either. Just adjust the cooking time based on whether you defrost it or not. 🙂
I would use the Blentec for coffee grinding, pureeing ingredients for canning, smoothies (of course), soups, etc…etc…:)
I just got SO much inspiration from all of the previous posts. I was hoping for a Blendtec for Christmas but I guess I wasn’t good enough this year 😉 The first things I would want to make and freeze black bean brownies, breakfast muffins, so much soup, and fresh juice.
Love the smoothie packets idea too
The mini-session idea is a great place to start, especially when you have little ones clinging to your legs. We are a “mature” couple, so can put in 3 or 4 hours easily enough. Came in real handy this last few days when we had a death in the family. One could also gift freezer meals to new moms or someone with illness or death in the family. It’s not just good for you
I am aching for a good blender!! Would use this to sneak more fruits and veggies into our collective diet with smoothies, want to make creamy soups, use a grain-free baking cookbook I just got, and definitely baby food – just had a little girl two months ago. She’s gonna love solids. 🙂
I’m not sure what I’d make with it. Smoothies for sure and maybe I’d try pancakes or bread. What else do you use it for?
I would make pasta sauces, smoothies and banana muffin batter.