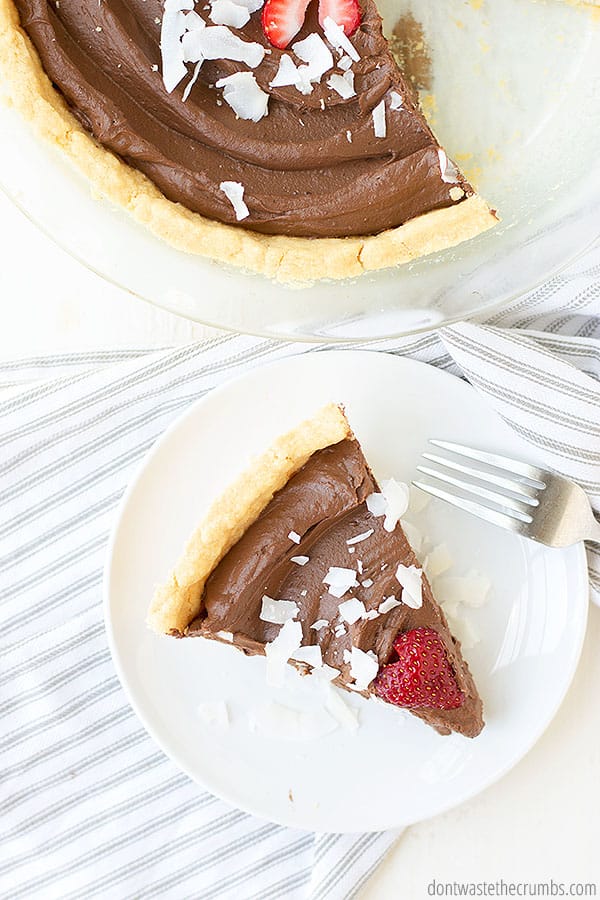
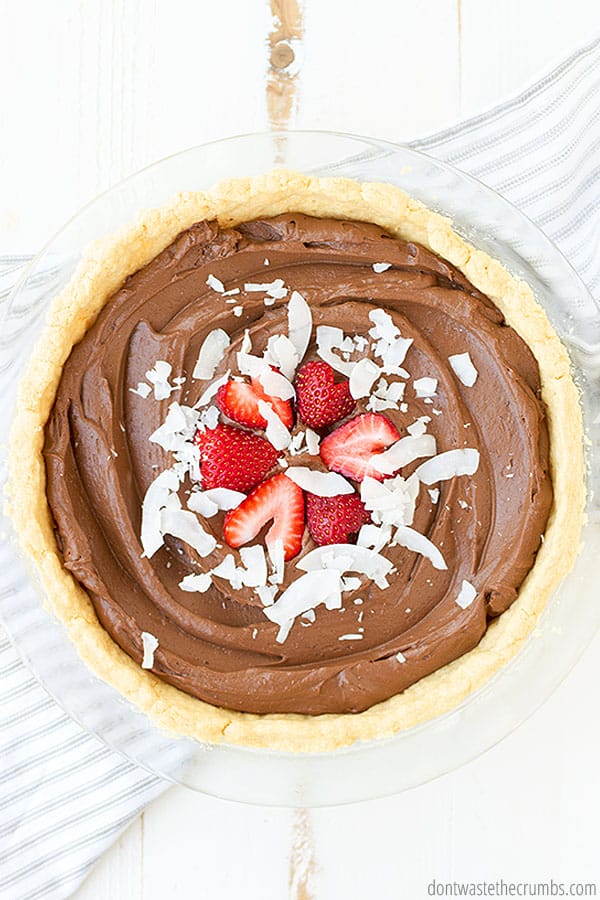
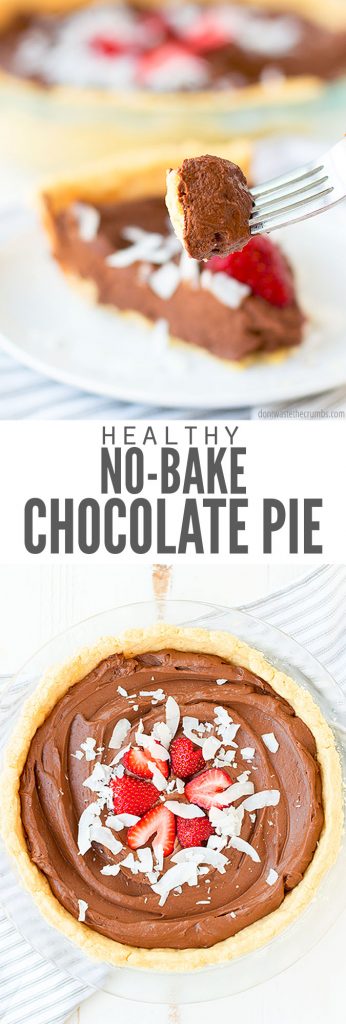
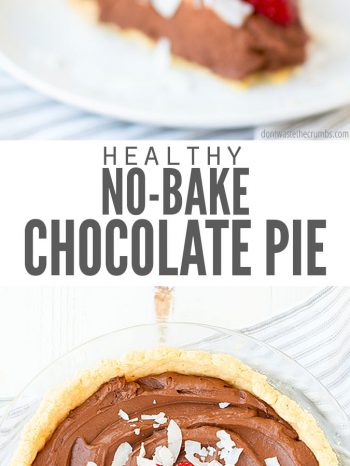
This creamy, delicious chocolate pie is the perfect no-bake dessert! Naturally sweetened and allergy-friendly, this sweet treat will have everyone scrambling for seconds!
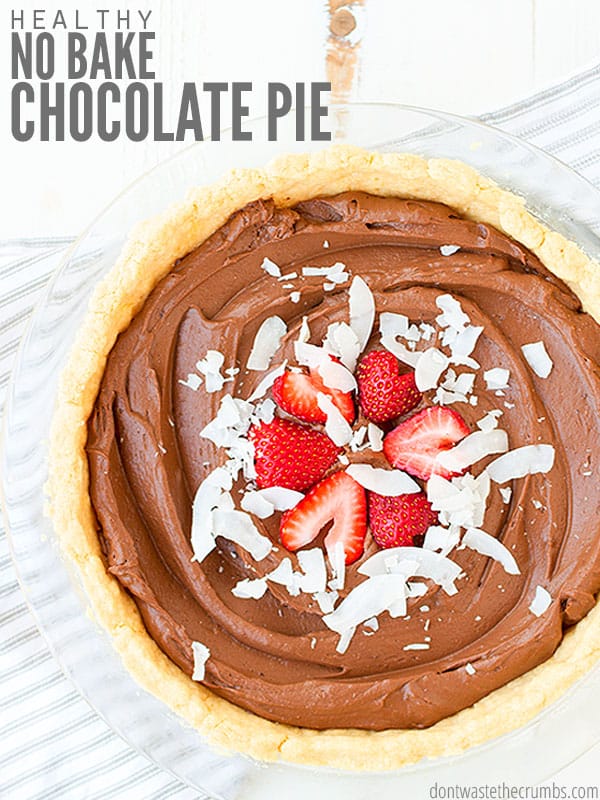
When you spend a lot of time in the kitchen, sometimes it’s nice to make something EASY for a change, am I right?
But you still want a delicious dessert that has great flavor, simple healthy ingredients, and looks fancy. Is that possible?
My No Bake Cheesecake fits the bill, and so do Crock Pot Poached Pears. But what about a CHOCOLATE dessert recipe?
The answer is this delicious chocolate pie!
I made this for my family and EVERY SINGLE PERSON (me included) was scrambling for seconds. When the pie was gone, there were groans that someone else had taken the last piece!
HEALTHY CHOCOLATE PIE RECIPE
Aside from the fact that this chocolate pie recipe is so good that your family and guests will also be fighting over the last piece, this healthy dessert is also:
- Dairy-free, egg-free, and easily gluten-free
- Naturally sweetened
- Velvety smooth
- Rich and creamy
- Raw and vegan (no tofu!)
- Ready in about 15 minutes without refrigeration
- And tastes just like Grandma’s chocolate pie!
This chocolate pie has become a new family favorite, and I know it will be yours too!
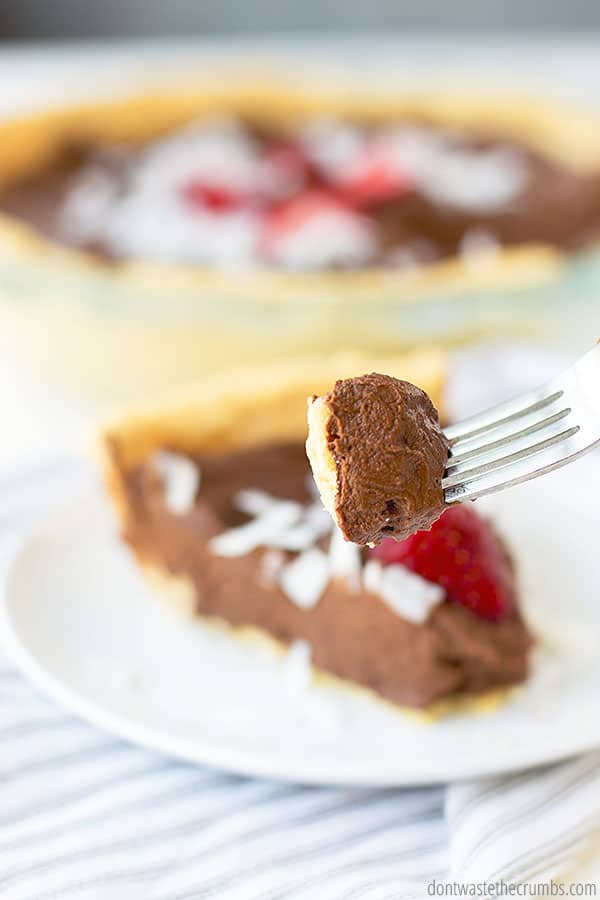
CHOCOLATE FILLING FOR PIE
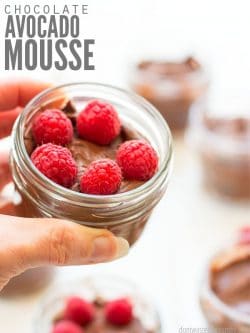
This pie is a spin-off of my creamy Avocado Chocolate Mousse.
And before you run away because I said AVOCADO, I promise you can’t even taste it.
- When my husband, who HATES avocados, tried a piece, he couldn’t even taste them (and asked for another piece).
- My daughter also claims to hate avocados and she asked for another piece too.
- When my son, who only likes avocadoes in guacamole, had a piece, he also asked for more!
Do you see the common trend here? You can’t taste the avocadoes in this chocolate filling for pie, I promise. The flavor completely disappears, resulting in a rich and creamy chocolate pie that won’t leave you feeling guilty if you have an extra serving.
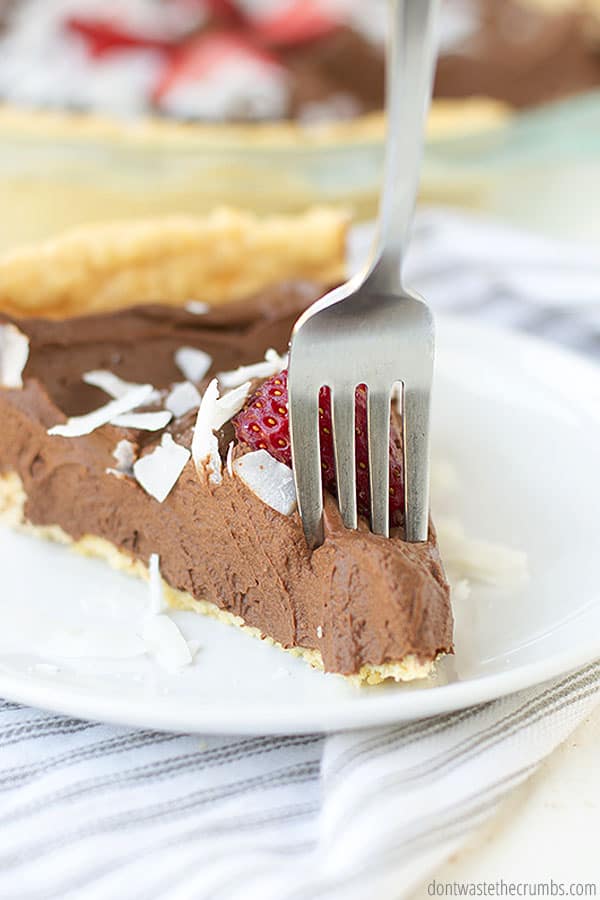
CHOCOLATE PIE INGREDIENTS
Here’s what you need to make this better than old fashioned chocolate pie recipe:
- Pie Crust. I used my homemade pie crust recipe, which does require a few minutes in the oven, BUT you can easily use a pre-made graham cracker crust or this graham cracker crust recipe and skip the baking completely.
- Avocados. They need to be ripe, so look for avocados that give way slightly but aren’t squishy when you squeeze gently.
- Unsweetened Cocoa Powder. Use what you have – natural cocoa, Dutch-processed cacao, unsweetened chocolate, and raw cacao all work.
- Almond Milk. Whole milk or coconut milk can be used as well.
- Maple Syrup + Vanilla Extract + Salt. All of these give the perfect sweetness and flavor to this pie.
- Dark Chocolate. Dark bittersweet chocolate gives you the rich chocolate flavor we want and reduces the sugar content, but you can use semi-sweet chocolate chips if you’re in a pinch.
Psst…Did you know that many salts contain MICROPLASTICS? It’s a sneaky toxin that may be in your everyday salt, and thus your everyday food (um, gross). I love Ava Jane’s Kitchen because their salt is FREE of microplastics, and it tastes delicious! (PLUS, you can get a free 8oz. bag of sea salt – just pay shipping and handling!)
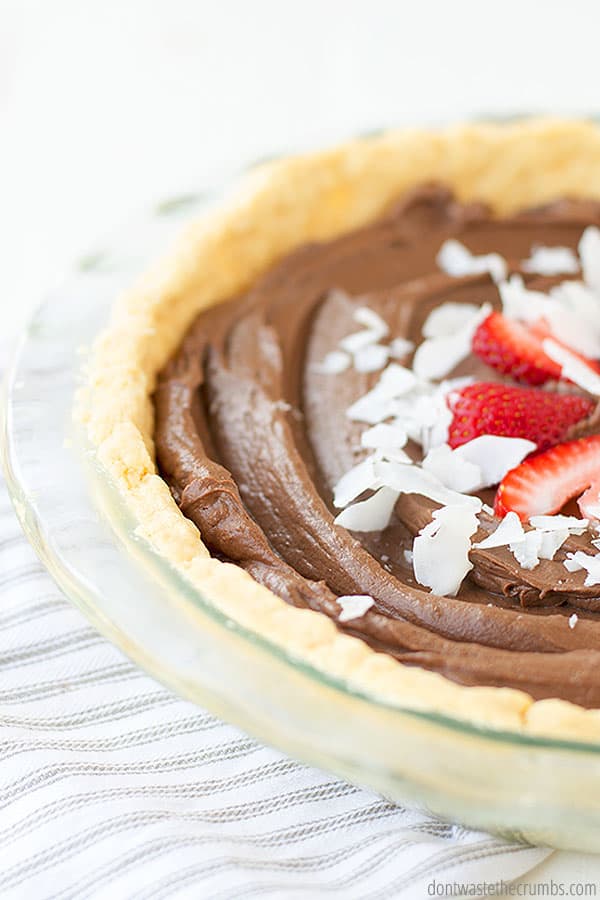
HOW TO MAKE A CHOCOLATE PIE
You’re not going to believe how fast this pie with chocolate pudding comes together…
Step 1. Make the pie shell. If you’re using my homemade crust recipe, get that in the oven to pre-bake. It won’t take long, and you can make the filling while you wait. If you’re using a graham cracker crust, go ahead and get it ready.
Step 2. Prepare the filling. Melt the chocolate and put it along with all the other ingredients in a food processor. Process until it has a creamy texture.
Step 3. Fill the pie. When your crust is ready and cool, pour the filling mixture into the crust and smooth it with a spatula or the back of a spoon.
Step 4. Chill (optional). This filling is super thick, and you’ll be able to slice it right away. I personally like to let it chill for about an hour first.
Note: Store leftover chocolate pie in the fridge for up to 3 to 4 days wrapped in plastic wrap or an airtight container.
FREQUENTLY ASKED QUESTIONS
Can a recipe for a chocolate pie be healthy?
Yes, a pie can be healthy! My homemade chocolate pie recipe is made with simple, real food ingredients. This pie tastes better than store-bought!
How do you thicken chocolate pie filling?
This pie has a very thick chocolate pie filling so there is no need to make it thicker with cornstarch or baking. You can slice it immediately or chill it for about an hour for it to fully set.
Can you freeze chocolate pie?
I haven’t made this pie ahead of time and frozen it. You can definitely do that with Homemade Pie Crust, but I’d likely make the filling either the day before or shortly before serving. If you do make this chocolate pie ahead of time, make sure to use plastic wrap when you cover it in the fridge, so it doesn’t get a film on top of the pudding!
What size pie plate do you use for a chocolate pie?
This chocolate pie recipe will work best for a 9-inch pie pan. If you have a smaller pie dish, you can always refrigerate any leftover filling in small bowls in the fridge – it’s a yummy fudgy pudding on its own!
HOW TO MAKE THIS A FRENCH SILK PIE
The only difference between this pie with chocolate pudding and French silk pie is that French silk pie has a layer of whipped cream on top.
Friends! Make my Homemade Whipped Cream and just like that, you have a delectable French silk pie!
Or make my Homemade CHOCOLATE Whipped Cream, and you have a yummy chocolate chocolate pie.
This chocolate cream pie is always a crowd favorite. You may want to make two for sharing with others (or so your loved ones can have seconds).
MORE EASY NO-BAKE DESSERTS & RECIPES
- Chocolate Peanut Butter No Bake Cookies
- No-Bake Brownie Bites
- Homemade Peanut Butter Cups Recipe
- Easy Chocolate Covered Pretzels
- 5-Minute Chocolate Hummus
- Healthy Homemade Fudgesicles
- No-Bake Cheesecake
- No-Bake Blueberry Coconut Cream Pie
- Peanut Butter Fudge
Fight Inflation Workshop!
Sign up for my FREE Fight Inflation Workshop and learn simple strategies to save money, even with rising food costs!Healthy Homemade Chocolate Pie
This creamy, delicious chocolate pie is the perfect no-bake dessert! Naturally sweetened and allergy-friendly, this sweet treat will have everyone scrambling for seconds!
- Prep Time: 35 minutes
- Cook Time: 22 minutes
- Total Time: 57 minutes
- Yield: 1 pie 1x
- Category: Dessert
- Method: Bake
- Cuisine: American
Ingredients
Crust
Chocolate Mousse
- 3 ripe avocados
- ⅓ cup cocoa powder
- ½ cup almond milk
- ½ cup maple syrup
- 1 tsp vanilla extract
- ½ tsp salt
- 6 oz dark chocolate
Instructions
Make the Crust (Can be prepared ahead of time):
- Preheat oven to 400F.
- Combine flour and salt in the bowl of a stand mixer. Using the paddle attachment, cut in the butter until the mixture resembles coarse breadcrumbs.
- Add milk, 1 tablespoon at a time JUST until the mixture comes together to form a ball.
- Breaking off a piece about the size of a golf ball, pat the crust into the bottom and sides of a pie pan.
- Bake in the oven for 18-22 min.
Prepare the Filling:
- In a food processor or blender (this is the blender I have), combine all the ingredients except the dark chocolate.
- In a small bowl, melt the chocolate in the microwave on high for 20 seconds. Stir well. If the chocolate isn’t entirely melted, place it back in the microwave for 5 seconds and stir well.
- Add the melted chocolate to the other ingredients and process or blend on high for about 15-20 seconds.
Fill the Pie:
- Fill the pie. When your crust is ready and cool, pour the filling into the crust and smooth it with a spatula.
Chill. (read notes)
Notes
- You can also use a graham cracker crust instead of the baked pie crust.
- Chill (optional). This filling is super thick and you’ll be able to slice into it right away. I personally like to let it chill for about an hour first.
- Store this in the fridge for up to 3 to 4 days wrapped in plastic wrap or an airtight container.
Nutrition
- Calories: 526


The filling sounds easy and delicious and I can’t wait to give it a try. Thank you for sharing it!
You’re most welcome Bonnie! Enjoy. 🙂
Hi Amanda! I haven’t made this ahead of time and frozen it. You can definitely do that with the crust, but I’d likely make the filling either the day before or the morning of. Be sure to use plastic wrap when you cover in the fridge so it doesn’t get that weird film that pudding-type recipes can get!