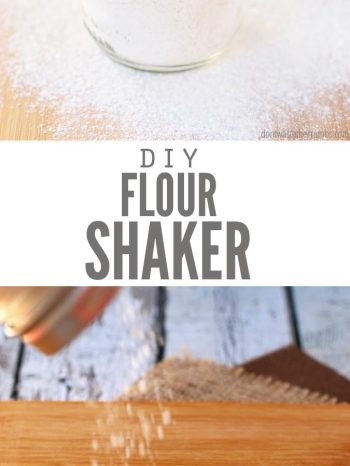
Who knew that watching a lady on YouTube shaking flour from a jar onto her work surface could be so captivating? Believe it or not, that’s how I discovered the brilliance of the flour shaker. The DIY flour shaker has since become a must-have gadget in my kitchen, especially when I’m baking.
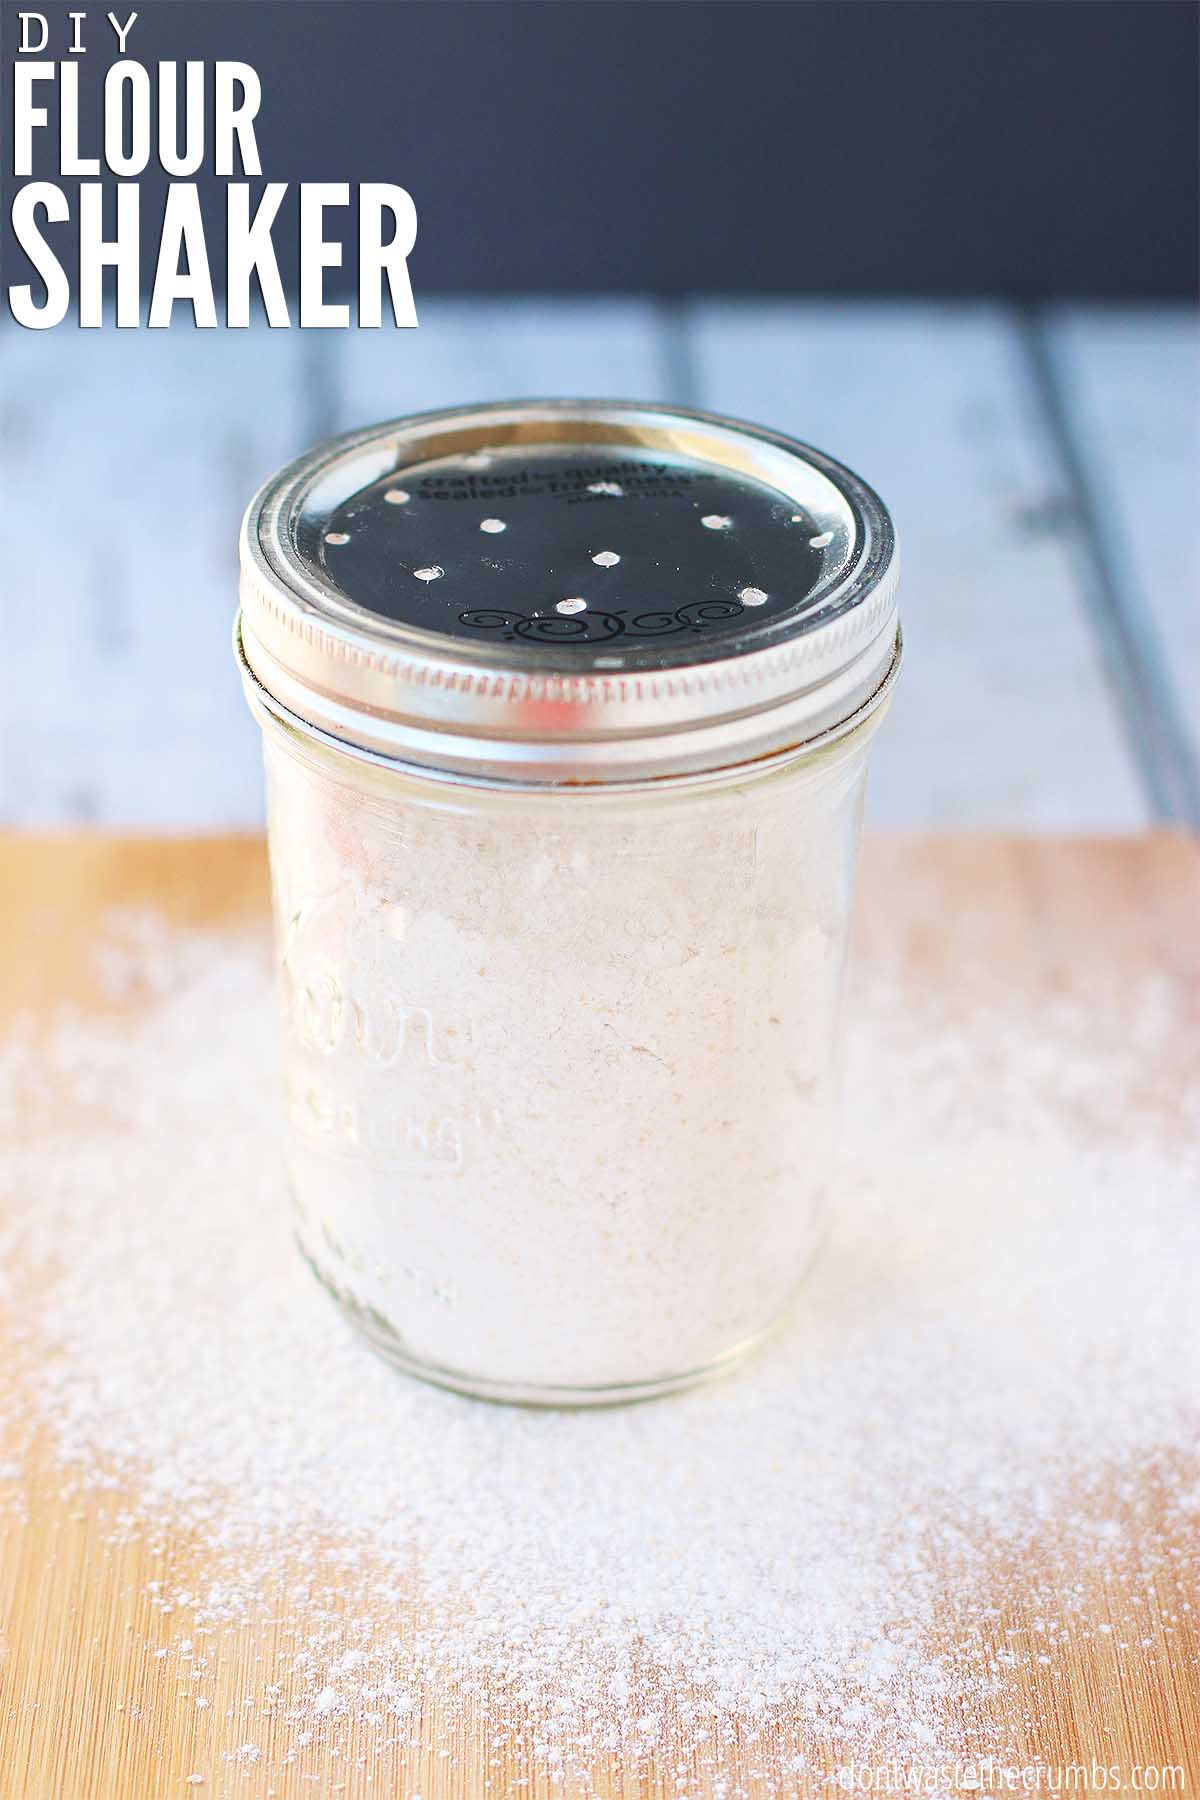
When I’m making bread, biscuits, cookies, cakes, and many desserts, there’s often a step that says “Lightly dust your work surface with flour”. Typically, I would scoop a small amount of flour from my tub and sprinkle it on the counter.
Little did I know there was a better way!
What is a Flour Shaker Used For?
I was surprised to realize just how much flour I was wasting by “lightly dusting” my work surface straight from the tub. Moreover, my over-flouring was affecting the quality of my baked goods.
Flour shakers make cooking easier because I can easily dust my counter and cake pans without wasting flour! It helps me ration the dusting flour better, which means saving more money on my grocery budget. The best part is, you can make one yourself, at home, without spending a dime!
How to Make a Flour Shaker
Making a flour shaker is as easy as pie crust. Here’s what you’ll need:
Supplies
- One glass jar with a lid (either 8oz or 16oz jars work best)
- One nail
- Hammer
- Clothespins or pliers (optional)
Method
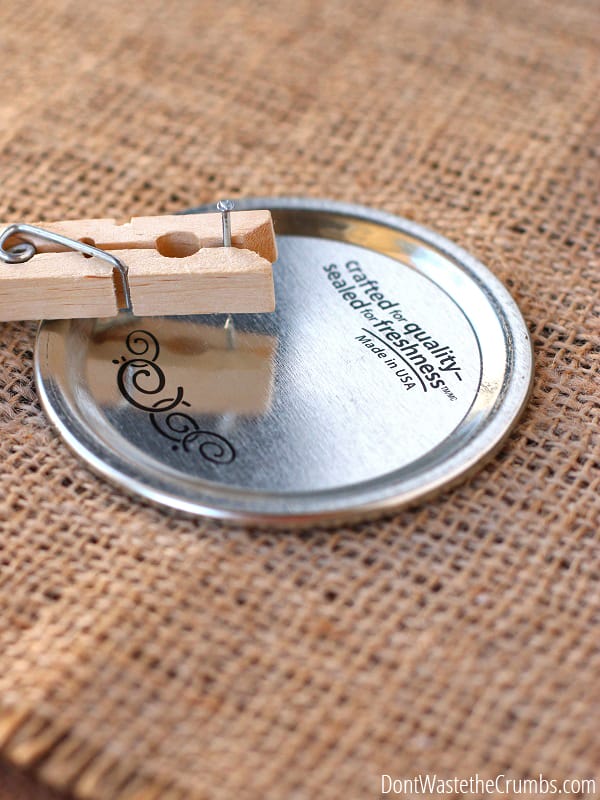
Creating the Lid: Set the jar lid on a soft surface safe enough to hammer a nail into. Hold the nail very still with either a clothespin, pliers, or your fingers, and hammer it through the lid.
Tip: If you want to create a pattern on your lid, use a sharpie to make small dots first. Carefully hold the nail on the dot while hammering. This will help avoid accidental scratches on the lid.
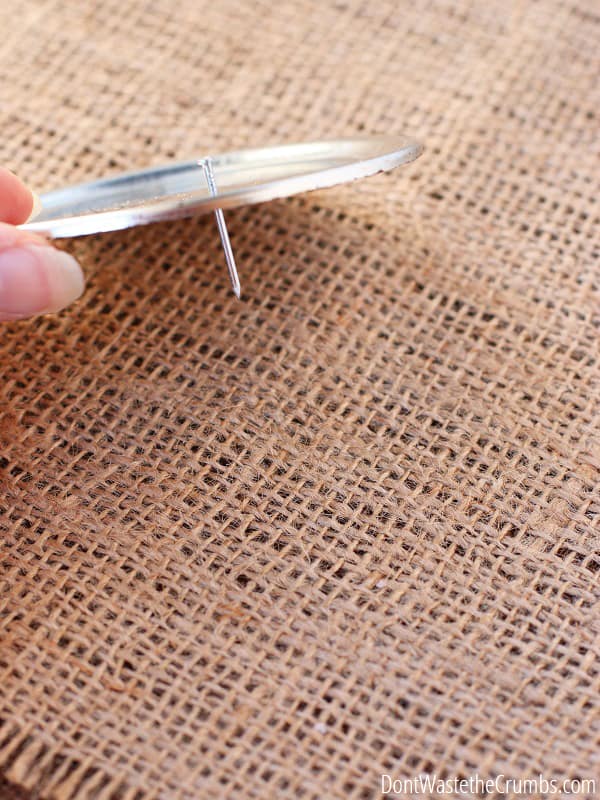
Increasing the Hole Size: After you’ve hammered the nail through, move it around in a circular motion to make the hole bigger.
Tip: If you only have small nails at home, you might have to work a bit harder to increase the hole size. If you have larger nails, use those, or you can make an initial hole with a small nail and then hammer a larger nail through it.
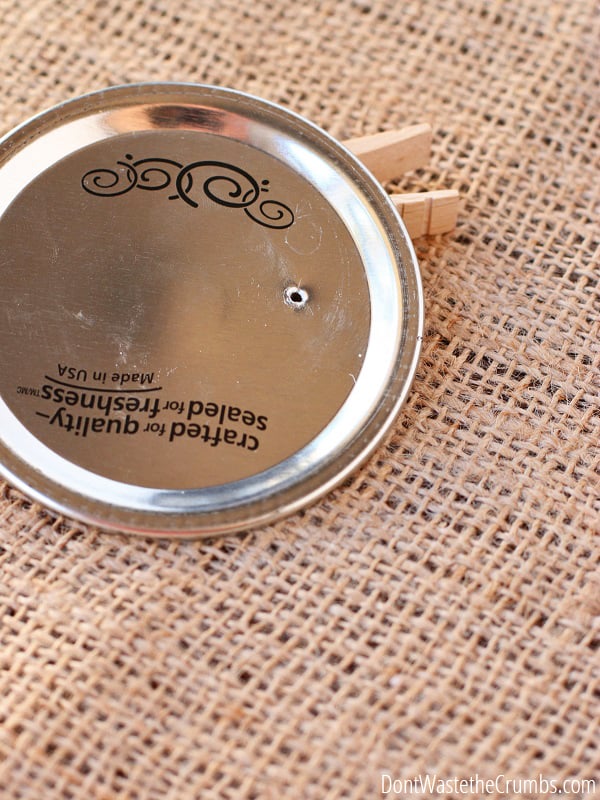
Repeat the Process: Continue these steps all over the lid. The key to a great flour shaker is plenty of holes for air circulation. I recommend at least 15 holes if you’re using small nails, and ensure to space at least 4-5 of these holes evenly around the lid edge.
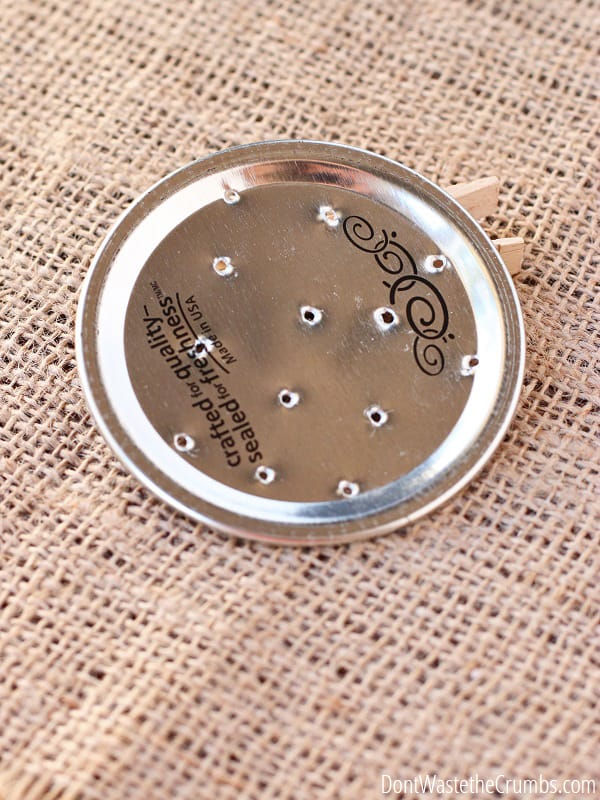
Fill It Up: Fill the jar ¼ to ½ full with all-purpose flour, and you’re good to go!
How Much Does a DIY Flour Shaker Cost?
The only cost of this DIY project is the jar itself, assuming you already have a nail and a hammer. You can get a case of jars at Walmart for about $10, or Amazon offers them for a bit more.
I suggest checking local thrift stores and Goodwill first. They often sell glass jars for as low as 50¢. This way, you can make a thoughtful and handy gift for your foodie friend for less than $1! It’s a steal compared to the $5 or more you’ll spend in a high-end kitchen gadget store.
Another option is to reuse a pickle jar or something of a similar size. Here’s a great method for removing the labels from old jars.
Flour Shaker vs. Flour Sifter
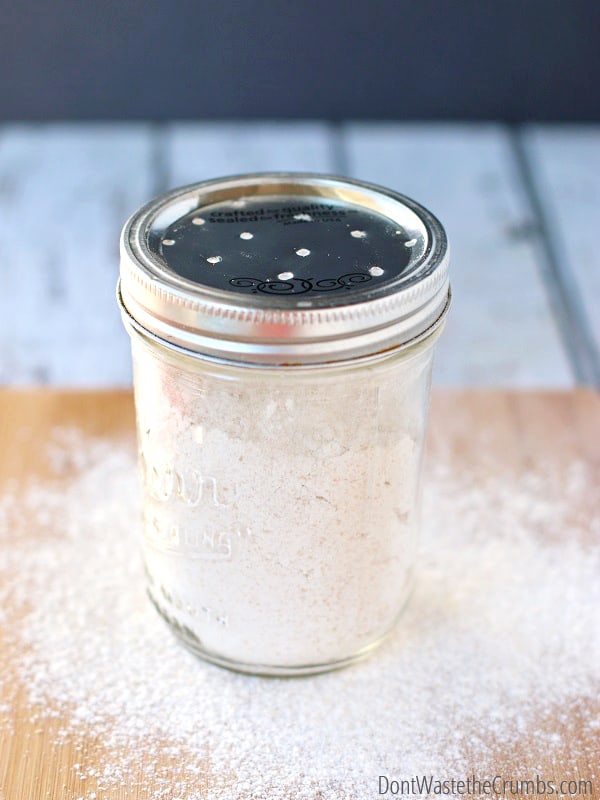
Do you know the difference between a flour shaker and a flour sifter? A flour shaker, like the one above, is a container filled with flour that you use to dust a surface. It gives you just the right amount of flour to get the job done without over-flouring your counter or wasting flour.
A flour sifter, on the other hand, is a stainless steel container with a handle and crank that moves a blade across a fine mesh screen, pushing the flour through as it rotates. The result is aerated flour that reduces lumps and gives you a more accurate measure of flour.
Ways to Use a Flour Duster
Do you know when you need to lightly dust your favorite blueberry muffins with sugar? This same style of flour shaker can be used as a sugar shaker as well! Use the sugar shaker so you don’t sprinkle too much!
A powdered sugar shaker is perfect for sprinkling Homemade Powdered Sugar (also called icing sugar) on Chocolate Waffles and French toast. And don’t forget a cinnamon sugar shaker works great for making the perfect cinnamon toast!
Frequently Asked Questions
Can I use any jar to make a flour shaker?
Is a DIY flour shaker as efficient as a store-bought one?
A DIY flour shaker can be just as effective as a store-bought one. Plus, you have the added advantage of customizing it to suit your preferences.
Where can I find cheap jars for making flour shakers?
Try checking local thrift stores and Goodwill. They often have glass jars at super low prices.
Other Kitchen Hacks You Might Like
- Best Kitchen Tools for Stocking Stuffers
- 14 Best Baking Hacks
- Kitchen Appliances You Don’t Need
- 28 Kitchen Hacks To Make Cooking Easy
- 45 Awesome Ways to Use a Blender



I love this. Just saw Bea Ojakangas on PBS and she had a flour shaker, and I wanted one. I called my local kitchen store, Blue Heron in Duluth, and they are holding one for me. However, now that I see this I am going to make my own. Thank you so much!
Hi Deanna!
That is awesome! We’re so glad it helped!
My Dollar Tree has the parmesan shakers. I have one for my Johnny’s Seasoning, 1 for flour, 1 for my homemade carpet freshener and a spare for ‘just in case’
Much easier than punching holes….but that is a good idea if you cant get the cheese shakers
One step ahead of you girls. Empty spice jars are great for this.. Size depends on how much dusting you are doing.
Oh my – great tip Elizabeth!
On another note. Parmesan cheese lids fit Mason jars. They have the split lid so you can shake or dump. I hadn’t thought about making a flour shaker with one until now
I use one for my yeast and other small measured things
Thanks for your post!
I didn’t know that! Thanks for the tip Becky!
Great idea!!! Hmmmm. I see a cinnamon sugar shaker in my future.
Ooh – another great idea!
I’d suggest punching holes from inside of cover to prevent flour clogging the holes by getting caught in the jagged edge created by the nail punch.
I considered that Maud, but then there would be sharp edges on the OUTSIDE where the jar is handled. Ultimately, I chose safety over having to shake a few extra times. 🙂
I really liked this idea, since I love making bread, biscuits, and dough! Just as I was looking for a tiny nail to try to hammer the lid of my mason jar I realized I had an old empty salt shaker. I was surprised that it worked. Why hadn’t I thought of this before. Thanks for the idea!
Brilliant Tay!
I love this idea! I have recently decided I am going to try to start making breads and doughs from scratch. I think am going to do some major cheating though. I have a few empty (cleaned) parmesan cheese containers I have saved, so I am just going to try to use one of those.
LOL, cheat away Tammy! If it works for your family, it’s all good!!
(PS – I would cheat too if I had those containers! 😉 )
This week I will be going to a class on bread making. This will be a wonderful tip to share with them. It is a great idea and will come in handy when making those cookies, pies, and pizza crusts. Thanks.
You’re welcome Sandi!
Since there’s nothing contaminating the flour inside the jar, you could probably just dump it back into the bulk flour it came out of each time, if you’re worried about it going bad. The jar is clean so it wouldn’t matter if you put it back.
That’s a good idea too! Thanks Stephanie!
Do you fit another lid or something on it to keep out critters?
Nope, no critters have climbed in so far. I did think about a lid, but there isn’t much in there in the first place and I’m adding fresh flour weekly, that I didn’t really think about it!
This was my thought too? I am thinking maybe storing in the fridge will help this? Or in a ziplock?
I usually keep a little mesh strainer in my flour bucket, and use that for dusting flour. But I’m intrigued by this idea, particularly as it means I could keep it next to my work surface, and not have to tromp across the kitchen (to where the flour is stored) every time I need it. Hmm…
I see those wheels turning Sam! 😉 I keep mine in the pantry, but pull it out when I’m working. It’s SO much nicer than lugging out my big tub of flour when I’ve already cleaning up from the first half of the recipe. Plus it doesn’t take up much space either!
I have needed this! I want to make one, but what about storage? Does the flour get stale since the lid has holes or do you dump it out and start over each time? Maybe I’m over thinking this… Just wondering what works for you!
I’m not too concerned about the flour going stale. I recommend using all-purpose to fill so there a very small chance of the flour going rancid. Plus filling it only 1/4 – 1/2 way means less likelihood of it going bad too. AND since you’re really only using a tablespoon or two for dusting, if by some one-in-a-million chance the flour did go bad, there shouldn’t be any noticeable difference (if any?) in the final result of your baked good. 🙂