Save time with 13 tips for planning a freezer cooking day, whether you make ahead for a month, are on a budget, use homemade recipes or cook meals for one!
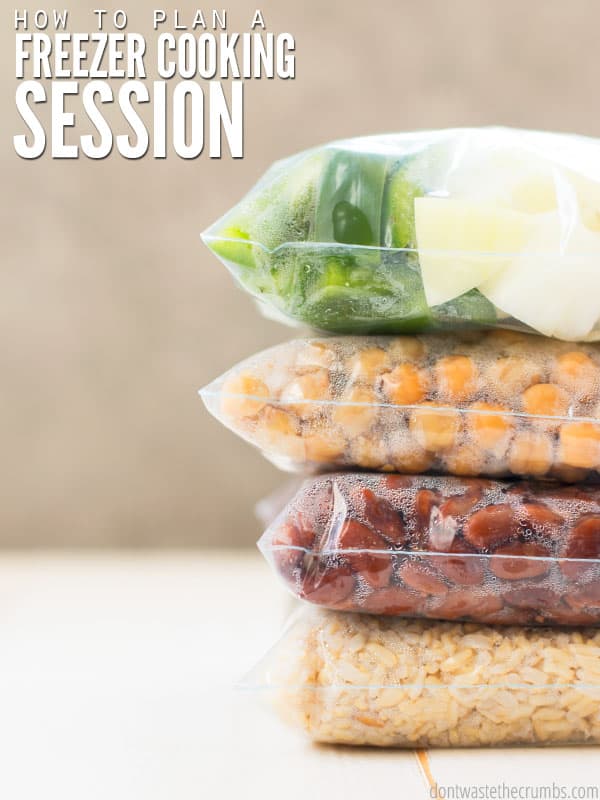
One of my goals for 2019 is to include more freezer cooking, and so far, I think I’m on the right track!
I did a freezer cooking day in January, LIVE on Facebook, making TEN different breakfasts in just over one hour (you can watch the replay here.
I’ll tell you what, though, I’m learning quickly that just like meal planning is vital to eating real food on a budget, knowing HOW to plan your freezer cooking day is vital to getting everything done on time!
I wish I had recorded exactly how much time went into just planning my freezer cooking day, but I can say that I know I spent at least two hours planning… which is twice as long as I actually cooked!
I’m hoping that my planning sessions go a little bit quicker, but I know that I want to…
- Feed my family healthy food
- On a budget
- Without spending a lot of time shopping
- Or cooking
- or being a short-order cook three times a day, seven days a week.
Does that describe you too? Awesome, because freezer cooking can save BOTH of our tushies!
13 Tips for Planning a Freezer Cooking Day
Start small and be realistic.
Your first freezer cooking session shouldn’t include 30 new-to-you meals. Think about it – that’s a whole month’s worth of dinner! And you plan to shop for it all, prep it all, and cook it all in two days?! That’s a recipe for failure, overwhelm and chaos. Instead, choose 3-5 recipes to start off to see if you even like the idea of freezer cooking.
Be intentional with ingredients.
Recipes should be similar enough where ingredients overlap so you can buy in bulk and save money, but also so you don’t have a million different ingredients on the counter AND so you don’t have to be constantly washing measuring cups.

Be aware of cooking temperatures and small appliances.
Make sure that the recipe(s) you’re cooking don’t require different oven temperatures or all require a slow cooker like this one when you only have one. Also take note of actual cooking times. Nothing is worse than needing the oven at 400F when you have something baking at 350F for 45 minutes.
Choose recipes you know your family likes.
Doubling and tripling is the name of the freezer cooking game and rule #1 of not wasting food is to NEVER make extras of a new recipe. Freezer cooking sessions are NOT the time to test new recipes! Use tried and true recipes only.
Choose recipes/meals that will benefit you and your family most.
Think about where you struggle in cooking…
- Is it breakfast? (Try my Breakfast Freezer Cooking plan here, or my Smoothie Recipe eBook here)
- Lunch? (Try these recipes)
- Dinner? (Check out these ones here)
- Snacks? (You can go with any of these)
- Sides? (Some great ideas here)
Or maybe you just need a few basics in the freezer like rice or beans or pasta sauce or cooked ground beef, ready to go?
Figure out where you need the most help, and then put your efforts to filling that gap.
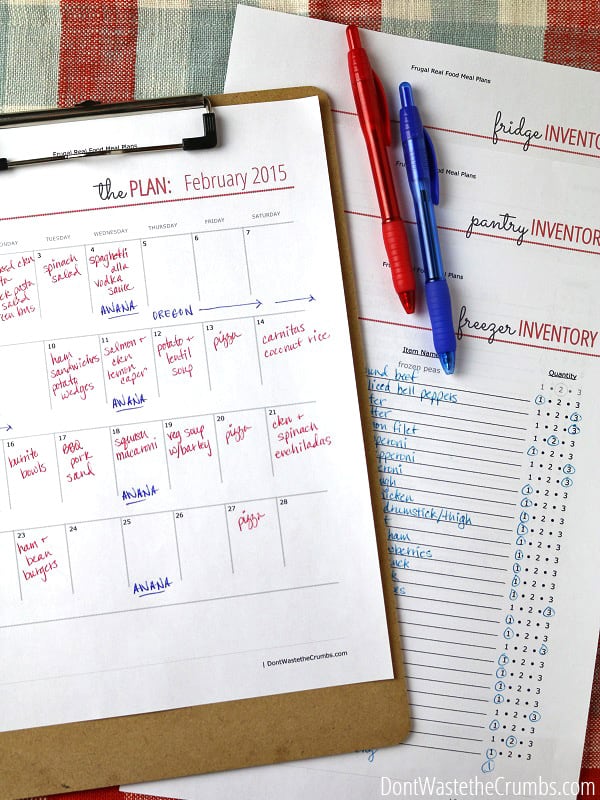
Write a very comprehensive grocery list.
The enemy of a freezer cooking session is getting halfway through a recipe and realizing you don’t have what you need. Sure, you can substitute for something else, but what if you don’t have something to substitute with? And are you willing to take a chance that the dish will still turn out right with this substitution, ESPECIALLY when you’re doubling or tripling a recipe?
Take the time to write a really, really, REALLY good shopping list.
- Go through each recipe line by line.
- Write everything down on a piece of paper, even if you think you have it.
- Shop from the kitchen FIRST.
- Make a note next to each item what store you need to get it from. (I put “C” next to items I get from Costco, “W” for Walmart, etc.)
If you want to save time while shopping at the store, re-write it so that all the dairy is listed together, all the produce is listed together, all the meat is listed to ether, etc. This might sound tedious, but it really does save time at the store!
Write a comprehensive supply list.
This is different from your ingredients. This point talks about all the stuff… measuring cups, spoons, storage containers, lids, bag holders…
You need to know what you need to DO the cooking session, but also what you need to store all the food once you’re DONE.
Make a master list, and then look at it as you walk through what you’re cooking that day to make sure you have enough pots and pans or dishes. For example, if you’re making two different meals that both require a 9″ x 13″ glass dish, but you only have one, you need to come up with another way to make that recipe work!
Write a prep sheet.
Depending on the type of cooking session you’re doing, you may need to get a few things ready ahead of time. That could be soaking beans or thawing meat or chopping vegetables. Make sure you’ve planned for what needs to happen beforehand – and then did it – so your cooking session doesn’t get derailed before it even begins.
Write a step-by-step cooking plan
It’s extremely helpful to know what needs to be made, and in what order, in order to best use your time in the kitchen. For example, if I want to make granola, granola bars and breakfast sausage in my breakfast cooking session – all of which require the use of my mixing bowl – I would make the recipes in that order so that I only have to wash the bowl once (after the granola bars).
If I make the granola first, then the sausage, and then the granola bars, I’m wasting precious time by having to wash the bowl TWICE DURING my cooking session.
My granola also needs the oven at 300F for 40 minutes while the sausage needs it at 350F for 20 minutes. Making the granola bars in between the two is wise because it doesn’t require any cooking.
I don’t think it would take me 40 minutes to make granola bars, so I’d probably put some other meal prep things in there like chopping onions or peppers, or making a recipe in the Instant Pot (with this Instant Pot) or even making something prepped for the freezer (to be baked at a later time) so that I’m not wasting my time waiting on the oven.
Print out all the recipes for your cooking session.
I usually cook dinner from my phone, but the goal is to get all the recipes done in that one cooking session and trying to look up recipes on your phone or laptop is not efficient. Plus you’re working hard in that cooking session and odds are you might spill or splash or make a bit more of a mess than you normally do.
Spilling on your phone will grind your cooking session to a halt, but spilling on a piece of paper won’t slow you down one bit.
Put your hands on everything the night before.
The night before I did my freezer cooking breakfast meal plan, I pull every ingredient out, one at a time, and put them together on the counter. This was super helpful to make sure I had everything I needed, but especially in the cases where I was doubling or tripling a recipe.
I normally only use 1-2 cups of rolled oats at a time, so I wouldn’t be concerned if my oatmeal container was only halfway full. However if I need 14+ cups, I better make sure I have more rolled oats nearby because that halfway full container isn’t going to work!
Then I did the same thing for all of my supplies. This helped me make sure that I wasn’t missing anything, but also that I had enough CLEAN cooking sheets and cooling racks and pyrex dishes to make all the meals, at the same time.
We normally don’t think of doing this when we cook dinner, because how often do we need 5 cookie sheets for one meal? But when you’re making 10 meals at one time, you bet you’re going to need all those dishes!
Doing this the night before give you wiggle room if you need to borrow something from a neighbor or make a last-minute trip to the store in the morning.
Note: Are you curious what my favorite resources are to use in the kitchen on a cooking day like this? You can check out my resource page where you can see all the goodies I recommend the most!
Don’t grocery shop and cook on the same day.
You’ll be too tired to cook after all the shopping. I recommend shopping the night before (if possible) so you can simply put away the meat and dairy and leave out everything you need for the cooking session.
Start with clean working surfaces.
That means clearing the counter of anything that’s not absolutely necessary. If you don’t have much counter space, use the kitchen table as an extra work area.
This also means emptying the dishwasher and emptying the sink. You want ZERO dirty dishes when you first start. This makes cleaning up super fast – rinse, load the dishwasher and hit go!
First things first.
Make pre-heating the oven the very first thing you do. Even if you do it when you first wake up. You don’t want to waste precious time waiting on the oven!
Also plan to start anything requiring an appliance first, like slow cooker meals or Instant Pot meals. You can get other things done while those initial meals are cooking!
Now you have everything you need to become a pro at planning your own Freezer Cooking Day!
- If you need inspiration be sure and check out my Ten Breakfasts in an Hour Freezer Cooking plan.
- I also have a Step by Step Freezer Cooking Guide for the Beginner.




I’m just wondering how you stored these prepared meals. Do you have stacks of 3-4 compartment containers to have pull out meals or Ziploc bags with everything for the mal in one bag…?
Hello E,
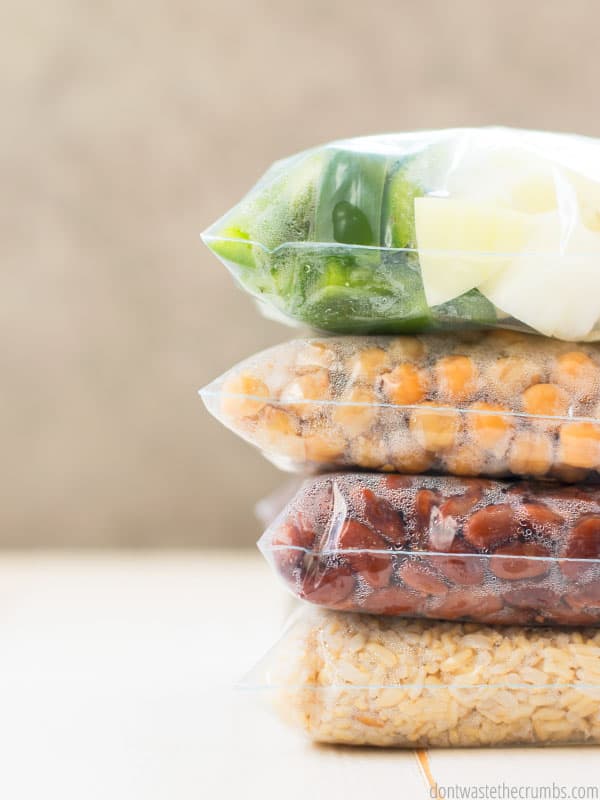
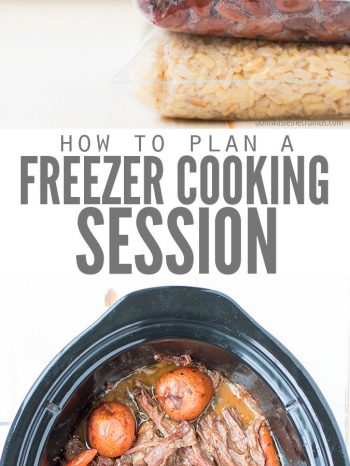
Ziploc bags with everything for the meal in one bag work fine. I highly recommend laying the bags flat to freeze at first. Once they’re frozen through, you can stack them like books in the freezer. It’s the best way to utilize freezer space! Hope this helps.
How do I know how much produce and spices for each dish. There are no measurements. Thanks. I am a very inexperienced cook. [email protected]
Susan, you have to click the recipe links and look at the ingredients in the post you select.