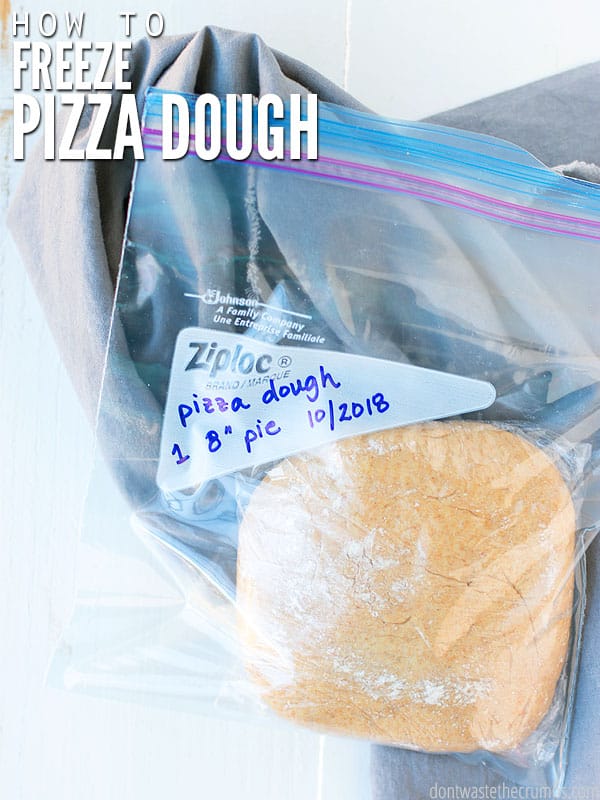
Can you freeze pizza dough? Yes, and it’s a great way to prep ahead! Freezing pizza dough is the BEST way to have a fresh and delicious homemade pizza ready fast whenever you want it.
We like to have a pizza night every week. This means I always have the ingredients on hand for our favorite Einkorn Pizza Dough, Easy Pizza Sauce, and plenty of topping options for whatever flavor we’re in the mood for.
So, for me, having the ingredients in the kitchen isn’t a problem. But sometimes, having the TIME to get everything ready on pizza night is tricky. For those super busy pizza nights, it’s nice to not only have my sauce made and my cheese grated but also have my pizza dough already ready to pull out of the freezer.
Can you freeze pizza dough? The answer is yes!
If you find yourself scrambling to get everything ready on pizza night and defaulting to ordering pizza instead, it’s time to try freezing pizza dough.
FREEZING PIZZA DOUGH
Freezing pizza dough is perfect because:
- It makes meal planning simple. You can quickly and easily include your own healthy pizza into your monthly meal planning, whether you make it once or weekly.
- Quick and easy. It’s a fun and cheaper-than-delivery pizza the whole family will like, in under an hour!
- Feed a crowd. Having multiple discs of frozen pizza dough on hand is great for last-minute company or parties.
- Prep ahead. You can always make extra batches of dough and have them on hand whenever you need them!
- Versatile. Freeze various types of pizza crusts like my Overnight Einkorn Pizza Dough and my Homemade Pizza Dough.

HOW TO FREEZE PIZZA DOUGH
STEP 1. GET A BATCH (OR TWO!) OF HOMEMADE PIZZA DOUGH GOING.
Here are my two recipes for fresh pizza dough that I know freeze well.
I mention making more than one batch because it’s really no more work to make a double or triple batch of dough than it is to make one. Plus, you get THAT MANY MORE dinners out of your work later! (And you only have to wash those dishes once.)
Note: If you have a fresh store-bought pizza dough that you like to use, you can also follow these steps for how to freeze pizza dough.
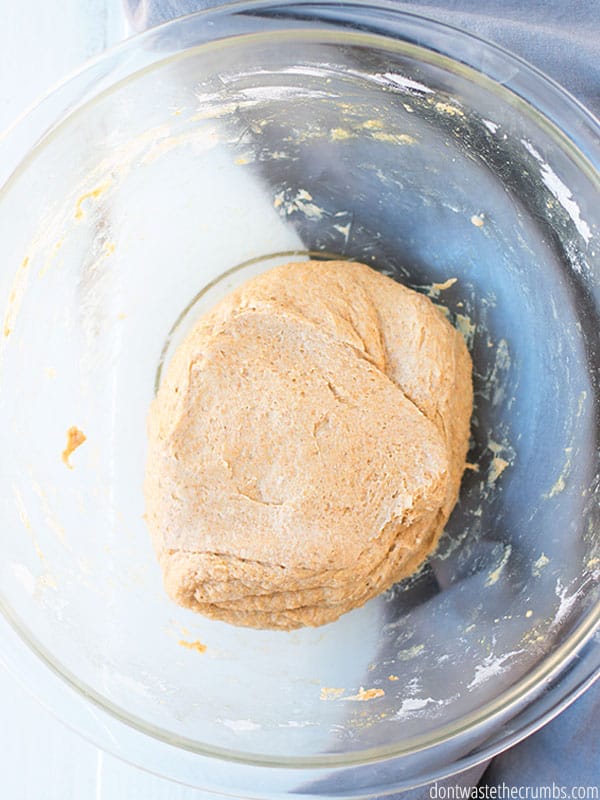
STEP 2. PREPARE THE PIZZA DOUGH THROUGH THE FIRST RISE.
This is important! Most pizza dough recipes using yeast call for one rise, even if it’s a short one (10-30 minutes).
The first rise is what allows the dough to come together. Plus, the yeast feeds on the sugar and starches and expands, which is what will give you the rise when the dough actually bakes.
STEP 3. SHAPE THE PIZZA DOUGH (OPTIONAL).
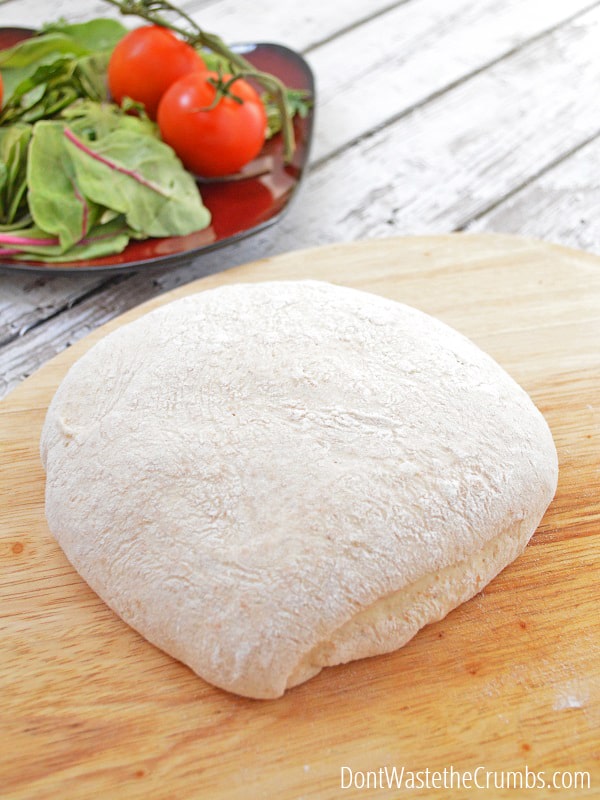
Once the dough has finished the first rise, divide into equal-sized portions for one crust each. Place on a lightly floured surface or parchment paper and pound out any air bubbles. Then fold the dough over itself a few times (5-10 times is usually enough), and shape it into a round disc.
Why a disc and not pizza dough balls? Because the disc shape will make thawing frozen pizza dough go faster!
If your shaping skills are rusty and your round disc turns into a triangle or rectangle, or any other non-round shape, that’s totally fine.
The goal is for the dough to be roughly 1” thick, regardless of the diameter. Since you’re storing this pizza dough in the freezer, make sure that however wide your disc is, it actually fits in the freezer (just in case your freezer is narrow).
Note: If you are short on time, you can skip the shaping step and go straight to Step 4 and freeze each pizza dough ball.
STEP 4. WRAP THE PIZZA DOUGH.
In freezer cooking, your worst enemy is freezer burn. Freezer burn doesn’t change the nutritional value of your food, but it dries it out and can alter the taste (in an unpleasant way).
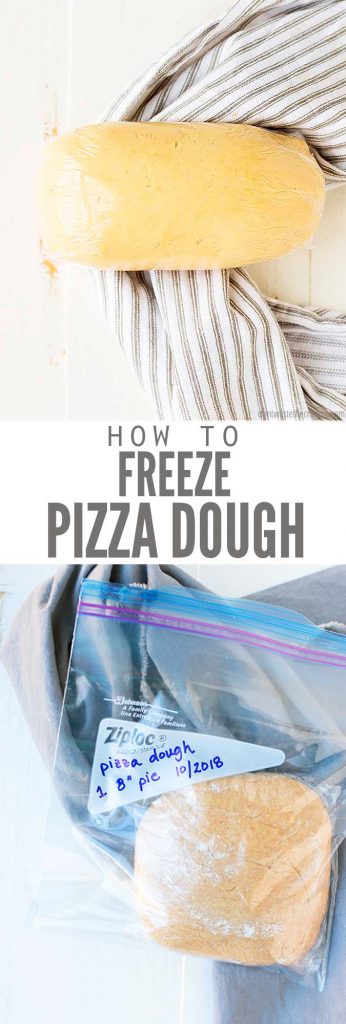
You can prevent freezer burn by wrapping the pizza dough well, TWICE.
Your first wrap should be done with plastic wrap. Plastic wrap makes a great seal against the dough to keep air out.
- Unroll a large piece of plastic wrap and place your disc near one end. As you work through these steps, make sure you’ve removed as much air as possible and covered the surface of the pizza dough with plastic wrap. The goal is to leave no surface exposed to an air pocket, whatsoever.
- Pull the end of the plastic wrap over the disc, and then flip the entire disc over (so that both the top and bottom of the disc are now covered with plastic wrap.
- Pull the sides of the plastic wrap over the disc, like you would fold the sleeves of a t-shirt inward towards the middle.
- At this point, no portion of the dough should be exposed to air.
- Flip the disc end over end until you’ve used up the rest of the plastic wrap.
STEP 5: WRAP THE PIZZA DOUGH AGAIN.
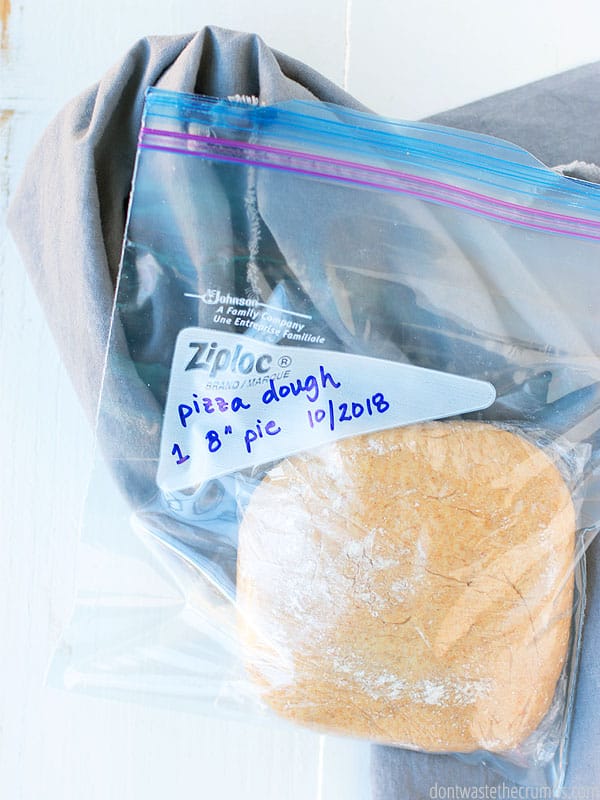
Your second wrap can be done with a freezer-safe bag, container, or aluminum foil.
- I reuse freezer-safe bags over and over again for things like Peanut Butter Chocolate Chip Muffins and Peanut Butter Oatmeal Cookies and Corn Dog Muffins and Cinnamon Blender Waffles…basically anything that isn’t messy other than leaving behind a few crumbs. The same goes for the wrapped discs of pizza dough.
- You can usually fit two discs inside a quart-sized plastic bag, and four discs inside a gallon freezer bag.
STEP 6. LABEL AND FREEZE THE PIZZA DOUGH.
This is SUPER important – always label the contents of your freezer meals. You may think you’ll remember what it is later on, but I promise you won’t.
It’s amazing how freezer meals tend to take on general colors, like whitish or brownish or reddish, even when they were clearly distinguishable when you first put them in the freezer!
BEST TIPS HOW TO DEFROST PIZZA DOUGH
There are a few different ways you can go about defrosting pizza dough. Regardless of the method you choose, make sure you:
- Keep the dough covered at all times. Whether it’s with plastic wrap or a towel, do not let the dough sit out in the open, as this will dry it out.
- ALWAYS make sure the pizza dough is at room temperature before topping and baking. If the dough is too cold, it will tear when rolling it out.
HOW TO DEFROST PIZZA DOUGH OVERNIGHT IN THE FRIDGE (8+ HOURS)
Defrosting pizza dough in the fridge takes at least 8 hours and probably won’t work if you’re short on time and need dinner ASAP.
To thaw pizza dough overnight in the fridge:
- Remove the disc of dough from both wrappings.
- Place the dough in a container in the fridge, cover it with plastic wrap, and let it sit overnight. (You can reuse the plastic wrap from freezing the dough).
- It will thaw AND go through a short second rise at the same time.
- Bring the dough to room temperature (30-60 minutes) before topping and baking.
Tip: Preheating the oven and placing the dough near the oven will help get the dough to room temperature faster!
HOW TO THAW FROZEN PIZZA DOUGH ON THE COUNTER (2+ HOURS)
This method takes about two hours and works great if you know you’re making pizza later that same day.
To thaw pizza dough on the counter:
- Remove the disc of dough from both wrappings.
- Place the dough in a container and cover it with plastic wrap.
- It will thaw and go through a short second rise at the same time.
DEFROSTING PIZZA DOUGH IN COLD WATER (1+ HOUR)
This fast method will have pizza dough ready to be topped in about one hour!
To thaw pizza dough quickly in cold water:
- Remove the disc of dough from both wrappings and place it into an airtight bag (this is another reason why I use freezer-safe bags).
- Remove all the air, seal the bag, and submerge the dough in a large bowl or sink of cold water.
- Change the water every 15 minutes.
THAWING FROZEN PIZZA DOUGH IN WARM WATER (30+ MINUTES)
This is my personal preferred method, and it means dinner is completely done and ready to be eaten in less than an hour.
For thawing frozen pizza dough quickly in warm water:
- Remove the disc of dough from both wrappings and place into an airtight bag.
- Remove all of the air, seal the bag, and submerge the dough in a bowl or sink of warm water.
- The dough will cool the water, so check it every 10 minutes or so, changing it as necessary to ensure the water is always warm.

CAN YOU FREEZE PIZZA DOUGH FAQS
Can I freeze pizza dough made with sourdough?
Yes! Sourdough pizza dough can be frozen for up to 3 months. When ready to thaw, remove the sourdough pizza dough disc from the freezer and thaw in the refrigerator for 12 hours (or any of the above methods). I recommend this sourdough pizza dough recipe by King Arthur Baking.
Making sourdough pizza dough is an awesome way to use up your excess Sourdough Starter.
Will pizza dough rise after being frozen?
Yes! Since you already allowed the dough to rise for the first rise when you initially made the dough before freezing, it will go through a second rise while it is thawing, and before you bake it.
For all of the thawing methods above, the dough will go through a second rise as long as you allow it to come to room temperature before baking.
Does freezing pizza dough kill the yeast?
Nope. Not as long as you properly feed the yeast when you make the dough, and let it rise before freezing it.
How long is frozen pizza dough good for?
You can keep pizza dough frozen for up to 3 months, as long as it is double-wrapped well.
Can I freeze pizza sauce?
Yes! You can freeze this easy Pizza Sauce Recipe, as well as freezing shredded cheese, which means pizza night is as simple as pulling everything out to thaw.
EASY PIZZA RECIPES FOR PIZZA NIGHT
- The Best Homemade Pizza Dough
- Cast Iron Skillet Pizza
- Buffalo Chicken Pizza
- Overnight Einkorn Pizza (using freshly ground whole grain einkorn berries)
- Mini Pizza Bagel Bites




I freeze just about everything and pizza dough is a breeze to freeze, thaw and bake! Currently thawing on the countertop and it’s looking and smelling yummy! Going to chop up leftover veges, warm up some sauce and layer it up with some mozzarella. Recommend serving with a nice red and a simple Italian salad – yum!
Yay! So excited you enjoy this, Rebecca!
I use a different recipe for the dough. But I proof it in the refrig in a airtight covered container large enough to let it double in size for from 24 to 72 hours. After that, I cut it into pizza sized portions, roll it into balls, wrap in plastic wrap and put into freezer bags. To thaw, I Use your refrigerator method. I remove from bag, unwrap, put in a container large enough to let it relax overnight. Then set it on the counter 1-2 hr prior to use. Works for me.
I freeze my sourdough pizza dough – I make one big batch (6 cups of flour, plus some spices – oregano and basil – well, it’s another einkorn recipe, but I use a mix of whole wheat and other flours) and let it rise in the fridge for 2 days. Then I divide it into 4 pieces and freeze 3 of them, just as you suggested.
This is a great idea. I will try this method. I have always had a hard time with freezing dough. The dough usually rose in the freezer as it was freezing and would come out of the plastic wrap. What a mess. I never thought of letting it sit through the first rise on the counter and then freezing. Because of the mess I usually par-bake my pizzas for about five minutes, let them cool, double wrap and freeze. I can take one out of the freezer, toss the desired toppings on and bake for about ten to twelve minutes and I’m done. Thanks, Tiffany for today’s post.
You’re very welcome JoAnn!!
Thank you, Joann, for your method on parbaking pizza crust! And Tiffany for your methods on using frozen pizza dough in under an hour straight from the freezer! I miss the homemade crust flavors but currently need the convenience of the pre-made crusts and the flavor is just not the same. I look forward to hopefully trying these methods to help me create the convenience I need with the flavor I miss. Thank you both!