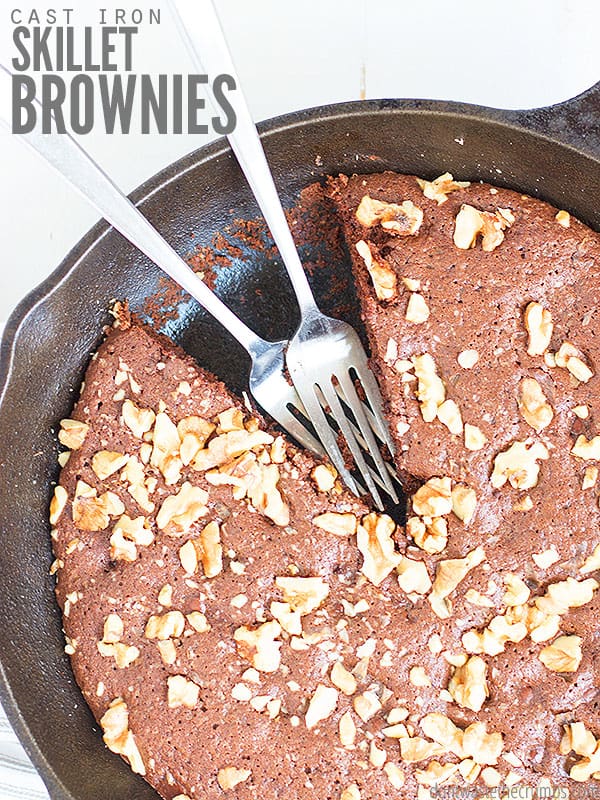
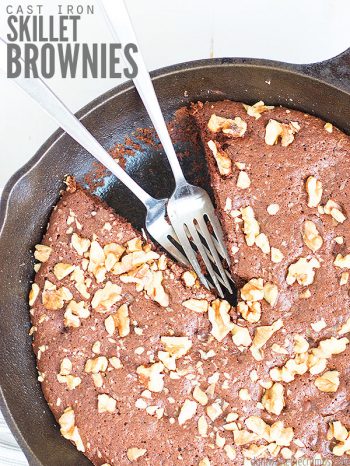
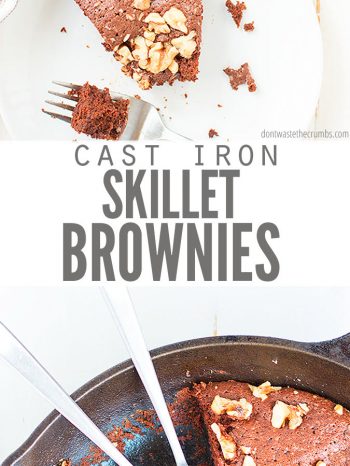
This easy recipe for Cast Iron Skillet Brownies is so chocolaty, delicious, and versatile! Cook it on the stove, in the oven, or over an open flame! Makes for the perfect dessert any time of the year! Serve with a dollop of homemade whipped cream or my homemade vanilla bean ice cream!
Lately, I’ve been thinking of different ways to use my cast iron skillet.
You know, the cast iron skillet that every-so-often sits in the cabinet collecting dust…
The one that you bought because you learned that it’s a healthy way to cook, but never quite got to using it because you had no idea how to ‘season’ it?
Yep, that was me too! (By the way, here’s how I learned to season a skillet the right way!)
I’ve used my skillet to make this amazing cast iron skillet corn bread, and a perfect homemade cast iron skillet pizza…which were SO delicious, and I definitely recommend that you try them!
BUT let me tell you about another recipe that is so rich, chocolatey, and SUPER easy to make…
Enter the cast iron skillet brownie.
Did you know that you can make brownies in a skillet?
I used my homemade brownie mix recipe (free of all the unhealthy ingredients usually found in boxed brownie mixes) and cooked it in the skillet! It’s crispy on the outside and soft on the inside, exactly the way a homemade brownie should be! YUM!
My family absolutely loved it and now they ask me to make it for special occasions, especially in the summer or for camping! But of course, this recipe is great for any time of the year!
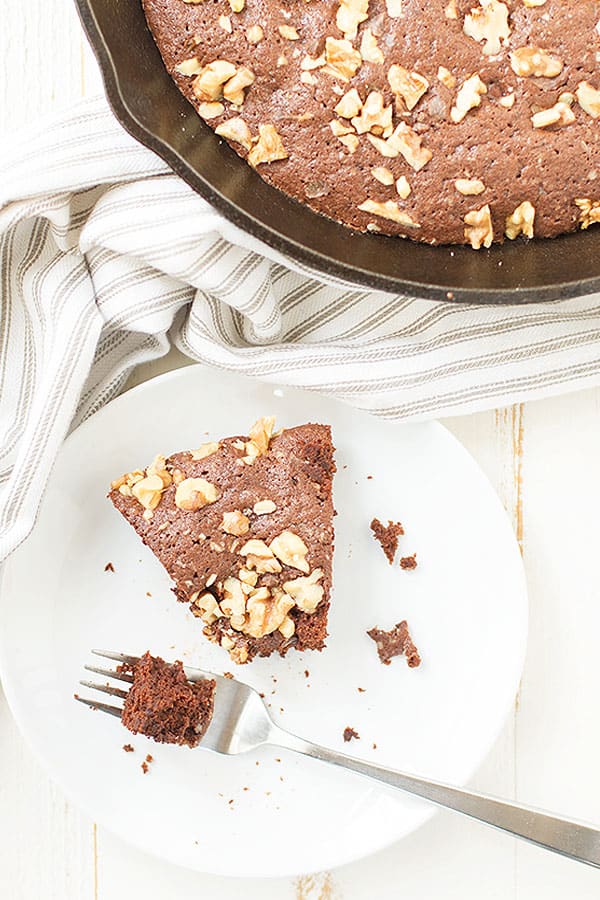
Cast Iron Skillet Brownies
This is the most perfect quick and easy dessert for chocolate lovers. It’s also…
- Delicious! With a rich, gooey interior and a crispy exterior, these brownies have an amazing texture.
- Versatile. Bake, grill, stovetop or campfire cook. You can bake these brownies in the oven during the winter, grill for cookouts in the summer, and there’s no better dessert to make on camping trips over a campfire!!!
- Healthier! Using a homemade brownie mix makes it much healthier to enjoy without all of the preservatives and weird ingredients in boxed mixes.
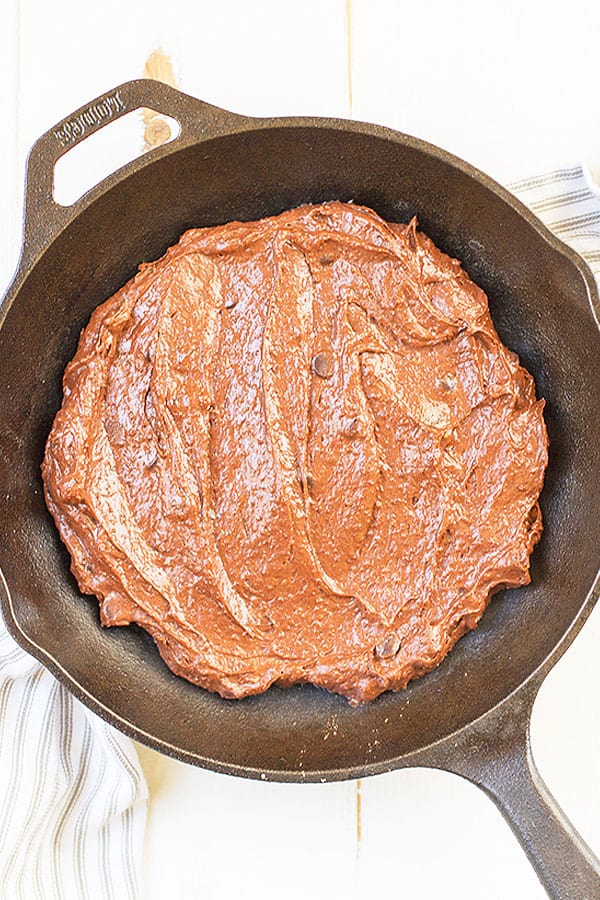
Ingredients for Cast Iron Skillet Brownies
Once you make the dry homemade brownie mix, all you need are a few basic additional ingredients…
- My homemade brownie mix
- Eggs
- Butter
- Vanilla
Remember that you can pre-mix the dry ingredients and store in a glass jar for up to six months! Label the jar with the wet ingredients so you can remember what you need at a glance!
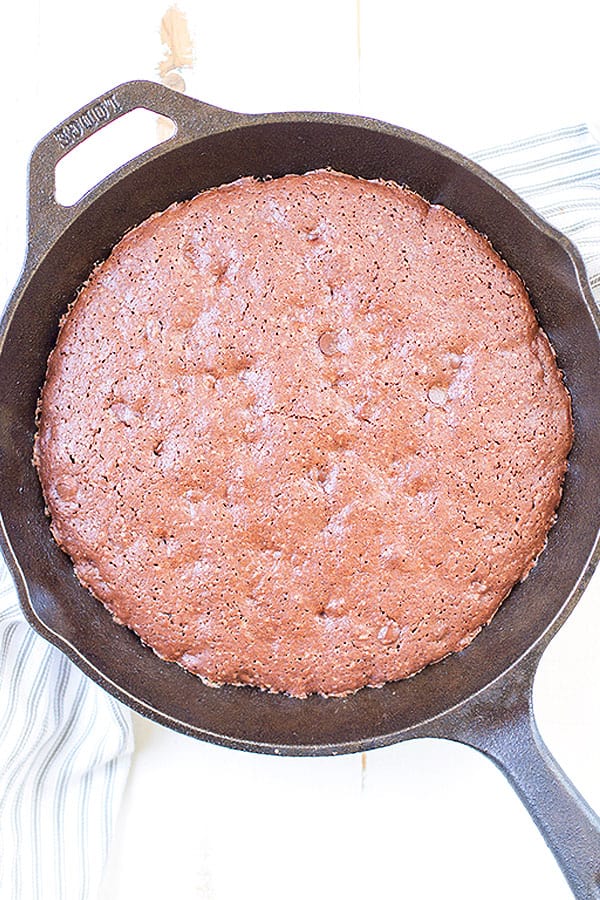
How to Make Cast Iron Skillet Brownies
With so many ways to prepare this easy dessert, you’ll be able to make it at home or away…any time of the year!
- Preheat cast iron skillet (I like this one).
- Combine wet and dry ingredients and pour into a pre-heated skillet.
- Place over stove, grill, camp fire or bake.
- Allow to cool slightly before serving directly from the skillet.
Note** When you cook over a stove, grill or open fire, the top of the brownie will have tiny holes rather than the typical smooth surface from a brownie baked in the oven. This makes it hard to judge doneness by looks, so follow the timing and use a knife to test.
Should I preheat the cast iron skillet for brownies?
Yes. Whether you are baking, grilling, using the stovetop or a campfire, the skillet will heat more evenly if it is preheated.
You want it to be warm, not hot. A drop of water should barely sizzle when added to the pan. If it sizzles violently, the pan is too hot.
Remove it from the heat/oven and allow it to cool slightly. Be careful when handling the skillet as it will be hot!
How do I cool skillet brownies?
The brownie will continue to cook in the cast iron skillet so be sure to remove it from heat and place on a ventilated spot so air can circulate underneath and cool. Do this as soon as the knife is mostly clean so that you don’t over-cook the brownie!
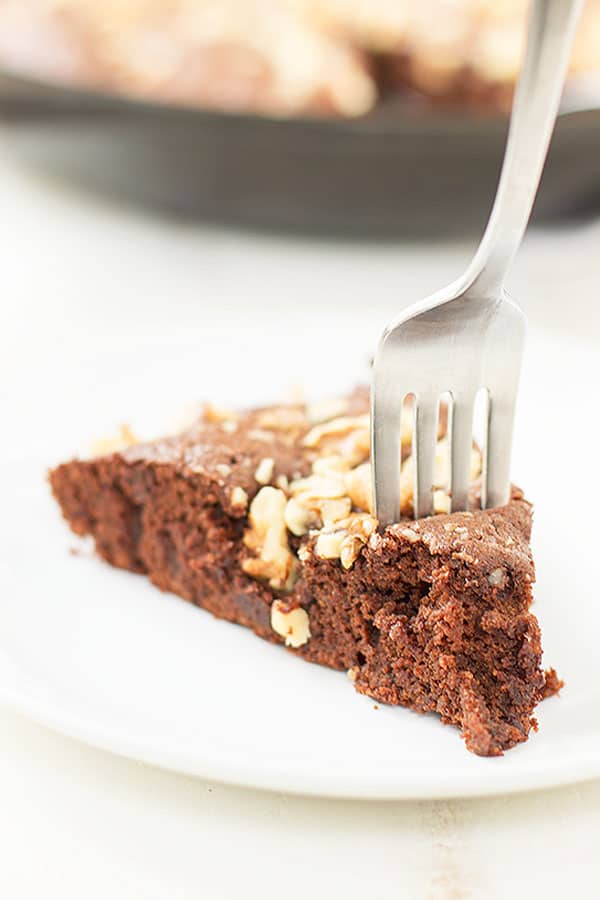
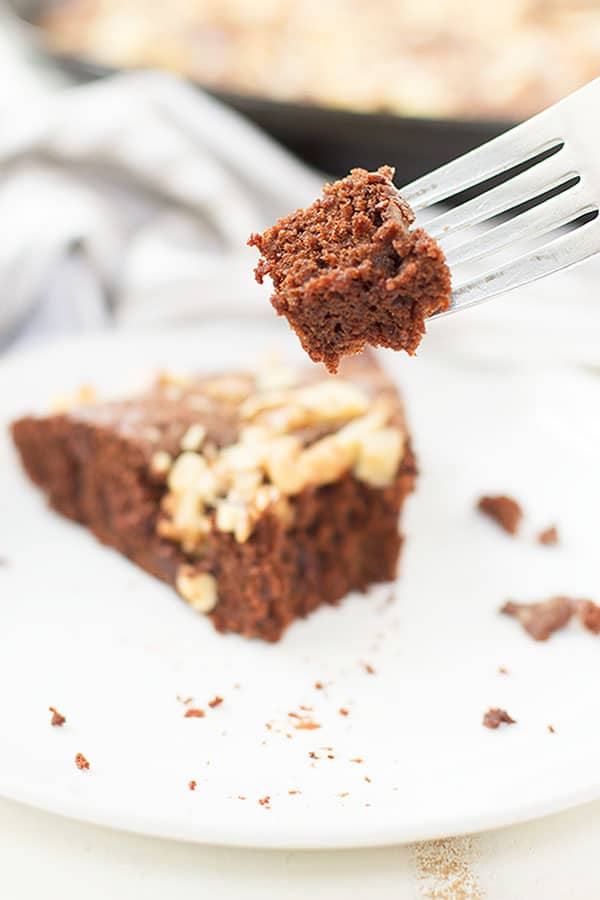
Once cooled enough to touch, yet still warm, serve these decadent brownies in wedges and top with your favorite crunchy toppings such as chopped nuts, chocolate chips, or a dollop of homemade whipped cream or my homemade vanilla bean ice cream!
More Easy Dessert Recipes…
- White Bean Blondies
- Triple Fudgy Paleo Brownies
- Black Bean Brownies
- Healthy Fruit Pizza
- Easy Chocolate Covered Pretzels
Cast Iron Skillet Brownies
- Prep Time: 15 mins
- Cook Time: 25 mins
- Total Time: 40 minutes
- Yield: 8 wedges 1x
- Category: Dessert
- Method: Mixer
- Cuisine: American
Ingredients
Dry Ingredients
- 1/2 cup granulated sugar (I used Turbinado)
- 1/3 cup cocoa (I used raw cacao)
- 1/2 cup flour (I used all-purpose einkorn)
- 1/4 tsp salt
- 1/4 tsp baking powder
- 1/2 cup add-ins: chocolate chips, chopped walnuts, chopped pecans, caramel pieces (optional)
- Wet Ingredients
- 2 eggs
- 8 Tbsp (1 stick) butter, melted
- 1 tsp vanilla extract
Instructions
- Preheat cast iron skillet for a 10 full minutes.
- Meanwhile, combine butter, chocolate chips and cocoa in a medium bowl and mash together with a large spoon.
- In a separate small bowl, combine eggs, vanilla and sugar. Mix to combine well.
- Add egg mixture to chocolate and mix well, ensuring everything is well combined.
- Add flour, baking powder and salt to the batter and stir until just combined.
- When the cast iron skillet is hot, remove from heat and pour in batter. Cover with aluminum foil and place something heavy on top (i.e. cookie sheet, another pan inverted, lid, etc.).
- Allow brownie to sit undisturbed for 20 minutes. Test doneness with a knife inserted until just barely clean. Cook over the open fire or on a stove for another 5 minutes if needed, but be careful to not let pan get too hot otherwise the bottom will burn.
- Allow to cool slightly before serving directly from the skillet.
Notes
Be sure that you also have:
- cast iron skillet
- aluminum foil
- something heavy for insulation (i.e. lid, second skillet (any kind) or another pot – not required, but helpful)


Do you know how long these would take if you wanted to just pop the skillet into a 350 oven instead? We made these this afternoon, and while the flavor was great, I’d love an alternative method for cooking that is a bit more predictable (I had a lot of trouble getting the knife to come out clean and wound up burning the bottom).
Thanks for the recipe – even with my lack of camp-cooking skills, the brownies still tasted great!
I don’t Jen, but I don’t think it would take long. Traditional brownies are in the 35-40 min range, but these are thinner. I’d say try 10 min, then test with a toothpick!
That’s a good point – I’ll give that a try with our next batch!
I like to camp and I like KOA. Thanks for great recipe and tips.
Looks yummy and easy! What size cast iron skillet did you use?
Thanks Jan! My skillet is 12″ across.
Thanks!
We have camped all our lives. I have pictures of me as an infant in my mothers arms next to the tent and pictures of myself with my boys as infants next to a tent, (they are now 17 and 19). I don’t mean to brag but I have always made my own food and cooked it. Tri-tip on the campfire is wonderful after a long day of hiking and playing. I also enjoy making bacon and then using the fat for the eggs and potatoes. I have found that if you cook your potatoes the night before in the fire while you are cooking the tri-tip, then in the morning all you have to do is get them nice and crispy. Just think wagon train and you can’t go wrong. I usually prepare everything ahead of time and place it in baggies, like you suggest for the brownies, this makes cooking easier and doesn’t wear out the cook while everyone else has a vacation. My husband is also allergic to milk so I have discovered that a lot of things can be made with water and you don’t have to bring the milk with you, like pancakes and biscuits. Thanks for the recipe, I will have to try it on my family!
Janine
Marcia,
Camping is great isn’t it? We love how it’s so easy to “unplug” and be without internet/cell service.
We’ve stayed at KOA’s a few times now and have always been pleased. The staff at every location has been very helpful, the cabins/bath houses were always spotless and the campgrounds have been pretty quiet. We tried the tent route once, but my kids just won’t go to sleep 🙂 They are too excited about sleeping in a tent! Plus, I don’t do to well sleeping on the ground.
How do you like camping at Joshua Tree? We had a friend visit that area last weekend and made a comment about his tent blowing away because of the wind!
It sounds like you are doing a great job at optimizing your “camping situation” and making it easier on yourself. That’s really the way to go…. Unless, you’re eating a muffin, while your neighbors are frying up bacon and potatoes (we had that happen once) 🙂
Tiffany
And great idea on taking cots!
Yeah, the cots are a must at my age, though now we have two, and one is more comfortable than the other, and my husband gets the comfy one.
Anyway, I really like Joshua Tree. The drought has made it harder – shortens the useful season for sure because it’s so hot.
It was very windy this last time. We could hear the wind howl through the rocks at night, and then 20 seconds later the tent would rattle. But it settled down after about midnight. It really depends on WHERE you camp in Joshua Tree.
We were in the group sites at Indian cove, and some sites are protected more than others. Most of the time that we’ve camped there, we have camped at Jumbo Rocks inside the park. These are not reservable, but they are also very protected and we never had a wind problem.
One year (the perfect year weather wise), we went for Easter in April. We did not get there early enough to get a site on Friday, so we ended up at a private campsite at Joshua Tree Lake, about 10 – 15 miles outside the park. Well, that was an unprotected area and it was WINDY! So windy that our tent started blowing flat. We were there with our neighbors, so here’s how it went down.
1. We tried to move their camping van and our car to block the wind. No go.
2. We reorganized – their whole family – 5 of them, two parents, and kids were 4, 2, and a baby – slept in the top of the van (roof pops up). My husband and our 4 year old slept in their “downstairs” bed.
3. We moved all of our stuff to the front seat of our Matrix, folded down the backseats, and I slept in the back of the Toyota Matrix, snuggled up against the cooler. Luckily I’m only 5’2″.
We did get a campsite the next night, and it was well protected from the wind, it was it’s own little spot. AND, the family in the next campsite over had extra blueberry-muffin-cake that they’d made in a dutch oven, so they gave it to us (made up for the bad night!) Fun times.
So it’s funny that this came today, because I just got back from camping for spring break. I’d never thought about camping in a cabin though – I will have to check that out! I never realized KOA had cabins.
We camp in a tent. Our neighbors have a camping van, so I’m jealous. We are in our mid-40’s, so we’ve definitely upgraded to cots for the adults. (Which isn’t always that comfy, since the toddler ends up in the cot with one of us for several hours.) We tend to camp most often in the desert (Joshua Tree), where there is no water, so that presents an additional challenge. We are getting much better as time goes on, but still learn. Also, our limit is 2 nights (3 max) of camping. This year, we camped 2 nights (it was hot and 90F during the day, and windy at night), and then 2 nights in Palm Springs in a condo with a kitchen, plus a pool. And the bed was king sized so the toddler could sleep sideways and still not touch us!
I admit that we have junk food when camping though! Although we don’t usually have it at home.
For example, I almost always have instant coffee when camping, and instant oatmeal. But my boys are 9 and 2, and the 2 year old can be a challenge. After the first day of waiting for the water to boil, I decided that I need to go easier for breakfast. So breakfast for me on day 2 was a sliced apple and some cheese with my coffee. I think nuts would go well with it too.
I like the PB&J for lunch idea, and we also would have hard boiled eggs, and cheese, plus veggies and hummus.
I have done the foil packets for dinner too – our little guy is at the danger age for fires, though. My kids really love chili nachos or quesadillas for camping dinners, and those are easy. We also did nitrate-free hot dogs one night.