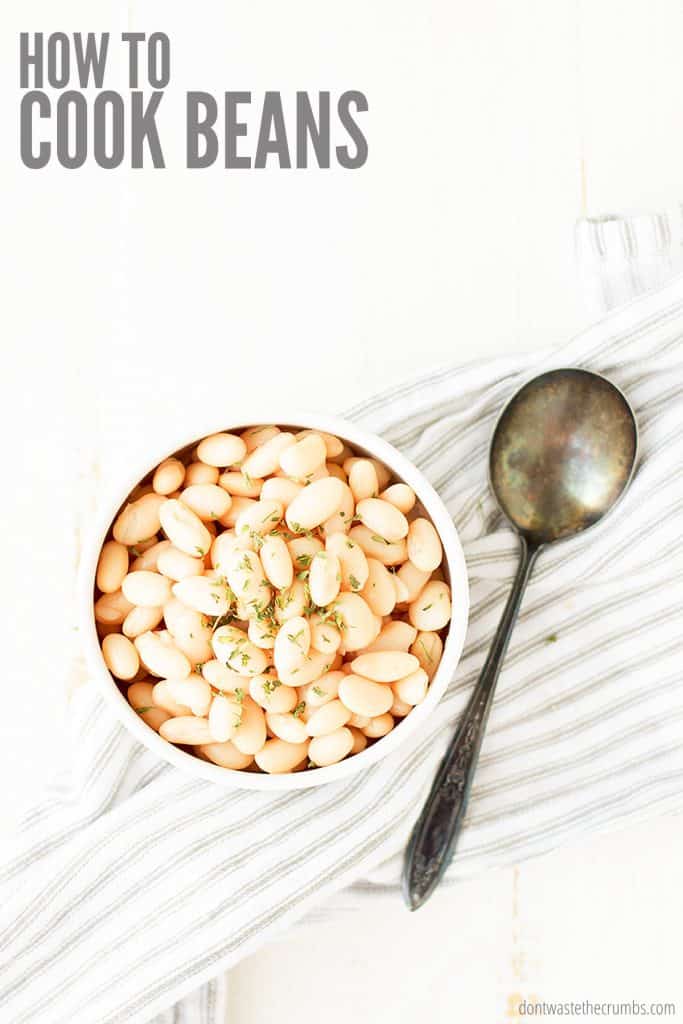
Learn how to cook beans from scratch at home. This super simple step-by-step tutorial will give you creamy, delicious beans every time at a fraction of the cost of canned beans. Plus 7 bonus methods for de-gassing beans too!
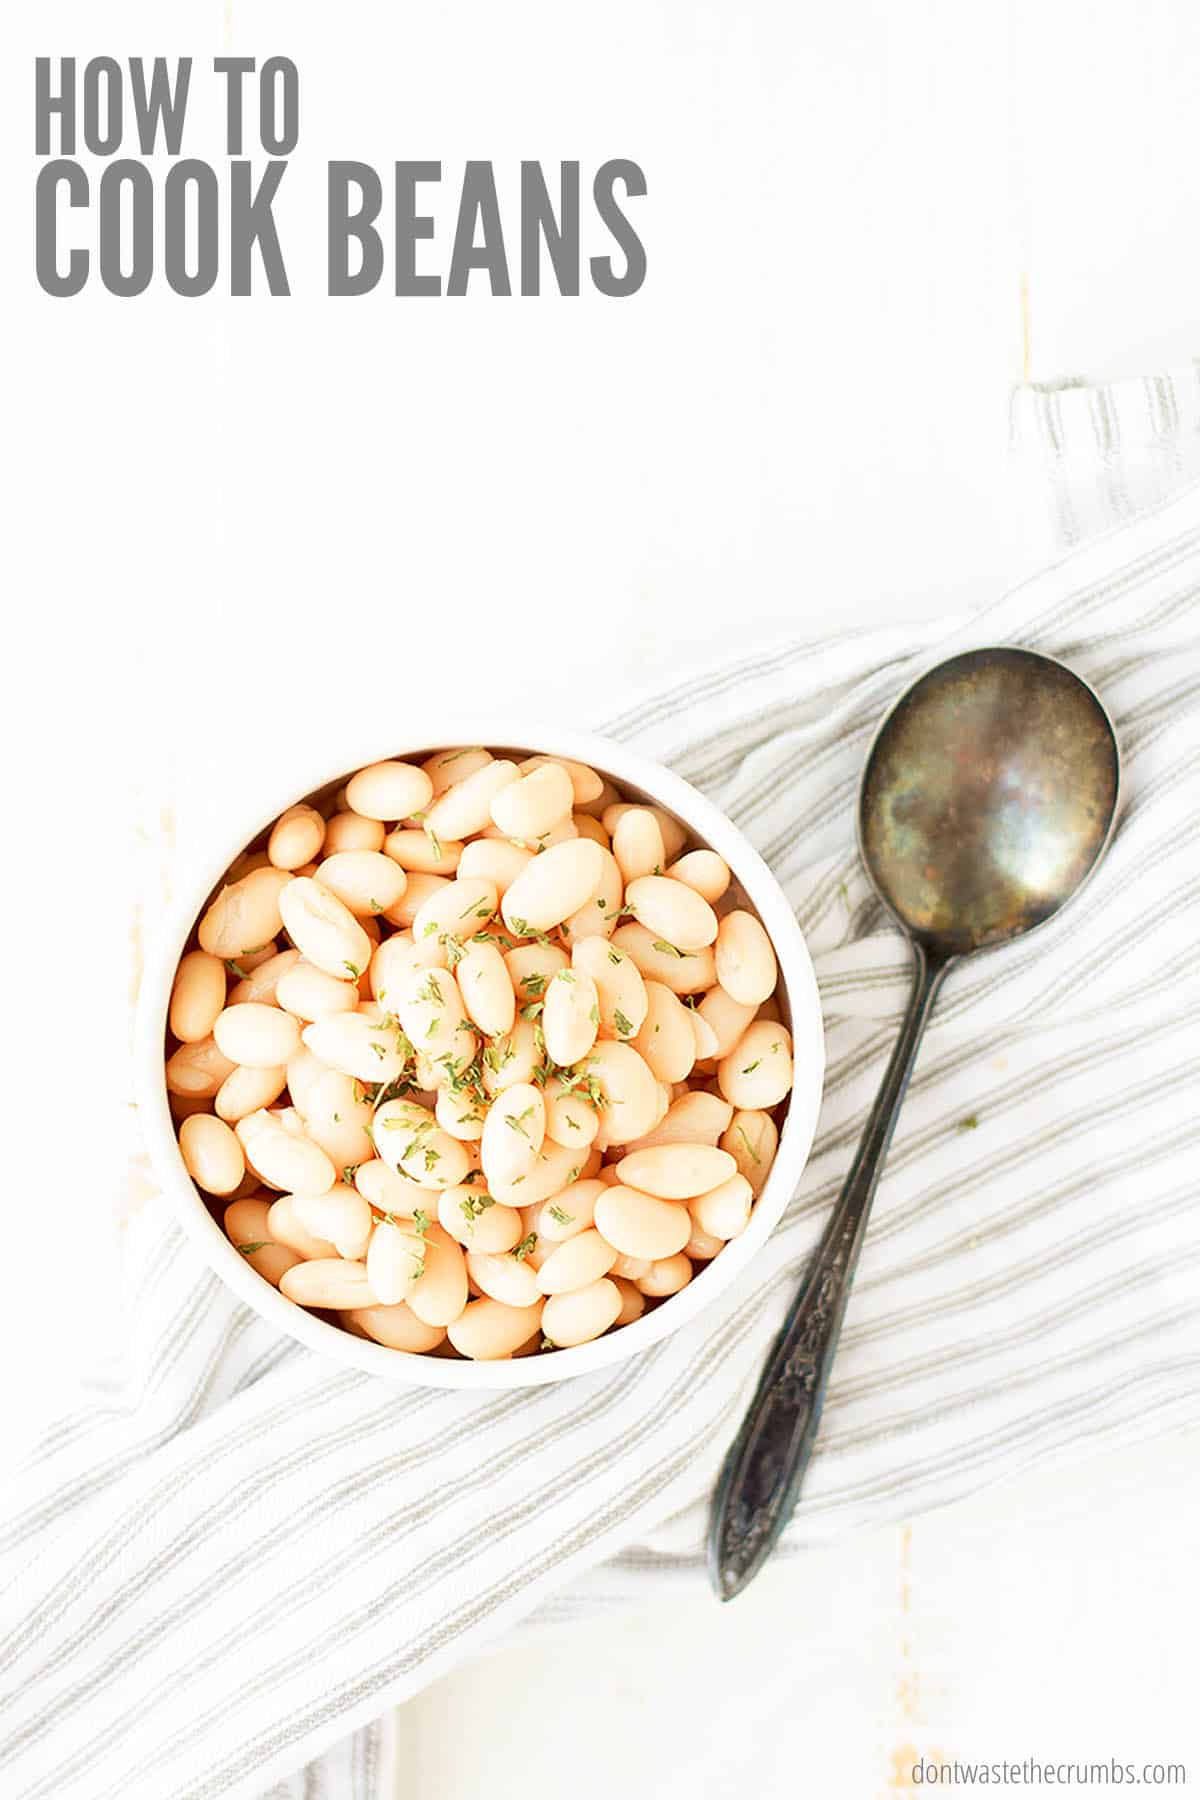
Cooking from scratch is one of the best ways to reduce grocery spending. And pound for pound, beans are one of the most affordable staples you can keep in your pantry.
However, not everyone knows how to cook dry beans, and many are intimidated by the process.
Let me show you how easy it is to get the best of both worlds – cooking from scratch and including beans in your meal plans – with a step-by-step tutorial on how to cook beans!
WHY BOTHER COOKING DRY BEANS
You may wonder if there’s any benefit to cooking dried beans versus buying cans of beans. The three biggest reasons are:
- Dry beans are cheaper. Regardless of what type of dry beans you cook (i.e. pinto beans, chickpeas, black beans, kidney beans, red beans, lima beans, cannellini, etc.), it’s cheaper to cook your dry beans than it is to buy canned. (Here’s the cost breakdown if you want to nerd out on the math.)
- Dried beans are easier to digest. Starting with dried beans gives you the flexibility to soak, cook them slowly, and add other ingredients to counteract the negative side effects that canned beans can cause. Read on for my easy method for soaking beans and tricks for de-gassing beans.
- Dried beans are less popular. Remember the year when grocery store shelves were empty? Canned beans were quick to disappear, but dried beans still hung around. Why? Because most people don’t know how to cook beans.
- Bonus: Dry beans last forever. They’re the perfect pantry staple! Unofficially, dry beans will last indefinitely if they’re stored properly. Think of an airtight container in a cool, dry spot. (I use 5-gallon food-grade buckets with gamma lids. The cheapest buckets are at Tractor Supply for $5. These are the lids I bought, but there might be some in multi-packs for a better price per lid.)

INGREDIENTS FOR COOKING BEANS
In the most basic of recipes for cooking beans, you only need two ingredients:
- Dried Beans
- Water
It doesn’t matter what type of bean you choose – black beans, white beans (cannellini beans or navy beans), pinto beans, garbanzo beans – this method works for them all.
Bay leaves and sea salt add a subtle flavor, and that’s why I include them in my dried beans recipe, but they’re optional. Cooking dried beans is a fantastic way to make low-sodium or salt-free beans!
Psst…Did you know that many salts contain MICROPLASTICS? It’s a sneaky toxin that may be in your everyday salt, and thus your everyday food (um, gross). I love Ava Jane’s Kitchen because their salt is FREE of microplastics, and it tastes delicious! (PLUS, you can get a free 8oz. bag of sea salt – just pay shipping and handling!)
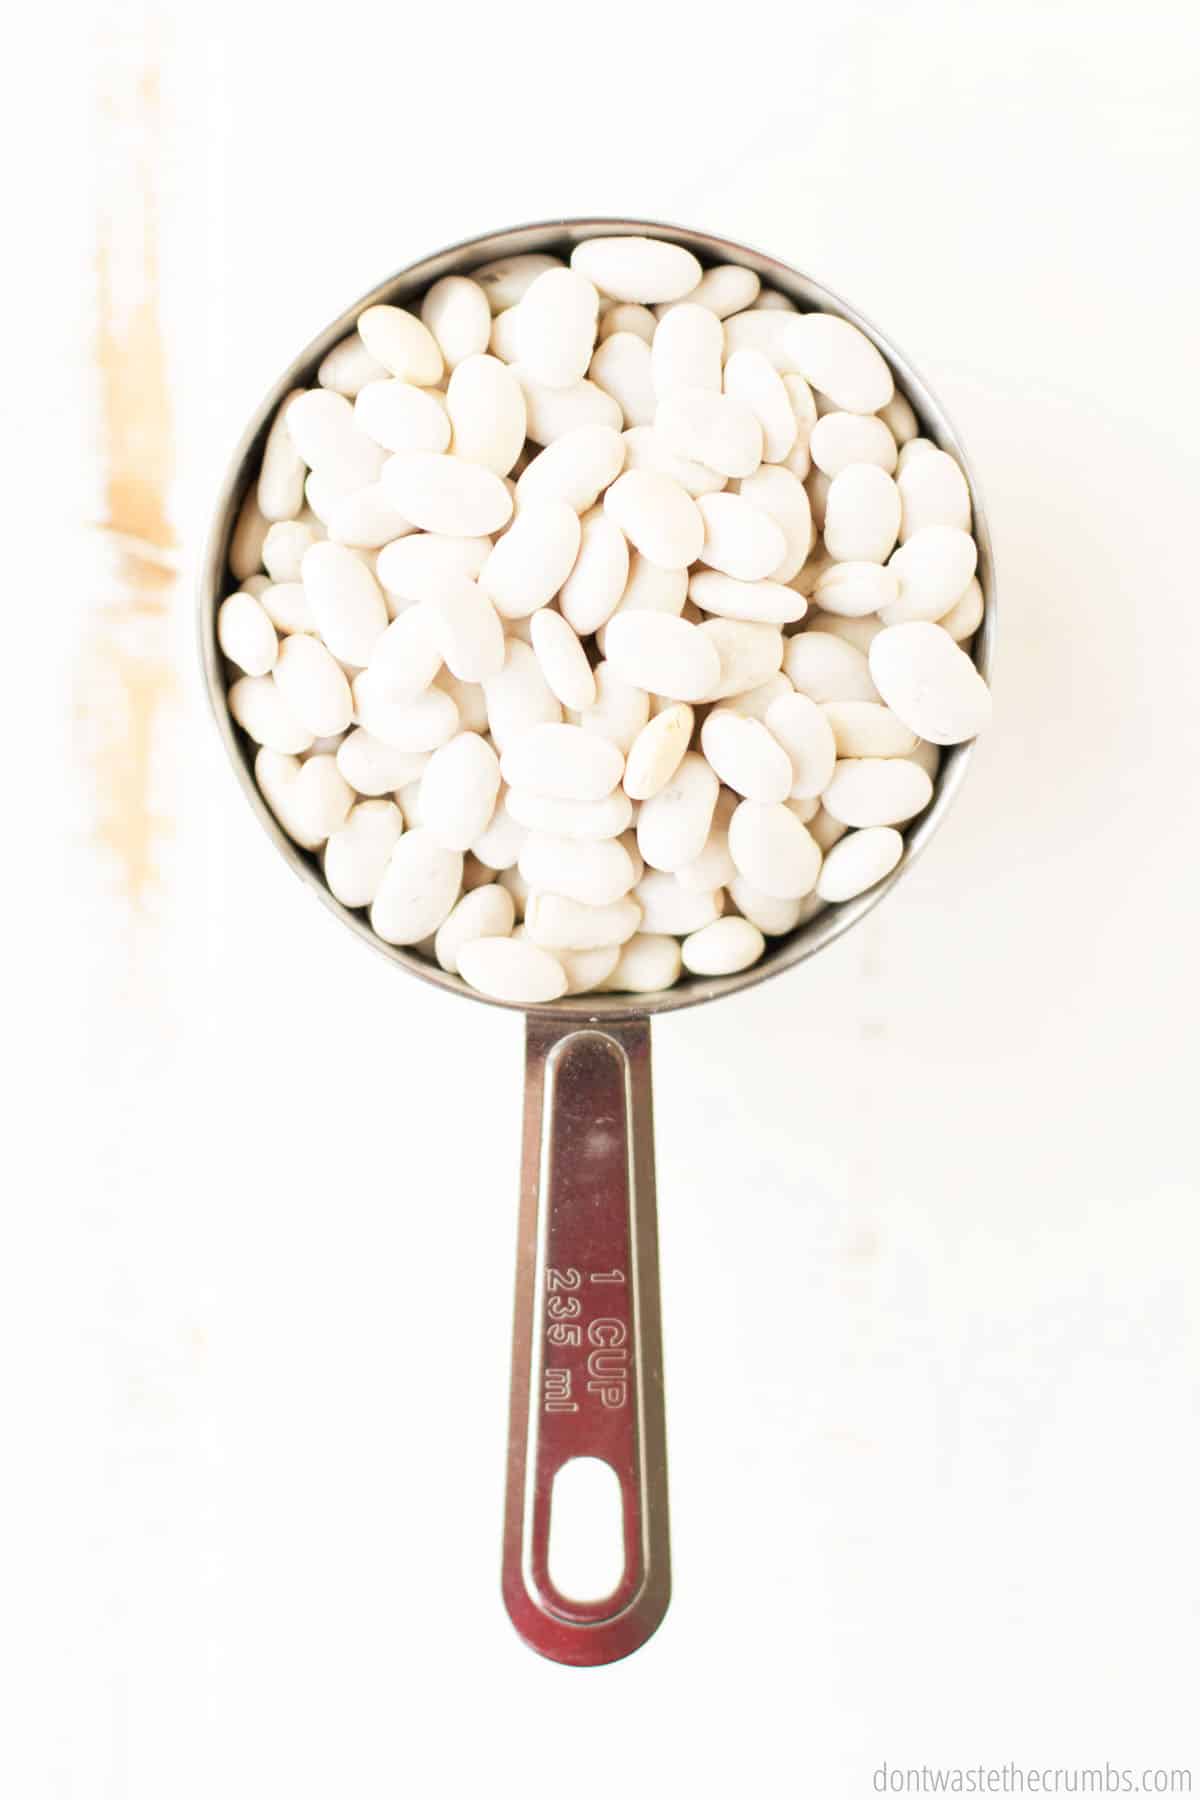
BEFORE YOU COOK: CONSIDER SOAKING DRIED BEANS
It’s not NECESSARY to soak dried beans before cooking them, but it’s something you should consider. Here’s why:
- Soaked beans produce less flatulence. Dried beans contain an enzyme called oligosaccharides, which is difficult for a lot of people to digest. The body will continue to try to break this enzyme down as it gets further into the digestive system and gas is produced as a byproduct. Soaking dried beans (and tossing the soaking liquid) can help remove 75-90% of the oligosaccharides.
- Soaked beans cook faster. Cooking dry beans without soaking takes several hours. By soaking the beans first, you can reduce the cooking time to as little as 30 minutes, depending on the type of bean.
- Soaked beans taste better. Beans tend to be softer and more evenly cooked when they’re soaked versus cooked straight from dry.
HOW TO COOK BEANS: STOVETOP METHOD
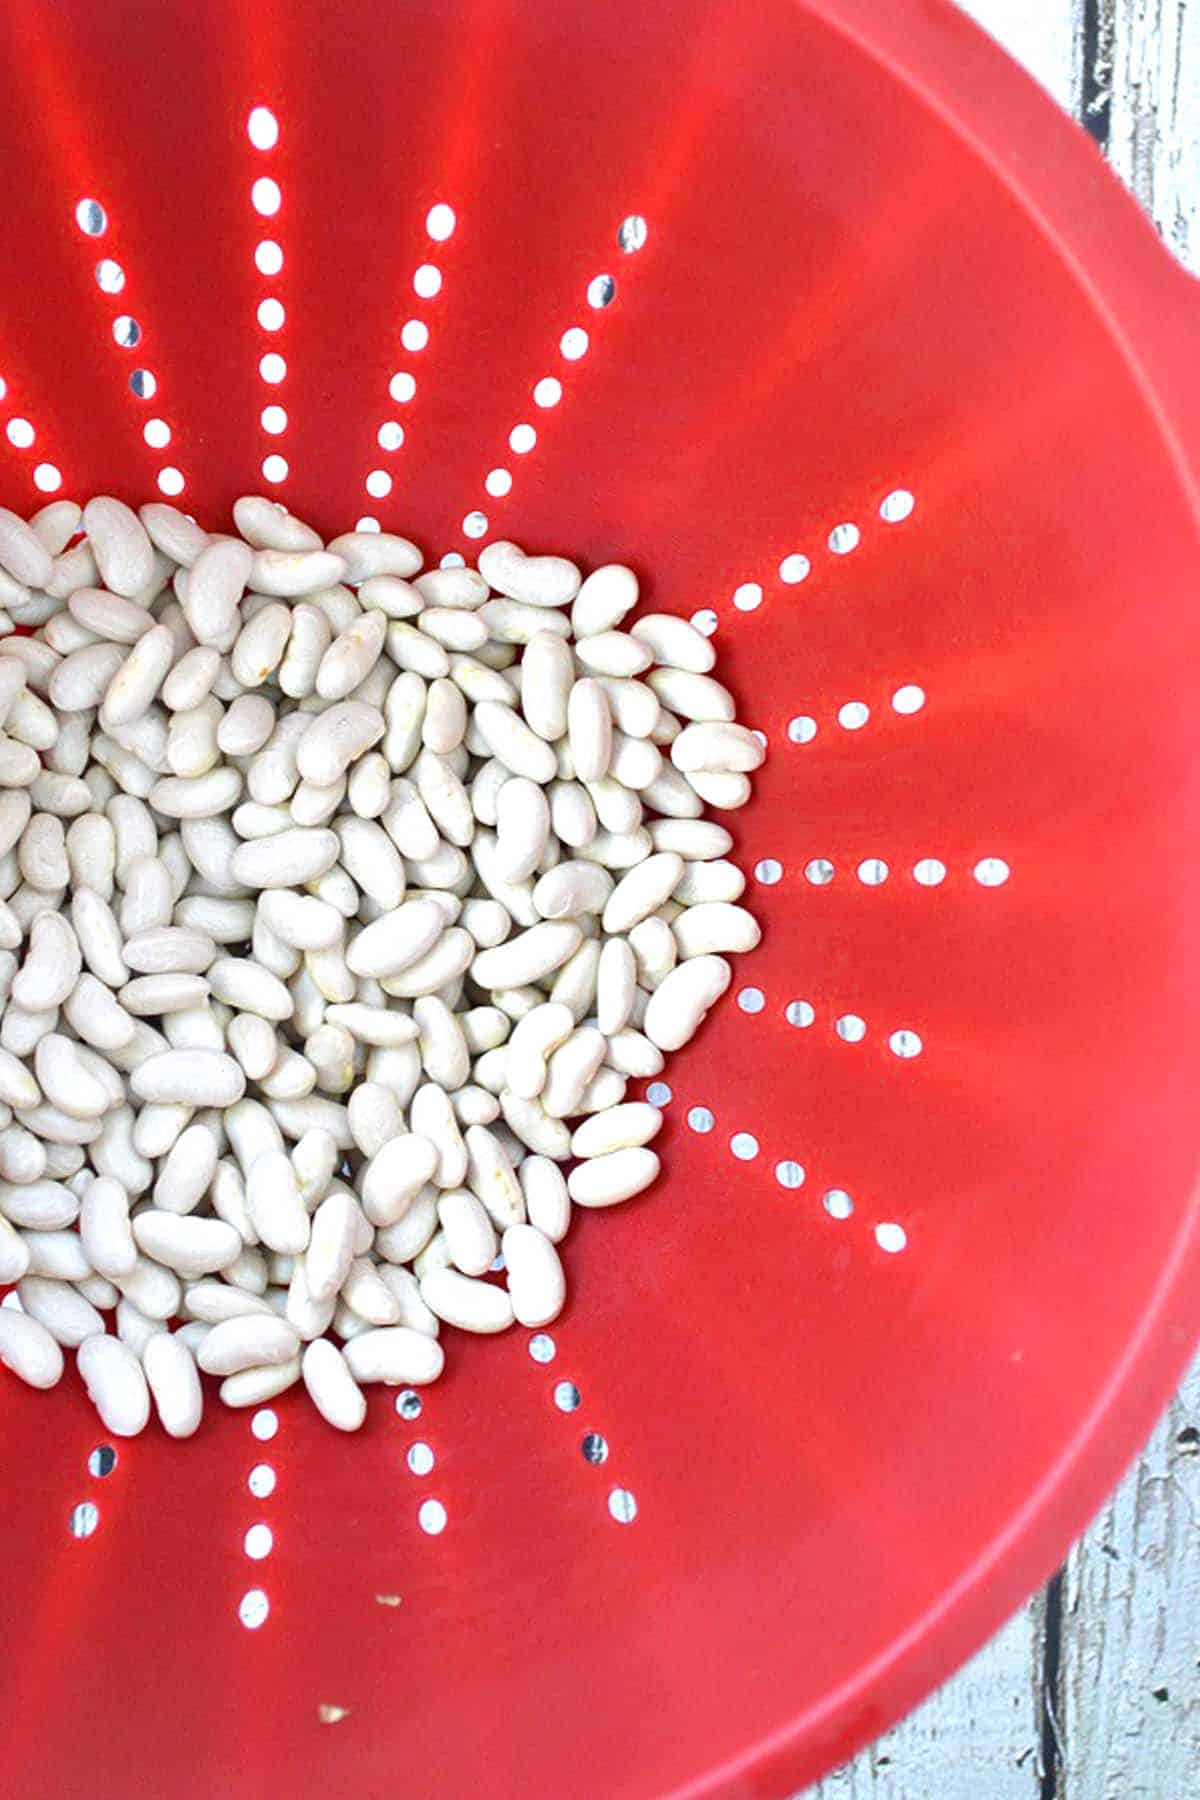
Step 1: Pick them over. Rinse your beans in cool water in a colander and pick out any that are broken, deformed, or discolored. Rinsing also helps to remove any dust, dirt, and debris.
Step 2 (optional): Soak the beans. Follow your preferred method of soaking below, if desired. Be sure to discard the soaking liquid and rinse the beans with fresh water thoroughly before cooking.
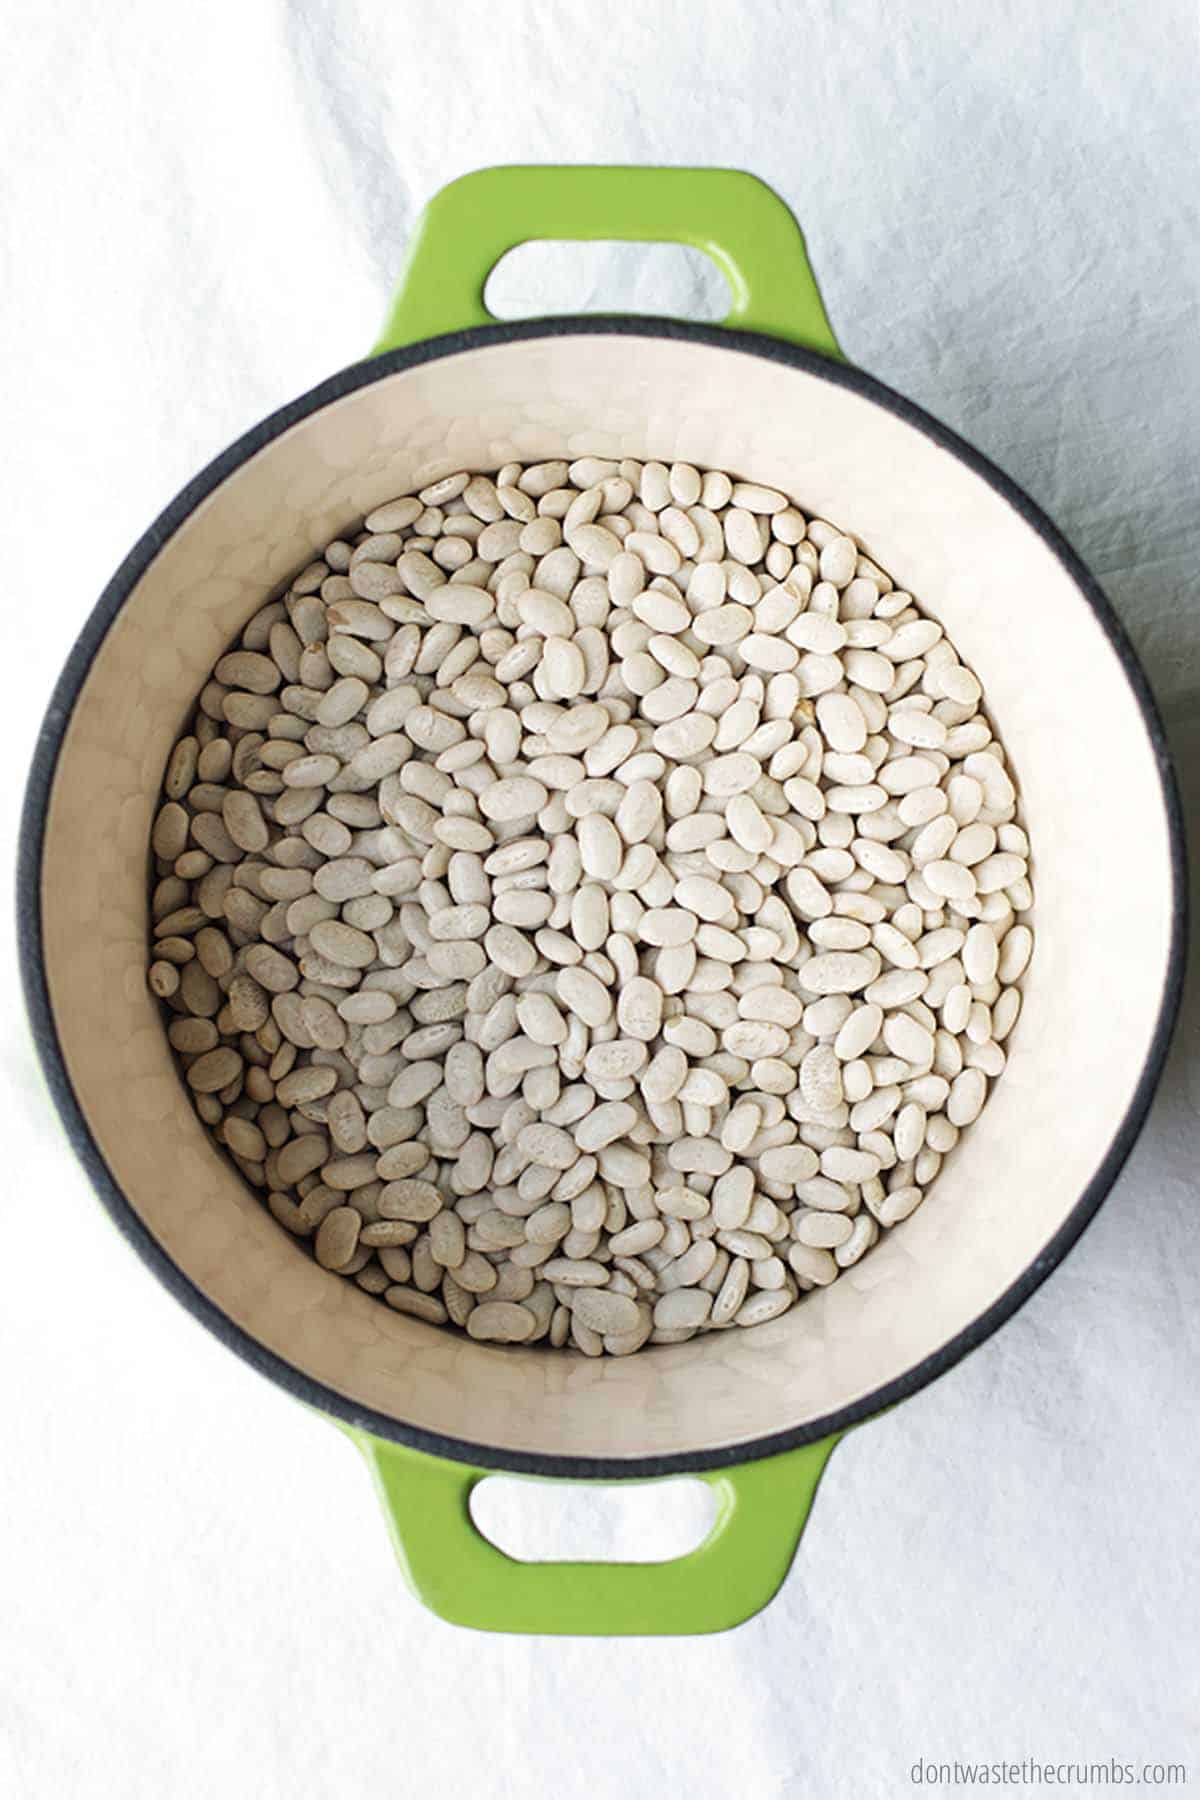
Step 3: Place the soaked or unsoaked beans in a large pot, add 1 teaspoon of salt (if using) and cold water. Generally speaking, you need 1 quart of water for every 1 cup of dry beans.
Step 4: Simmer gently over medium heat and allow the dried beans to cook until they reach your desired tenderness, periodically checking the beans for doneness. Add more water as needed to ensure the beans are fully submerged during the cooking process.
Step 5: When the beans are almost done, you can add additional seasonings like ground black pepper, granulated garlic, onion powder, cumin, or Italian Seasoning, or even frozen herbs.
- How to cook beans: partially cooked. Partially cooked beans are still fairly firm but are cooked enough that you can split them in half with a spoon. This will take anywhere from 45-90 minutes. (This is ideal in situations when the beans will be cooked again – like in soups or stews.)
- How to cook beans: fully cooked. Fully cooked beans are softer and more tender. This will take anywhere from 45 minutes to 2 hours of cooking time. (This is ideal when you need soft beans immediately, in dishes like Hummus or Greek Quinoa Salad.)
Drain bean cooking liquid and allow the beans to cool completely before storing. Store cooked beans in an airtight container or resealable bag in the refrigerator for up to 5 days, or in the freezer for up to 6 months.
Note: You can use this method for all types of beans, but please note that red kidney beans must be boiled for 10 minutes before cooking (regardless of what method of cooking you choose) due to their higher levels of phytohemagglutinin, which can cause digestive distress.
HOW TO COOK DRY BEANS IN A SLOW COOKER
Follow steps 1-2 above but place the beans in a crock pot instead of in a large pot on the stove. Allow the dry beans to cook for 5-6 hours on LOW or 3-4 hours on HIGH. For step-by-step details, follow this Slow Cooker Beans tutorial.
HOW TO COOK DRIED BEANS IN AN INSTANT POT
Follow step 1 above and then place the dried beans in the pressure cooker instead of a large pot on the stove. Press the “manual” or “pressure cook” button so that it’s set to high pressure and adjust the timer to 25-40 minutes, depending on the type of bean. For step-by-step details, follow this Instant Pot Beans tutorial.
Soaking beforehand is not necessary when cooking beans in the Instant Pot since they cook more quickly and evenly. However, if you want to soak the dry beans beforehand, cut the cooking time in half.
HOW TO COOK BEANS TO REDUCE GAS (HOW TO SOAK BEANS)
There’s no right or wrong way to soak beans, so I’ll share my two methods for soaking dry beans. (If beans tend to make you gassy, you’ll want the long soak method.)
QUICK SOAK METHOD:
- Rinse your beans well and pick out any that are broken, deformed, or discolored.
- Place your beans in a large stock pot, add 1 teaspoon of salt, and cover with water 2” past the top of the beans. (If you have hard water, use distilled or purified water to cook beans.)
- Bring the beans just to a boil. Stir, cover with a lid, and remove from the heat. Let the beans sit in the hot water until the water has cooled to room temperature, about 30-45 minutes.
- Drain the beans and repeat the process for an additional soak (starting with step 2) or follow the recipe below to cook the beans.
Note: This is the method recommended by the USDA, but you should limit the soak time for cannellini beans to just 30 minutes. They tend to get soft very quickly.
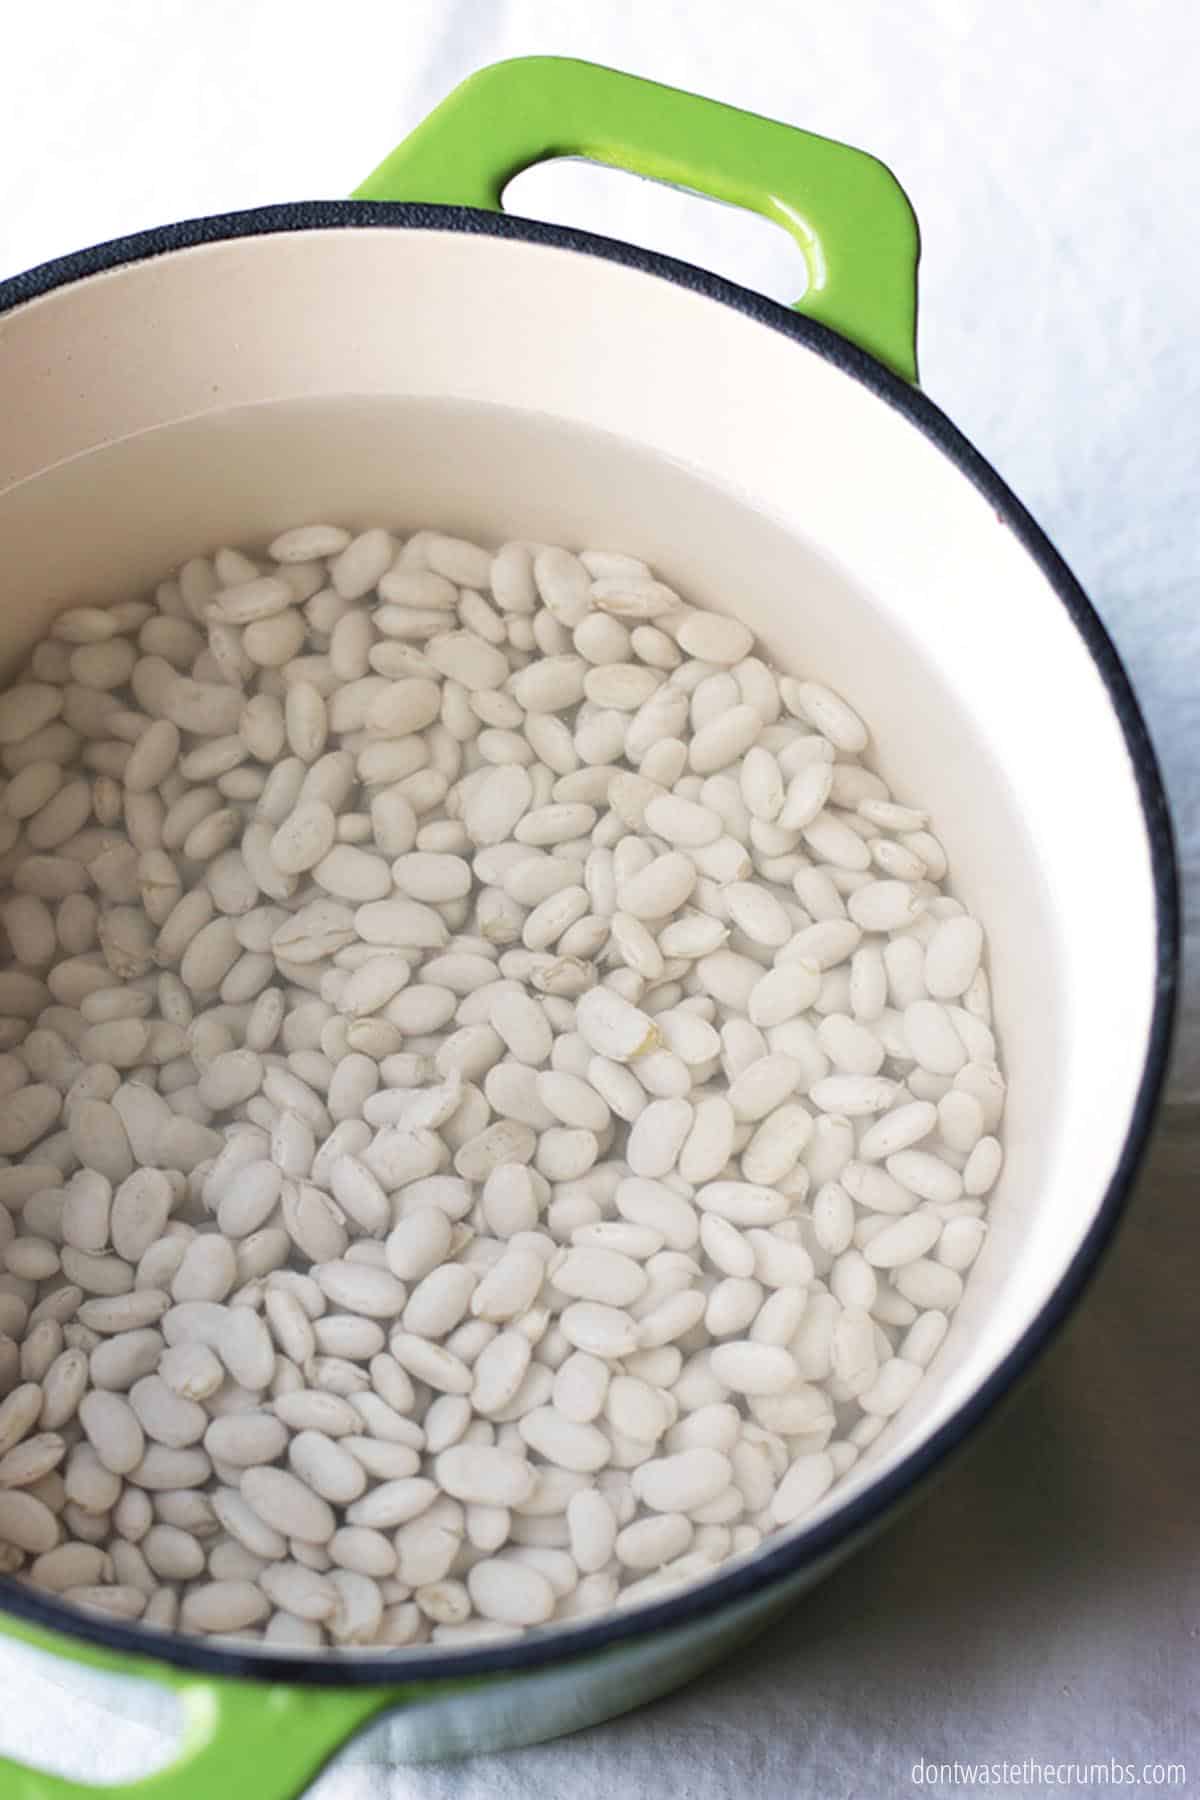
LONG SOAK METHOD:
- Rinse your dried beans well and pick out any that are broken, deformed, or discolored.
- Place your beans in a large stock pot or large bowl and cover with water 3” past the top of the beans. (If you have hard water, use distilled or purified water to cook beans.)
- If you like seasoned beans, add 1 teaspoon of salt to the water.
- Cover beans and let soak at room temperature for 4-8 hours (or overnight) or refrigerate them for up to 24 hours.
- Drain the beans and either repeat the process (starting with step 2) or follow the recipe card below to cook the beans.
For either method, it’s imperative that you drain the beans and not consume the soaking liquid to avoid gassiness. If you’re trying to conserve water, consider using it to water your plants.
HOW LONG TO SOAK BEANS?
I shared two methods for soaking beans above, but if you need a timer on how long to soak, you need about 45 minutes for the quick soak, and up to 12 hours for the long soak.
Both methods can be repeated – depending on how sensitive your digestive system is – which affects the total soaking time.
7 METHODS FOR REDUCING GAS IN DRIED BEANS EVEN MORE
Anyone who learns how to cook beans has a trick or two up their sleeve for reducing the gas in beans. Some methods work for some people, some methods don’t. It’s honestly a matter of personal preference and a little bit of trial and error to see which method works best for YOU.
- Pacific Kombu. This is a specific type of seaweed that helps to break down the oligosaccharides in beans. You add a 1” piece to the beans in the soaking process and again when the beans are cooking. This is my personally preferred method and trust me, you can’t taste the seaweed when the beans are done.
- Baking Soda. Some swear that adding a teaspoon of baking soda to a pound of dried beans reduces the gas in beans, but any bubbling you see is merely excess carbon dioxide. If you try this trick, remember that baking soda is alkaline and will decrease the cooking time by 50%. A faster cooking time means less time to reduce the oligosaccharides in the beans.
- Bay Leaves. Others swear that bay leaves tenderize the beans and help with digestion, but in my experience, my method of soaking and rinsing de-gasses better. (But I still add a bay leaf for flavor!)
- Lemon Juice or Whey. Still others think that adding lemon juice or whey (the liquid from yogurt) will help get rid of the gas in beans because they slow down the cooking time. I haven’t found this to be the case personally but be careful if you try this trick – acidic water can sometimes lead to hard beans, despite a very long cooking time.
- Try pressure-cooking beans. I’m sharing several methods for cooking beans in this post, but some readers have shared that pressure-cooked beans are less gassy for them. Here’s my Instant Pot Beans tutorial.
- Add ajwain (carom seed) and epazote. Ajwain is an Indian spice that tastes like cumin and thyme and is traditionally used for an upset stomach. Epazote is a South American herb.
- Take Beano. There’s an enzyme derived from the fungus Aspergillus niger that helps to digest oligosaccharides. If all else fails, take Beano (or another brand with this enzyme) with your meal.
Generally speaking, a long soak time, a long cooking time, and adding your own “trick” to the pot of beans will greatly reduce how much gas is produced when you enjoy your home-cooked beans. And by cooking and freezing a big batch of dried beans ahead of time, you get the convenience of canned beans without the side effects!
COOKING DRIED BEANS – EXCEPTIONS TO THE RULE
This is the method I use to cook almost every kind of dried beans, but there are a few legumes that are exceptions to the process:
- Lentils. Lentils don’t require soaking at all. There are several varieties of lentils – green, brown, black, and red – and each requires different cooking times. Here’s how to cook green or brown lentils in the Instant Pot.
- Split Peas. Green and yellow split peas also do not require soaking.
- Adzuki Beans. Adzuki are sweet and nutty and one of my favorite beans, and they don’t require any soaking. They’re ready in about 40 minutes from start to finish.
COOKING BEANS FAQS
What is the best way to cook beans?
I recommend the above method of cooking beans on the stovetop as the best way to cook beans – especially for those with sensitive digestive systems. It’s the best way to ‘de-gas’ the beans and cook them tender.
Do you have to soak beans before cooking them?
It’s not NECESSARY to soak dried beans before cooking them, but it’s something to consider if you have difficulty digesting beans. If you don’t have time to make soaked beans, or just don’t want to, I recommend my recipe for Instant Pot Beans.
Should you add salt before cooking beans?
If you’ve ever heard that adding salt before cooking your beans will prevent the beans from cooking through, you heard wrong. You can salt your beans before, during, or after cooking and they taste much better!
Why are my beans hard?
Dry beans that have been cooking for a long time (hours) without getting soft are usually the result of old beans, having hard water, or having something acidic like lemon juice or Apple Cider Vinegar in the pot (which can slow down cooking).
How many cups of beans does cooking dry beans make?
One pound of dry beans yields 3-5 cups of cooked beans, depending on the size of the dry bean. Garbanzo beans (chickpeas) make about 3 cups per pound of dry beans, while black beans make about 5 cups per pound of dry beans.
You need about 1 ½ cups of cooked beans in place of one 15oz can of bean
MY FAVORITE DRIED BEAN RECIPES
Now that you know how to cook beans, you can use those cooked dried beans in these yummy recipes.
- Black Bean Brownies
- Tortilla Soup
- Southwest Chicken Salad
- Enchilada Casserole
- Black Bean and Corn Salsa Tacos
- Slow Cooker Vegetable Curry
- Our Favorite Rice and Beans Recipe

Crush Inflation Challenge!
Sign up for my FREE Crush Inflation Challenge and learn simple strategies to save money, even with rising food costs!WATCH HOW TO SOAK AND COOK BEANS FROM SCRATCH
How to Soak and Cook Dried Beans from Scratch
Learn how to cook beans from scratch at home. This super simple step-by-step tutorial will give you creamy, delicious beans every time at a fraction of the cost of canned beans. Plus 7 bonus methods for de-gassing beans too!
- Prep Time: 8-24 hours
- Cook Time: 2 hours
- Total Time: 26 hours
- Yield: 6 cups 1x
- Category: How To
- Method: Stovetop
- Cuisine: American
Ingredients
- 1 lb dry beans
- water
- 3–5 Tbsp whey or lemon juice (if making black beans)
Instructions
- Place beans in a colander and rinse well. Remove any whole or partial beans that are significantly discolored. You also want to check for pebbles and clumps of dirt.
- Measure beans into a large stockpot. Add 4 cups of water for every 1 cup of beans. One pound of dry beans yields 3-5 cups, depending on the beans, so you’ll need approximately 3-5 quarts of water.
- If you’re making black beans, add 1 Tbsp whey or lemon juice for each cup of dry beans.
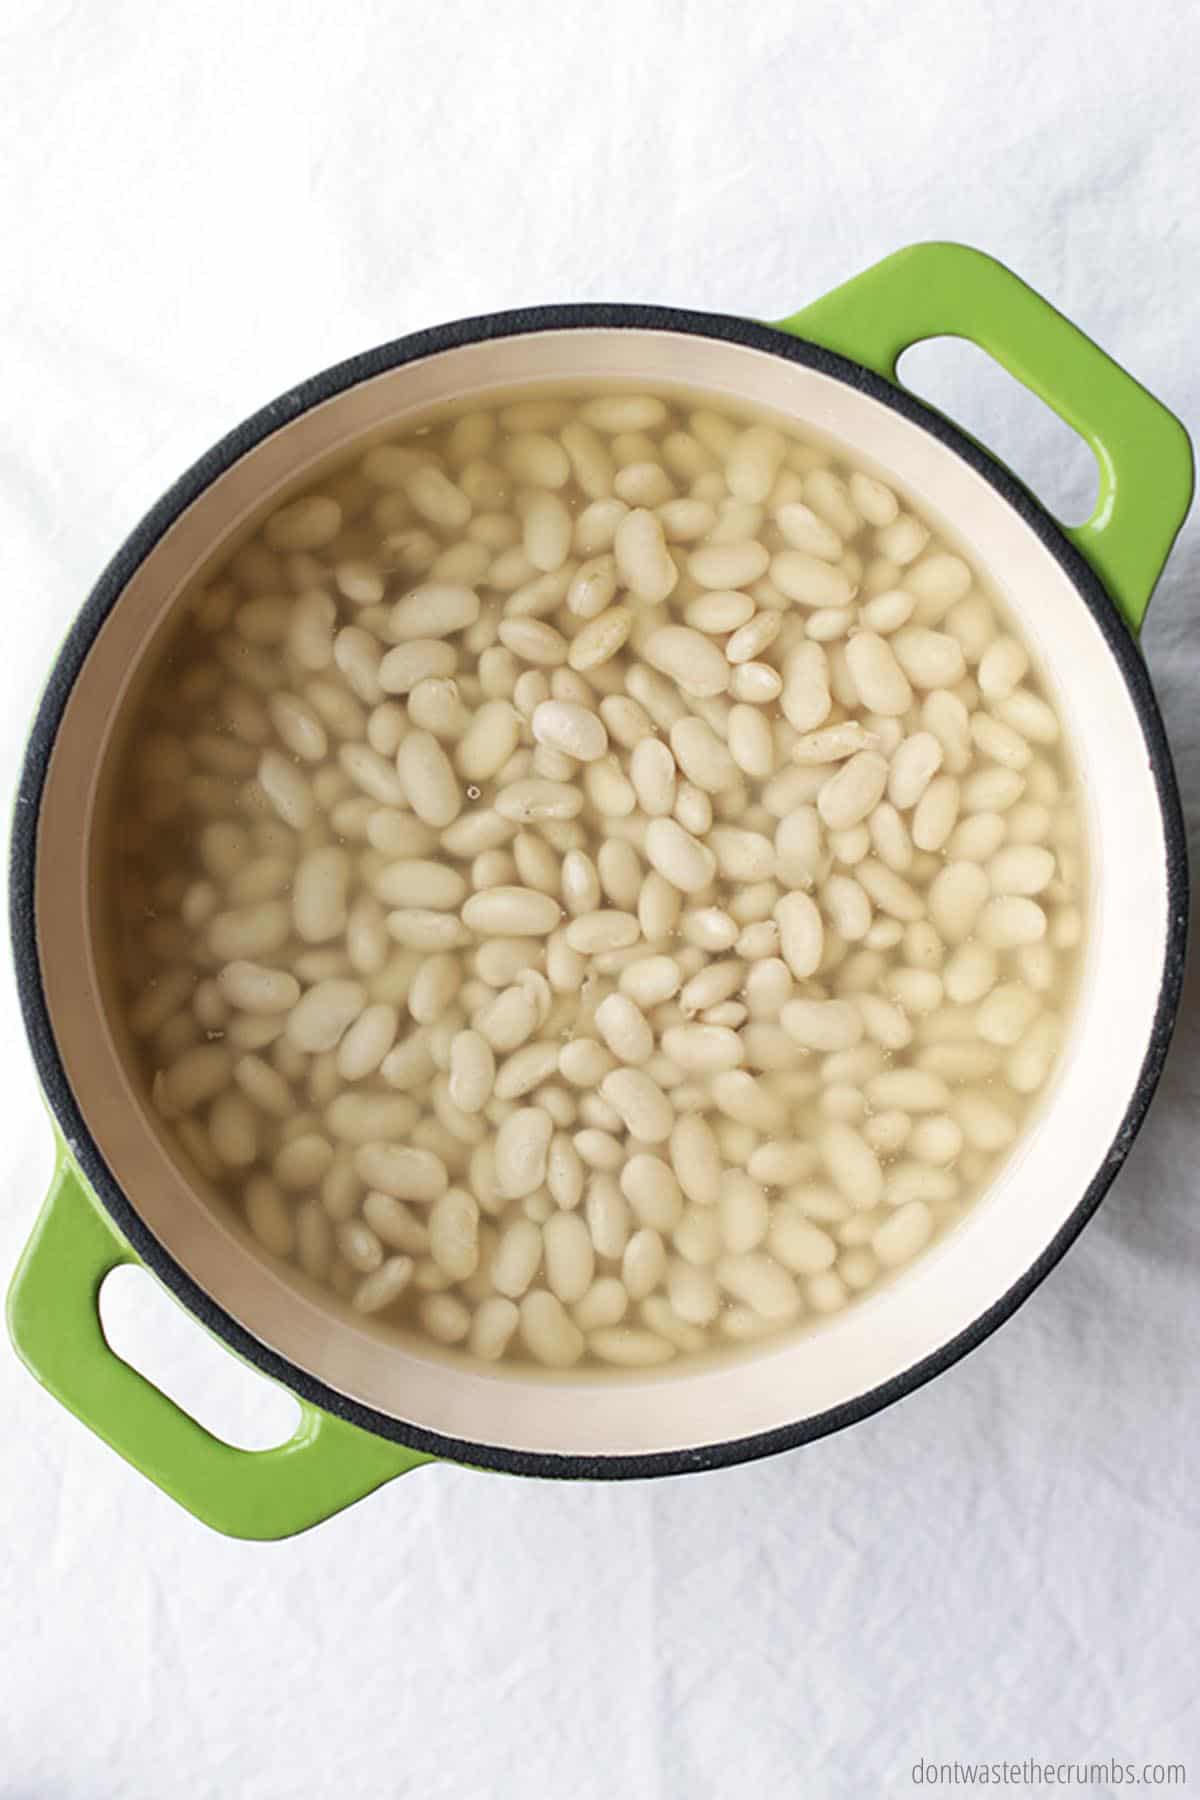
- Allow the beans to sit undisturbed for at least 8 hours, or up to 24.
- After soaking, strain the beans into the colander and rinse very, very well with cold water.
- Return the beans to the stockpot and add the same amount of water you originally used, plus an extra cup for each cup of beans.
- Place the beans on the stovetop and bring the water just to a boil. Turn off the heat and cover the beans. Allow the beans to sit undisturbed, for 2-8 hours.
- Strain beans into the colander and again, rinse very, very well with cold water.
- Return the beans to the stockpot and cover with water so that the water line is at least 2″ above the beans. Bring the beans to a very low simmer and allow them to cook until desired tenderness. For partially-cooked beans, this will take anywhere from 45-90 minutes. For fully-cooked beans, this will take anywhere from 45 minutes to 2 hours.
- Periodically check the beans for doneness and add more water as needed to ensure the beans do not dry out while cooking. Season with salt and pepper to taste when the beans are almost done.
- Drain and allow the beans to cool before storing.
Notes
- Beans. Cook black beans, white beans, pinto beans, and garbanzo beans, which are the ones I cook with most often.
- Cooking Methods. Cook beans on the stovetop (like in the recipe above), in the slow cooker, or the Instant Pot (you don’t have to soak first with the Instant Pot!).
Nutrition
- Serving Size: 1
- Calories: 167



Hii I was wondering: What happens if you second soak the beans for longer than 8 hours? Or else: can you take the beans out of the water after the second soak and then start the cooking process a little later. I messed up my planning and I don’t want to get up in the middle of the night to cook my beans.
You’re totally fine Bonnie! I’ve forgotten about beans more times than I can count! Just adjust the cooking time. 🙂
I sometimes place my soaked beans in a colander and cover with something to keep dust and/or my cats out of them, and let them sprout very tiny tails before I cook them. It doesn’t take long for the sprouts to appear – one to 3 days, depending on room temperature, age of beans, etc. I rinse them a few times a day to keep them damp and clean. The sprouting adds vitamins, and lessens the gas, but everything else is the same.
Other than at the end of the total cooking is there a time you can freeze the beans for a later cook? I add chiles, onion, and much more but hv soaked more than need. Woyld like to save some for a later time.
I love to do that, too! They seem to taste extra good when I know I’m eating sprouted beans.
I make birracho beans with beer lime juice and the usual igredients. Never got gas. A chef told me that the beer helps.
The hardness or softness of the cooking water will make a difference in how long it takes to cook beans. The white film left on a crock pot liner after cooking beans is calcium. Wiping it with a cloth dampened with a little vinegar will remove it.
I’m a big fan of cooking beans from scratch–a staple I always have in my refrigerator ready to eat at any meal or just as a snack. And, I thoroughly enjoyed reading your methods. I’ve most often used a slow cooker, but some are just easier on the stove.
I have a question for you though; one that I didn’t see covered in your tutorial. You discard the soak water and I get that you want to avoid the gas element, but aren’t the enzymes in the water good for us? I’ve read that a body will get used to that gas and better digest the more you eat beans that way. Do you have any experience with that? I really hate to discard the nutrients.
Hi Carol! I think the bulk of the nutrients would be in the beans and not the cooking water, but I know some who keep the water and use as a base for soups, stews and chili. I haven’t heard of the body getting used to gas before. The gas is a digestive reaction to properties in the beans (and perhaps the water) themselves. It would be similar to saying someone who reacts to wheat would eventually get used to it and no longer react to it. If you don’t have a problem digesting beans, then feel free to reuse the liquid! But discarding it and using fresh water to soak is the best way to reduce the after effects. 🙂
Thank you for the helpful reply Tiffany. While waiting for an answer yesterday, I found a great thread advocating for saving and using the bean water to cook the beans. I did that and I had the best outcome ever. The beans are so tasty and flavorful that I can’t wait to begin another batch. This time I used Great Northern Navy beans and I’m happy to say that I had none of the side effects, which I expected, but wanted to test.
https://www.vegancoach.com/why-discard-bean-soaking-water.html
I don’t remember where I read it years ago, but I thought it was relative to the enzymes in the gut and after creating the necessary bacteria were able to metabolize the bean gases without causing the common issue. I will see if I can find that because I do not explain it well. But because I eat beans all the time now, I haven’t had that issue for years.
I love your website and will keeping reading for all the good ideas you post.
I used Great Northern White beans. All was not lost. I found a recipe for bean dip and used the mushy beans for that. I will try again. I may have soaked them too long the second time.
I followed the recipe and cooked the beans for 45 minutes and all I got was mush 🙁
Hi Lori! I’ve been cooking beans this way for years, and if the stove is on a simmer (i.e. barely any bubbles) than the beans shouldn’t be mush in 45 minutes. What type of beans did you use?
Hi Tiffany. I randomly found your site and what a treasure! Thank you for sharing the “science” of dry beans. I have a son with autism and am attempting to grow our own organic foods, ferment, kefir, raw milk (from resource), back yard chickens & ducks for eggs, while trying to eat less meat. Go Beans!
we in India have pressure cooker, which cooks many things at the same time, like we can cook our soaked garbanzo/ Red Kidney beans etc, with rice and vegetables all in one cooker in seperators, or/ vessels placed one on top of the other, and everything would get cooked within 20 minutes. We have had such cookers for ages, and is still the must have thing in our kitchen. Even when we go abroad to live, we never forget to take this all in one pressure cooker with us.
I like your suggestions and comments a lot.
I bought a two pound bag of navy beans and soaked them so long they started to sprout.
I ended up getting a package of Dixie cups and a kitty litter pan and put about 10 beans in each Dixie cup with some soil ( always buy expensive dirt it makes everyone a green thumb).
Anyway I cooked the rest of the beans everything came out fine. I like to use the soaking water to water my plants( unseasoned of course) now I am growing the beans and some I will thin out and use as bean sprouts and the rest hopefully will make it to my garden in April.
The planting experience is fun for the kids too
Long ago (probably in Organic Gardening or Mother Earth News) I read that sprouting the beans made them more nutritious and lessened gas problems. It doesn’t take much of a sprout to add the nutrition, including some vitamin C. The tiniest of tails will do. Of course, bean sprouts are a normal ingredient in many Oriental dishes!
I soak the beans at least 8 hours, then pour them in a plastic colander, and spray rinse them. I cover the colander with a plate or a dish towel, and set it where it can continue to drain. (In the sink, or Inside a big bowl will do.) I rinse them again at least 3 times per day until I see the tails (or until I get tired of fooling with them). Then I cook them as I normally would. No one seems to notice the tiny sprouts.
I didn’t know I could freeze beans. Are they mushy after they are thawed out. Do you cook them as long. Would like to know how you freeze them. Thank you hope you can reply in email.
You sure can Pat! Nope, not mushy and yes you cook them just as long. I portion into 1 1/2 cups into a sandwich baggie, push out all the air and stick in the freezer!
Thank you, I might try your method, if I run out of kombu seaweed. I learned, that kombu seaweed has enzymes, that are able to break down complex sugars in beans. Unfortunately we humans do not make those enzymes and many of us have trouble with beans fermenting in the intestines and creating gas. Basically I soak beans in room temperature water with some sun dried kombu seaweed in it. Yotube video said to do that for 8 hours, but I did for 2 days -1 on the counter, one in the fridge. Worked amazingly good. Cooked in slow cooker as always from morning till evening on low. No bloating, no gas.
I am glad though to have a back up plan. 🙂 I think I will use your idea of making enough for a month and freezing them.
You’ve only included the beans in the price of turning dry beans into cooked beans here – not the water and electricity or gas. I’d say dry beans are still far cheaper, but the margin isn’t as large as you state here.
Good idea to catch and use the rinsing water for your garden or house plants as well as the soaking water.
Mandy – I didn’t include water, electricity or gas because those are significant variables depending on the house. You could easily reuse water from the bathtub and use a slow cooker instead of the stove. Heck, you could even soak them in a cast iron pot on a fire in the backyard. It’s because of all those idiosyncrasies that I didn’t include them. 🙂
Tiffany, thank you for all your great posts!! I’m in the middle of soaking my beans and just realized I miscalculated my timing. I’m two hours into the second soak…which you suggest doing for 2-8 hours. However, I won’t be able to drain and rinse for 13 hours. Does that matter?
Honestly? Nope. I’ve let my beans sit longer than they “should,” and they’ve been fine. Definitely rinse super well though after 13 hours, and I wouldn’t postpone much longer than that. 🙂
I just did the jump and bought 1kg of black beans and they are soaking at the moment. As I do not have such a big pot, I used 2 pots to soak. My question is how do I cook them in a slow cooker? The biggest size I have is a 6.5L pot.
Hi Eunice! Here’s my post on cooking beans in a slow cooker: https://dontwastethecrumbs.com/2016/06/slow-cooker-beans/
Hi Tiffany, so now I have done a first soak for more than 10 hours. So if I use slow cooker, do I go straight to rinsing and then doing a boil over the stove then to slow cooker?
Hi Eunice – after soaking, rinse really well, then follow the directions for cooking in a slow cooker.
Hello Tiffany, I need to know how to cook Pinto beans from a higher altitude. I live in Hemet, CA. I have been told the elevation here is 2,000 to 2,5000 feet. I think they need to cook longer. Can you give me a start to finish receipt on how to cook Pinto beans for a Mexican Dinner. Can I cook them in a Crock Pot? Can I cook them on the gas stove. Stove preferred. How long do I soak them, and how long do I cook them? I really need your help. Thank You. Does the water make a difference in soaking and cooking. Do you put salt in the soak water and in the cooking of the beans. OH Please HELP. Thank You and GOD bless you.
Hi Sherry! I’m so sorry, but I don’t have any experience cooking in high altitudes. All the soaking, salting, cook method (crock pot vs. stove) should be the same, but the time will likely be slightly different.
What an awesome post…extremely enjoyable and informative. 🙂 I always have issues with beans but I am going to try your soaking methods along with blending prior to cooking. I am using split mung beans which are used in ayurveda along with rice for a dish called kitchari which is intended for healing and detoxing.
But you have a gift! So many great qualities in your writing as well as your responses. Amazing job…thank you for your time and effort. Much gratitude 🙂
Thank you for such a kind comment Soul! I hope you this method helps with digesting beans – best of luck!
Hey I love your method of cooking these beans! It has worked very well! However I am just doing black beans for the first time with your recipe and would like to know if I should add the whey or lemon juice on every soak or just the first one….
Just the first one Melissa – so glad this method worked for you!
Hi! Thanks for this article! I just started soaking black beans, but noticed the skin on many of the beans immediately started falling off when I did the rinsing (step 1). I didn’t rinse them for that long, just a minute. I did shake them a bit in the colander. Maybe I shouldn’t have shaken them? Thanks for your help!
Hmmm… the skin on SOME of my black beans falls off, but definitely not all. There are so many factors to consider when cooking beans, but perhaps it could be the acid?
Okay, I know this post is older, but I just had to comment. I actually am the type of person that would snack on beans. Or at least, I’ve been known to eat a can of beans for lunch or dinner. Limas, butter beans, northern beans. Yum!
That’s so awesome Stephanie! I’ve snacked on crispy garbanzo beans before, and they were pretty good!
This is all awesome information, but I do have a question…
Is it possible to degas using the quick-soak method? I soak my beans by placing them in a pot, covering with enough water, cranking the temp up to high until a rolling boil gets started and cook for 1 minute, and then turn the heat off and let the beans sit for an hour. Then I drain, rinse, refill with water and cook for about 40 minutes. My beans always come out perfect using this method, in terms of being super soft and yummy.
Should I be adding a second quick soak? Would that break down my beans into bursted mush? Am I doing enough somehow with my impatient method? 🙂
A second soak doesn’t break the beans down into mush, but when it comes to breaking down enzymes, a minimum of 8 hours is recommended. 🙂