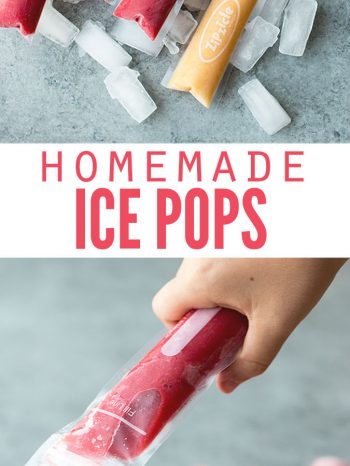
Hands down, these homemade ice pops (or freeze pops) are the easiest summer treat you’ll ever make! Made with 100% real fruit and no added sugars, they’re healthy, frugal, and absolutely delicious!
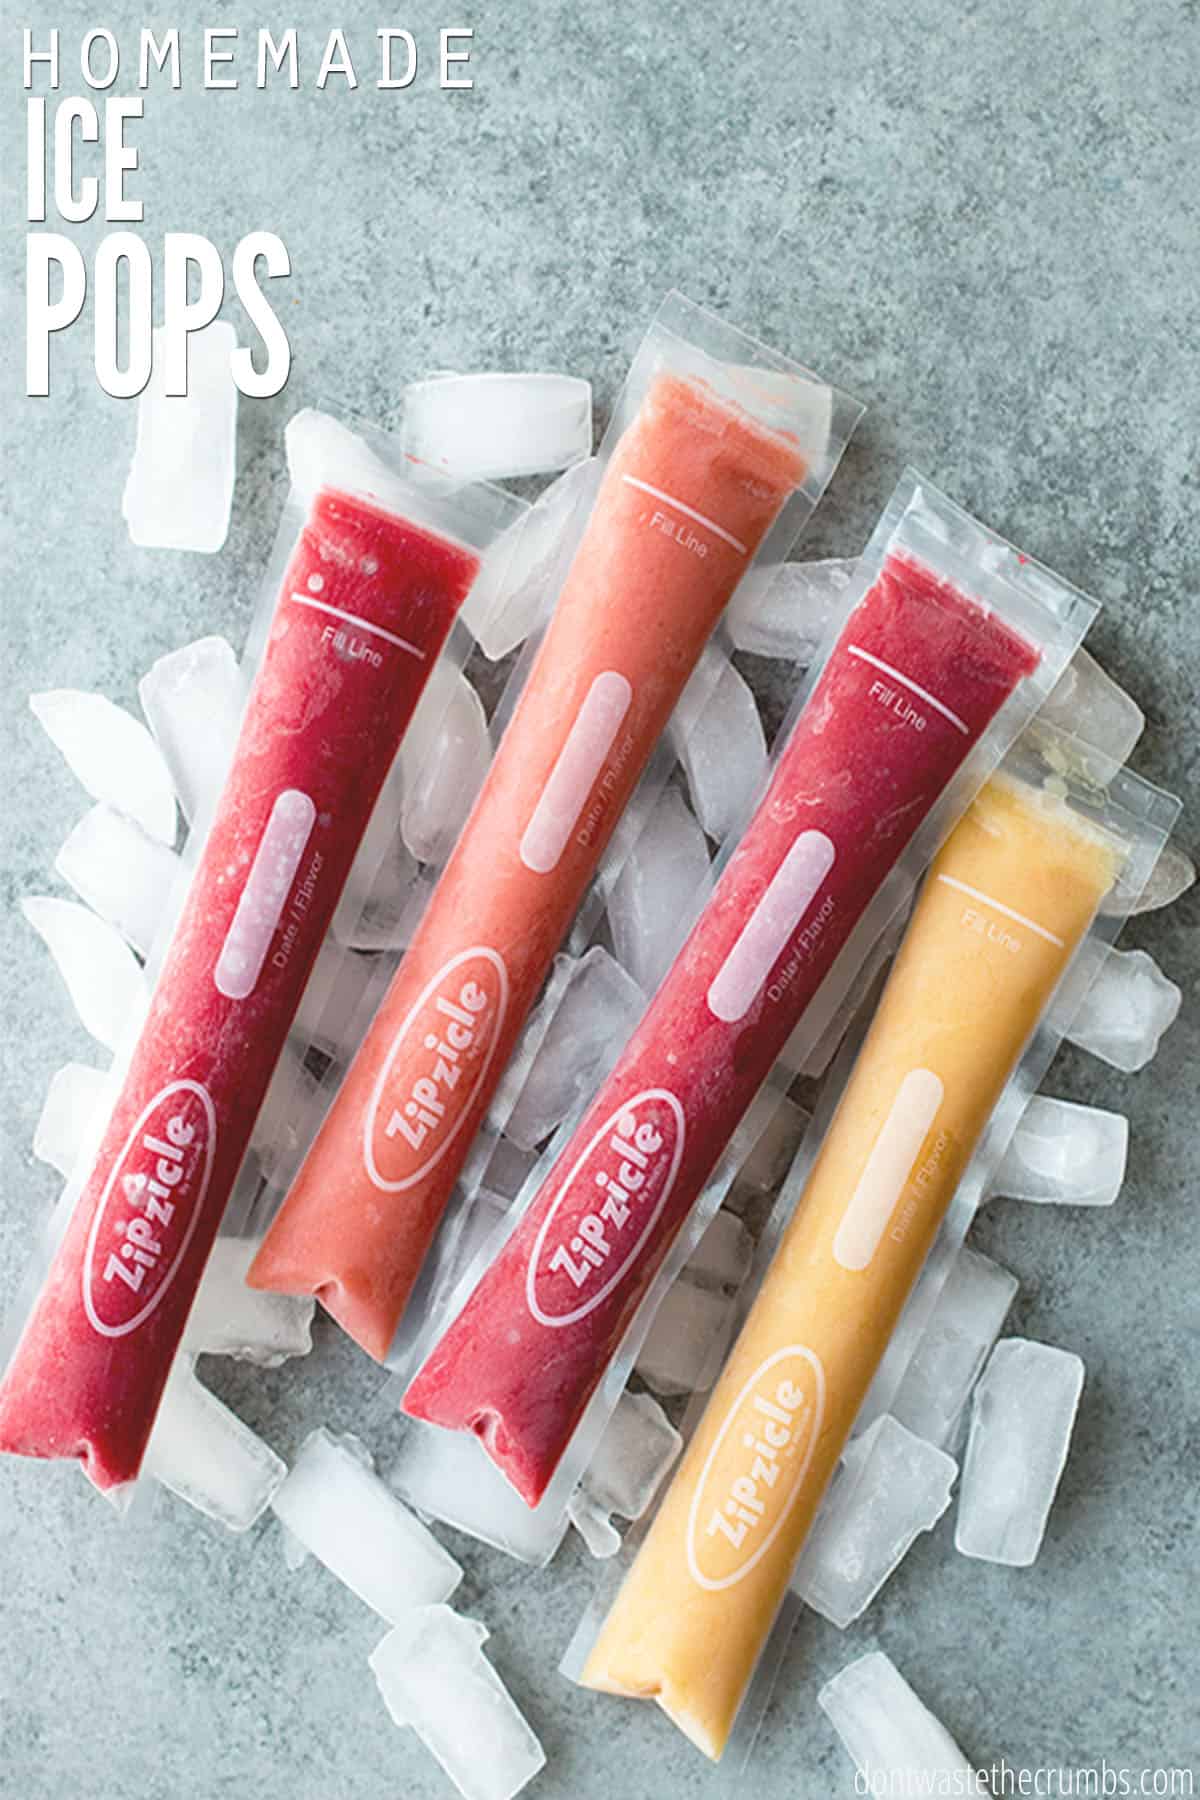
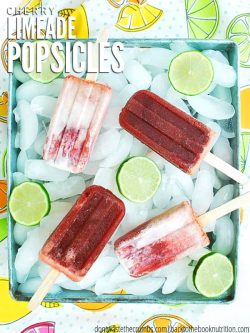
Do you remember eating ice pops as a kid? They’re kind of like these Cherry Limeade Popsicles, but they’re frozen inside a plastic tube instead of on a stick.
When we read the ingredients in store-bought ice pops, we started making our own homemade ice pops instead – and we’ll never go back!
While I wasn’t really surprised to find a long list of ingredients in Otter Pops, I WAS surprised to find THREE ingredients we don’t eat in our home: high fructose corn syrup, artificial preservatives, and artificial food dyes.
High fructose corn syrup is number two on my list of ingredients to avoid in foods, and artificial preservatives come in number four on that same list.
I want my kids to enjoy these frozen treats – minus the large amounts of sugar, preservatives, and food dye – so this summer, we’re making our own ice pops!
Why You’ll Love These Homemade Ice Pops
- SUPER easy to make
- Lip-smacking delicious
- Frugal
- Healthy!

What You Need to Make This Ice Pops Recipe
- Fresh fruit (or frozen) of your choice. Over-ripe fruit will be sweeter and helps you avoid food waste. Thaw frozen fruit before using it for the best results!
- Water or juice. The juice will sweeten the pops without using additional sweeteners. Lemonade, kombucha, juice from canned fruit, or even Almond Milk work too!
- Honey or maple syrup (optional). If your family is used to the super sweet ice pops, sweeten them with a natural sweetener.
STEP-BY-STEP INSTRUCTIONS
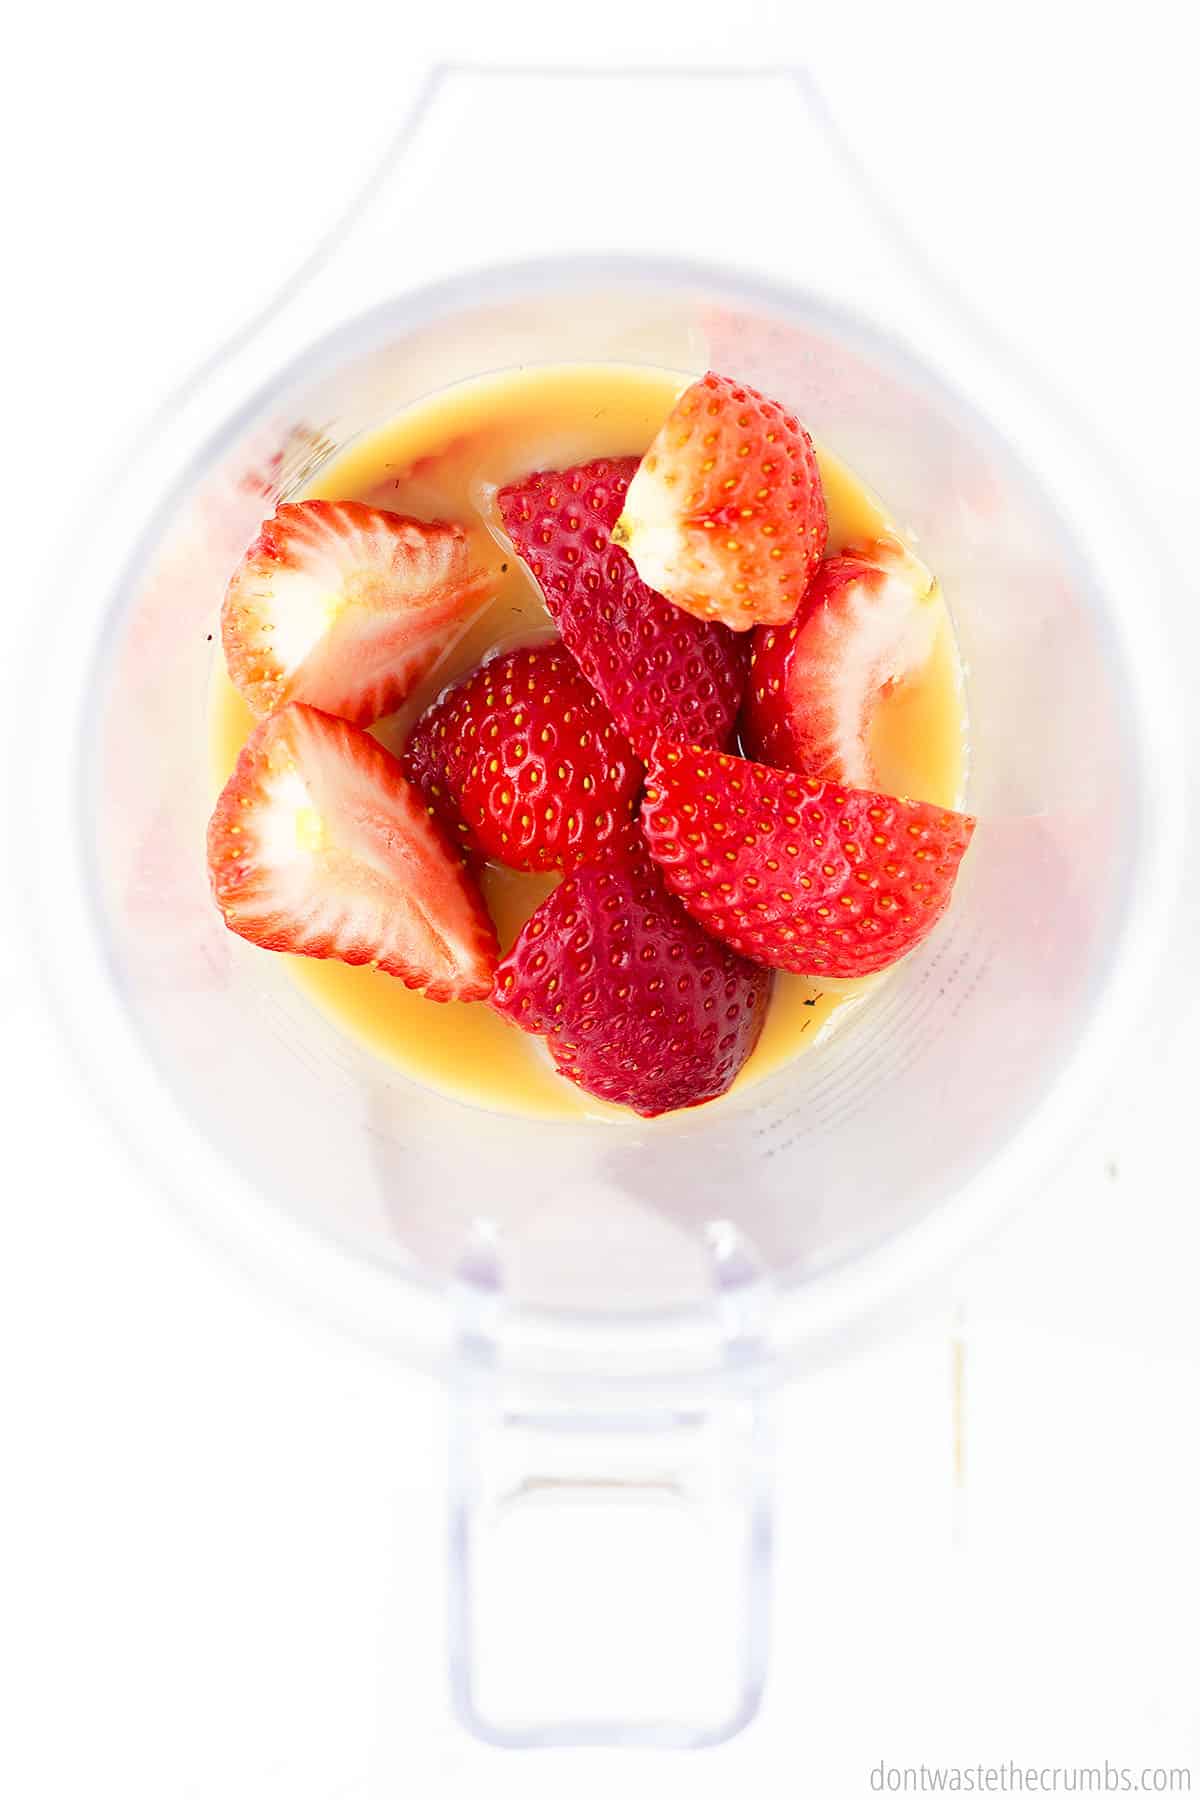
Step 1. Combine all the ingredients in a blender.
Step 2. Blend until there are no chunks in the mixture. (The consistency should resemble a thin pancake batter, so use additional liquid to adjust the thickness as desired.)
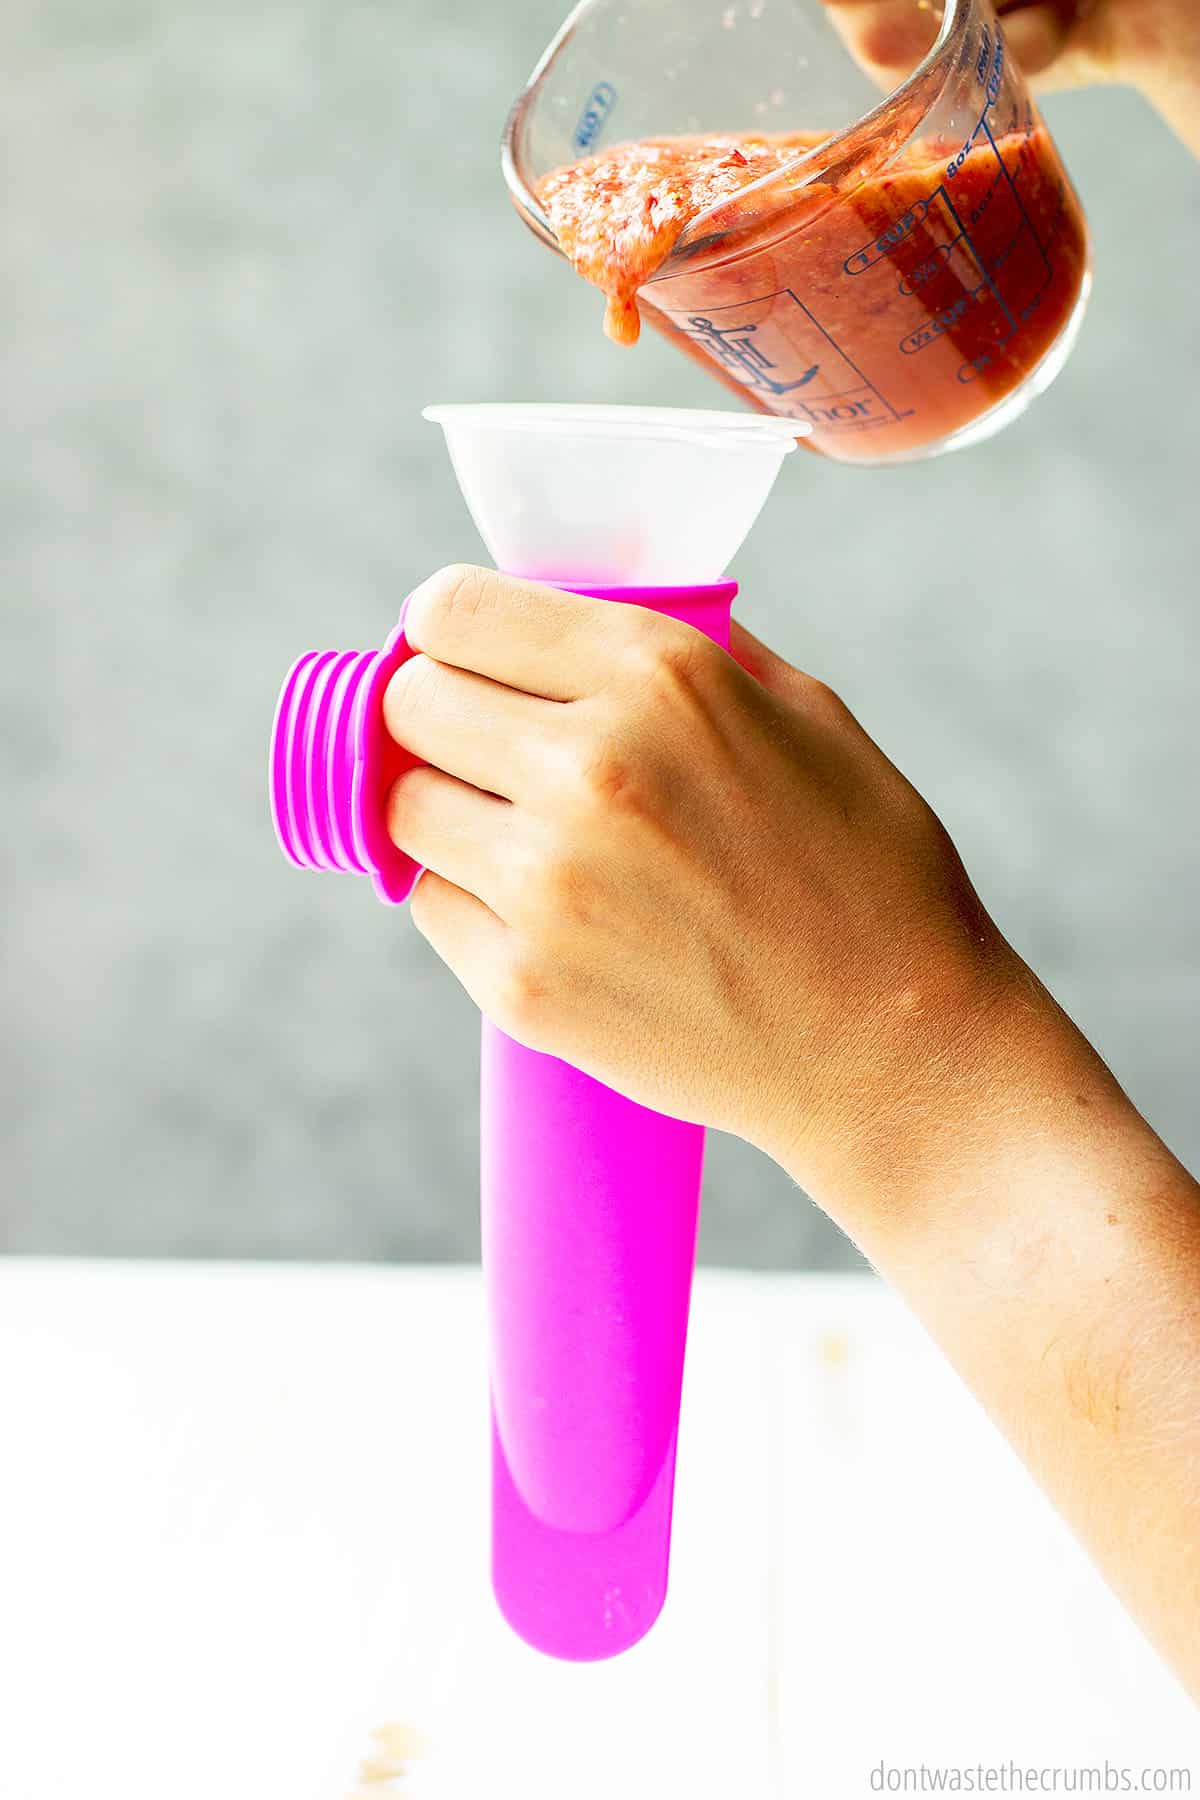
Step 3. Using a funnel, pour the mixture into reusable plastic tubes or silicone molds.
Step 4. Seal and freeze for at least 6 hours or overnight.
Pop Ice Variations
You can also make a variety of flavors all in one session. For example, I will start with strawberries and a little orange juice. I pour those into my tubes, then without washing the blender, I add in more berries. Use that puree, rinse, and repeat the process with two other complementary fruits, like pineapple and mango.
Try these delicious flavors!
- Watermelon-Mango.
- Orange-Pineapple. A touch of coconut water or Coconut Milk pairs well here too!
- Grapefruit. Keep it sugar-free by adding a little honey to balance out the sourness.
- Peaches and Cream. Add a little bit of milk or Almond Milk.
- Mixed Berry. Use strawberries, blueberries, and raspberries.
- Cherry-Grape. Use frozen cherries or pit your fresh cherries with this tutorial.
Keep in mind the more natural liquid in the fruit you choose, the less additional juice you will need to add.
The sky’s the limit with the flavor combinations you can make, and you can even include some veggies in there, too, like carrots or spinach. I like to think that if it tastes good in a smoothie, it’ll be delicious as an ice pop!
FREEZER POPS SUPPLY TIPS
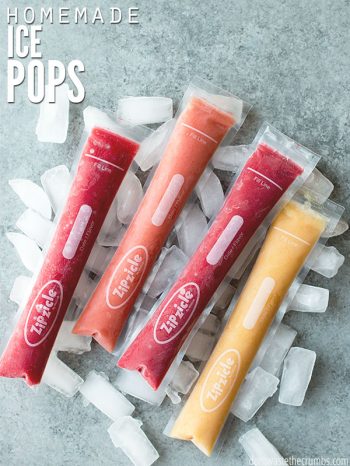
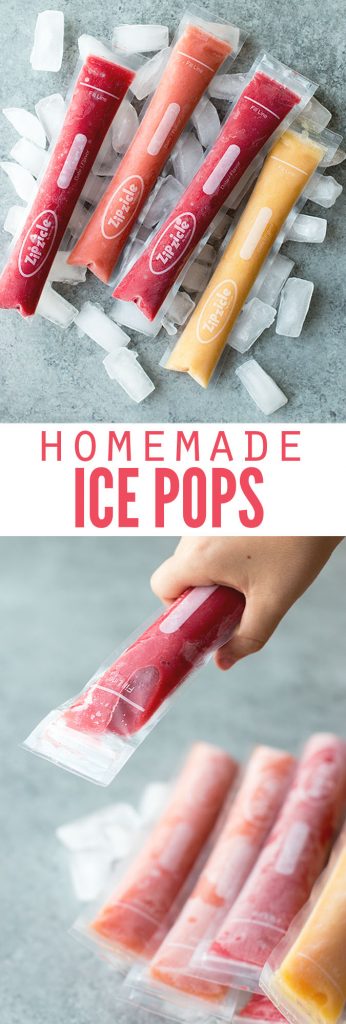
- I used clear plastic pouches from Zipzicle to make these because they most resembled the ones from the store. We’ve been using them for a few weeks now, and they seem to be holding up fine. However, they’re a bit tricky to clean at the zipper and not labeled dishwasher safe. If you go this route, I’d recommend hand washing with a small bottle brush.
- Use a high-powered blender like my Blendtec to get the smoothest fruit puree ever. (Plus, you can use it for these 45+ things!)
- You can buy these silicone pop molds instead. They’re dishwasher-safe and leakproof too. If you choose this route, buy two sets or be prepared to wash often – your kids will go through frozen ice pops fast!
- Using a small funnel made filling the molds really easy. You might be able to get away with using a measuring cup with a pour spout, but I’ve used these funnels so often in the kitchen that they were a worthy investment for me.
How to Freeze Pop Sticks
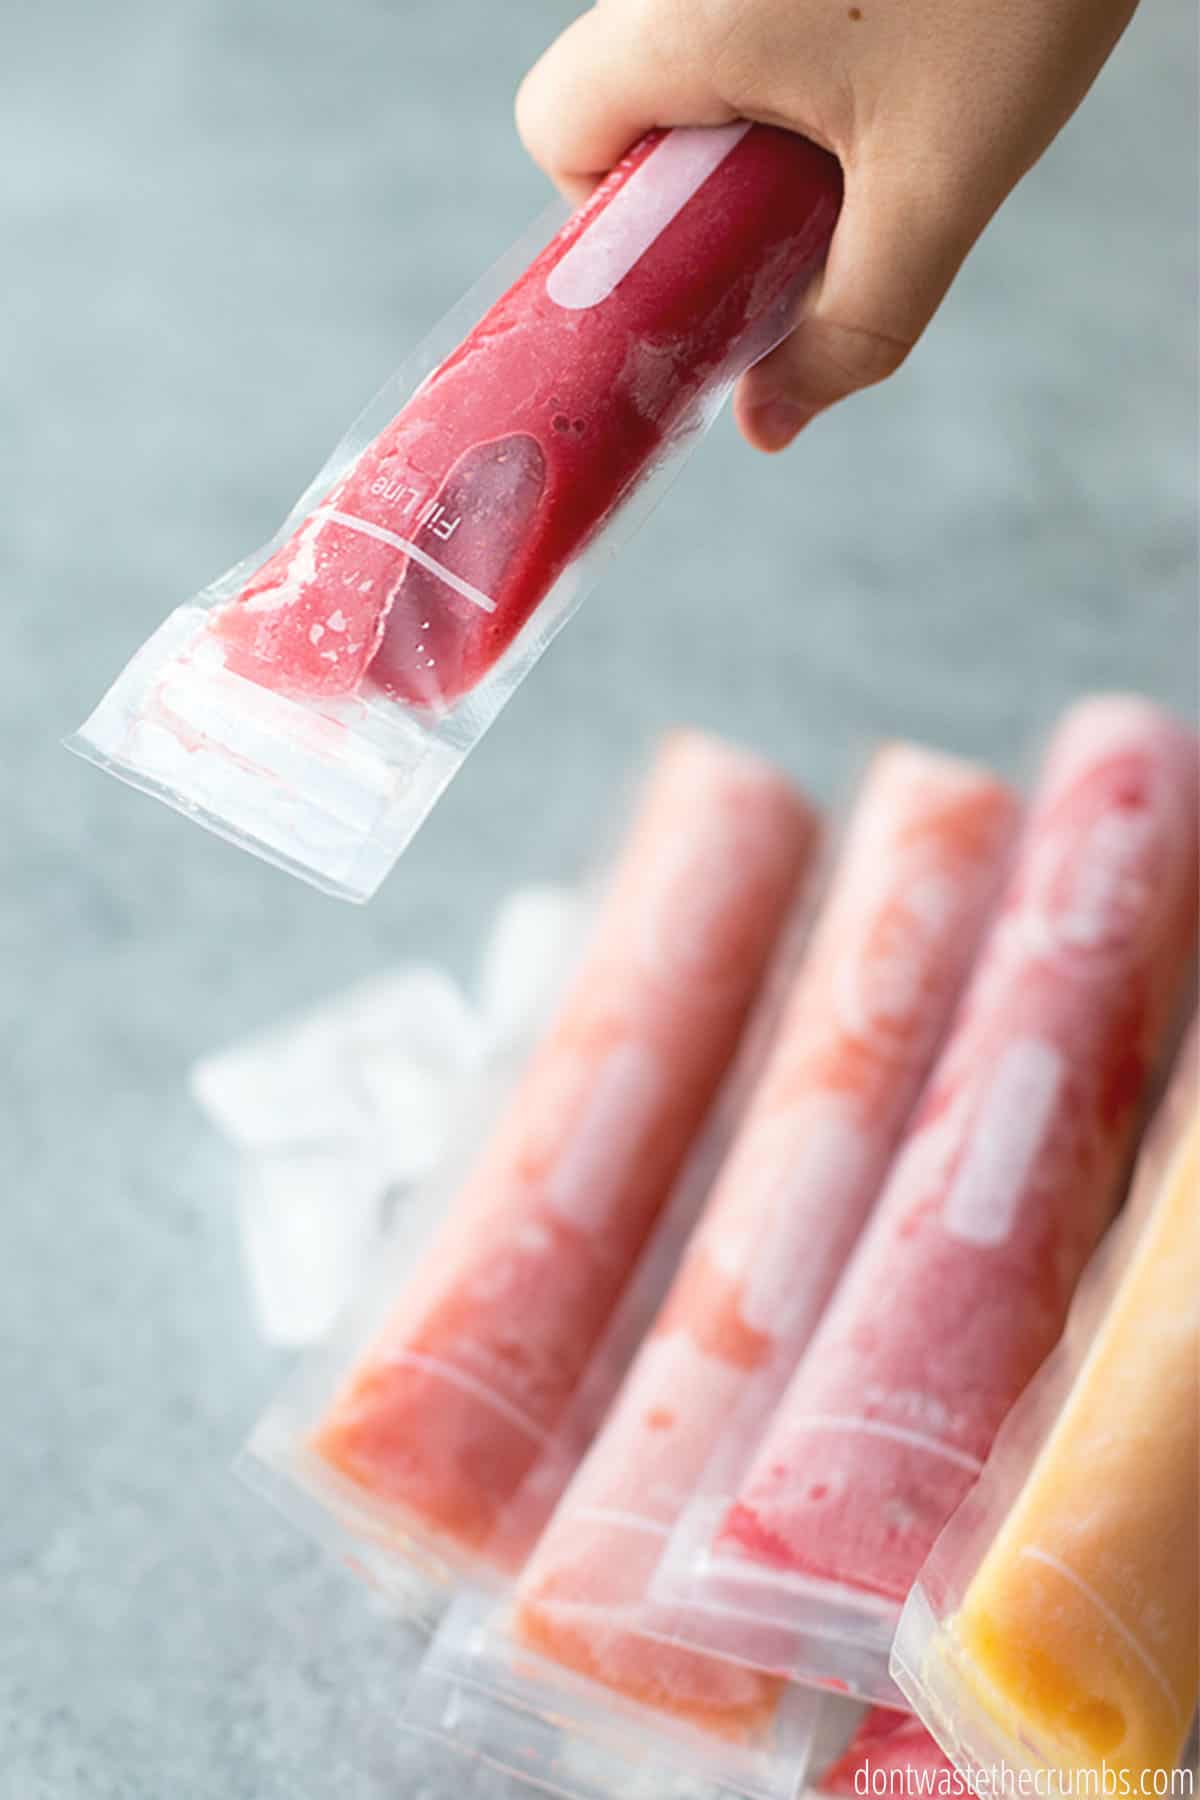
To freeze your fruit pops, lay them flat on a baking sheet or upright in a large cup or container. Once frozen, you can move them to a freezer-safe storage bag.
Sometimes a little bit of the juice freezes into the zipper. If that happens, simply run the opening under warm water for about 10 seconds.
FAQS
Is it ice pop or ice pole?
There are many names for ice pops. In parts of Australia and New Zealand, ice pops are called ice poles.
Are freeze pops bad for you?
Store-bought freezer pops have many unnecessary ingredients, such as food dye, loads of sugar, and preservatives. This recipe that I’m sharing with you is very healthy and customizable!
What are the best ice pops?
The best and healthiest option for ice pops would be my recipe, which is below. You can even throw in some vegetables!
Homemade Ice Pops
This frozen treat will take you right back to the old days when you’d enjoy a nice frozen ice pop on a hot summer day. Whether you’re making these ice pops for yourself or your kids, you’ll never want to go back to the store-bought stuff! Try out this recipe and let me know what you think!
Watch How to Make Homemade Ice Pops
More Tasty Frozen Treats
- Homemade Vanilla Bean Ice Cream
- Cherry Limeade Popsicles
- Healthy Chocolate Chip Peanut Butter Banana Ice Cream
- Healthy Homemade Fudgsicles
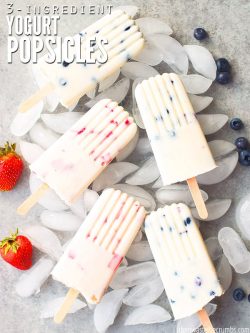
- 3-Ingredient Easy Yogurt Popsicles
Fight Inflation Workshop
Sign up for my FREE Fight Inflation Workshop and learn simple strategies to save money, even with rising food costs!Homemade Ice Pops
Hands down, these homemade ice pops (or freeze pops) are the easiest summer treat you’ll ever make! Made with 100% real fruit and no added sugars, they’re healthy, frugal, and absolutely delicious!
- Prep Time: 6 hours
- Cook Time: 0 mins
- Total Time: 6 hours
- Yield: Approx. 4 cups
- Category: Dessert
- Method: Blender
- Cuisine: American
Ingredients
- 1 lb fresh or frozen fruit of your choice (thawed if frozen)
- 2–4 Tbsp liquid of your choice
- Honey or maple syrup (optional)
Instructions
- Combine the ingredients in a blender.
- Blend until there are no chunks in the mixture. The consistency should resemble a thin pancake batter, so use additional liquid to adjust the thickness as desired.
- Using a funnel, pour the mixture into reusable plastic tubes or silicone molds.
- Seal and freeze for at least 6 hours or overnight.
Notes
To freeze your fruit pops, lay them flat on a baking sheet or upright in a large cup or container. Once frozen, you can move them to a freezer-safe storage bag.
Sometimes a little bit of the juice freezes into the zipper. If that happens, simply run the opening under warm water for about 10 seconds.
The nutrition information is for ice pops made with strawberries, unsweetened almond milk, and maple syrup. Yours may vary depending on the ingredients you use.
Nutrition
- Calories: 20


Thanks for the recipe ideas! We have some silicone ones from IKEA (still holding up strong 3 years in and wash well with a bottle brush) but I usually do the same thing over and over. Thanks for the ideas and clear consistency instructions! Super helpful!
I need juice or something to drink recipes please
https://dontwastethecrumbs.com/homemade-peppermint-mocha-latte/
https://dontwastethecrumbs.com/pumpkin-spice-apple-cider/
https://dontwastethecrumbs.com/easy-healthy-homemade-lemonade/
Here are some but for future reference you can find other drink recipes under beverages found on the Recipe tab located on the home page.
How many popsicles do you get from this recipe.
Thanks
Rose
You get quite a bit Rose, it all depends on how much fruit you start out with. 1 pound of strawberries w/o anything else will give about 5-7 pops.
wow my daughter used this idea to make some money over the summer thanks so much.
I’ve been doing the same thing in our home for my toddler! He loves to eat pops and I really wanted to ensure that he was getting something that was healthy without added sweeteners. We use mostly strawberries and bananas here!
Fantastic and simple idea! Thanks Tiffany – these are definitely a healthy treat I can get behind, and not have to moderate (nearly as much)!
My granddaughters and I have been berry picking this month and we’re looking for new recipes to use the fruits of our labor in. This is so simple I can’t believe we never thought of it. We’ve made fruit ice cubes to use in our lemonaide. I will be searching for the zipsicle pouches. Thanks for this wonderful idea!!
Mamaw
You’re so welcome Loretta!
Thanks for the great idea! Ice sickles was not of interest to me….but I will you this for ice cube trays. Any time I drink some water I will add a couple or a lot of cubes to the glass first. It would also be great to add extra flavors to iced tea, with no sugar. Thanks very much.
Susan A
This post came at just the right time for me when I was struggling to work out how best to do ice lollies this year. I’ve bought some of the silicone molds and will soon be having a go. Thank you!
You’re most welcome!
This is EXACTLY what I need. Thank you! I can’t wait to try these out.
This is such a great idea. I had to laugh, I told my 84-year-old mother about these and she said she wouldn’t mind trying them out. You could have knocked me over with a feather! So thanks for the idea from mom and me. Happy weekend to you, Tiffany, and your family too.
What a great idea! I didn’t know that there were zip top Popsicle bags. I will look into these. Thanks for sharing.
You’re welcome Patti!