Don’t want your tomatoes to go to waste after the summer season ends? Use this easy and straight-forward beginner’s guide to canning tomatoes to enjoy tomatoes from the garden year-round!
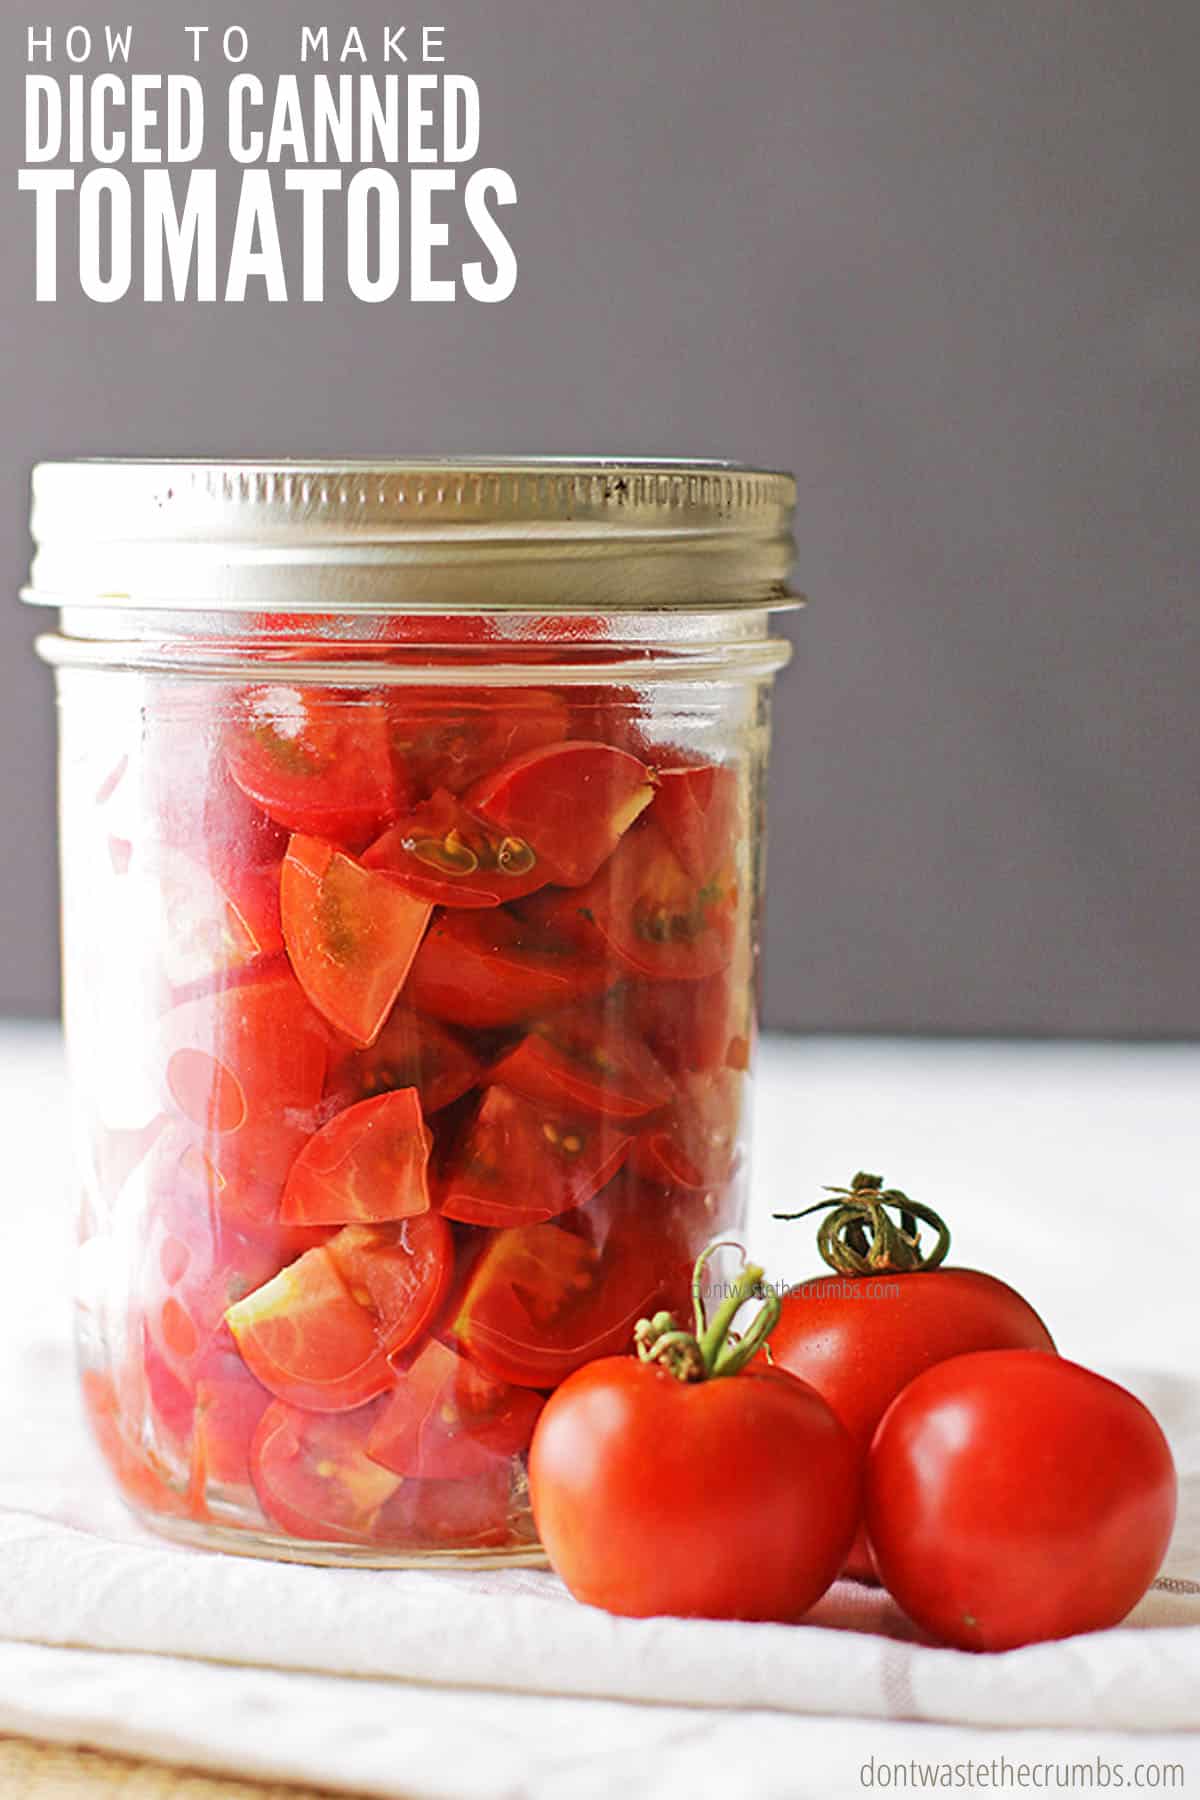
Fresh tomatoes are a favorite vegetable in the summer, from Caprese Salad to Homemade Pizza Sauce. They’re also one of the easiest plants to start when growing your own garden.
However, it only takes a few plants to suddenly become overrun with tomatoes. And when you’ve eaten your fill of Hearty Spaghetti Sauce and Tomato Basil Soup, what else can you possibly make with all those tomatoes?
The answer – canning tomatoes!
Beginner’s Guide to Canning Tomatoes
The idea of canning can sound scary, but it’s like riding a bike – once you get the hang of it, it’ll never be hard again!
Plus, this beginner’s guide will explain exactly what to do – step-by-step – so you can take advantage of garden harvest tomatoes in August, farmer’s market tomatoes, or even a good deal at the grocery store, all year long!
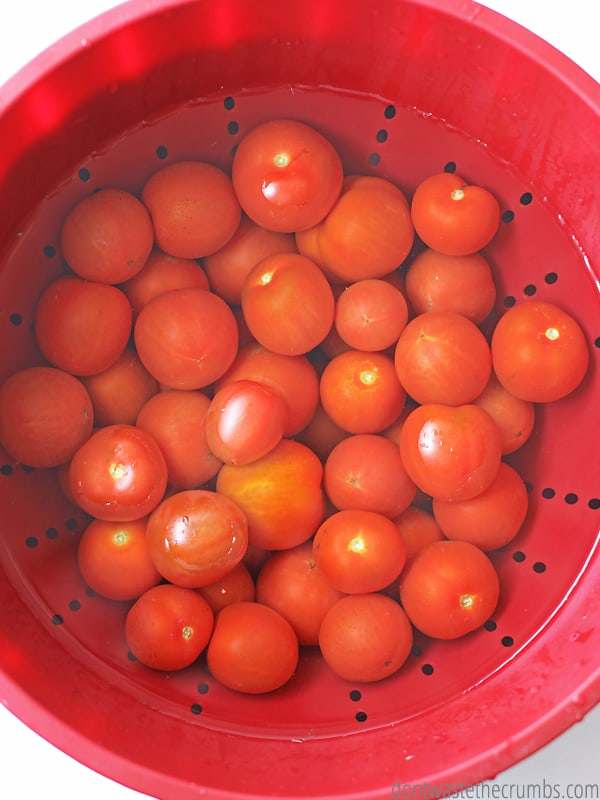
What You Need for Canning Tomatoes
- Canning Jars: You need jars specifically made for canning (Ball and Weck are good brands) in either a 16 oz pint size or a 32 oz quart size. I tend to find the best deal on canning jars at Walmart, but these on Amazon are a good deal too. You can, however, re-use canning jars. If someone gives you gifts in mason jars, keep them!
- Canning Lids: Canning lids come with canning jars when you buy them, but it’s best practice to use new lids every time you can.
- Canning Rings: Also known as screw bands, you can reuse canning rings from canning jars. Do a quick count and make sure you have one ring for each jar you plan to can with.
- Canning Pot: You need one pot big enough to cover your jars plus 2″ of water. If you chose pint jars, you could probably use the typical 5-quart pot that comes with most cooking sets. If you’re using quart jars, you’ll need a big stock pot or canning pot. Using racks in the pot is optional.
- Small Saucepan: A small one like this that comes in your cooking set will work. It’s to keep the lids warm while you prepare the tomatoes and jars.
- Sharp Knife: For cutting tomatoes, I love this one.
- Cutting board
- One cookie sheet OR another large pot: Some canners keep the jars warm in the oven on a cookie sheet; others keep them warm in a big pot of water. Choose whichever method suits you.
Optional Tools for Removing Skins
- Medium Pot (optional, for removing skins): if you want to remove the skin because it’s tough or doesn’t taste good, you’ll need this.
- A big bowl of ice water (for removing skins, optional)
For most canning projects, you’ll probably already have most of these supplies. Double check you have enough jars in good condition (no chips or cracks), enough lids, and that your pots aren’t being used in another recipe and you’re good to go!
Ingredients to Can Tomatoes
This tutorial is for making diced canned tomatoes using ONLY tomatoes. If you want to can tomatoes using onion, peppers, garlic, carrots, or celery, you’re essentially canning salsa and you should follow the appropriate process times.
- Lots of firm raw tomatoes. Fresh ripe tomatoes are best for this recipe as they provide the most flavor!
- Lemon juice. Bottled lemon juice is best for canning because the acidity level is consistent.
- Salt
Note: This is everything you need for the cold-pack method, which is canning food that hasn’t been cooked. You can follow this guide for the hot-packing method of canning tomatoes.
How to: Canning Tomatoes Tutorial
Step 1: PREP
Prep Your Pot(s). Fill your CANNING pot (either the stock pot or 5-quart pot) ⅔ full with water and bring it to a boil. This takes some time, so go ahead and start this first.
Optional, if Removing Skins: Fill the MEDIUM pot ⅔ full with water and bring to a boil. (See additional recipe notes for more on removing the skins from the tomatoes.)
Warm the Canning Jars. Jars must be the same temperature as the water you’re canning them in. If you’re using…
- Cookie Sheets: Preheat the oven to 250F. Place the empty jars on the cookie sheets and place them inside the oven.
- Large Pot: Fill the pot half full with water and place empty jars inside. Bring to a simmer.
Simmer. Fill the SMALL saucepan with a couple of inches of water and place the lids inside. Bring to a simmer on a back burner.
Optional, if Removing Skins: Fill a big bowl halfway with ice water to create an ice bath.
Catch-Up. At this point, you should have up to 4 pots on the stove:
- CANNING pot for water bath canning
- COOKIE SHEET in the oven with jars on top, or a second large pot of water for warming jars
- (optional) MEDIUM pot for de-skinning
- SMALL saucepan for lids
Step 2: INSTRUCTIONS TO REMOVE THE SKINS (OPTIONAL)
- Remove the stems from the tomatoes and cut a small “X” at the bottom of the tomato. Place as many tomatoes that will comfortably fit in the medium pot, leaving about 1″ of water covering them. Dip the tomatoes in the boiling water for 30 seconds (use a kitchen timer).
- Use a slotted spoon to remove the hot tomatoes from the hot water and place them directly into the bowl of ice water.
- Allow them to sit in the water until they are cool to the touch.
- When cool, remove the tomatoes from the cold water and set aside to remove the skins. Repeat this process for the remaining tomatoes.
- When all the tomatoes have been boiled and cooled, peel the skins off and set aside.
Step 3: DICING THE TOMATOES
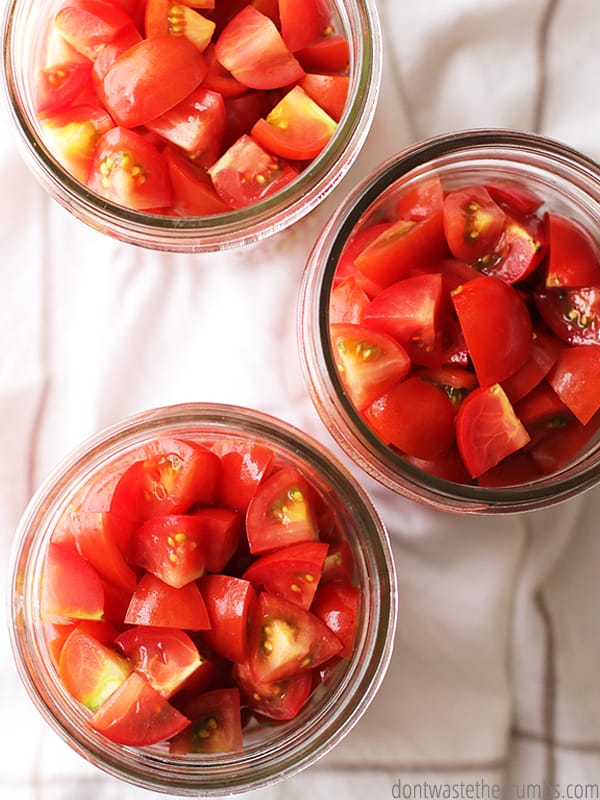
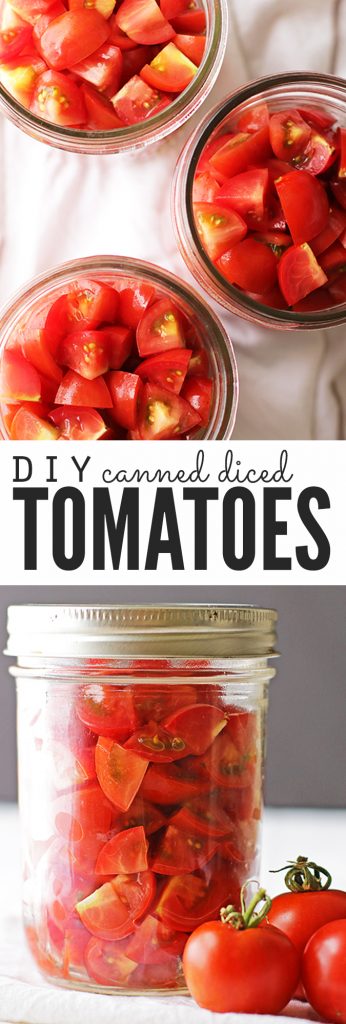
- Using your knife, carefully cut the tomatoes (peeled or unpeeled) into small pieces. The actual size of the diced tomato is a matter of personal preference. I cut my tomatoes (1-2″ in diameter) into pieces that are ⅓″ – ½″ in size. Simply quarter tomatoes if they are on the smaller side. You can also slightly crush the tomatoes if desired.
- As you’re working through the tomatoes, set aside any scraps and juice. They’ll come in handy in a moment!
- Remember that this tutorial is for the cold-packing method, not the hot-pack method. You want your tomatoes to be uncooked and raw.
Step 4: JARRING TOMATOES
- When all your tomatoes are diced, pull out as many jars from the oven that will fit in your big pot (mine holds 6) and start filling them up with the tomato mixture! You want to pack tomatoes in the jars lightly but well. Shuffle the jar on the counter to help the tomatoes settle into the nooks and crannies. Leave about ½-inch headspace at the top of the jar for expansion.
- When your jars are filled, add lemon juice to each jar. Use 1 tablespoon for pint jars and 2 tablespoons for quart jars.
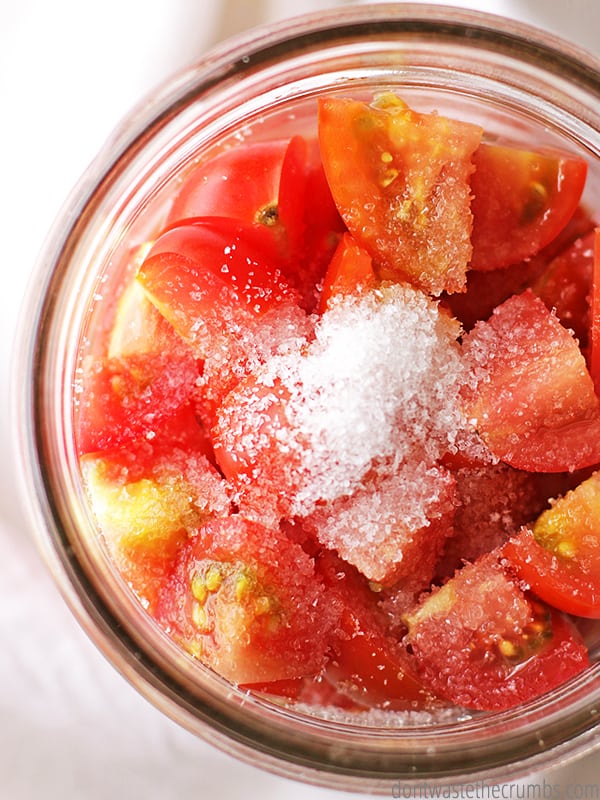
- Measure salt into each jar. Use ½ teaspoon for pint jars and 1 teaspoon for quart jars.
- Fill jars with liquid, leaving ½″ of room at the top. You can fill the jars with either water or tomato puree. Personally, I chose tomato puree because it enhances the flavor of the homemade canned diced tomatoes and lets me use up my tomato scraps. (See the next step.)
- If you choose tomato puree, toss all your tomato juice, scraps, and skins you’ve been saving into a blender and puree until super smooth. You can then press tomatoes through a sieve if you’d like (I usually don’t).
- As you fill the hot jars with puree (or water), slide a chopstick or butter knife around the inside edge of the jar to remove as many air bubbles as possible. Rotating the jar back and forth on the counter (in a half-circle motion) also helps. Make sure to wipe the rim if any moisture is on the lip.
Step 5: WATER BATH CANNING TOMATOES (How to Can Tomatoes Without a Canner)
- When the jars are filled, carefully remove the lid and ring from the small pot of simmering water. Place the lid on the can, then the ring on, securing just enough so the lid stays on and doesn’t fall off. You don’t want to overly tighten the ring at this point. My trick is to turn it until it catches (and I can’t pull it straight off) and then another quarter turn.
- Place the jars in the canning bath and let them boil submerged in water. Processing times depend on your added liquid: 45 minutes if you used water or 85 minutes if you used tomato puree. Set the timer and occasionally check the water level to ensure it can stay covered.
Note: This is for the water bath method at an altitude of 0-1000 feet above sea level. If your elevation is different or you are seeking a different canning method, use this guide from the National Center for Home Preservation.
Step 6: COOLING THE CANNED DICED TOMATOES
- When the timer goes off, carefully remove the cans from the water bath (this is when a canning kit with a jar lifter comes in handy) and set them aside on a towel to cool for 24 hours until they reach room temperature. You should hear some popping over the hours as the lids seal themselves.
- Check for a good seal by pushing down on the center of the lid. If it doesn’t bounce back, you’re good. If it does bounce back, repeat the water bath method in the next batch OR put unsealed jars in the refrigerator and include them in a meal in the next few days. You can also freeze the tomatoes if you don’t have any meal ideas for tomatoes in the next few days.
- When the first batch of canned tomatoes is cooling, check to ensure you have enough water in your pot, adding more water if necessary. Then start working on the second batch by repeating the same process again.
- When all the tomatoes have been canned, cooled, and sealed, put them away and congratulate yourself for a job well done!

Homemade Canned Diced Tomatoes FAQs
Should you remove the skins from your tomatoes?
1. It depends on a) your preference and b) the type of tomato you’re canning.
2. If you like smooth, skinless tomatoes, remove the skins. If you’re canning tomatoes with tough skins (in general, the bigger the tomato, the tougher the skin), then you might want to remove the skins.
3. Me? My tomatoes are only 1-2″ in diameter, and I don’t really care if there are skins in my sauce, so I kept the skins on.
Is canning tomatoes difficult?
Canning your own tomatoes is NOT difficult at all. Seriously. If you think it is, it’s your mind playing tricks on you. Push the little voice aside and listen to me: It looks hard, but it’s really not.
Can I speed up the process?
Yes! Working in batches makes this process go MUCH faster. That means taking the skin off all the tomatoes at the same time, then dicing all the tomatoes at the same time, then putting them in jars at the same time… catch my drift? This process works really well – just make sure you have enough bowls and containers to hold your tomatoes.
How long do you can tomatoes in a hot water bath?
Tomatoes need to process for 45 minutes if you use water, or 85 minutes if you use tomato puree.
Do you have to can tomatoes in a water bath?
No! You can use a pressure canner to can tomatoes. Using a water bath is easier for some because you don’t need any special equipment, like a pressure canner.
More Questions on Canning Tomatoes
Do you really need lemon juice when canning tomatoes?
Yes! Tomatoes are naturally high-acid foods, but the ph needs to reach a safe acidity point to kill bacteria when you can AND prevent bacteria, molds, and spoilage from forming as the tomatoes sit on your pantry shelf. Vinegar or adding a teaspoon of citric acid are not suitable substitutes.
Can I use bottled lemon juice?
Absolutely! The lemon juice is purely to produce a high level of citric acid in the jars to keep the tomatoes to preserve the tomatoes. Bottled lemon juice has a consistent level of acidity, so it actually works better than fresh!
How many cans do 1-2 pounds of tomatoes make?
If you only have 1-2 pounds of tomatoes, you might only be able to squeeze 1 can from this recipe, which is about half of one quart of tomatoes. That being said, you’re going to want a TON of tomatoes, aka several pounds, to make this home canning process worth it. Otherwise, going through the trouble of canning them might not benefit you. You’re probably better off just freezing them whole or eating them up.
Can I use this process for whole tomatoes?
Yes! You can use this same process for whole tomatoes or halved tomatoes. Stewed tomatoes, crushed tomatoes will require a slightly different process that I have not tested.
What kind of tomatoes should I use for this method?
I recommend using Roma tomatoes or other larger, fleshy tomatoes for this method. Roma tomatoes and other large tomatoes have a lot of flesh and very little juice and seeds, making them perfect for use in sauces.
Do I need a pressure canner for this canning method?
Nope! A pressure canner is not needed for this canned tomato recipe. This is great news for those who are scared by the gauges, weighted gauge, and or gauge pressure on pressure canners!
The high acidity of the tomatoes makes them like other fruits when canning. Low-acid foods, on the other hand, would require a pressure canner.
Canning Tomatoes
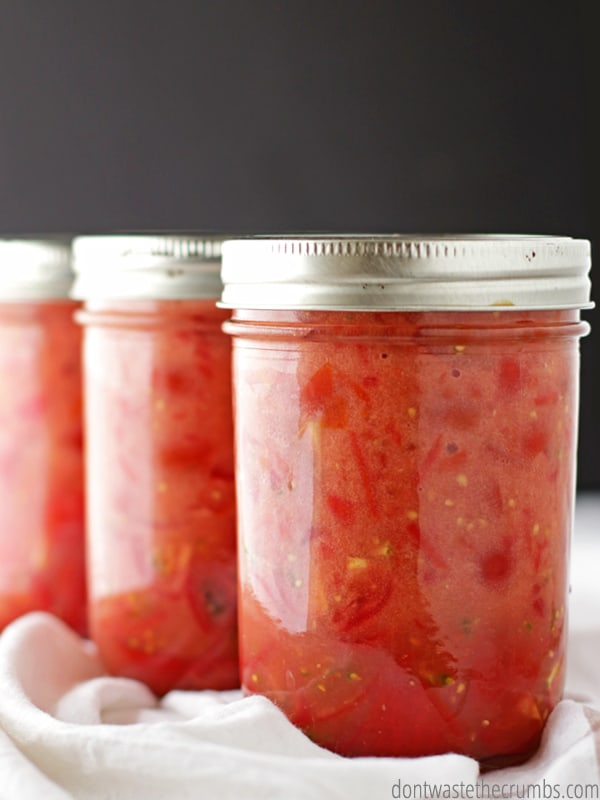
Canning your own tomatoes at home has never been easier! Now that you have all the steps you need to can tomatoes at home, you’ll never go back to purchasing store-bought cans of tomatoes again! Try out this home food preservation method, and let me know what you think!
More Tomato Recipes for Food Preservation
- Homemade Tomato Sauce
- 15 Minute Spaghetti Sauce
- How to Make Tomato Powder
- How to Freeze Tomato Paste



I love reading all the questions and the comments and putting that all on the back burner in my mind so when I take my tomatoes out of the freezer and I froze them whole, what should I do with all of that.? Should it be diced or sauce? I was told by a friend that the peel was very easy removing this way.
Going to try canning diced tomatoes this summer! Loved reading all this info. Very helpful blog 🙂 just curious if you can season the diced tomatoes for extra flavour? Like Italian spices. I know in the store here in Canada you can buy seasoned ones.
Hi Rachel,
We haven’t tested that but it sounds delicious! If you do it, be sure to report back and let us know how it goes. 🙂
I wanted to try canning my small tomatoes without peeling, but didn’t notice if the tomatoes need to be hot before putting them in the jars?
Hi Debbie, If you aren’t peeling, there is no need to precook the tomatoes!
when you dice the tomatoes with skin, after putting the tomatoes inside the jars, do you put juice in it or water?
Hi Christine,
When your jars are filled with water, measure lemon juice into each jar. Use 1 tablespoon for pint jars, 2 tablespoons for quart jars. Best of luck!
After opening the jar, how long do they last in the fridge?
I’d say no more than a week or so Elzein. Use the smell test!
I forgot to add citric acid / lemon juice to the quarts. I’ve read that if I boil the tomatoes at least 10 minutes when I’m using them, for example, in spaghetti sauce, then any potential botulism will be killed off. If that is false, then will putting the jars in the fridge be the solution? Or dumping the tomatoes into a freezer container and freezing? Why doesn’t botulism live in the freezer? I’ll look that one up later…
Can you use citrus acid in place of lemon juice?
I’m not sure Tim – I’d recommend checking the USDA guidelines on canning.
how long can you keep canned tomatoes for?
as well are they supposed to have the taste from the lemon juice if you followed the recipe used to the ladder correctly?
They shouldn’t taste like lemon juice, and most people keep canned goods for 1-2 years.
Thanks so much for this helpful recipe! I can’t wait to make my own canned tomatoes – I want to stop buying them from the store!
1.) If one is referring to a very old Ball or Bernardin canning/preserving book, you might want to check a newer edition. Some recommendations have changed (so have recommendations from agriculture and university extension offices). Some of this is because of new knowledge about preservation techniques, and some because of changes in technology (like the seals on the lids).
2.) A recent Bernardin book (Bernardin primarily in Canada, Ball in US, same company) states that the lids should not be boiled, but kept in hot (almost boiling) water, as this softens the sealing compound to better fit the jar rim. Boiling softens the compound too much.
3.) Again as per the manufacturer’s literature: Rings do not come in contact with food. There is no need to preheat them. They exist to hold the lid in place during processing and sealing. After the jars are cool, they should be removed and dried to prevent rusting. They could be put back on to protect the lid edges, but it is not necessary.
That said, I appreciate the instructions. I only did one quart jar, as that was the excess beyond what my wife could eat. I have indeterminate bushes intentionally so she could enjoy them with out being overloaded, but they have produced faster that she could eat.
A lot of work for one jar? Waste of water & energy? Not really, It was jar #8 in an 8 quart water bath canner when I was canning applesauce. I put the jar of tomato in the water bath with the empty jars to give it the processing time needed while I got the applesauce ready to jar. Empty jars in boiling water makes sure the jars are hot for the hot applesauce.
Economy: It is not something you want to once. The resuables (jars, rings, canning kit, canning pts) cost too much to use once. Do comparison shop for jars. A local thrift shop was asking $1.99 per quart jar, no ring, as the same time the local “hardware” stores were selling 12 new with rings and lids for $12. Lid prices can be all over.
Be careful about the jars you try to use. We get some jars here that fit standard lids/ rings, which have a size betwee quart and pint. Might be nice for some things. They are marked Classico / Atlas / Mason. The markings are a marketing ploy. They are not strong enough for resuse. The manufacturer’s site says the jars were marked that way for marketing. They have a plastic fillm to help strengthen the glass, but they get some failures in the factor. If the film is scratched in shipping from factory to your home, the glass may fracture at the scratch ruining you hard worik.
Bernarding also sells a jar identified as Golden Harvest. it is less expensive, and requires more care in handling, but is a canning jar. 3
Keep everything clean, clean, clean. Go for the full processing time. A little over may be better, but a lot over my reduce the quality of the product. Shorting the time is a bad idea. The time is needed to ensure the critters that make the food go bad in the jar are killed.
Thank you for taking the time for such detailed information. Very helpful
my son and I bough these tomatoes plants we have both cherries and beaf steak tomatoes and now we have tomatoes coming out off r you know what so far we have picked 12 ice cream buckets off cherry and still at the very lease 5 more buckets and that is only from 4 plants the beef stake tomatoes plants we have 4 off those and so far we have 6 buckets and theres at lease and other 10 or more and this is Y i’m looking up some different canning ways and we already give lot’s to people we know and family. Ur info is great we finally got cooler weather so now it’s time to get busy LOL THANK U SO MUCH.
You’re very welcome!! And if you tire of canned tomatoes, try tomato powder – it’s SO easy!! https://dontwastethecrumbs.com/2017/09/tomato-powder/
Re fresh vs. bottled. Way back when — 65 year ago or so, we were not aware of bottled lemon juice. We used fresh and, if I am not mistaken, sometimes apple cider vinegar. The fresh should work fine.
Loved the website, was super easy to follow. Went to put my second batch of jars in the water bath and a jar broke 🙁 wondering if water was to hot? It’s first time using this in stock pot with a rack inside.
Thanks for the compliment Jaclyn, but I’m sorry about your jar! It’s hard to know the reason why a jar breaks… it could be old, extreme temperature shift, just a bad jar… but if it was just one, I’d call it a dud jar and keep on canning!
Thank you, after I rewatched the pot and filled again the rest went great. However, I’ve come across another oops. I was going over my Jae’s with my mother in law talking about why they were still separated like the user able stated hers were. Then I realized I used fresh lemon juice instead of bottled 🙁 Do you think they would still be ok? All of my seals are secured just nervous about the acid ratio now?
Thanks!
Hi Jaclyn – Honestly, I’d put the recent batch with fresh lemon juice in the fridge or freezer, and plan to use those up first. Bottled lemon juice has a consistent acidity. Tomatoes themselves are fairly acidic, and many canners swear by canning tomatoes w/o any added acid, BUT I’m personally not THAT experienced, so I’d err on the side of caution, just in case. 🙂
My husband just canned diced tomatoes. However he just put them in jars and did not heat the tomatoes or pour water over them. He did squish them down and try to remove air pockets. He then put them in a water bath and the jars sealed properly. Is this alright? I do see some air pockets in the finished jars.
What a wonderful post and comments! We are roasting veggies tomorrow for canning and my husband said he wants me to can tomatoes. We are trying to eat cleaner and though this is me processing them, I know what is in them. We purchased someone’s huge lot of canning jars (over 100) in different sizes for $60 on CL.we have been canning for years, just not tomatoes. I am excited!
Yay!! Have fun Patti!
Thanks for this wonderful post! This is the first year that I’ve tried canning tomatoes. My first batch turned out looking rather anemic! Then I found this post and love the idea of using the tomato puree. I have been composting the tomato skins because even my chickens won’t eat them. Now I will be for sure making puree! No waste and maybe my jars of tomatoes won’t look so anemic!
I also meant to say that I loved reading the comments! So much good information there too!
A nice tutorial on canning tomatoes! I just wonder if, after the cost of buying the tomato plants, watering the tomato plants, and buying the jars and canning supplies, it is really a cost-saver?
Linda
Thank you Linda! Truthfully, no. You need A LOT of tomatoes to make one pint of canned diced tomatoes. I’d only recommend the DIY route if you have a love for gardening in the first place.
With that said though, I grew 5 tomato plants in CA and they produced 220+ pounds of tomatoes! I now have 14 tomato plants in GA and they’re producing a lot too (no exact measurements this year). Since we tend to use tomato products in other ways besides canned diced, I’ve chosen to go other routes with our plants. BUT, if you use canned diced tomatoes a lot AND you love gardening AND have a heart for home-grown food, then this can certainly save money over time. The jars are a one-time investment, as is the dirt (if good dirt isn’t available). Seeds are super cheap, and if you steward water wisely when it’s not raining, you can get away without paying a cent for water. Your first year might be the investment, but it would pay off after that.
Thank you, Tiffany. That all makes sense! 🙂
Glad you said this… it was time consuming and rather costly . ( we had bought the box of tomatoes)… and did I mention time consuming?!?) Lol. Imbeaiting for them to cool down and hoping I didnt waste a whole lot of time and money… it’s my first time!
* waiting
Thanks for the compliment Danyelle, and the idea of chili with tomatoes sounds delicious!!
I just made a batch of this tomato recipe using the water bath method, sealed the jars well,,,,,,but when I took them out of the water after boiling, 2 of the jars leaked out a small bit of red liquid. What did I do wrong? Should I reprocess, or do I need to refrigerate them? Thank you!
Leaking jars means the seal has been compromised Susan. It could be overfilling, or they just needed to process a bit longer. You can either re-process OR just keep the 2 leaking jars in the fridge and make a point to use them up in the next several days – whichever you’d prefer!
Thank you! I’m going to try again.
if liquid has leaked out, it often means that the rim of the jar wasn’t wiped clean before the lid was put on. That would compromise the seal.