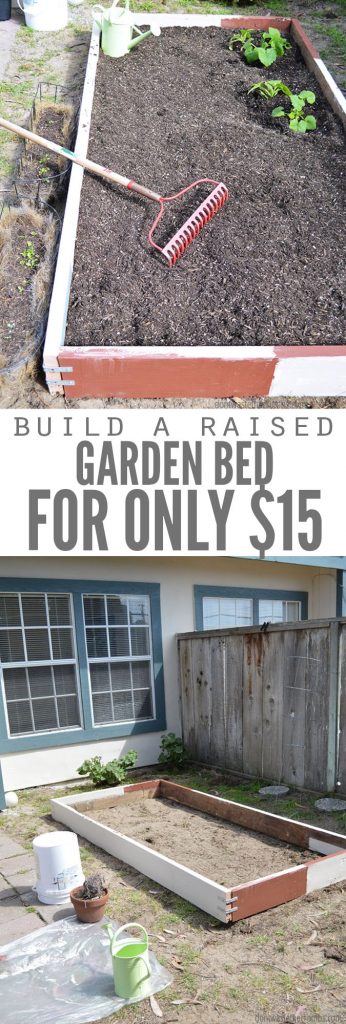
Read how to build a raised garden bed to grow your own food this summer! Check out my step-by-step tutorial showing you how to build a frugal raised garden bed to save money on food and eat healthier! It’s super easy to build and simple enough for any living situation – whether you rent or own your home!
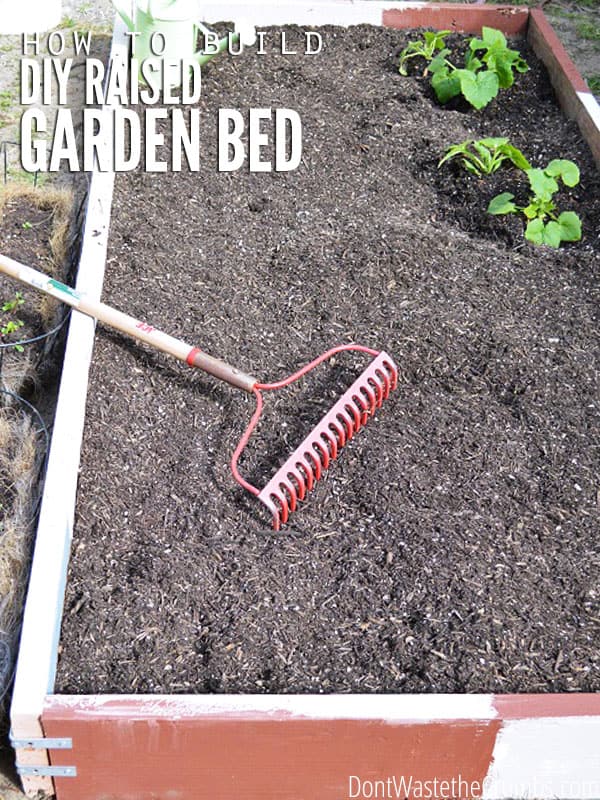
Once upon a time, I tasked Mr. Crumbs with making a wooden raised bed for a new garden, but it didn’t quite go as planned. Building materials like wood planks cost a pretty penny, especially if using pressure-treated wood or rot-resistant wood.
The total amount for this project would have been over $100, and we knew that would be too much. But, if you’re like me, you’ll do anything to get the best bang for your buck.
So, that’s when Mr. Crumbs discovered a bunch of scrap wood lying around from a construction site and decided to use that to build some cheap raised garden beds. In addition to the other materials we needed for this project, the total was around $15!
Now that’s what I call smart saving! Plus, we wanted to have a home garden to save a little on our grocery bill, and this DIY raised bed garden was an easy way to do that! So, if you want to learn more about how we made this cheap garden bed, keep reading!
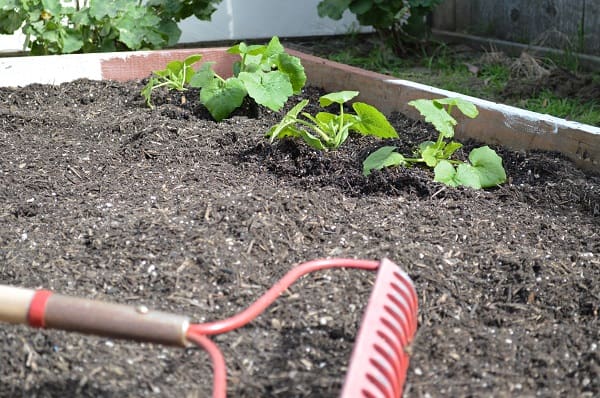
What is a raised gardening bed?
A raised gardening bed is a garden area that is built up off the ground. It can be built just above ground with the base still resting on the soil, or it can be built up on legs like a bed.
We opted for a garden bed placed on the ground. It requires fewer materials and it also allows the plants to reach down into the soil below the bed.
Building raised garden beds is a great option if your yard doesn’t have great soil or if you don’t want something permanently dug into the ground like a traditional garden. You could even move the frame later if needed!
Materials Needed for Building a Raised Garden Bed
Raised Bed Materials:
- Lumber, preferably free. Look in dumpsters, discard piles at construction sites, trash piles on the side of the road, old wood pallets, old fence boards, or online.
- Freecycle and your local city’s Facebook group.
- Don’t pay for the wood if at all possible.
- Corner Brackets. You need a total of eight, two for each corner. Your local hardware store should have some similar to these on Amazon. I recommend the 3″ bracket, but you can use a 4″ bracket if they’re cheaper.
- Paint or Stain, optional. This would be to protect the untreated wood, but it’s entirely optional. Check the “oops” colors of paint at your local hardware store for cheap paint. We picked up one quart for just 50¢ to supplement the random leftover paint in our garage.
- Paint Brushes. A must-have if you’re going to paint.
How to Build a Raised Garden Bed
Step 1: Measure the wood
We wanted a rectangular raised bed since it fits best in the space in our yard. When deciding on the size of your bed, consider your ability to reach plants in the middle as well as the amount of sunlight and the size of your outdoor space.
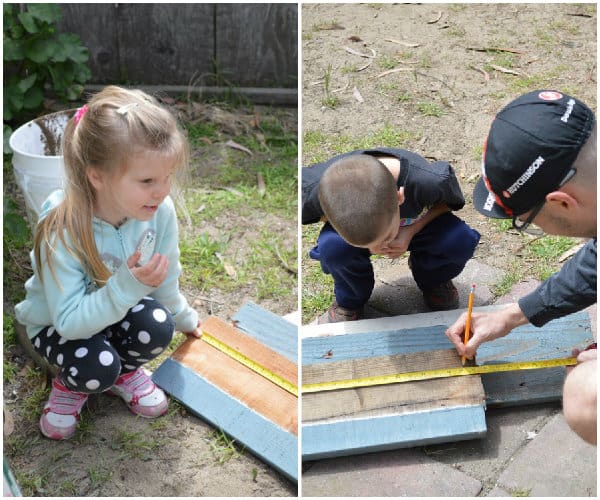
Step 2: Cut the wood to the desired length
Borrowing a saw, we trimmed the ends and cut one of the planks in half. If you have jagged edges or edges with angles, aim to cut those off.
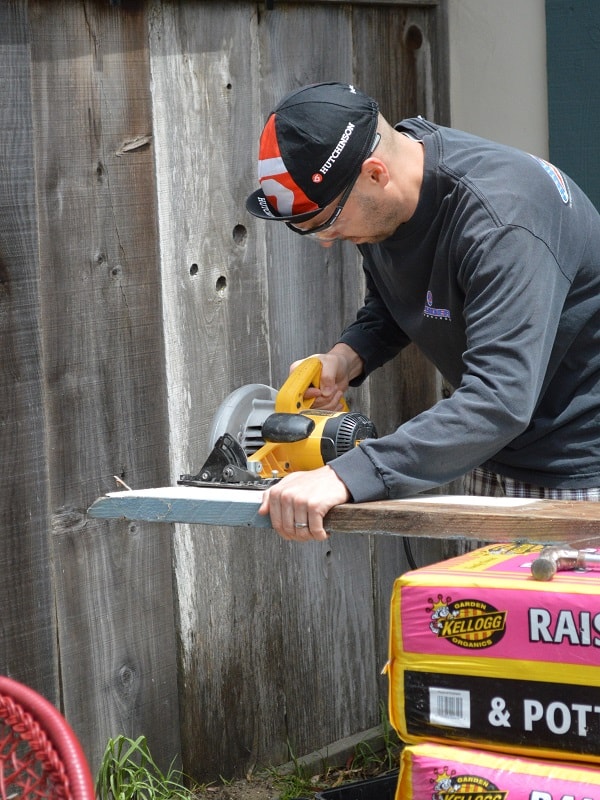
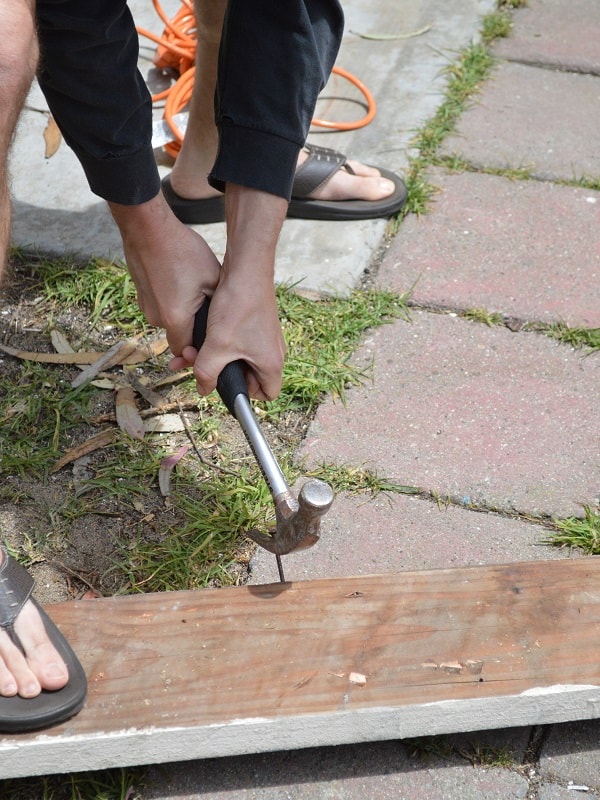
Step 3: Pull any stray nails, cut off large stray pieces, and sand extremely rough edges
Remember that this will be on the ground, level with the kids and animals, so eliminate the obvious dangers. Designate someone to hold a pail for discarded nails so none get left behind in the yard.
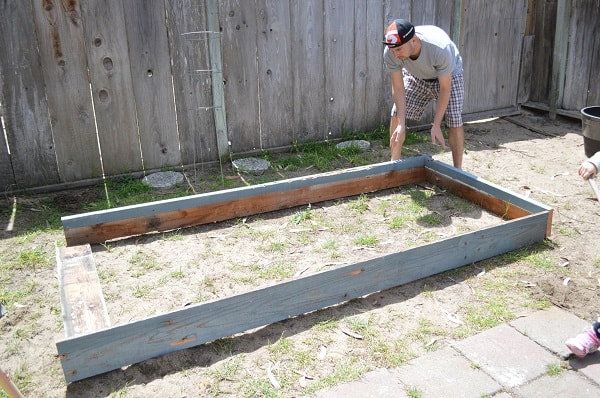
Step 4: Mock assemble the wooden frame
Just a precaution to make sure the pieces are cut to the correct size. Fix any obvious errors.
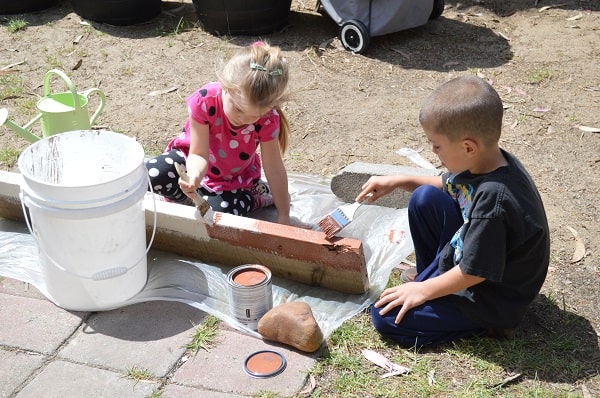
Step 5: Paint or stain the wood
If you’re short on paint, only one side and edge really need to be painted – a perfect assignment for the kids.
Step 6: Prepare the ground
While the kids and other helpers are busy, adults can level the ground and pull large weeds.
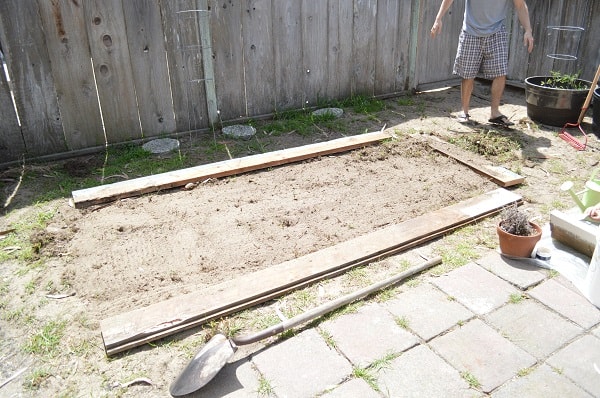
Step 7: Assemble the bed using the corner brackets
Having another adult available to hold the wood steady is helpful.
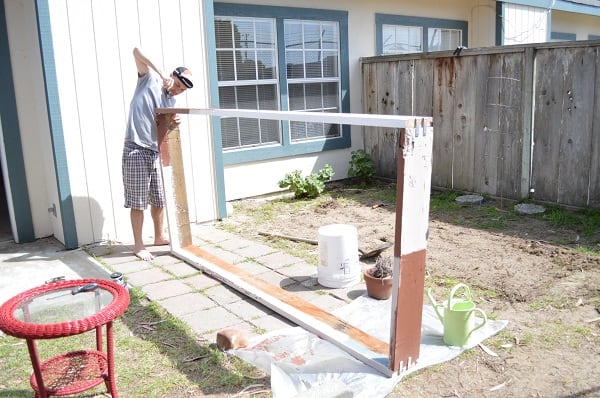
Step 8: Lay your new raised garden bed down on the prepped ground
The bed should sit level. Add/remove dirt or sand as necessary.

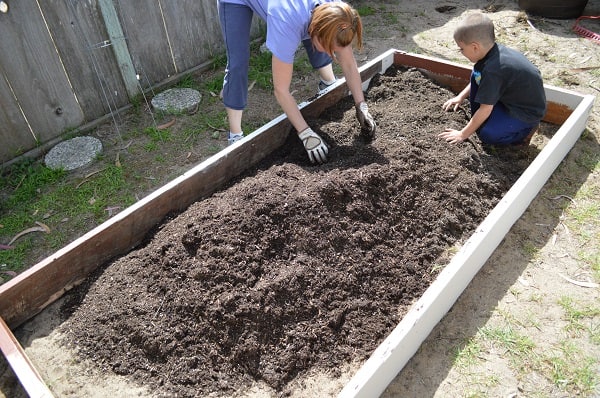
Step 9: Fill with the inside of the bed with good soil and plants!
We found bulk soil at our local garden center was a better price than bagged soil. Having a good compost system will give you FREE fertilizer for your garden!
Tips for Building Your Raised Garden Bed
- Your biggest expense will be lumber, which is why I suggest digging around to find some for free before paying for it.
- Additionally, you likely could get by with using only four brackets, instead of eight.
- The paint brushes are a no-name brand, basic brush just like these.
- Before you buy ANYTHING, scour your garage and closets for supplies.
- Old shelves and mix/matched “not quite the same” hardware will work just as well, and you just might be able to build a raised garden bed for free!
- Elevated garden beds can dry faster than beds open to the ground. Use a self-watering system described in this post for some ideas to keep your soil well watered.
Other Garden Bed Options
Building a raised garden bed does take some effort so if you have the budget for it, here are some other options:
- Buy a garden bed kit. There are many options for wood frame garden kits on Amazon. If you have the budget and want a more streamline look this is a good option.
- Buy a metal raised bed frame. This one on Amazon is affordable or you can find them at your local garden center or hardware store. (I saw some at Home Depot.)
- Use planter boxes. A planter box works well if you only want to plant a few vegetables, flowers, or a small herb garden. This can be placed on a balcony, porch, or patio too.
- Elevated garden beds. I mentioned this earlier, but a wood-raised garden planter can be helpful if you struggle with bending over or want something more convenient to reach. Just be sure to have drainage holes for water drainage. I’ve also seen metal-raised planters as well.
- Use recycled plastic barrels. I’ve seen on the interwebs how to build a garden planter in a plastic barrel. Basically, you cut it in half longways and add legs.
Foods to Grow in a Raised Garden Bed
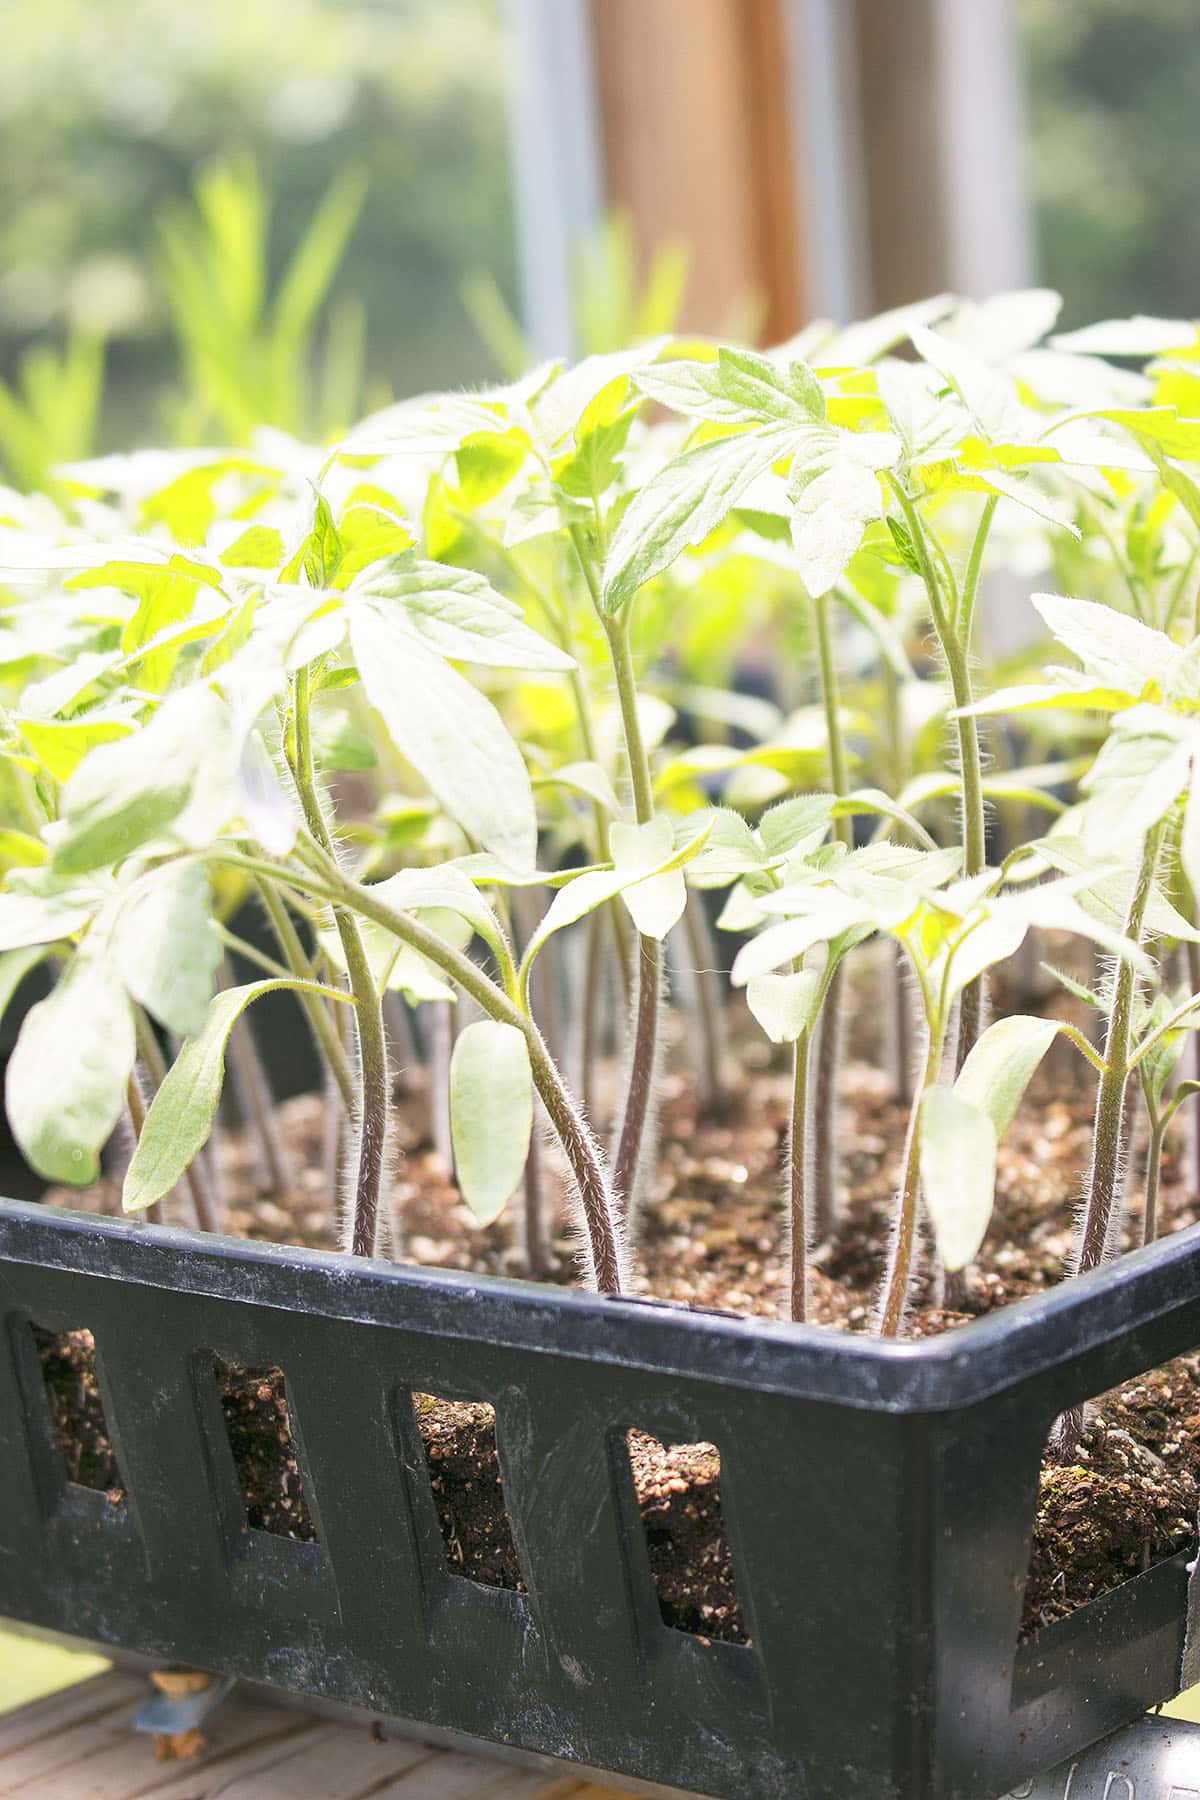
Our first garden was definitely a lot of trial and error, but we have found these foods grow well in small beds and containers:
- Tomatoes
- Hot peppers
- Radishes
- Green beans
- Cucumbers
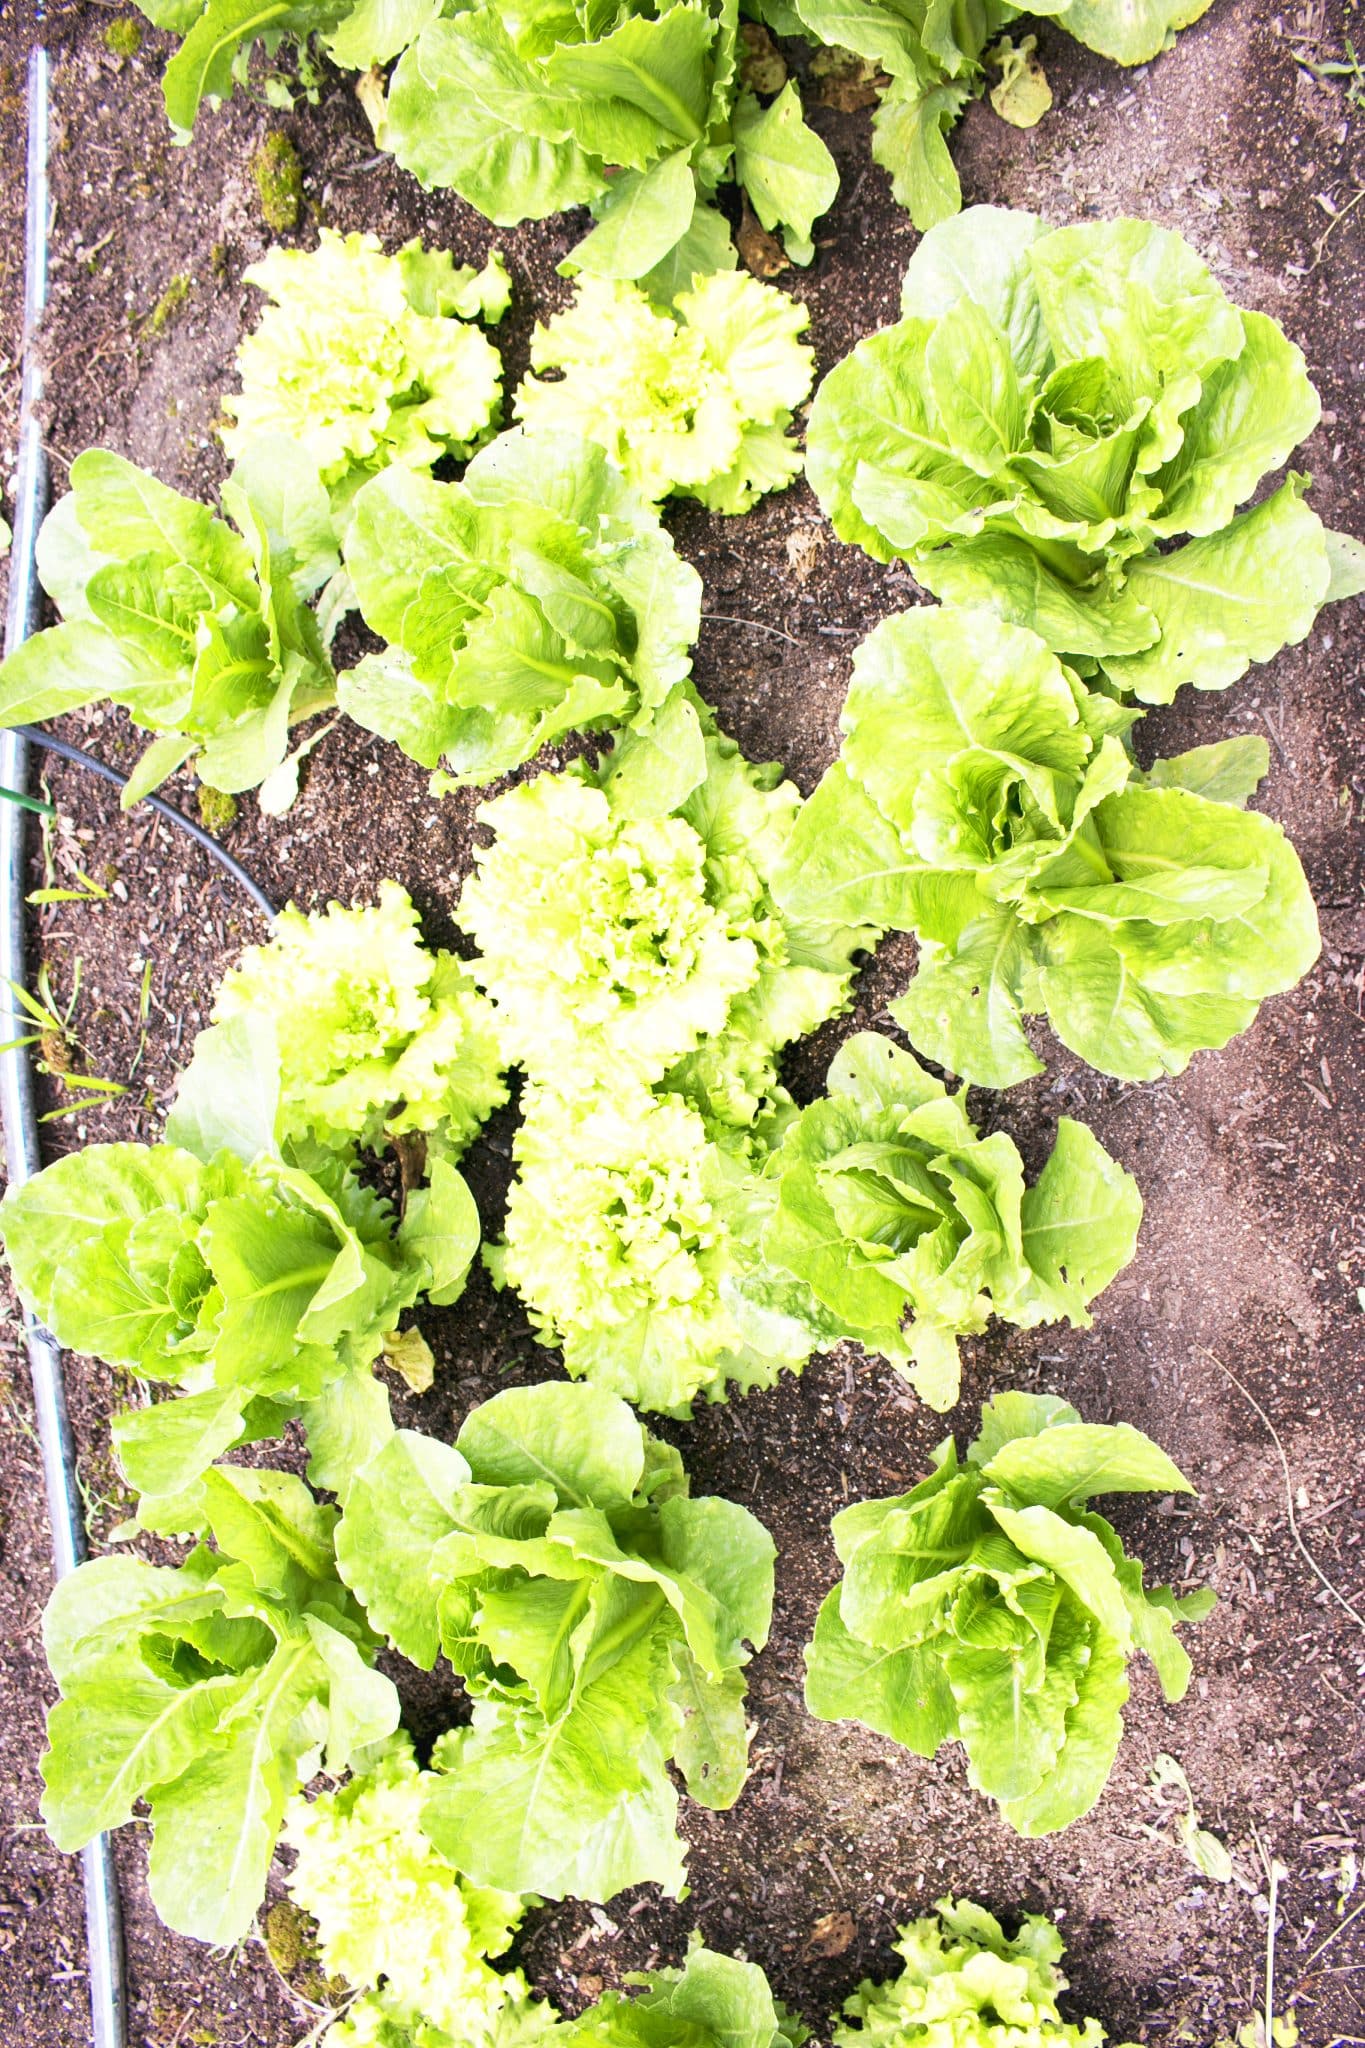
- Lettuce
- Spinach
I found that large vine plants, like watermelons and pumpkins, need more space. Root crops, like carrots and onions, also like being planted in the ground better, but it might depend on your skills!
FAQs
What are some other building materials to use besides wood?
Concrete blocks, cinder blocks, or bricks can be used as a makeshift frame around your garden bed. Then, put the soil mix in the middle of the blocks and inside the blocks for extra garden space!
How can I make a raised garden bed for a small space?
If you have limited space or prefer a smaller garden area, creating a smaller garden is a great idea! The best way to do this is by choosing shorter wood planks and building a smaller bed rather than a large one.
Do I have to line the bottom of the bed with landscape fabric?
Nope! You can if you want to, but only if the type of wood you’re using has holes where the garden soil can escape or if the soil quality where you live isn’t great and you don’t want the new soil mixing in with it.
Best Raised Garden Bed Setup
These raised garden beds are a great way to grow an herb or vegetable garden in your own backyard! Whether trying to save on groceries or beginning a new hobby, these DIY garden beds are a great choice for building your dream garden! Have you ever built your own garden beds before, or is this your first time? Let me know!
More Frugal Gardening Posts
- 5 Ways to Reuse Plastic for Gardening
- Starting a Frugal Urban Garden
- 7 Ways to Water Your Garden for Free
- 50 Ways to Fertilize Your Garden for Free
- How to Save Money Gardening





Are the brackets necessary or add some great benefit over just hammering in a few large nails in their place to steady the frame? I have lots of those, for free! They go with the screws that fell out of my head. LOL.
I guess you don’t HAVE to use them KC, but we felt they were helpful given the condition of the wood (i.e. slightly warped and not quite straight). This was also our first garden bed, so we erred on the side of caution rather than not. 🙂
I wish I had used corner brackets. After many years my raised beds are falling apart at the corners. I thought about using a come-a-long strap to pull it together but would have to remove the dirt to allow the wood to move back in place. Using reclaimed wood also doesn’t allow for many years of use. Painting the outside is pretty but the inside gets alot of moisture and can start to rot. Just be aware that the bed won’t last forever. I have even placed 4×4 wood in the corners to screw the outsides to. It still rots.
Good article, except misleading. You didn’t inude the dirt in the breakdown and that is key. I made 2 raised beds using cinder blocks. They are about 1.20 and I bought 36 of them. About the same cost per bed as you mentioned, but mine are bigger. It was very diffict to find free dirt so I ordered it to be delivered. Was cheaper than home depot bags as we needed a lot. Still the dirt alone is about 5-7 a bag and I needed about 7-10 bags. Even smaller beds would be minimum $30 for dirt. If lucky enough to fk d dirt, great, but I’d include it just in case for people that can’t find it. I searched for abluya month before giving up lol. Anyway, hanks for the info. I may try this one as I want to build 2 more beds 🙂
Hi Theresa – we don’t include dirt because for many people, they already have it. Plus there are many ways to get dirt for free, and we would have too, except that living in a townhouse, there’s no direct access to the backyard. 🙂
Be careful with cinder blocks and old tires (I know you didn’t mention the tires) because there are serious chemical leaching issues with both that will contaminate your produce.
Bonus points for the lettuce Cindy! I’ve got two more square feet to go and my garden is done. More on square foot gardening coming soon!!
After much research I decided to go with raised rows instead of raised beds. Cheaper, easier and can be either permanent or temporary. We haven’t lived in this house long enough to know for sure how much light various parts of the yard get so, if my chosen plot doesn’t work out I will just move it next season.
Raised rows? I don’t think I’ve heard of that Kathy. Can I ask you to explain a bit? 🙂
A local fence company has a bin of free wood to haul — much of it already painted/stained. Warning: not all stains/paints are good in a garden. Keep an eye out this time of year for topsoil sales at 99c per 2′ x 4′ bag. Or ask at local construction sites. If you have agriculture in your area, ask horse farms or beef farms if manure is available. Many towns have wood chips available from trimming trees.
Great tips Cynthia – thanks so much for sharing! (Now I need to pay attention to dirt sales, lol!)
Another great idea for a Renters Garden, is using fence planks. They range between $1-2 each, for the inexpensive ones, which is great if you can’t find anything for free. You can sometimes find old ones for free when a neighbor is redoing their fence. They are a little thin, which is why I wouldn’t suggest it for a long-term Garden (Anything over 5 years), but they definitely work in a pinch!
Do you mean using fence planks for a raised bed? If so, that’s a great idea Gloria!!
Do you think you could double the boards for a sturdier option? I’m looking at cedar planks for less than $3 each and freaking out at how awesome this idea is.
To make it taller? Or thicker? In either case, sure you can! Taller beds would give you the option of adding better soil/sand/compost to the mix, and the plants feeding on that more than what’s available on the ground. $3 per plank isn’t a bad deal. You could do a single 8×4 bed for $9, or a double for just $18!
Thank you for all of your great ideas. I am growing my first garden this year and my garden bed was built by some friends of mine (yes, I bought the material but hey…!). I hope to build the next bed myself.
One comment: When working with tools it is important to always wear shoes; too many painful accidents can happen and having shoes on can prevent greater dangers.
I did the same thing, all my plants that I started in the house grew like crazy and totally outgrew every planter, jar and container I could find while my hasbana was away. When he got home the first project was definitely the raised garden beds,! We put in 3 8’x4′ beds and the plants are in and looking good. ☺
I am going to be trying my hand at canning and pickleing, wish me luck!!
Good luck Marie! I haven’t pickled before, but I’d love to try!
Yes, supplies can add up. We’ve reused shish-ka-bob sticks for the tomatoes, used bare minimum seeds and I’ve been keeping the small containers that the tomato seedlings came in. I’m also keeping the small containers that our food comes it for next year’s seeds. I don’t plan to lose too much dirt this year, so hopefully that won’t be to big of an issue next year!
Hi,
My concern would be whether or not the old wood was pressure treated. I have read that after 2003 wood that has been pressure treated is safer to use but if the old scraps someone finds are from before that date I would be concerned about the chemicals that were used on the wood. I think it could be a safety issue using pressure treated scraps of wood.
Hi Alicia,
I just read an article on the topic (http://www.finegardening.com/does-pressure-treated-wood-belong-your-garden) and while one article doesn’t make it 100%, it seems that most of the danger happens within the first season or two of treatment (our wood is over 20 years old), the soil closest to the wood is affected, and there’s a very small chance that any chemicals would make it to the food itself. A great point Alicia! Thank you for mentioning it!
Even present methods of pressure treating wood aren’t that great. The safety warnings include wearing gloves and face masks while working with the wood. I wouldn’t want pressure treated wood anywhere near my food supply.
You don’t have to use pressure treated wood Susan, but if you’re doing it on the cheap, you use what you have.
From where did you get your dirt? That would be a big expense for me to have to buy all of it. I am looking to build another bed but have been waiting for free lumber 🙂 The last one I built I used wood from my garage left from previous owners. I have to look some more to see if there is enough to do that again.
We got our dirt from Home Depot, but there are PLENTY of ways to get it for free. Check it out here: https://dontwastethecrumbs.com/2014/04/creating-growing-frugal-urban-garden/. We would have done that, but we don’t have direct access to the back yard, so hauling dirt would mean going through the house… which is no bueno. We also had a gift card. 🙂