An easy tutorial for learning how to blanch greens like mustard, collard, beet and broccoli leaves so you can freeze them safely and enjoy later! Use your greens in recipes like savory pasta with greens and caramelized onions & chard!

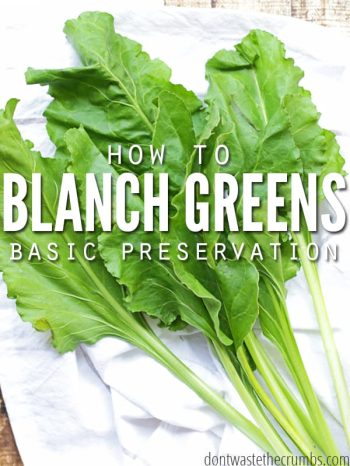
One day, several years back, my dad gave me two big bags of beet greens. No beets, just the greens.
He had gone to the farmers market for some veggies and happened to come into some extra greens.
That’s how I ended up with two big bags of beet greens sitting on my kitchen counter, as I made homemade dough for buffalo chicken pizza that week.
We eat a lot of greens during the summer. Partially because we get at least one variety each week in the CSA box, but also because we’ve finally learned to prepare them in ways where we actually LIKE them.
Kale chips are great to sub for spinach in enchiladas and savory pasta.
But like anything else, there CAN be too much of a good thing. And while we enjoy our greens, two big bags full is a bit much for our family to consume before they start to wilt and go bad.
Did I mention the carrot tops he snuck in there too?
So I did what any other frugal foodie would do – I’m saving them for later!
The carrot tops are destined for easy homemade pesto, but the beet greens require a teeny bit of work.
You see, if you stick them in the freezer as-is, they’ll be super wet and wilty when they thaw and your once beautiful greens are essentially inedible. The solution: blanching.
Blanching is the process of quickly boiling something in a pot of boiling water and then quickly cooling it in an ice bath. It’s how to best freeze green beans, broccoli and (as you have probably guessed), beet greens.
The process is SUPER easy, but I broke it down into steps in case you’re new to the whole preservation thing.
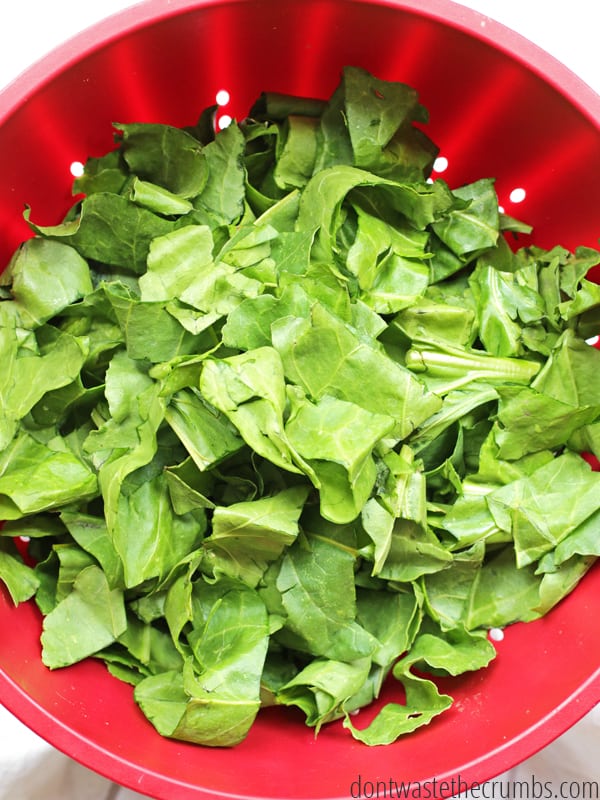
How to Blanch Greens
What you need for blanching fresh greens
- hearty greens of any kind (mustard, beet, kale, broccoli leaves, etc.)
- a big pot filled with water
- a big bowl (or sink partially filled) with ice water (optional)
Blanching greens method
Step 1. Bring your big pot of water to a boil. Meanwhile, cut the greens into 1-2″ pieces and wash well.
Step 2. The greens will cook down significantly, but if you’re like me, you’ll pull them from the freezer and dump them right into a recipe later on. Cutting them first means you don’t have huge pieces of green strewn throughout your meal.
Step 3. When your water is boiling, put 2-3 fist fulls of greens into the pot and stir. Don’t worry if the greens are higher than the pot. They’ll cook down in a just a minute or so.
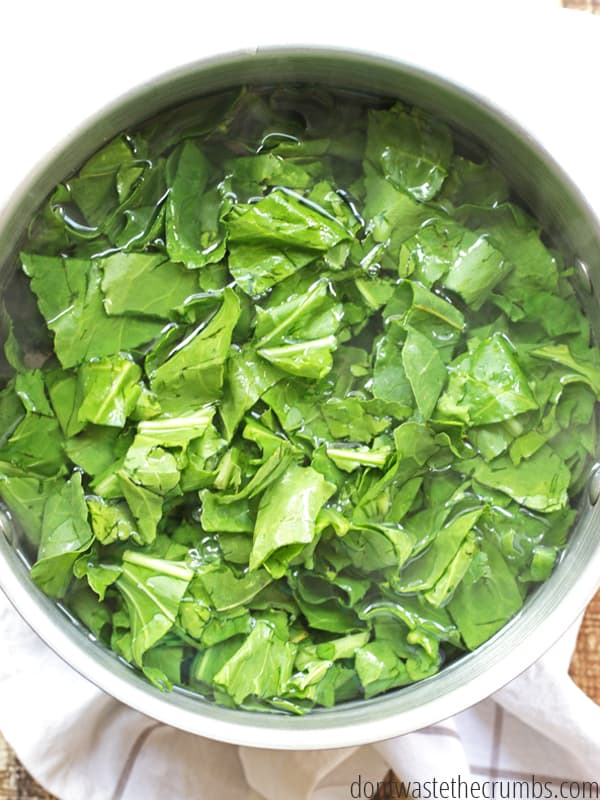
Step 4. Set the timer for 5 minutes. (See additional recipe tips below if you’re blanching other veggies).
Step 5. You don’t have to stay in the kitchen, but it’s good practice to stir the green at the halfway mark, just to make sure they all get submerged at one point in time.
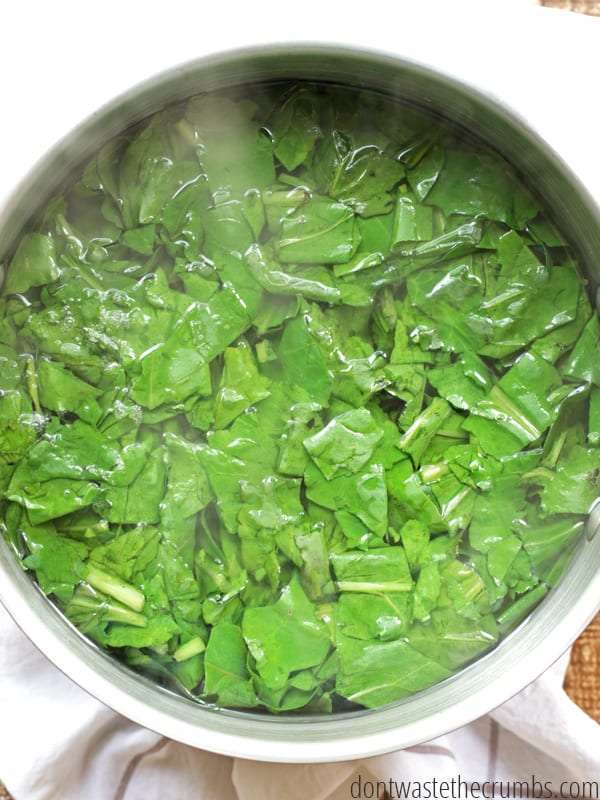
Step 6. When the timer goes off, remove the greens.
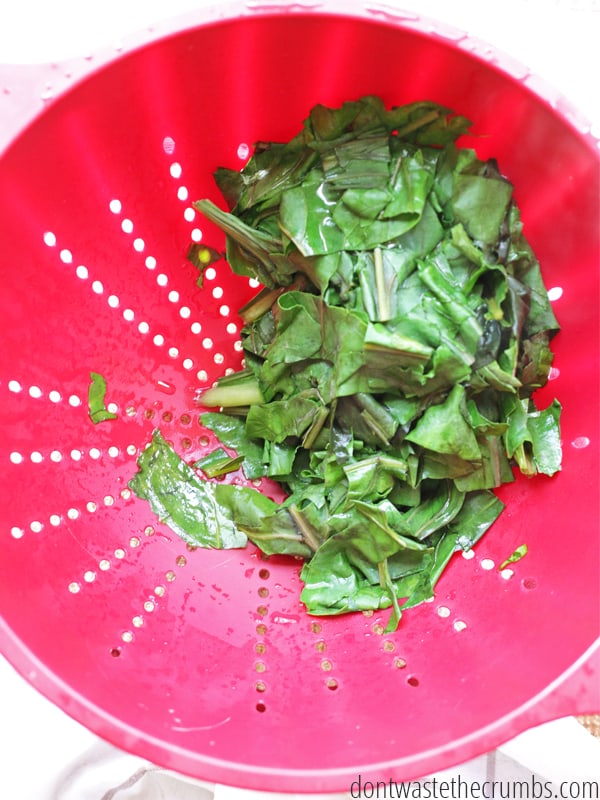
Note: If you still have more raw greens left to blanch, use a slotted spoon to remove the greens from the pot and into a colander. If this is your last batch, you can strain directly into the colander.
Step 7. Repeat the above steps for the remaining greens. Keep the water and re-use if at all possible. The garden is always a safe bet, but I wouldn’t re-use this water for cooking. Greens tend to be gritty and dirty, even after you wash them, so there’s a good chance there’s dirt at the bottom of your stock pot.
Optional: When you have removed the greens from the pot of boiling water, plunge them into a big bowl of ice water. (See additional recipe tips below for more information).
Step 8. When the greens have cooled, measure out in 2 cup portions and place in a freezer-safe bag. Label the contents and date and freeze.
Additional Recipe Tips
- Because beet greens (and other hearty greens) are, well hearty, they need the full 5 minutes. Other lighter veggies like broccoli, green beans, spinach, asparagus and cauliflower only need a minute or two, tops.
- Traditional blanching methods include plunging in an ice bath (until they’re completely cooled) to immediately stop the cooking of the vegetable. With the dainty vegetables I just mentioned (broccoli, green beans, etc.) you should definitely do this. For hearty greens, it’s not as necessary.
- Dark leafy greens usually need to cook for awhile anyway to soften and improve the flavor, so it doesn’t really matter if they sit and cool to room temperature on their own. Plus they’re soft, so the extra sitting doesn’t effect the texture (where room temperature cooling will ruin your blanched green beans and broccoli).
- As noted above, the ice bath is optional, but feel free to do it if you’d like. Or if you’re doing a big batch of blanching of various items.
FAQs for Blanching Greens
How long should you blanch greens?
In this simple tutorial, I have blanched the greens for 5 minutes per batch.
How do you blanch fresh greens?
Just follow my simple tutorial for how to blanch fresh greens. It’s a very easy process of cleaning your greens, chopping, blanching and freezing for later.
Do you need ice to blanch vegetables?
Using an ice bath is optional, but I recommend doing it, especially if you’re blanching a lot of greens. It essentially stops the cooking process.
Got your Preservation Apron On?
These other preservation posts might be up your alley too:
- Dehydrate Fruit (8 different varieties listed in that post, plus apples, carrots, and dill)
- Infuse Oil and Vinegar
- How to Freeze Fruit
- How to Can Cooked Fruit

30 Minute Dinners Sample Meal Plan
Sign up to get instant access to my 30 Minute Dinners Sample Meal Plan, complete with recipes and step-by-step instructions!How to Blanch Greens
An easy tutorial for learning how to blanch greens like mustard, collard, beet and broccoli leaves so you can freeze them safely and enjoy later! Use your greens in recipes like savory pasta with greens and caramelized onions & chard!
- Prep Time: 20 minutes
- Cook Time: 5 minutes
- Total Time: 25 minutes
- Yield: Several bunches of greens
- Category: DIY
- Method: Blanch
- Cuisine: American
Ingredients
Instructions
- Bring your big pot of water to a boil. Meanwhile, cut the greens into 1-2″ pieces and wash well.
- The greens will cook down significantly, but if you’re like me, you’ll pull them from the freezer and dump them right into a recipe later on. Cutting them first means you don’t have huge pieces of green strewn throughout your meal.
- When your water is boiling, put 2-3 fist fulls of greens into the pot and stir. Don’t worry if the greens are higher than the pot. They’ll cook down in a just a minute or so.
- Set the timer for 5 minutes. (See additional recipe tips below if you’re blanching other veggies).
- You don’t have to stay in the kitchen, but it’s good practice to stir the green at the halfway mark, just to make sure they all get submerged at one point in time.
- When the timer goes off, remove the greens.
- Note: If you still have more raw greens left to blanch, use a slotted spoon to remove the greens from the pot and into a colander. If this is your last batch, you can strain directly into the colander.
- Repeat the above steps for the remaining greens. Keep the water and re-use if at all possible. The garden is always a safe bet, but I wouldn’t re-use this water for cooking. Greens tend to be gritty and dirty, even after you wash them, so there’s a good chance there’s dirt at the bottom of your stock pot.
- When the greens have cooled, measure out in 2 cup portions and place in a freezer-safe bag. Label the contents and date and freeze.
Notes
- Because beet greens (and other hearty greens) are, well hearty, they need the full 5 minutes. Other lighter veggies like broccoli, green beans, spinach, asparagus and cauliflower only need a minute or two, tops.
- Traditional blanching methods include plunging in an ice bath (until they’re completely cooled) to immediately stop the cooking of the vegetable. With the dainty vegetables I just mentioned (broccoli, green beans, etc.) you should definitely do this. For hearty greens, it’s not as necessary.
- Dark leafy greens usually need to cook for awhile anyway to soften and improve the flavor, so it doesn’t really matter if they sit and cool to room temperature on their own. Plus they’re soft, so the extra sitting doesn’t effect the texture (where room temperature cooling will ruin your blanched green beans and broccoli).
- As noted above, the ice bath is optional, but feel free to do it if you’d like. Or if you’re doing a big batch of blanching of various items.
Nutrition
- Calories: 13




I am curious about what you do with the frozen beet greens. We grill our beets and then we saute the greens in bacon grease. Because bacon makes everything taste better!
I usually saute them with caramelized onions and serve with pasta (recipe coming this Friday). And yes, I used bacon grease too (for the same reason! 😉 ).
On a “Good Eats” episode Alton Brown took his blanched greens for a spin in the salad spinner to get as much water off as possible. Might not be a bad idea, and it might lead to less of a “brick” of frozen greens.
Nice technique. I always thought ice bath is always a must in blanching veggies. I’m glad that it’s okay to skip that part especially when I’m cooking only for myself. Quick and easy cooking!
Absolutely! Love the shortcuts. 😉