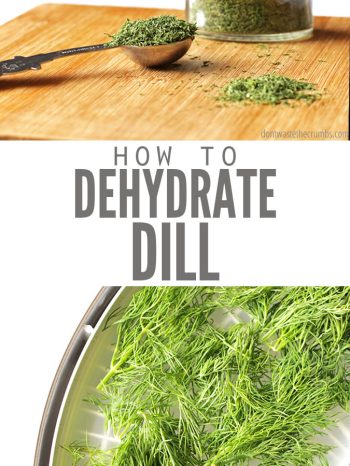
Dehydrating dill is one of the easiest ways to enjoy fresh herbs all year round and save money on store-bought spices! Learn how to dry dill in this quick tutorial!
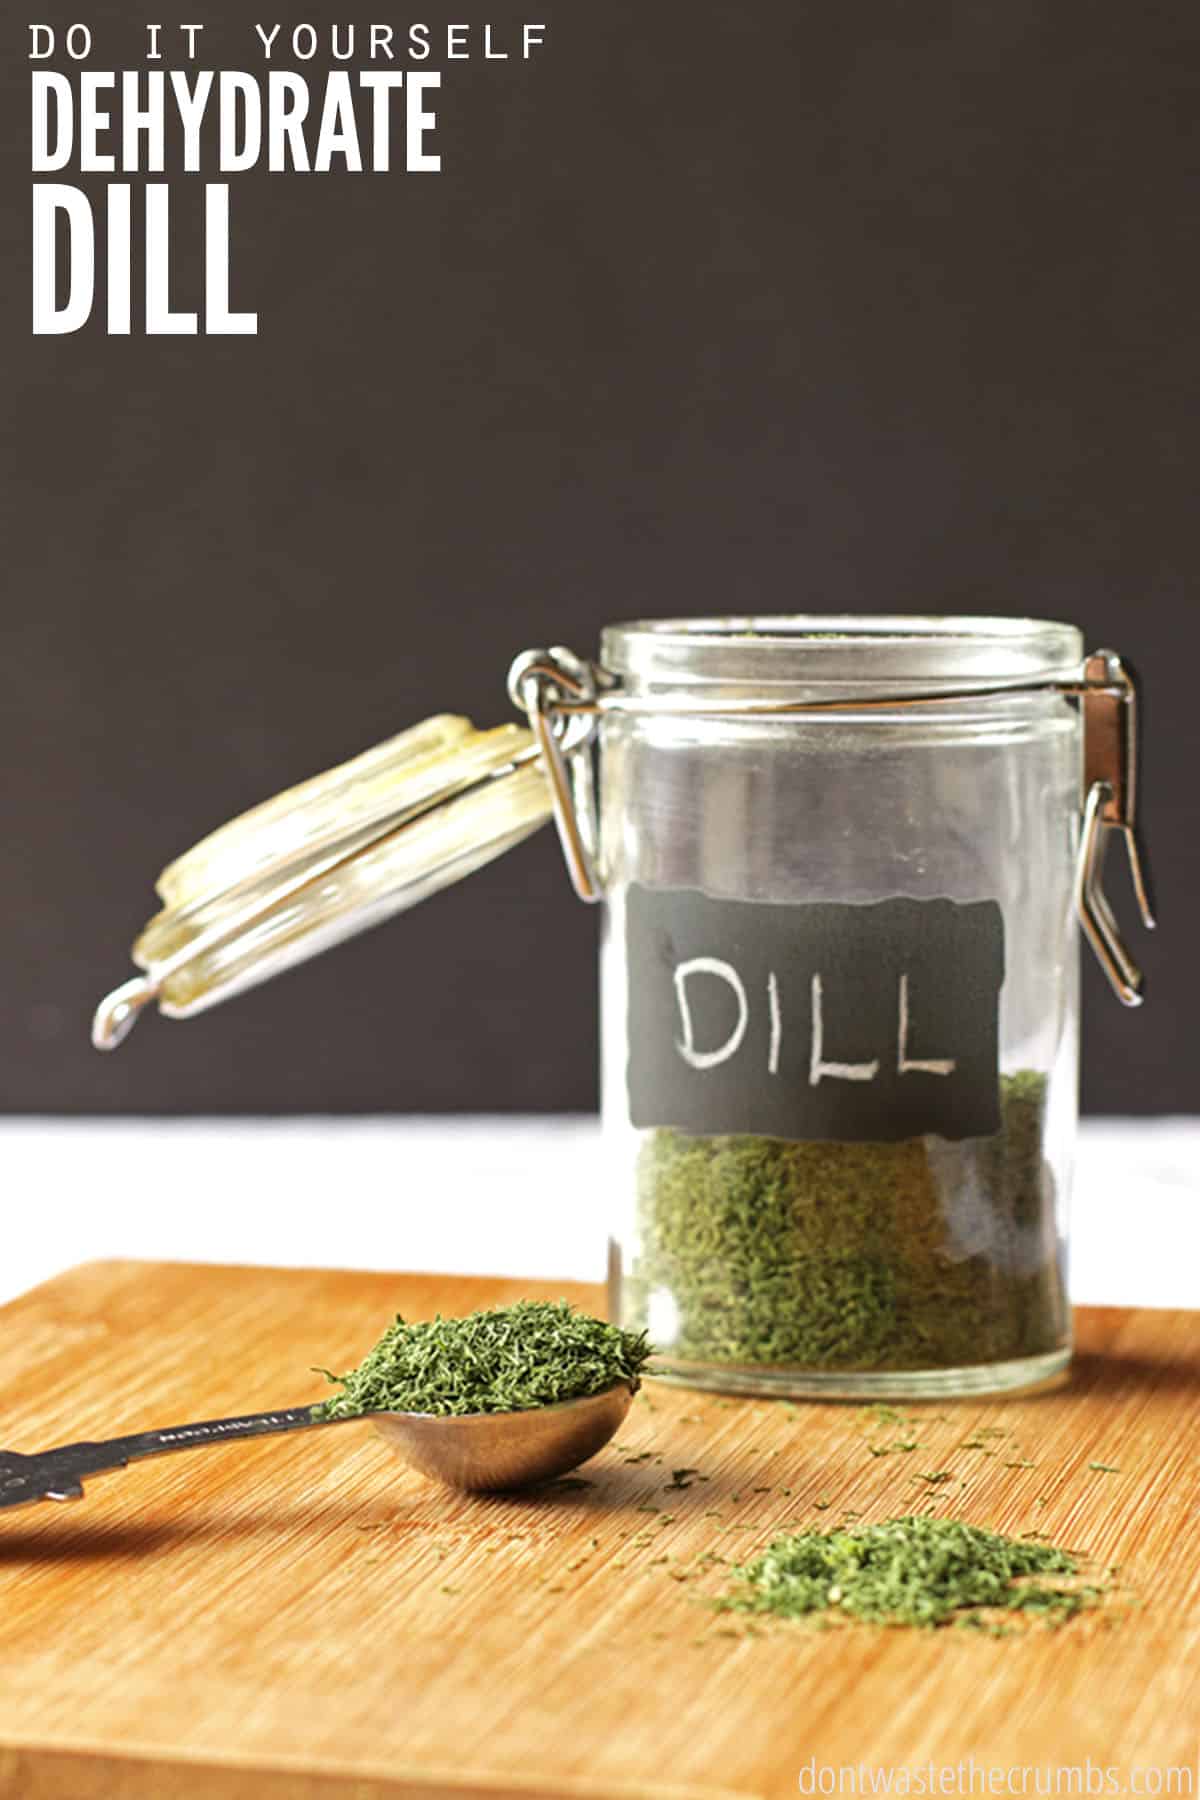
Dehydrating dill is a convenient way to have an endless supply of dried herbs right at your fingertips without making a trip to the grocery store. We all know purchasing store-bought herbs can be expensive. So, I set out on a mission to learn how to dry dill and other herbs at home!
I’ll show you four different ways to dry dill that you can also apply to other herbs from your garden.
How to Dry Dill
Flavorful and Fresh
Imagine having access to the freshest and most flavorful herbs right in your own kitchen. By drying your own herbs at home, whether from your vegetable garden or freshly bought, you can capture their vibrant taste and herbal aroma, elevating the flavors of your dishes to a whole new level.
Customizable
Say goodbye to store-bought herb blends that never quite hit the mark. When you create your own dried herbs, you can customize and experiment based on your personal preferences. Handpick the herbs you love, create unique blends, and adjust the drying process to achieve the perfect level of flavor intensity.
Cost-effective
Let’s talk about the perks of saving money while reducing waste. Drying your own herbs is a smart and cost-effective alternative to constantly buying pre-packaged ones from the store. It allows you to make the most of your garden or potted herbs, reducing unnecessary packaging and embracing a more sustainable lifestyle.
How to Harvest Dill
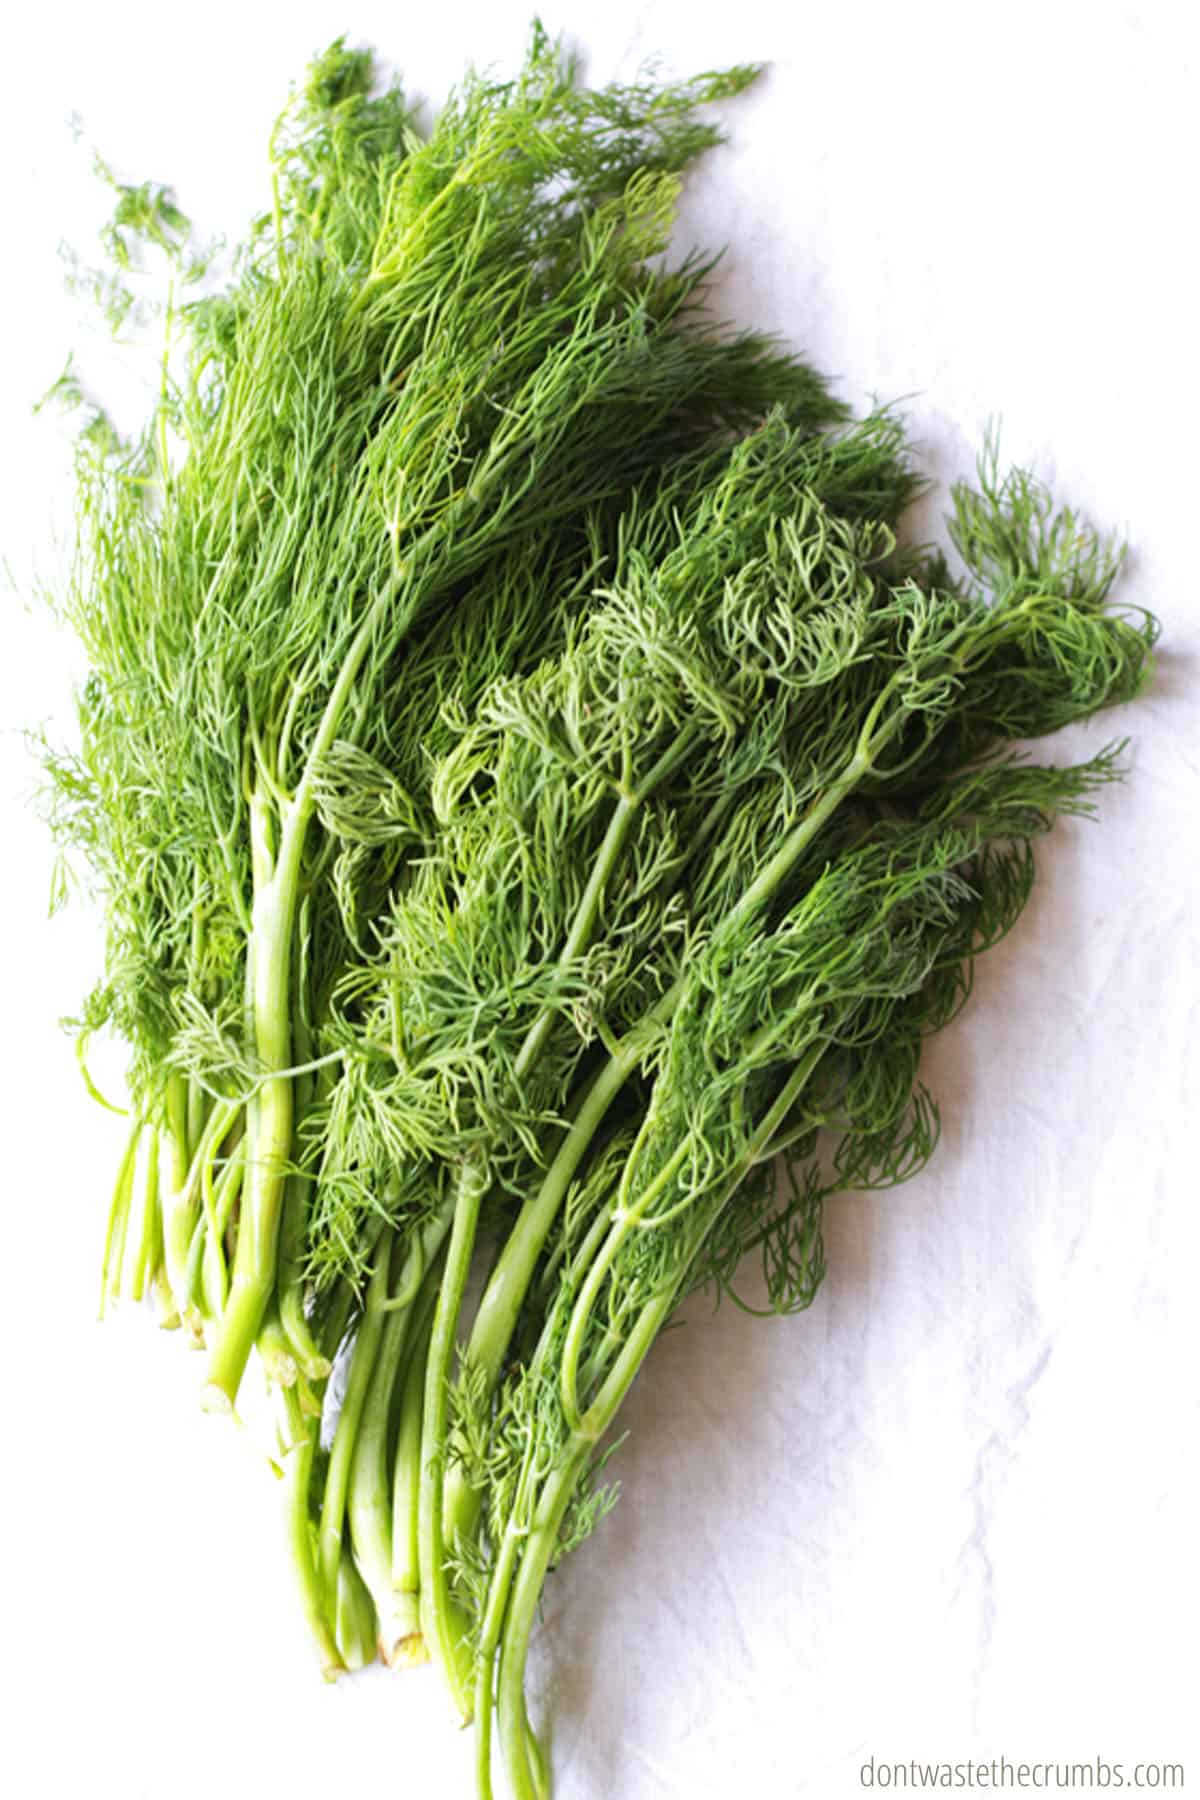
Harvesting dill is quite simple. Dill is easy to grow in your own garden bed or in containers. About 90 days after planting dill seeds, the dill plant is ready to harvest. You want to gather the dill weed before it flowers unless you plan on cultivating more dill seeds.
Once your plant has 4-5 small stems, harvest the dill sprigs by snipping the stem with scissors or pinching with your fingers. The older leaves tend to be at the bottom and those should be harvested first.
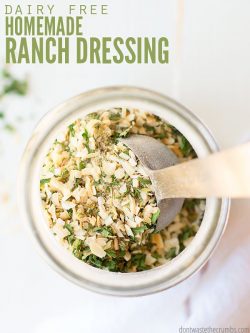
Now you can use the fresh dill leaves or dry them for future use. Drying dill in the dehydrator is my favorite method so I can make Homemade Ranch Dressing all year long!
What You Need for Drying Dill
- food dehydrator (we have this one, but there are tips below the tutorial if you don’t have one)
- tray liner or parchment paper
- small food processor or blender
- fresh dill
How to Dry Fresh Dill at Home Step-by-Step
Wash and Dry the Dill
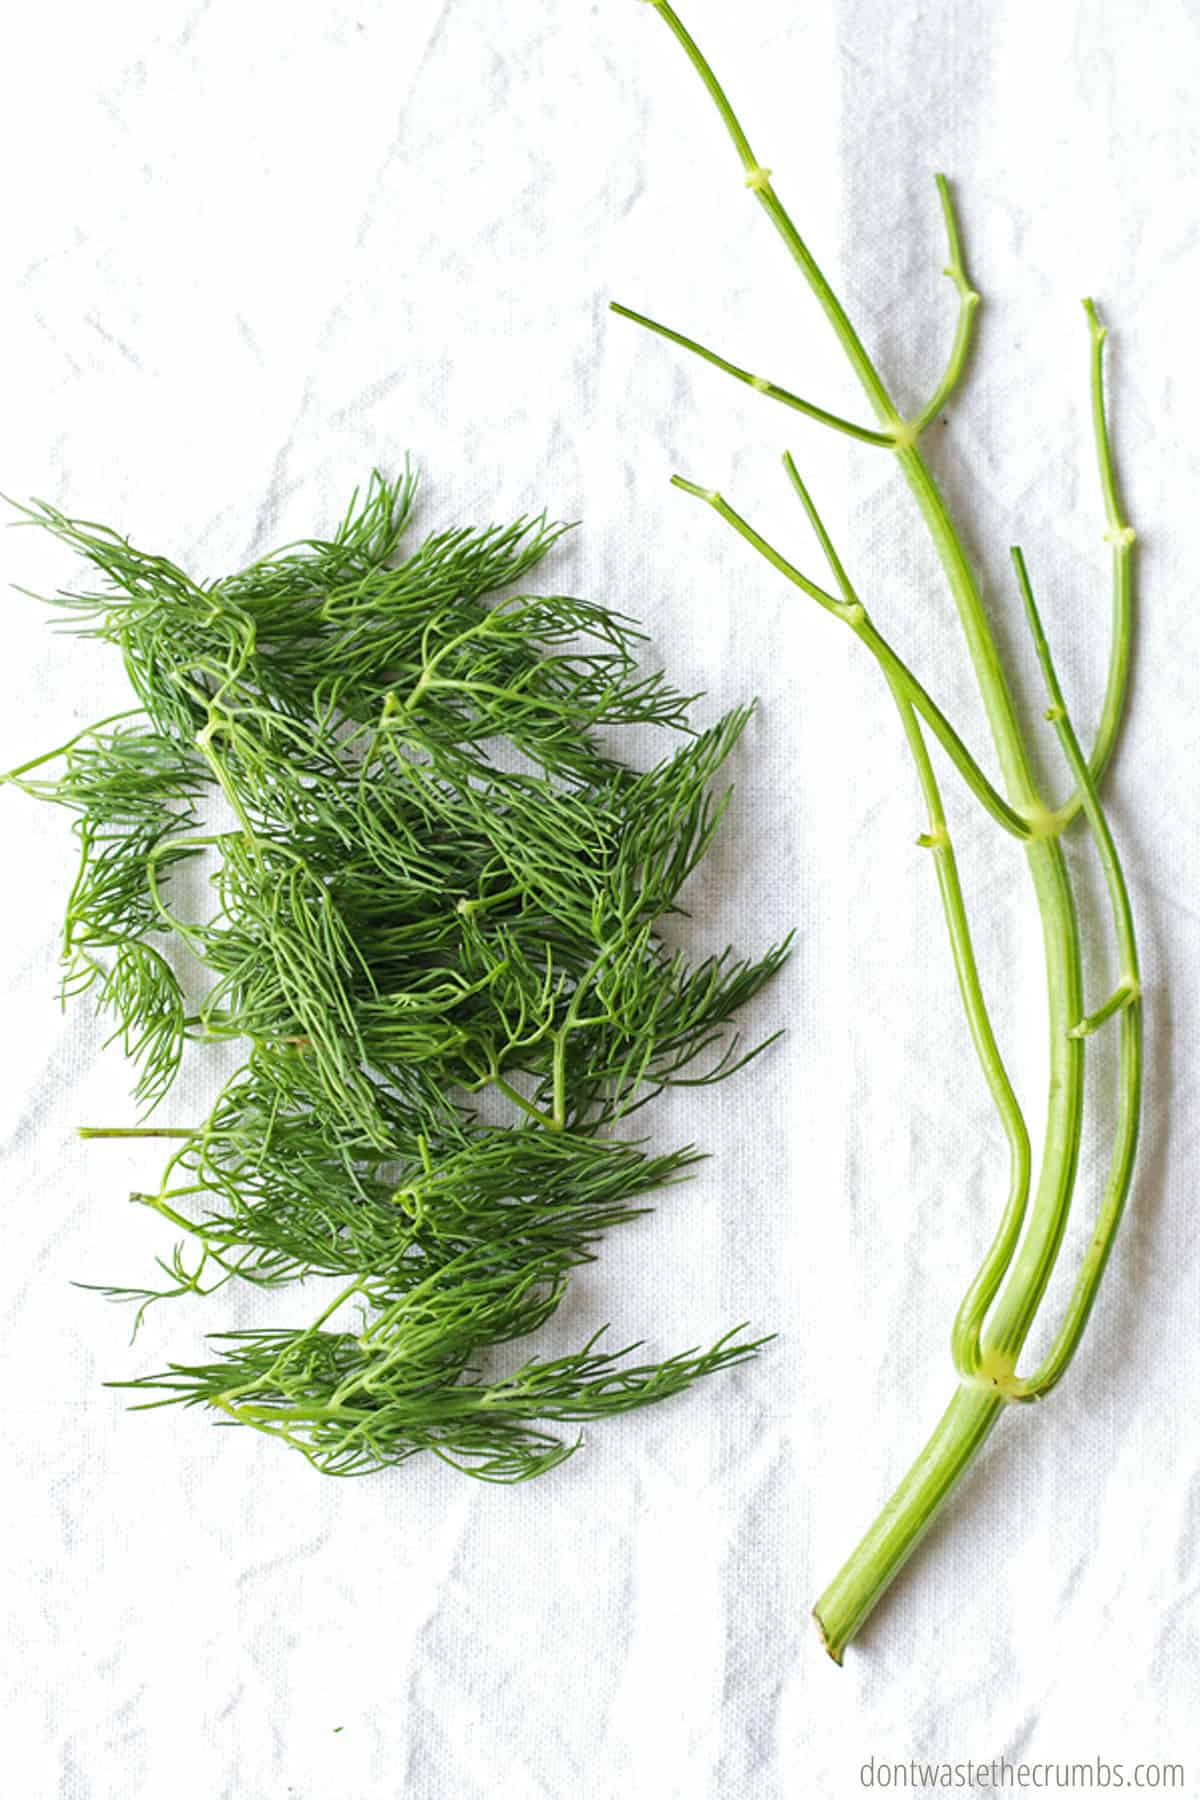
Wash the dill and dry well with a clean paper towel or salad spinner. Separate the dill from the main stem by pinching off the smaller stems. You don’t have to worry about breaking the dill fronds or being gentle here. Work over the counter, and you can dry any random dill sprigs that fall off.
Prep the Dehydrator Trays
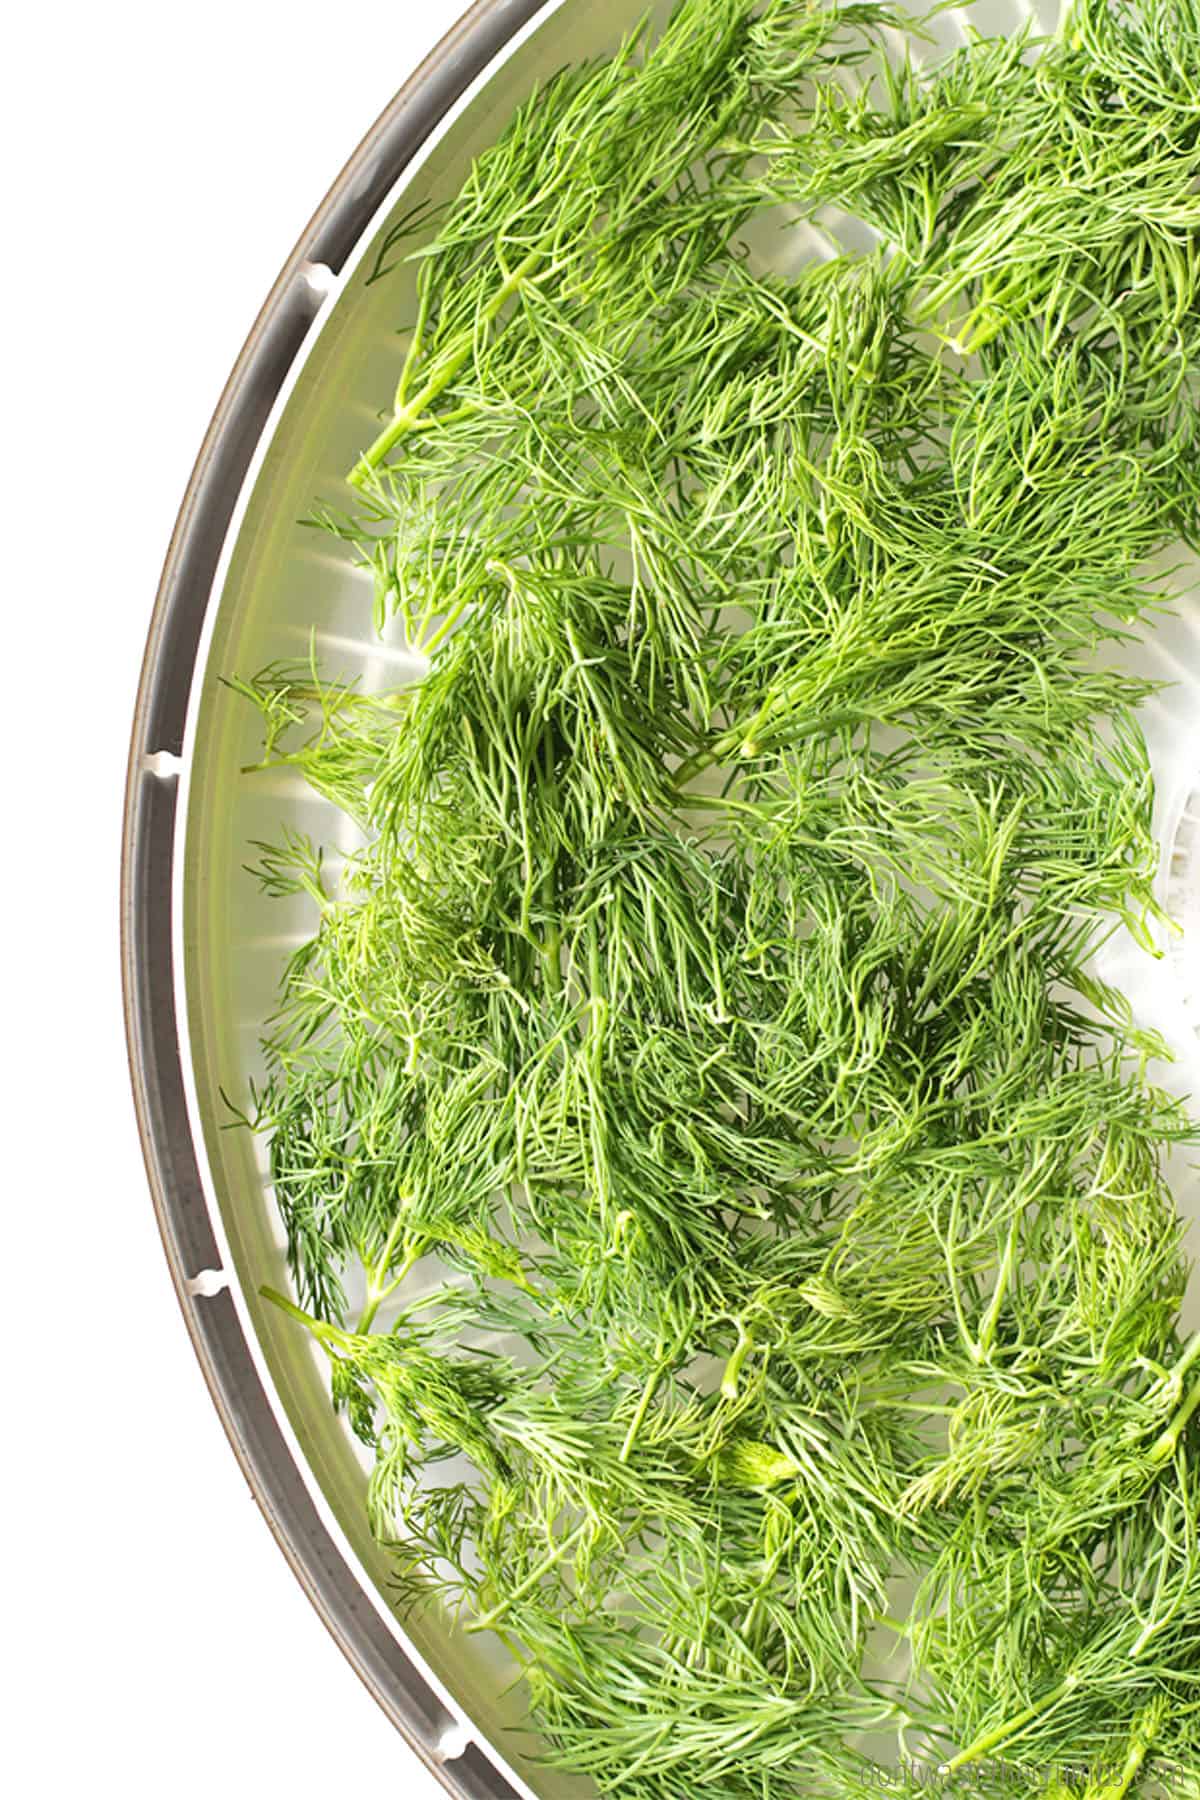
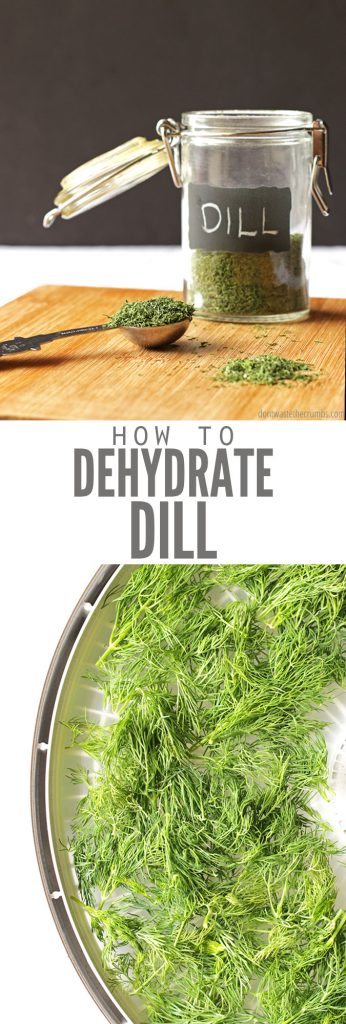
Lay out the fresh dill sprigs in a single layer on a dehydrating tray. Use a liner if you have one. Otherwise, you can use parchment paper and line the tray with that. You just don’t want to use the tray as-is. Otherwise, the small pieces of dill will fall through the cracks as they dry.
Set It, But Don’t Forget It
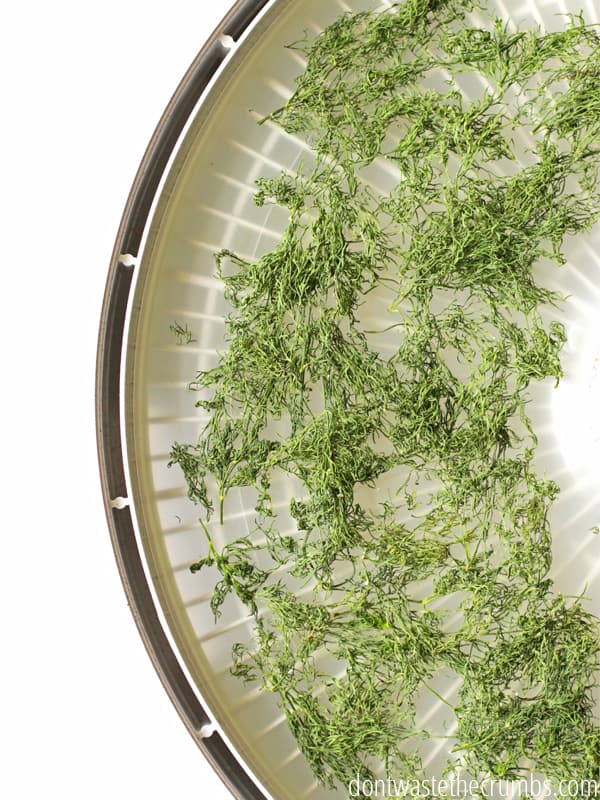
Set your dehydrator to 95 degrees and allow the dill to dry for 4-6 hours. It won’t take as long as fruit or vegetables do, so I don’t recommend doing this before you leave for work. You don’t have to be home the whole time, but maybe turn it on before running a few errands or starting dinner. Then you can check on it when you get home or before bed.
When the dehydrated dill crumbles easily between your fingers, it’s done!
Throw the Dill Into a Food Processor
Scoop it into a food processor (we have an all-in-one like this). It’s best to work over the counter, as the little pieces of dill tend to grow wings and fly away. This way, if any plummet between the tray and the food processor, you can scoop them up and pour them in after the fact.
Run the food processor for 1-2 minutes until the dill is very fine. It’s important not to skip this step. Otherwise, the dill will stick, and instead of being able to measure out what you need, you’ll be pulling huge chunks of dill out of the container and using too much in your recipes.
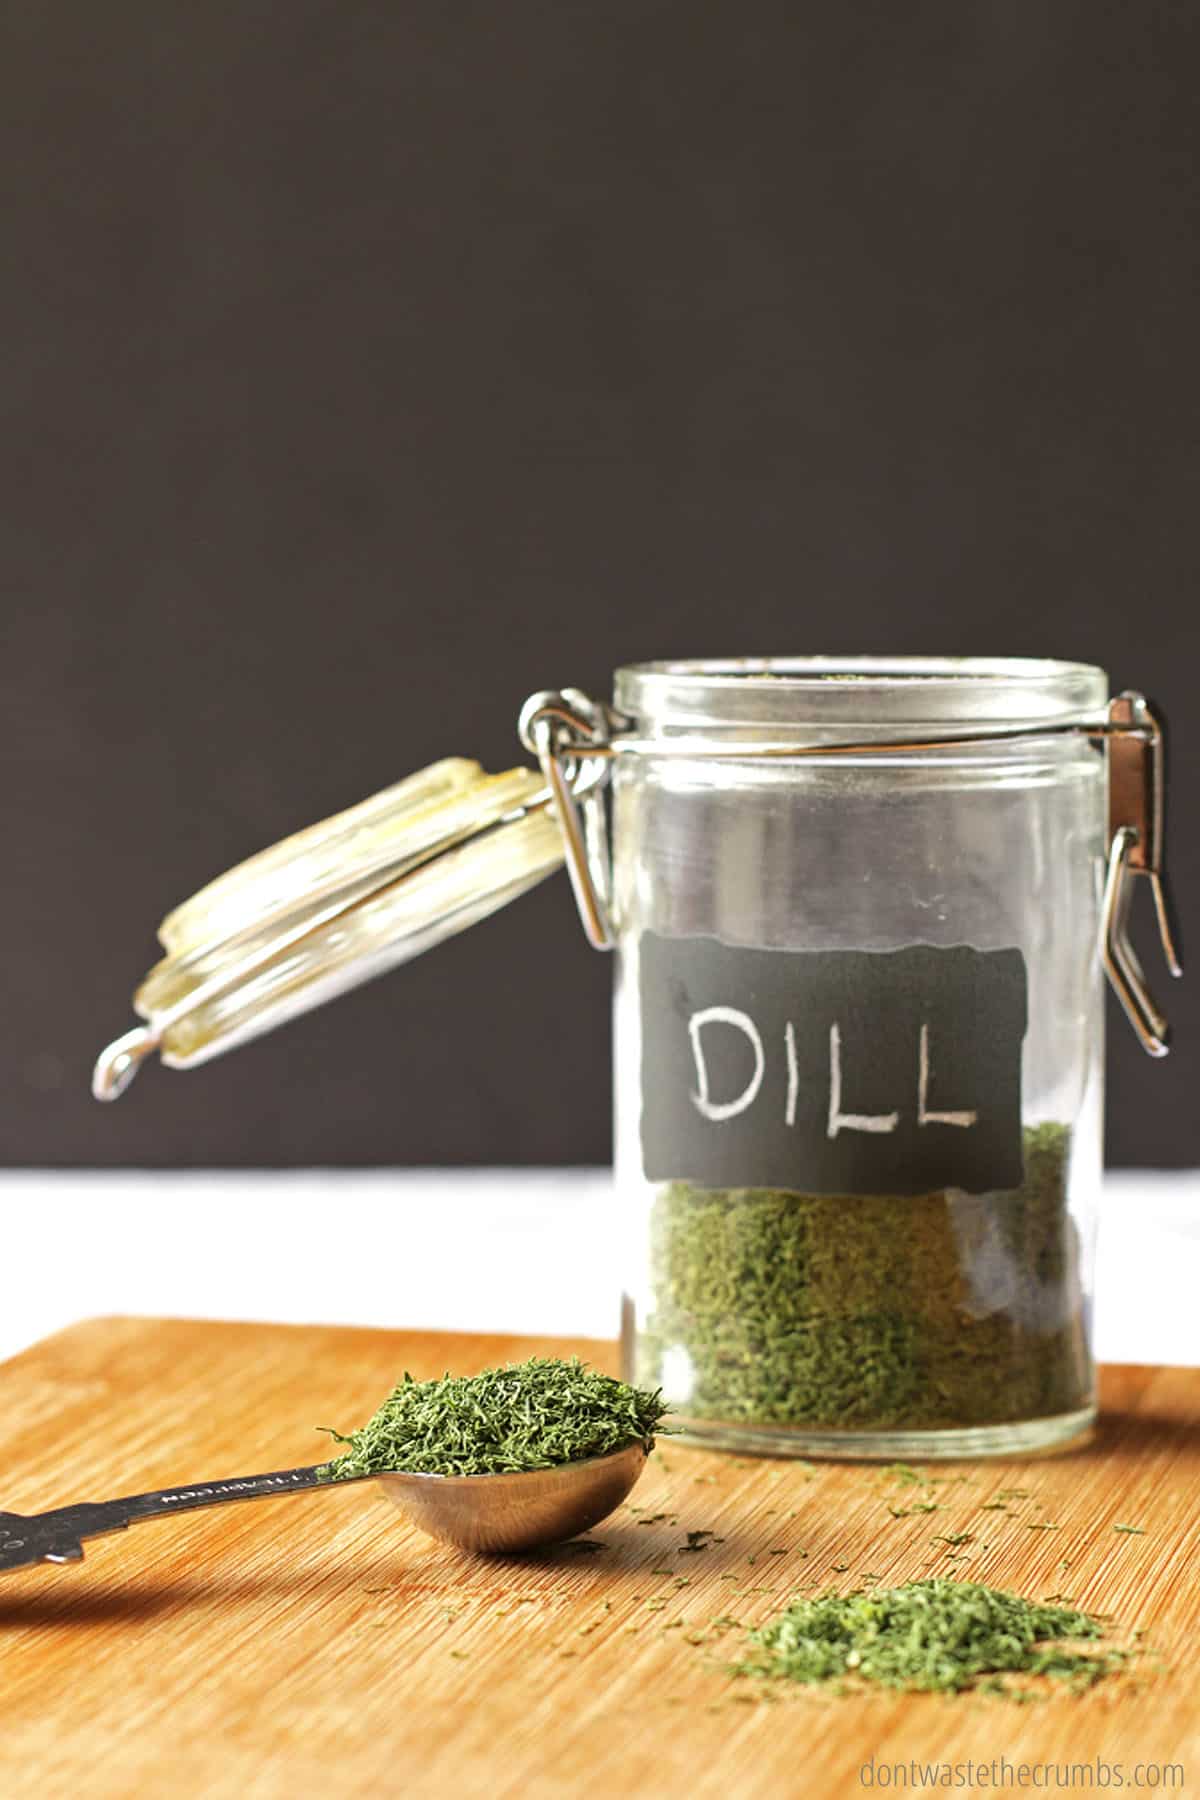
Pour Your Freshly Made Dried Dill Into a Container
Measure the dill into a 4 oz glass jar or an airtight container (reuse if you can, and remove the label using this method) and store with your other spices, preferably in a dark place with no excess moisture. The jars pictured were gifted from family, but you can choose from several varieties on Amazon. The dill will last for up to a year.
OTHER METHODS FOR DRYING DILL
Wash and Dry Dill
Just like when using the food dehydrator, you’ll want to wash and dry your fresh dill using a paper towel or salad spinner. It might seem silly to completely dry your dill before you dry your dill, but what we’re attempting is to pull the moisture out of the inside of the leaves. The less moisture on the outside means your dill dries faster.
Oven Drying in a Traditional Oven or Toaster Oven
Line a baking sheet with parchment paper and place the washed and dried dill (minus the main stem) in a single layer on the baking sheet. Turn the oven on the lowest setting possible and check on the dill every 15 minutes.
To help you gauge the temperature of the oven, the light itself with the door closed will produce a temperature of around 80 degrees. If the lowest temperature of your oven is 200 degrees, I recommend cracking the door open with a wooden spoon.
Air Dry
Bundle fresh dill bunches by tying rubber bands around the base of the stems. Hang the dill upside down in a warm place. Air drying typically takes up to 2 weeks. Optionally, you can use a brown paper bag to protect the dill from dust. If you do this, cut holes in the bag to encourage good air circulation and prevent mildew.
Microwave Oven
Line a plate with two paper towels. Layer washed and dried dill (minus the main stem) on top of the paper towels, and then place two more on top of the dill. Microwave on high for 4 minutes. Test for dryness, adding additional time as needed.
How to Use Dried Dill
You can use freshly dried dill for a ton of different recipes, including:
- Salad Dressings. My Homemade Ranch uses lots of dill!
- Herb Olive Oil Bread
- Potato Salad
- Homemade Dill Pickles
- Homemade Seasoning Mixes
- Salads like Greek Quinoa Salad or Buffalo Chicken Salad
- Soups
- Sauces
Questions about How to Dry Dill Weed
Is it better to freeze or dehydrate dill?
Nutritionally, there is no difference. I like to dry dill since it takes up less space and I like to use it in my own spice blends. But if you prefer the taste of fresh dill, you can see how to freeze dill using this tutorial.
What part of the dill do you dry?
You can dry the leaves and the stems of the dill. Since removing all the tiny leaves is time-consuming, I like to dry them while attached to the stems. Then blend in a food processor to break up the large stems.
How much dried dill for fresh dill?
You need 1 teaspoon of dried dill to replace 1 Tablespoon of fresh dill.
How to Dry Dill
Drying your own dill is an easy way to take advantage of the entire plant and add the best flavor to your dishes. No matter which method you use, drying your own dill is a great way to capture the aromatic and flavorful essence of fresh dill and enjoy its benefits year-round! Try out one of these methods, and let me know how it worked out for you!



I tried to dry my fresh dill using the Microwave option. But it caught on fire ! what did I do wrong? I looked again at the instructions and I di Use a plate. I just put one paper towel down and then the dill. And then two paper towels on top. Then put it for 4 minutes on high. It didn’t get to 4 minutes though. Yikes. Any help?
Hi Diana,
The micro wattage can vary, you can try 2 mins on high. Hope this helps! 🙂
If you have any kind of outdoor space, grow it from seed. I used to buy seedlings but dill does not transplant well. A big shallow pot or a cheap 2 ft. window box for about 8 bucks and a packet of seeds for around $2.50 and a little potting or container soil and you are good to go.I used less than half a packet of seeds for half a 2 ft window box. The other half is cilantro. In a few weeks I am over run with dill. We harvested and de stemmed about half the dill this morning. It heavily covers a wire rack on a baking 1/2 sheet. I ended up here, looking for drying information. The other half is still growing and I still have a lot of seeds left. I haven’t decided whether to dry the cilantro. I really prefer fresh. My stove has a dehydrate mode that starts at 100 degrees F. I have never tried it. I think I may just let it air dry in the kitchen. I have done it before. I did not chop it up and it was fine.if it is taking too long I might try the stove or microwave for at least part of it, as an experiment.
I just got a new range with a dehydrate mode and I have been going to town dehydrating a bunch of the herbs I have growing in my garden. The mode on my oven just sets the oven to 150 degrees and it’s been working like a charm. So far, I’ve done parsley, basil, cilantro, and chives. I am about to put in a sheet of dill. My original motive was to put together some mason jars of homemade soup mixes for my college-aged kids who will be going back to school soon and cooking on their own. I found a bunch of recipes for these on Pinterest, and they all called for dried herbs and veggies. So I figured this was the perfect time to try! Also seeing how this could save me $$ and use more of the herbs I already grow, saving them for the “off season.”
I’m a new herb grower, and have discovered the my love of dill. I’ve dabbled in making dill butter and with canned pickles. In the process in drying the dill. I’ve dehydrated, hung to dry naturally and in the oven. It always comes out an unattractive green, it loses its brightness. I see yours has kept the vibate color. Is my color the norm or am I doing something wrong.? This happens with most of my herbs.
Hi Barbara! Most foods will lose their vibrancy when they’re dry. If my dried dill looks “vibrant,” it’s because of Photoshop. 🙂 Rest assured, you’re normal!
A question for those of you that are old hands at this: I am growing dill in the garden, but have always waited until it goes to head before harvesting. Can I start harvesting now that the plants are 10 to 12″ tall? Will they be as good or maybe even better at this stage to dry? Thank-you so much for your help.
Yes you can pluck as needed and dry at the end of the season. I had a bunch of “rogue” fill growing so when they got large I pulled the plants and dehydrated them. Plants are so accommodating!
How should I store the dill that is ready to pick while I am waiting to harvest the rest?
Dill bread! It goes wonderfully with potato soup.
That sounds tasty!
i dry dill too it is also great in tuna or egg salad for sandwiches
Yum! That’s a great idea Laine! Thank you for sharing!
Grow your own herbs. A plant will cost less than buying a bunch.
I’ll try Joann, but I’m not a very good gardener!
If you grow one plant of dill in your garden, you will always have more than you need. It is a self-seeding annual, and all you have to do is let one plant go to seed. 🙂 I rent from community gardens, and have never planted dill, but always have plenty. 🙂 I dehydrate it too.
I dehydrate a lot of things… like the skins from canning tomatoes. When dry, you run them through the food processor to make a powder. You can later add water to the powder to make tomato paste, or just add it to anything you want an extra bit of tomato flavor. Also good mixed with mayo on a sandwich!
Right now, I am drying the ends of asparagus that you clip off and don’t eat. But they can also be made into powder, and give good flavor to soups, etc.
I hate wasting anything…… 🙂
Excellent ideas. I preserve 10 bushels of tomatoes every year and usually put the skins in my compost, but next time I think I’ll dry them out.
Have you priced out spice prices at Costco? Sadly, Costco (or any normal grocery store do not exist here in Guam) but when we were stateside, you couldn’t beat their prices if you tried. Possibly Aldi’s or Trader Joe’s? But who knew it was so easy to dry out your own! Great read, thanks!