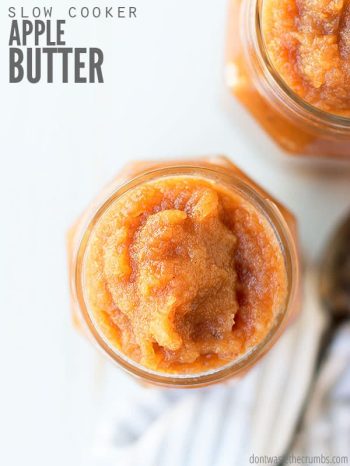
Learn how to make homemade apple butter in the slow cooker! Sweeten with honey (optional) and use apple peels. Perfect for canning – plus four flavors! Goes perfectly on homemade sandwich bread and homemade biscuits.
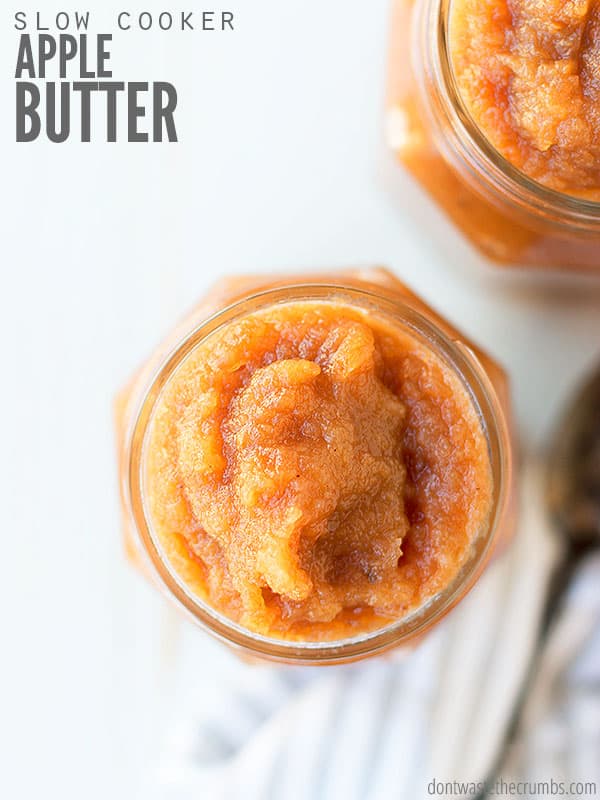
We stopped buying jelly a few years ago when I realized many store-bought jellies contained high fructose corn syrup.
Instead, we make homemade cinnamon apple pie jam and homemade apple butter. The method couldn’t be simpler and it’s really a forgiving process. No culinary skills are required and you don’t even have to be home for much of it!
It’s ideal for those who:
- Want to eat better food,
- Want to save a few bucks, and…
- Don’t want to spend all day in the kitchen.
Is there anyone this doesn’t apply to?
Homemade Apple Butter
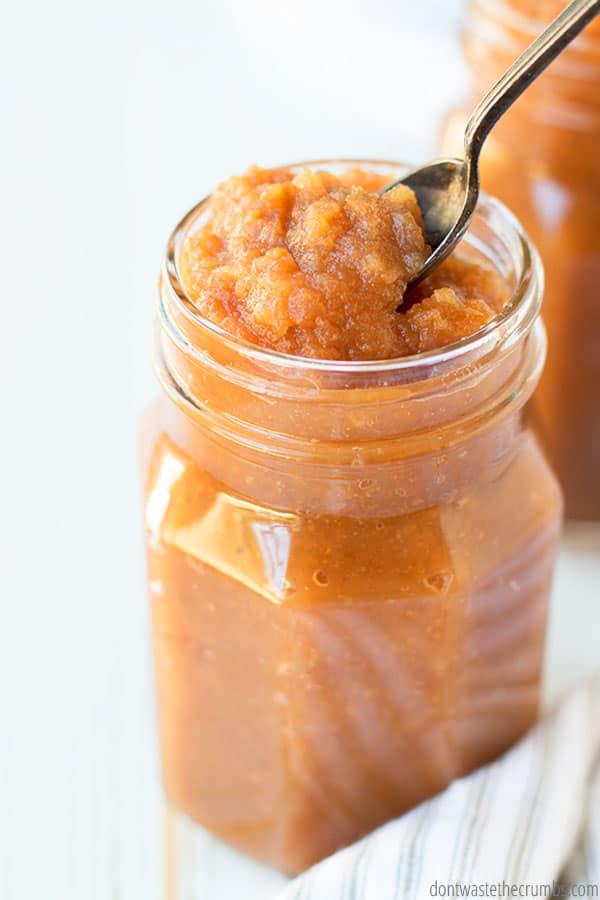
What is apple butter?
If you haven’t had apple butter you, my friend, are missing out. It is a deliciously rich sweet topping for homemade biscuits, bread, and even vanilla ice cream!
Here’s the 1-2-3 process:
- Cook down apples until they are super soft and mushy.
- Blend them up until they are super smooth like applesauce.
- Add just a little sweetener and cook again until thickened like jam.
Here’s What You Need
You only need TWO ingredients to make this tasty and frugal homemade fruit butter!
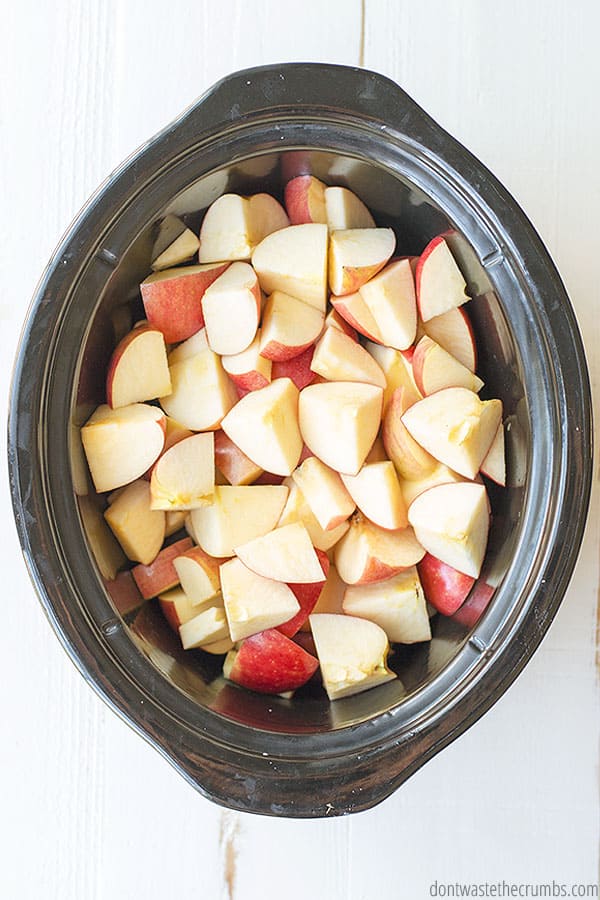
- Apples
- Honey
How to Make Crockpot Apple Butter
Jams and jellies don’t come easy to me (hence my no-cook strawberry freezer jam recipe), so using the slow cooker is my saving grace when making homemade apple butter.
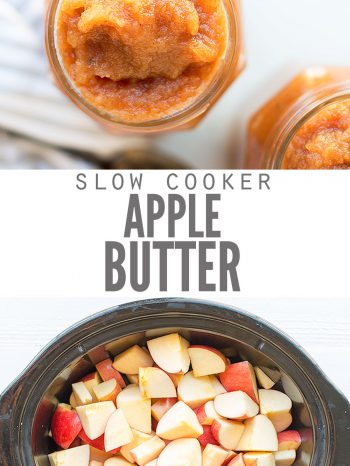
Step 1. Wash, quarter, and remove stems from apples. Add to slow cooker.
Step 2. Cover and cook on high for 4-6 hours. Reduce heat and cook on low for 8-12 hours.
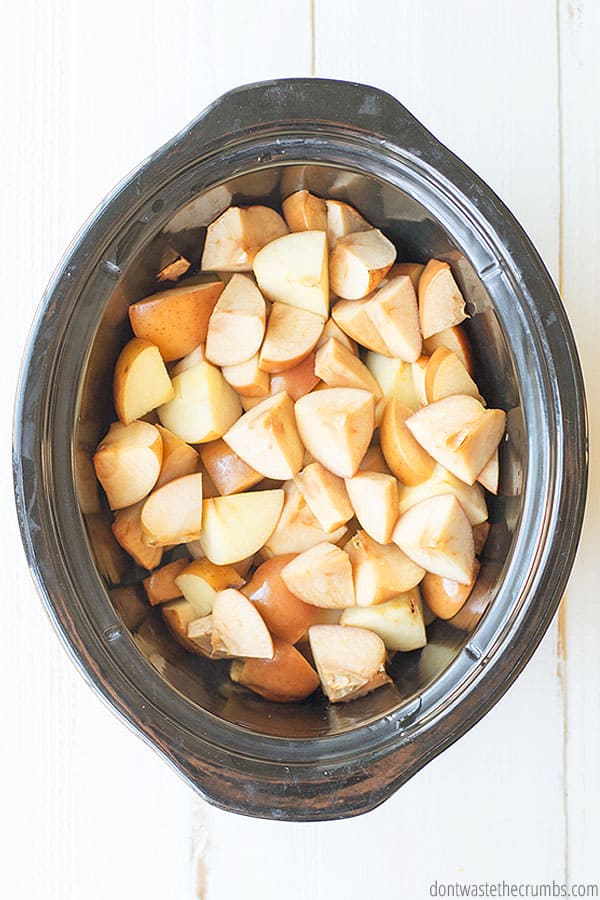
Step 3. Use an immersion blender to puree the apples. A regular blender or food processor will work also, just be careful since the apples will be very hot.
Step 4. Stir in honey and continue to cook on low for 2-6 hours until desired thickness.
Recipe Tips
There is great flexibility with the cooking time of this recipe.
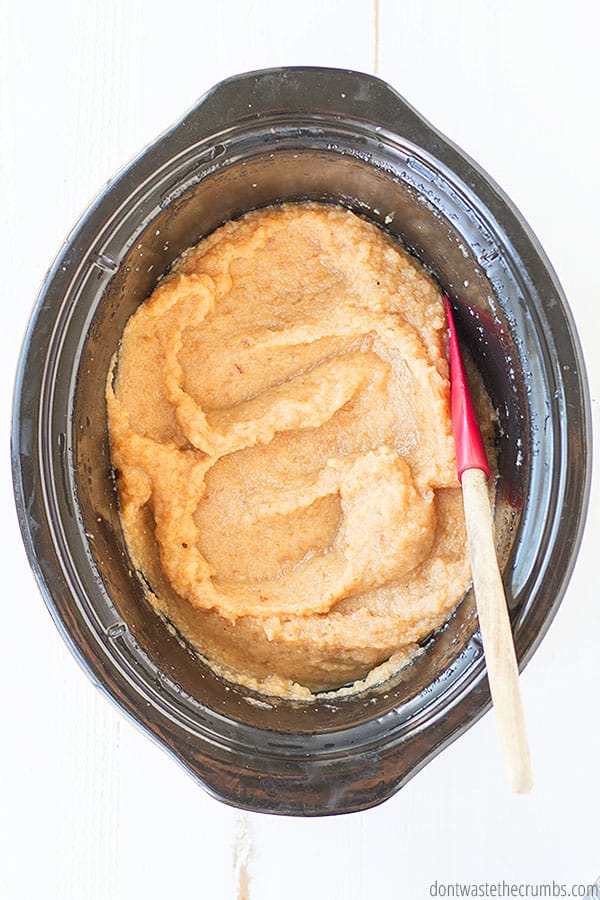
- Cooking the butter on high for an extra hour or two does not affect the butter. (Ask me how I know!) But it will be darker and have a more concentrated flavor.
- I have made butter by cooking on low first, then high, and the results are the same.
- Propping both ends of the lid open will speed up the evaporation process, but only do this if you are home. This ensures your butter doesn’t cook down too much, too fast.
- The skin of the fruit naturally contains pectin, which helps to “gel” the fruit butter. Shop according to the dirty dozen and clean fifteen list. Aim to buy organic produce to reduce pesticides if you plan to use the skin and ALWAYS wash your fruit using a natural produce wash.
FAQs
When you pick up a jar of Smucker’s Apple Butter off the shelf at Walmart, you’ll see ingredients that aren’t real food. Ingredients: APPLES, APPLE CIDER, HIGH FRUCTOSE CORN SYRUP, CORN SYRUP.
Wow. High fructose corn syrup is on our no-go list. And it’s listed not once, but twice!
Traditional apple butter, on the other hand, is made with just two ingredients. Apples and honey. No white sugar is needed! This is the reason many people decide to do their own canning in the first place – NO added sugars that we don’t want!
Homemade apple butter will last up to 3 months in the fridge. If you put this fruit butter in the freezer, it will last up to 1 year!
Apple butter can be used as a spread on bagels, toast, and sandwiches. You can use it as a dip. It is a wonderful topping for homemade oatmeal and pancakes!
How to Make Instant Pot Homemade Apple Butter
The process for slow cooker apple butter is pretty long. If you want to speed up the process, you can use an Instant Pot (here’s the one I have).
Step 1. Wash, cut, and remove stems from 6 lbs of apples. Add to Instant Pot.
Step 2. Add ¼ cup of apple juice or water. Close and seal the lid.
Step 3. Cook on HIGH pressure for 8 minutes. Allow the pressure to release naturally for 10-15 minutes.
Step 4. Take off the lid and use an immersion blender to smooth the apples.
Step 5. Add ¼ cup honey or maple syrup.
Step 6. Set Instant Pot to Saute on Low. Stir and let simmer for about 15 minutes until thickened.
Step 7. Let cool before adding to jars to store.
How to Store Homemade Apple Butter
Homemade apple butter needs to be stored in the refrigerator. If you don’t think you will finish it within a couple of weeks, I suggest freezing or canning.
- Use this guide to freeze in jars without breaking them.
- Use this tutorial on how to can applesauce to preserve your apple butter. The process is the same for canning, just use apple butter instead of applesauce!
More Apple Butter Flavors
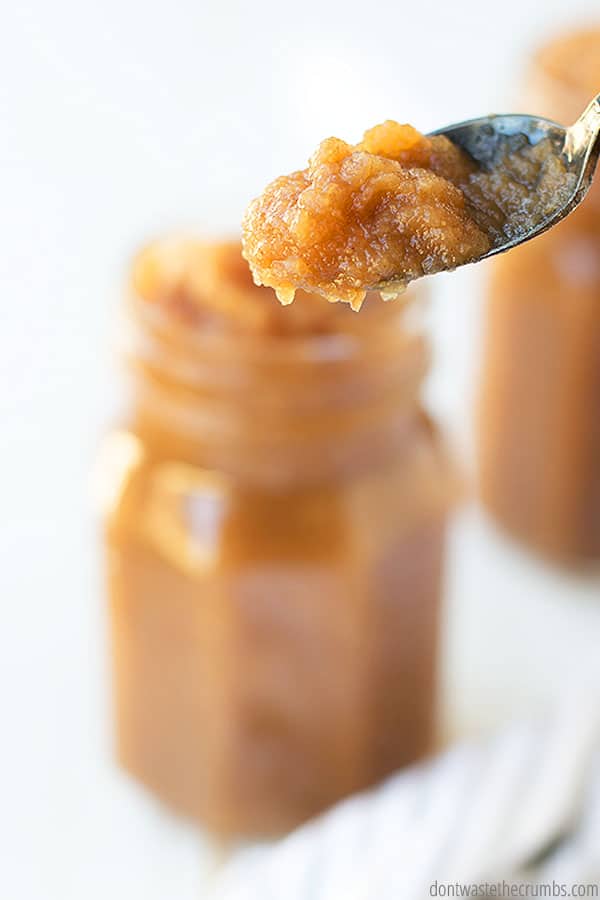
You can really get creative with your apple butter. In fact, you can make fruit butter without any apples!
Our current apple butter in the fridge is a strawberry apple flavor. It came from marked-down, over-ripe strawberries at the farmer’s market combined with the first pickings of the apple season. The flavor of the strawberries deepens in the cooking process, and the apples compliment the richness so well.
- Strawberry Apple Butter: 3 cups strawberries + 3 pounds apples + ¼ cup honey. Cook down strawberries and apples. Add honey when pureeing the fruit.
- Spiced Peach Blackberry: 6 lbs peaches + 1 pint of blackberry + 3 Tbsp cinnamon, 2 tsp ginger, 1/2 tsp nutmeg, 1/2 tsp cloves. Cook down peaches only; add blackberries and spices when pureeing fruit and cook down.
- Peach Blueberry: 6 lbs peaches + 1 pint of blueberries. Cook down peaches only; add blackberries when pureeing fruit and cook down.
- Maple Vanilla Apple Pear: 3 lbs apples + 3 lbs pears + 2 Tbsp maple syrup, 2 Tbsp vanilla extract. Cook down apples and pears; add maple syrup and vanilla (try my homemade recipe) when pureeing and cook down.
I encourage you to get creative with your flavors. Using over-ripe and marked-down produce is PERFECT for homemade butter!
Tips to Reduce the Cost of Fruit Butter
Making your own crockpot apple butter can get pricey if you use organic or out-of-season produce. Your best bet is to aim for fruit that’s priced at $1 per pound.
- Save on organic fruit by asking local markets for jam berries or “seconds.” These fruits are usually slightly bruised or damaged, but they’re just as nutritious as the pretty ones. Since you’re going to cook them and puree them anyway, there’s no need for them to be pretty! (Here’s the Ultimate Guide to Shopping the Farmer’s Market on a Budget.)
- Make fruit butter from fruit NOT listed on the dirty dozen: cherries, pears, domestic nectarines, plums, blueberries, raspberries, oranges, bananas, honeydew, cantaloupe, papaya, watermelon, grapefruit, kiwi, mangos, and pineapple are all available options.
- Avoid making fruit butter that requires all organic produce. Apples, grapes, imported nectarines, peaches, and strawberries are all listed on the 2022 dirty dozen. While these fruits make amazing butter, cut them with produce that isn’t on the dirty dozen list.
- Buy fruit seasonally and aim to pay no more than $1/lb. If you can find fruit for less and if your budget allows, buy more! Seasonal eating has more benefits than just price, too!
- Freeze any fruit that’s going bad. Once you have enough fruit in the freezer, make a batch of butter! The fruit will let out moisture as it cooks down anyway, so the extra moisture from the freezing process won’t matter.
More Simple Recipes
- 5 Minute Spinach Pesto
- How to Make Homemade Poultry Seasoning
- 15 Minute Alfredo Sauce
- Homemade Tomato Sauce Using Fresh Tomatoes
Slow Cooker Meal Plan
Sign up to get instant access to my Slow Cooker Meal Plan, complete with recipes and shopping list!!Homemade Apple Butter
Learn how to make homemade apple butter in the slow cooker! Sweeten with honey (optional) and use apple peels. Perfect for canning – plus four flavors! Goes perfectly on homemade sandwich bread and homemade biscuits.
- Prep Time: 20 minutes
- Cook Time: 14 hours
- Total Time: 14 hours
- Yield: 1 quart 1x
- Category: Sauces/Condiments
- Method: Slow cooker
- Cuisine: American
Instructions
- Put the apples with the skin on and honey into a slow cooker (I use this one). Cover with the lid and turn on high for 4-6 hours, but no longer than 8 hours.
- Reduce heat to low for 8-12 hours.
- Puree fruit using an immersion blender (I have this one), or in batches with a blender (I use this one). Be careful since the fruit will be very hot.
- With the pureed fruit in the crockpot, prop at least one side of the lid open with a knife or chopstick. This allows the water inside to evaporate, thickening the apple butter.
- Cook on low for 2-6 hours, until apple butter is desired thickness.
- Store fruit in glass jars in the freezer, or refrigerator, or can using these basic steps.
Notes
- Cooking the butter on high for an extra hour or two does not affect the butter. (Ask me how I know!) But it will be darker and have a more concentrated flavor.
- I have made butter by cooking on low first, then high, and the results are the same.
- Propping both ends of the lid open will speed up the evaporation process, but only do this if you are home. This ensures your butter doesn’t cook down too much, too fast.
- The skin of the fruit naturally contains pectin, which helps to “gel” the fruit butter.
Nutrition
- Calories: 15


I’m in the process of making it, now on low. It smells so good! But I realized that I added the honey at the beginning! I hope this won’t affect it. I’m looking forward to having it with my homemade bread.
I make my own apple butter also! However, I don’t add any sweetener to it. My husband prefers it without the sweetener. I made it for Christmas presents for our family a few years back. It was a simple easy hit! I add a little bit of cinnamon and nutmeg to mine. I also make peach jelly most years. I usually make enough to last us at least a full year. The jams/jellies I don’t make we purchase from the Amish market as no sugar added jellies. Since we also don’t want anything with HFCS or Corn syrup in our house. It is amazing to me the places they sneak this in (well that and sodium).