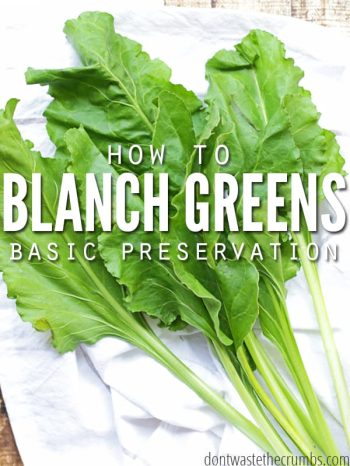
How to Blanch Greens
An easy tutorial for learning how to blanch greens like mustard, collard, beet and broccoli leaves so you can freeze them safely and enjoy later! Use your greens in recipes like savory pasta with greens and caramelized onions & chard!
- Prep Time: 20 minutes
- Cook Time: 5 minutes
- Total Time: 25 minutes
- Yield: Several bunches of greens
- Category: DIY
- Method: Blanch
- Cuisine: American
Ingredients
Instructions
- Bring your big pot of water to a boil. Meanwhile, cut the greens into 1-2″ pieces and wash well.
- The greens will cook down significantly, but if you’re like me, you’ll pull them from the freezer and dump them right into a recipe later on. Cutting them first means you don’t have huge pieces of green strewn throughout your meal.
- When your water is boiling, put 2-3 fist fulls of greens into the pot and stir. Don’t worry if the greens are higher than the pot. They’ll cook down in a just a minute or so.
- Set the timer for 5 minutes. (See additional recipe tips below if you’re blanching other veggies).
- You don’t have to stay in the kitchen, but it’s good practice to stir the green at the halfway mark, just to make sure they all get submerged at one point in time.
- When the timer goes off, remove the greens.
- Note: If you still have more raw greens left to blanch, use a slotted spoon to remove the greens from the pot and into a colander. If this is your last batch, you can strain directly into the colander.
- Repeat the above steps for the remaining greens. Keep the water and re-use if at all possible. The garden is always a safe bet, but I wouldn’t re-use this water for cooking. Greens tend to be gritty and dirty, even after you wash them, so there’s a good chance there’s dirt at the bottom of your stock pot.
- When the greens have cooled, measure out in 2 cup portions and place in a freezer-safe bag. Label the contents and date and freeze.
Notes
- Because beet greens (and other hearty greens) are, well hearty, they need the full 5 minutes. Other lighter veggies like broccoli, green beans, spinach, asparagus and cauliflower only need a minute or two, tops.
- Traditional blanching methods include plunging in an ice bath (until they’re completely cooled) to immediately stop the cooking of the vegetable. With the dainty vegetables I just mentioned (broccoli, green beans, etc.) you should definitely do this. For hearty greens, it’s not as necessary.
- Dark leafy greens usually need to cook for awhile anyway to soften and improve the flavor, so it doesn’t really matter if they sit and cool to room temperature on their own. Plus they’re soft, so the extra sitting doesn’t effect the texture (where room temperature cooling will ruin your blanched green beans and broccoli).
- As noted above, the ice bath is optional, but feel free to do it if you’d like. Or if you’re doing a big batch of blanching of various items.
Nutrition
- Calories: 13
