This post is brought to you by Jovial Foods. All opinions are 100% my own.
Last year I kind of opened a can of worms, but I blame my husband.
He sent me this article that said olive oil (among other foods) was diluted with cheaper oils.
Somewhat infuriated at the fact that I was paying premium prices for less than premium products, I started researching the matter. Science won and I said that the olive oil fridge test was a legitimate way of determining whether or not your oil is pure or fake.
And then things went downhill.
Readers got upset, saying the fridge test wasn’t valid and that the team at UC Davis had a fail-proof method. So I looked at the matter a bit more and followed up with part 2 to the extra virgin olive oil dilemma.
I encourage you to go back and read these posts if you can, because they’re filled with lots of great information on the topic.
Since those two posts were published, I’ve learned a little bit more about testing extra virgin olive oil.
1. Some producers “winterize” their oils.
This is done so that oils can withstand the cooler temperatures of cellars and basements. Because of this, the extra virgin olive oil may not show any signs at all of thickening or solidifying in the fridge. I knew that the fridge test wasn’t 100% accurate and even said so, but it’s nice to know why an oil that we thought was extra virgin might not show any solidification signs at all.
2. Taste buds truly are unique to each person.
I laugh, literally, when I think that a panel of self-proclaimed professionals can judge by taste and texture whether an extra virgin olive oil is pure or not. Taste buds are unique as each person’s DNA and are by no means fail proof. Haven’t you ever burned your tongue on something hot, and then not be able to taste anything for a couple days? Spicy to one person is mild to another, and the result of this blind taste test shows the fallibility of this method.
So… we’re still left with a burning question. How do we find quality extra virgin olive oil?
Education is half the battle when it comes to making smart decisions about our food, and olive oil is no exception. First, go back and read part 1 and part 2 of the extra virgin olive oil debate. Then use up whatever oil you already have in the kitchen. When you’re nearing the bottom, use these 9 tips for buying extra virgin olive oil to find a good brand, and ensure you’re spending your hard-earned money on the real thing instead of a fake imposter.
9 Tips When Buying Extra Virgin Olive Oil
1. Know your terminology.
Extra virgin olive oil is the highest quality olive oil you can find. It’s followed by virgin, virgin oil not fit for human consumption (lamp oil), olive oil and refined olive oil.
Virgin olive oil is not necessarily bad, but rather for one reason or another doesn’t meet the strict requirements for extra virgin get this classification (poor harvest, bad breed, etc.)
Olive oil is a blend of refined olive oil and virgin olive oils that have not been further refined. Refined olive oil is colorless and odorless and is permitted to be refined within parameters. Avoid both, since neither are pure, unadulterated olive oil.
If you ever find olive-pumace oil, avoid it. It’s created by adding chemical solvents to crushed olives (pressed once already for oil) and then processing it in order to meet minimum standards for oil. Olive-pumace oil is very processed and very far from olive oil, so don’t touch it with a ten-foot pole.
2. Go straight to the source.
Of course local is always preferred, but many of us aren’t fortunate to have olive farmers as neighbors. If you can’t find local, buy from a reputable farm elsewhere. Do your best to leave out the middle man since that’s where the majority of oil tampering tends to occur.
Looking for a quality source online? Keep reading for a reputable company, who happens to be one of my favorite sponsors!
3. Look for a dark bottle.
Olive oil can go rancid over time when exposed to light, air and heat. Dark bottles help to keep the light out during transport and storage, so look for those.
Also, when you bring extra virgin olive oil home, keep it stored in its original bottle or in a similar dark bottle. Do not store extra virgin olive oil in those cute little clear glass pouring containers or you risk contamination from the air and early spoilage of the oil.
Also keep your oil away from the stove, as over time, the heat will damage it as well.
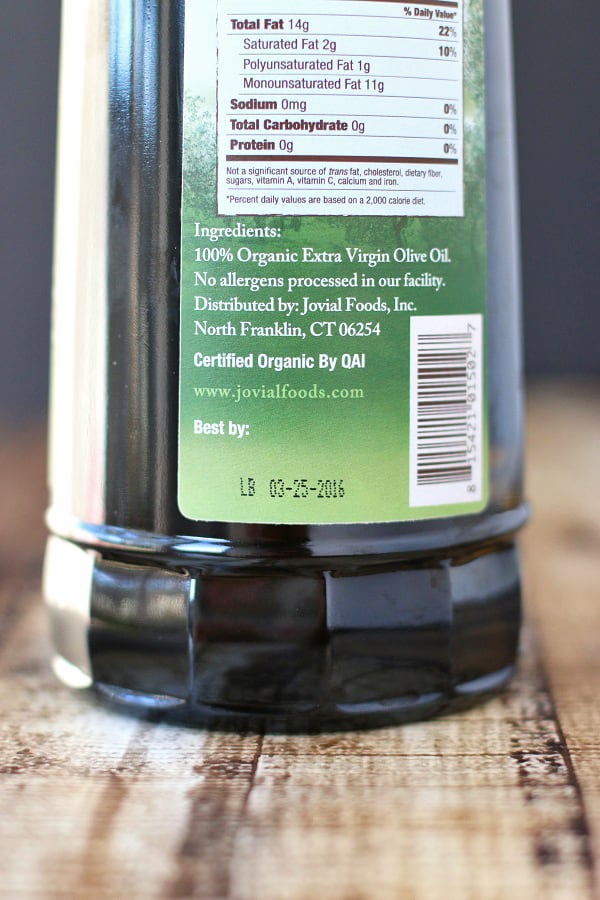
4. Look for a harvest date or best buy date.
Olive oil is best when consumed within one year of harvest, two at the max. Legitimate growers know this and will put either the harvest date or best buy date on the bottle so consumers can enjoy it in a timely fashion. Large companies trying to turn a profit don’t necessarily want consumers to know that their oil might be well over two years old. I mean honestly, would you buy anything off a store shelf that had a date of over two years old on it?
5. Look for the cultivars.
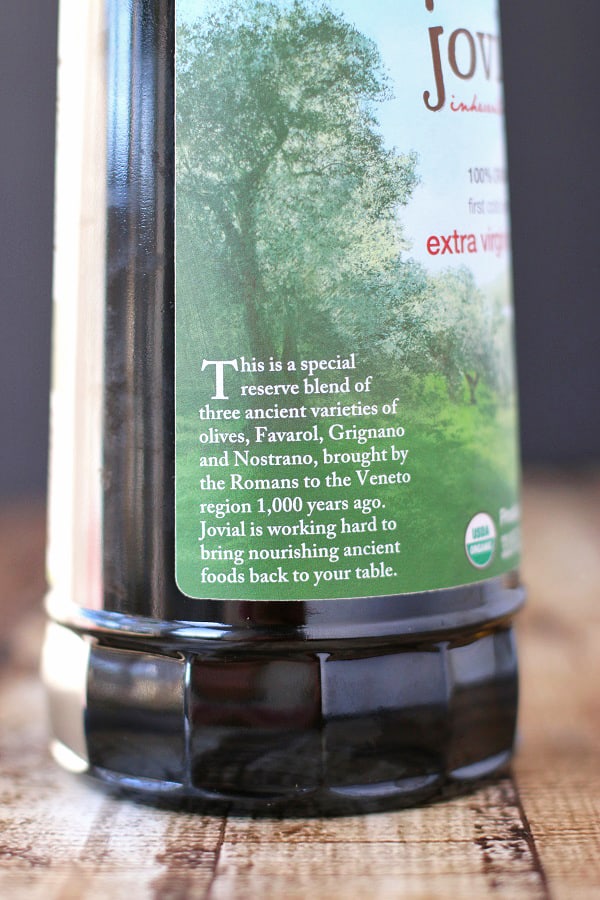
Cultivars is fancy terminology for the type of olive used to make the olive oil. Quality growers will indicate the variety of oils used. Knowing the type and the difference between them isn’t that big of a deal. You just want to see it labeled. It’s the lack of labeling that should concern us.
6. Look for the regions.
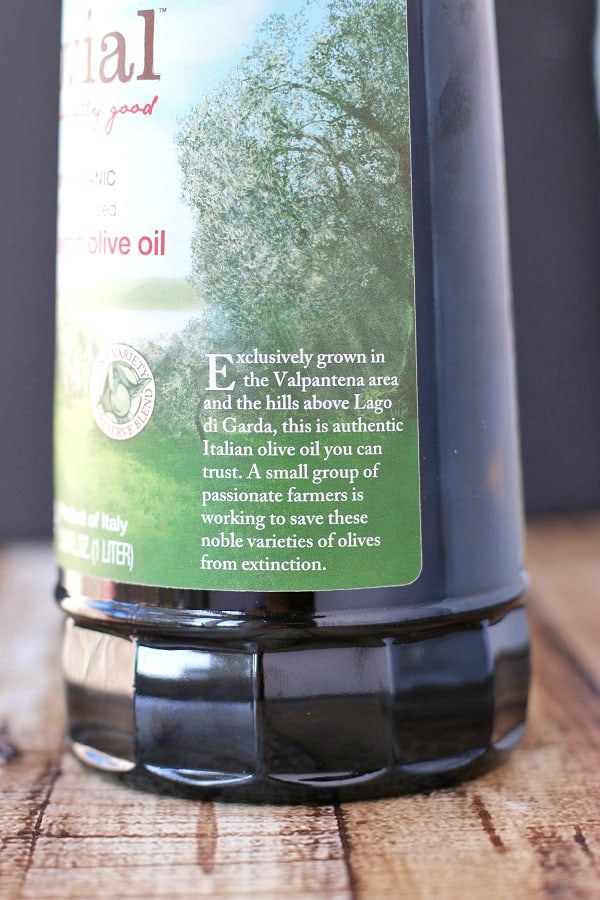
Olives are grown all over the world with a large percentage grown in Europe and the Mediterranean. These olives are then sent to oil makers, who are also located around the world. The longer olives are in transport though, the lesser quality the oil will be. You want olive oil that was harvested and produced in the same region. The same country is better, and the same farm is best.
Be leery of oils that make no mention of where it comes from or those that just say “product of.” Technically speaking, if olives or an oil pass through one country on its way to another, it can claim this title. Just because it has an Italian flag doesn’t mean it’s really from Italy.
7. Look for a seal of approval.
The California Olive Oil Council (COOC) will test olive oils for a fee and if their oils pass, producers can put their seal on their bottles.
The North American Olive Oil Association (NAOOA) is a program where producers can join for an annual fee and in turn, they voluntarily follow the standards set forth by the International Olive Oil Council (IOC). The NAOOA claims they conduct ongoing testing of the brands containing the NAOOA seal, but this doesn’t make it fool proof. In fact, it’s worth nothing that some of the brands listed here as certified to carry the seal and the same brands that failed the UC David test.
Not that the UC Davis test is accurate in the first place, but still.
Bear in mind that many smaller producers can’t afford to have their oils tested by the COOC or pay for the membership to NAOOA. If you know where your olive oil came from, then just stop there. If your bottle has the seal then great. Otherwise, default to the harvest date.
8. Do the fridge test.
Laugh all you want, but I still think the fridge test holds a bit of validity. It’s definitely not 100% fail proof, but it’s a great first step in finding a better oil. The percentage of producers that winterize their oil is low, and producers of quality olive oil would have confidence in their product and likely encourage you to test their oils however you see fit. For me, it’s the fridge test.
9. Taste it.
Although our own taste buds won’t be able to certify whether an olive oil is diluted with lesser, inferior oils, we can tell whether an oil has gone rancid or is simply part of a bad batch. If your oils tastes like bad salami, sweaty socks or baby diapers, you’ve got problems.
Where to find extra virgin olive oil online that meets all of these requirements
One of my favorite sponsors, Jovial Foods, is on a quest to rediscover ancient traditional foods and make them more readily available in today’s over-processed food market. In addition to BPA-free tomatoes (that we use in our simple pizza sauce) and Einkorn wheat (that is SO GOOD in these light and fluffy dinner rolls), they’re growing olives on their own farm – favarol, grignano and nostrano varieties. They harvest the olives using traditional methods (i.e. by hand), cart them over in crates to a dedicated on-site facility and press them for oil.
The dedicated on-site facility doesn’t sound like a big deal, but it’s actually pretty important. It means that not only is the olive oil the freshest it could possibly be, but it’s not contaminated by the major allergens (tree nuts, peanuts, soy, eggs, dairy, wheat, fish, shellfish and corn).
Jovial Foods is offering Crumbs readers a discount. You can save 10% off all items in the store with exclusions on special promotional items such as cookbooks and new harvest oil when you use coupon code DWCRUMBS. Also, there’s free shipping over $99. The best deal is the three-pack of extra virgin olive oil, which allows you to save 23% over the cost of buying individual bottles. Not only does buying in bulk mean saving money now, and having plenty of olive oil on hand in the months to come!
PS – The coupon code works on the other products too, like gluten-free pasta and cookies, Einkorn flour and cookies and pasta, and their Italian tomatoes.
Take advantage of this offer HERE. Hurry though, because the discounted deal is only valid for a limited time. Italy experienced substantial rain this season that has damaged the crop, so once the harvest is complete and olive oil has been shipped, it’s gone until next year!

30 Minute Dinners Sample Meal Plan
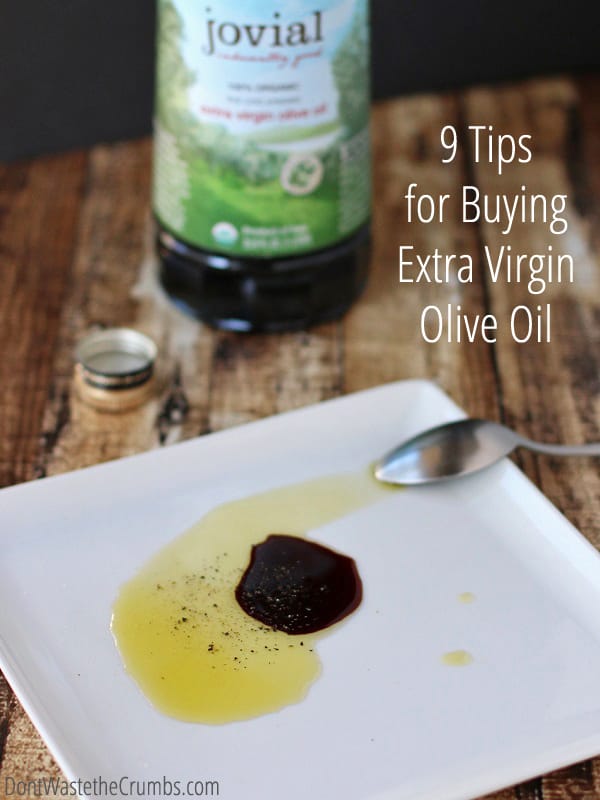
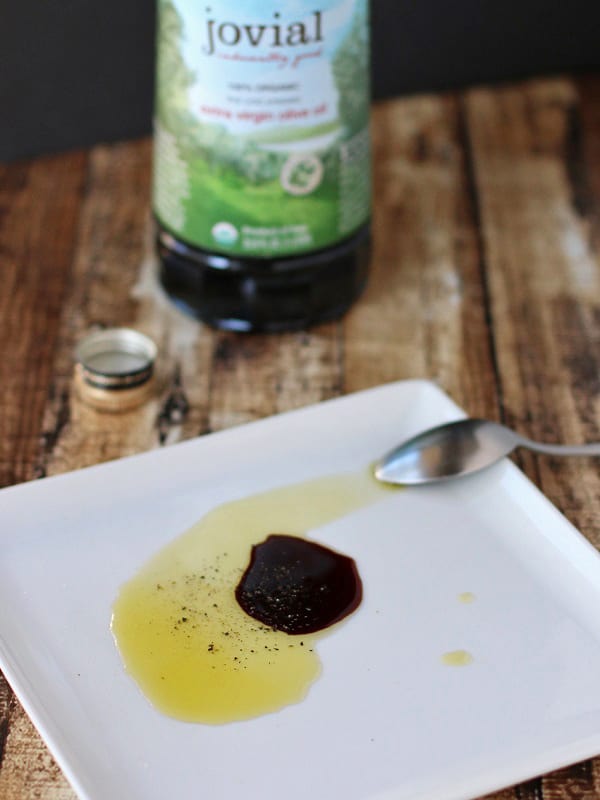
Sign up to get instant access to my 30 Minute Dinners Sample Meal Plan, complete with recipes and step-by-step instructions!My favorite way of enjoying the flavors olive oil is just like the picture above – with balsamic vinegar, salt and pepper and some bread for dipping. What’s your favorite way of enjoy olive oil?



Olive oil is yummy, and I’ll be ordering some from Jovial, but where are organic OLIVES??? The green kind, not kalamata or black? I was excited about opening the Jovial website…because I was hoping for actual olives. Perhaps Jovial could offer those too.
Now I am totally confused on what oil to use :/ It looks like we can’t afford “good” extra virgin olive oil (especially this brand… yikes), what kind of oil is OK to use? I usually buy whatever olive oil is least expensive, but now am questioning that. Which is better… “bad” olive oil or canola/vegetable oil? We have tried coconut oil, but dislike how it makes everything taste like coconut so we stopped cooking with it.
I’d always choose “decent” olive oil over canola oil Pam, and I’d shop around for the best deal you can afford and then keep that place in mind when you run close to out. You can also use refined coconut oil, which has a less coconut-y flavor that the first press. For cooking, lard, tallow and butter all work well too!
Thank you!
Also, remember that good olive oil is not defined by the price tag. I’ve found other good brands in a local discount grocery store too!
Thanks for writing this..very informative! .I had no idea about the expiration date and have never really thought to check. I’ll certainly look a bit closer at the brands and what they put on their labels next shopping trip.
You’re most welcome Kari!
I’ve noticed a lot of extra virgin olive oil is labeled with 2 grams of polyunsaturated oil per serving, while other bottles list only 1 gram. I’ve been trying to stick with the 1-gram varieties since it seems like that would be less likely to be diluted with a cheaper oil. However, I haven’t read anything to show whether that’s true. I did find one article that states olives grown in cooler regions tend to have more monounsaturated fat, so I don’t know whether it really does tell us anything meaningful about whether the oil is diluted. Have you encountered anything about this in your own research? Do you think that’s a useful tip when shopping?
Under point one, your point about the second quality level doesn’t make sense…I am thinking typo. Is virgin oil necessarily bad or isn’t it? There was one other minor error in the article (you vs. your?), so rather than just discount all you say, I thought I would recommend you proof read it. Otherwise I am glad to have read this & have some help choosing!
Thanks for pointing that out Karen. I’ve gone through and re-read and fixed several typos. 🙂 Thanks!!