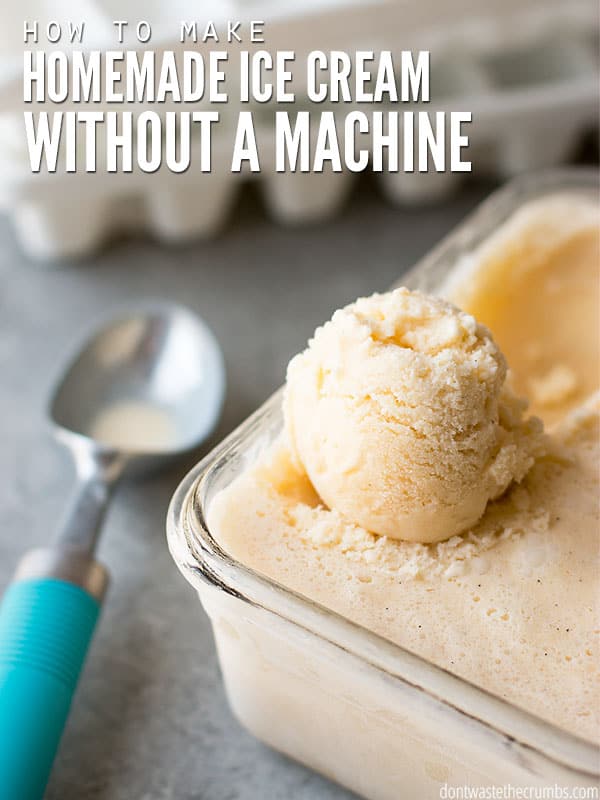
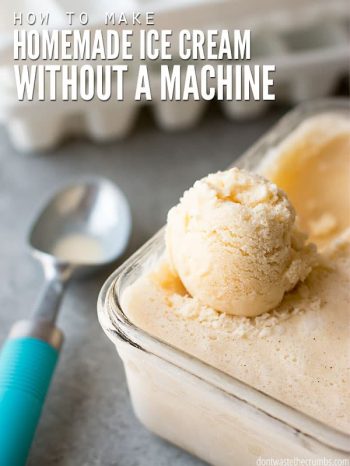
You can easily make homemade ice cream without a machine. You only need two tools you already have at home – an ice cube tray and a blender! Try my other tasty cold treats like cherry limeade popsicles and homemade ice pops that are made with 100% real fruit and no sugar!
When I shared my favorite ice cream recipes like homemade vanilla bean and homemade apple crumble ice cream, I failed to tell you one tiny little detail:
I don’t own an ice cream maker.
Did you know you can make ice cream without a machine? You can, and it makes the best ice cream!
5 Ways to Make Ice Cream Without A Machine
Now there are lots of different ways to make ice cream without a machine, but they all seem pretty cumbersome to me:
1. Freeze & Stir Method
- Coined by David Lebovitz, this method requires you to stir the ice cream every 30 minutes for about 3 hours, or until the ice cream is frozen through. That’s fine if you’re home for 3-4 hours and have nothing else to do but stir ice cream, but that’s not a typical day for me and even more so in the summer.
2. Whipped Cream Method
- I actually like this idea by Kevin and Amanda, if it weren’t for the sweetened condensed milk. I know a lot of recipes use it, but I often reduce the amount of sugar in recipes to make them a bit healthier. When you start with sweetened condensed milk, you can’t do that.
- Although making homemade sweetened condensed milk is an option…
3. Puree & Freeze Method
- Created by Not Without Salt, this method works for fruit-based flavors, meaning you’re making sorbet, not ice cream. This is great if you want sorbet, but not if you want vanilla or chocolate or any ice cream that’s milk or cream based.
4. Bag Method
- If you ever made ice cream in science class, this is probably the method your teacher used. You put the ice cream in a bag, within another bag filled with ice and salt. You shake the bag for 10 minutes and the ice cream freezes before your very eyes.
- The downside to this method though is that it can be very messy if you don’t carefully seal your bags. And your ice cream will be in a bag, not in an easy-to-scoop-from container.
- I don’t like the idea of buying rock salt just to make ice cream. You can’t re-use the salt, so it just gets thrown away in the end.
- Also, the idea of losing ice cream behind in the bag – and therefore the cost of ingredients – is enough for me to steer clear.
5. Double Bowl Method
- The Kitchn shared this idea that’s similar to the bag method above, but instead of bags, you’re using bowls. The major downfalls for me are that you can only mix one pint (two cups) of ice cream at a time and you have to use a hand mixer, which I don’t have.
- You also have to use rock salt to aid in the chilling of the ice cream and for me, it’s again wasting money on an ingredient that will only get thrown in the trash can.
Fail Proof Method to Make Ice Cream Without a Machine
With all the different ways to make ice cream without a machine, you’d think that there would be a way that worked, right? Well, there is!
I’ve made homemade ice cream for several weeks now using the ice cube and blender method and it’s worked every single time without fail.
This method originated at the Serious Eats Food Lab, which has a great write-up on the science of ice cream. Basically, you want there to be a balance of air and ice crystal formation.
- You want there to be enough air so that it’s ice cream. Too little air makes custard, and too much air makes ice milk.
- You also want small ice crystals. Big ice crystals again lead to an ice-y result, instead of being creamy. Think chunks of frozen milk, instead of a lick-able scoop of ice cream.
- The solution is to freeze the ice cream in small portions to prevent the formation of large ice crystals. You also need to beat air into the ice cream, so that it’s not custard.
How do you make this happen? With two kitchen tools you probably already have in your house:
How to Make Ice Cream Without an Ice Cream Maker
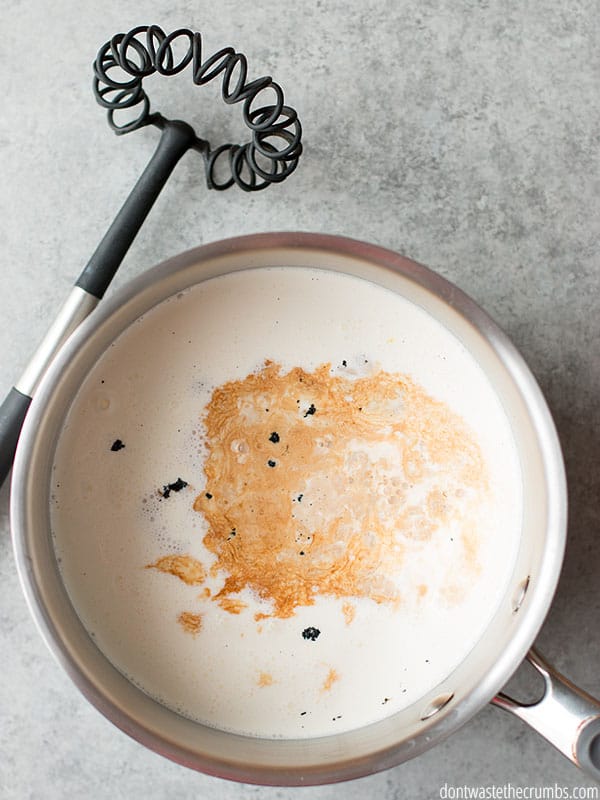
Step 1. Start with an ice cream recipe that’s tried and true and highly recommended. I personally love my homemade vanilla bean ice cream but feel free to start with another recipe.
Step 2. As you’re making your ice cream recipe, instead of adding all the liquid into the recipe as directed, set aside 1 cup.
Note: This liquid should have a high-fat content, like cream or coconut milk. If your recipe doesn’t have a liquid with a high-fat content then set aside what you can.
Step 3. When the directions say to “pour into machine and follow manufacturer instructions,” pour the ice cream mixture into ice cube trays instead. I’ve found that most ice cream recipes fill up 2 ice cube trays, but you may want to have a third tray handy, just in case. You can also use small Tupperware containers if you don’t have a third tray.
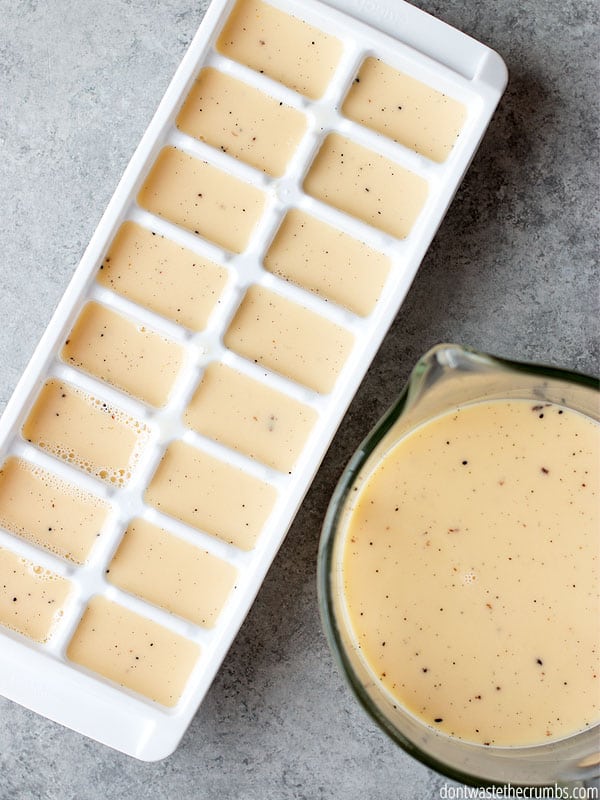
Step 4. Put the ice cube trays in the freezer for at least 6 hours, but 8 hours overnight is best.
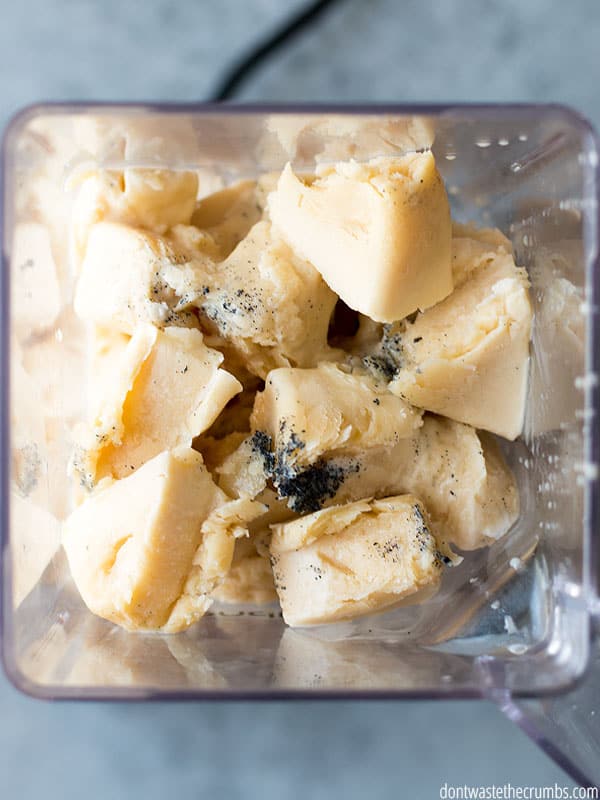
Step 5. When the ice cream cubes are frozen, use a butter knife to gently pop them out of the tray and into a blender. (I have a Blendtec like this one.) Use the knife to gently scrape out any remaining ice cream from the crevices of the ice cube tray. Work fast, because these little cubes of ice cream will melt faster than the finished ice cream will.
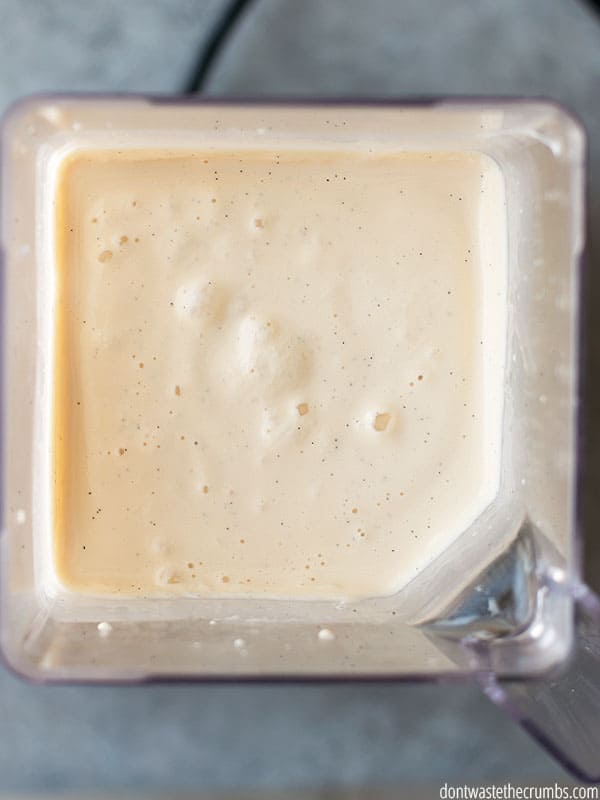
Step 6. Add the reserved 1 cup of liquid to the blender with all the ice cream cubes and blend for 30 seconds, or until the mixture is smooth.
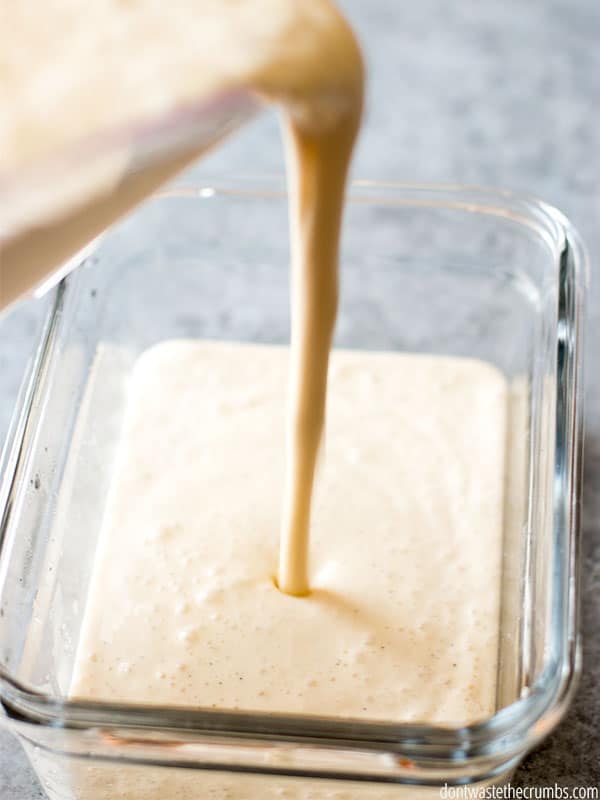
Step 7. Pour into a container with a lid and freeze until solid, 8-12 hours. Congrats! You just made ice cream without a machine!
Note: If you’re needing containers, these re-usable ice cream containers hold a quart of ice cream each, are BPA-free, and dishwasher safe. Of course, you don’t HAVE to have separate containers for your ice cream, but it certainly helps to have your normal leftover containers available for leftovers!
FAQs
If you need to thicken your homemade ice cream, simply place your mixture in the freezer for 2-4 hours.
A food processor should work fine. Use the same instructions as the blender. Enjoy!
You certainly can! Plastic containers are better, storing in a glass container will result in a longer freeze time.
Would You Rather Invest in an Ice Cream Machine?
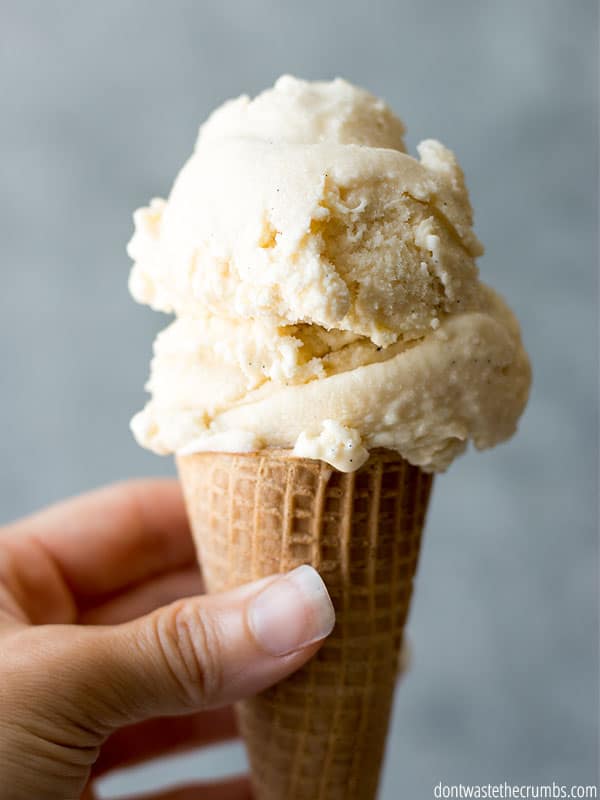
My ice cube and blender method is frugal and makes ice cream just fine without a machine, but it doesn’t offer instant gratification like an ice cream maker. If you make homemade ice cream often and want to invest in a machine (or you just want to have it ready in under an hour), Cuisinart seems to have the best reviews.
- Their base model makes 1 ½ quart and runs for about $55.
- The mid-range model makes 2 quarts in about 35 minutes and costs around $70.
- Their top-end model makes 2 quarts in about 20 minutes and runs around $120.
More Cold Treats



Hi Allie! Do you have to necessarily use these ingredients to get these awesome results? Also do you have to use a loaf pan? Thank you for your time!
My blender is out of commission at the moment; could I use my Cuisinart Food Processor? What would you recommend as far as processing adjustments? Thanks!
A food processor should work just fine. Use the same instructions as the blender. Enjoy!
Thanks Tiffany for the different methods. I have a Vita mix and might try your iceblock and left over cup of – method, because it will be quicker and easier than the following method using an egg beater. My Dad developed this and I think we used a pint of milk with 2 tablespoons of milk powder, 1 teaspoon of gelatine ( I learned later in life this prevents ice crystals forming) and sugar to taste, usually 2 tablespoons was more than enough, although the freezing takes some of the sweet taste away, I use raw sugar; vanilla essence is used later. Mix all together and pour into a metal container and freeze until the mixture is frozen around the edges. Takes a couple of hours. then remove and put all back into your bowl and mix again with the egg beater until there is no frozen parts left and large bubbles are starting to form. Now add a teaspoon vanilla essence, and refreeze. Takes another couple of hours. Dad used to start this after breakfast on a Sunday morning so we could have it for lunch. Sometimes he would make 3 colours by dividing the mix into 3 using cocoa and cochineal pink food colouring and plain white of course. Or put some dried fruit into the mix. We loved it and grew up on for years.
hi tiffany, thank you for ice cube method. i used an easy release type of ice cube tray and warm the bottom and the ice cream cubes came right out. that way the easy part; the harder part was the blender and food processor. the blender had difficulty with the cubes, some of them stuck under the blades. i did this at a slower speed and the added cubes would sit up in the blender jar and not fall to the blades. i transferred this to the food processor and there was difficulty of “pulling” the cubes down to the blade. i used the highest speed here. i was thinking of cutting the cubes to smaller pieces but that is more added work. so here is my feedback and would welcome any “feedback” from your end. blessings, bill
Great feedback Bill! I use a high-powered blender (Blendtec) so that could be why it was super easy for me to blend. I think if you add some liquid with some of the frozen cubes first, blend well, and then add more cubes, it might do the trick. Let me know how it goes!
I’ve been having my kids roll around a coffee can within a larger coffee can. ? This results in a soft-serve-like hasty squish that’s ready in 15 minutes because they “get tired” of rolling. Your way seems more efficient.
More efficient maybe, but your way sounds more entertaining!!
This is a great idea, thank you for sharing it, I had seen your recipe but never tried it because I don’t have the machine, now I know how to make it, thank you again
I have a cuisinart ice cream maker that I found at a thrift store, I gave it to my folks but got it back after a few years. But I also have a vitamix blender. Their recipe for ice cream didnt turn out great. I would love to try your ice cube method in the vitamix!