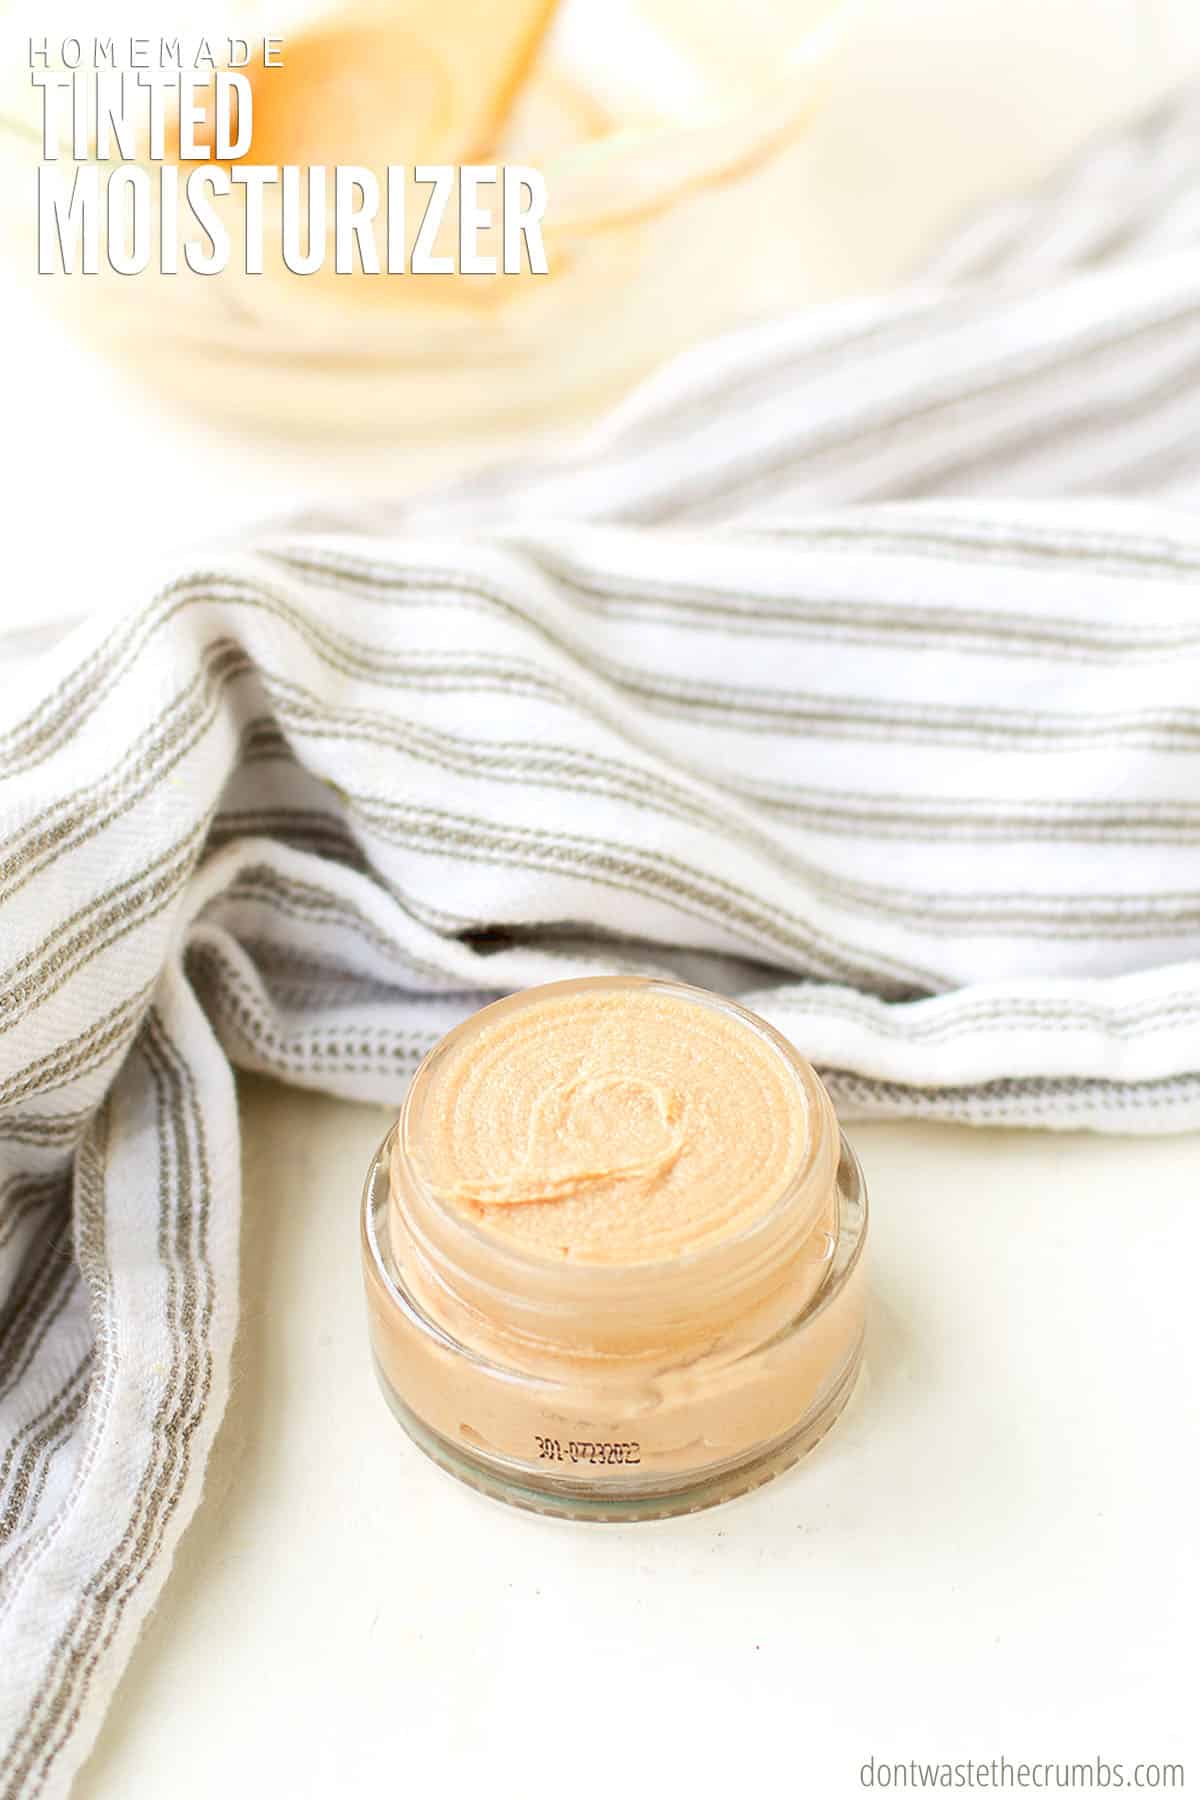
First it was the lotion bar.
Then it was the toothpaste.
Just last month it was the powdered foundation.
Ya’ll, I swear I’m not going full-fledged, tree-huggin’ granola on you, it’s just that my stash of toiletries have come together and planned a full-on revolution on me!
At least it feels that way. And with all the label reading I’ve done lately for this post about additives and then this one on food from overseas… well geez, I’m just not sure who I can trust anymore.
But there’s something else too. The more I experiment with homemade health and beauty stuff, the more I realize that it’s not that difficult to make. A couple of scoops of this, a pinch of that… stir and voila!
The process becomes even easier once you have the recipe nailed down too. (Which is what I’m sharing with you guys… I’m sparing you from the multiple versions of not-so-good toothpaste and lotions – you’re welcome!).
Plus making it yourself is WAY more affordable than buying it from the store. I save over 60% on homemade toothpaste and one batch of homemade powdered foundation costs only 30¢ for 8 weeks.
I’m just not seeing a downside to any of this… so until I do, I’ll just keep plowing ahead!
Next stop on the DIY train: homemade tinted moisturizer.
The idea of this recipe hit me like a smack in the face one morning while I was putting on some Olay “specialty” lotion, acquired back in my couponing days.
Here I was, liberally rubbing on sodium laurel sulfate JUNK so that I could fight off the tiniest of tiny wrinkles that MIGHT be forming around my mouth so that I could eliminate the evidence of smiling my whole life.
All the while, looking forward to “doing my make-up” with my newly created homemade powdered foundation that did NOT have the sodium laurel sulfate JUNK that every other make-up was riddled with.
Anyone else see the irony?
Yeah, so I ditched that Olay stuff and decided to make my own.
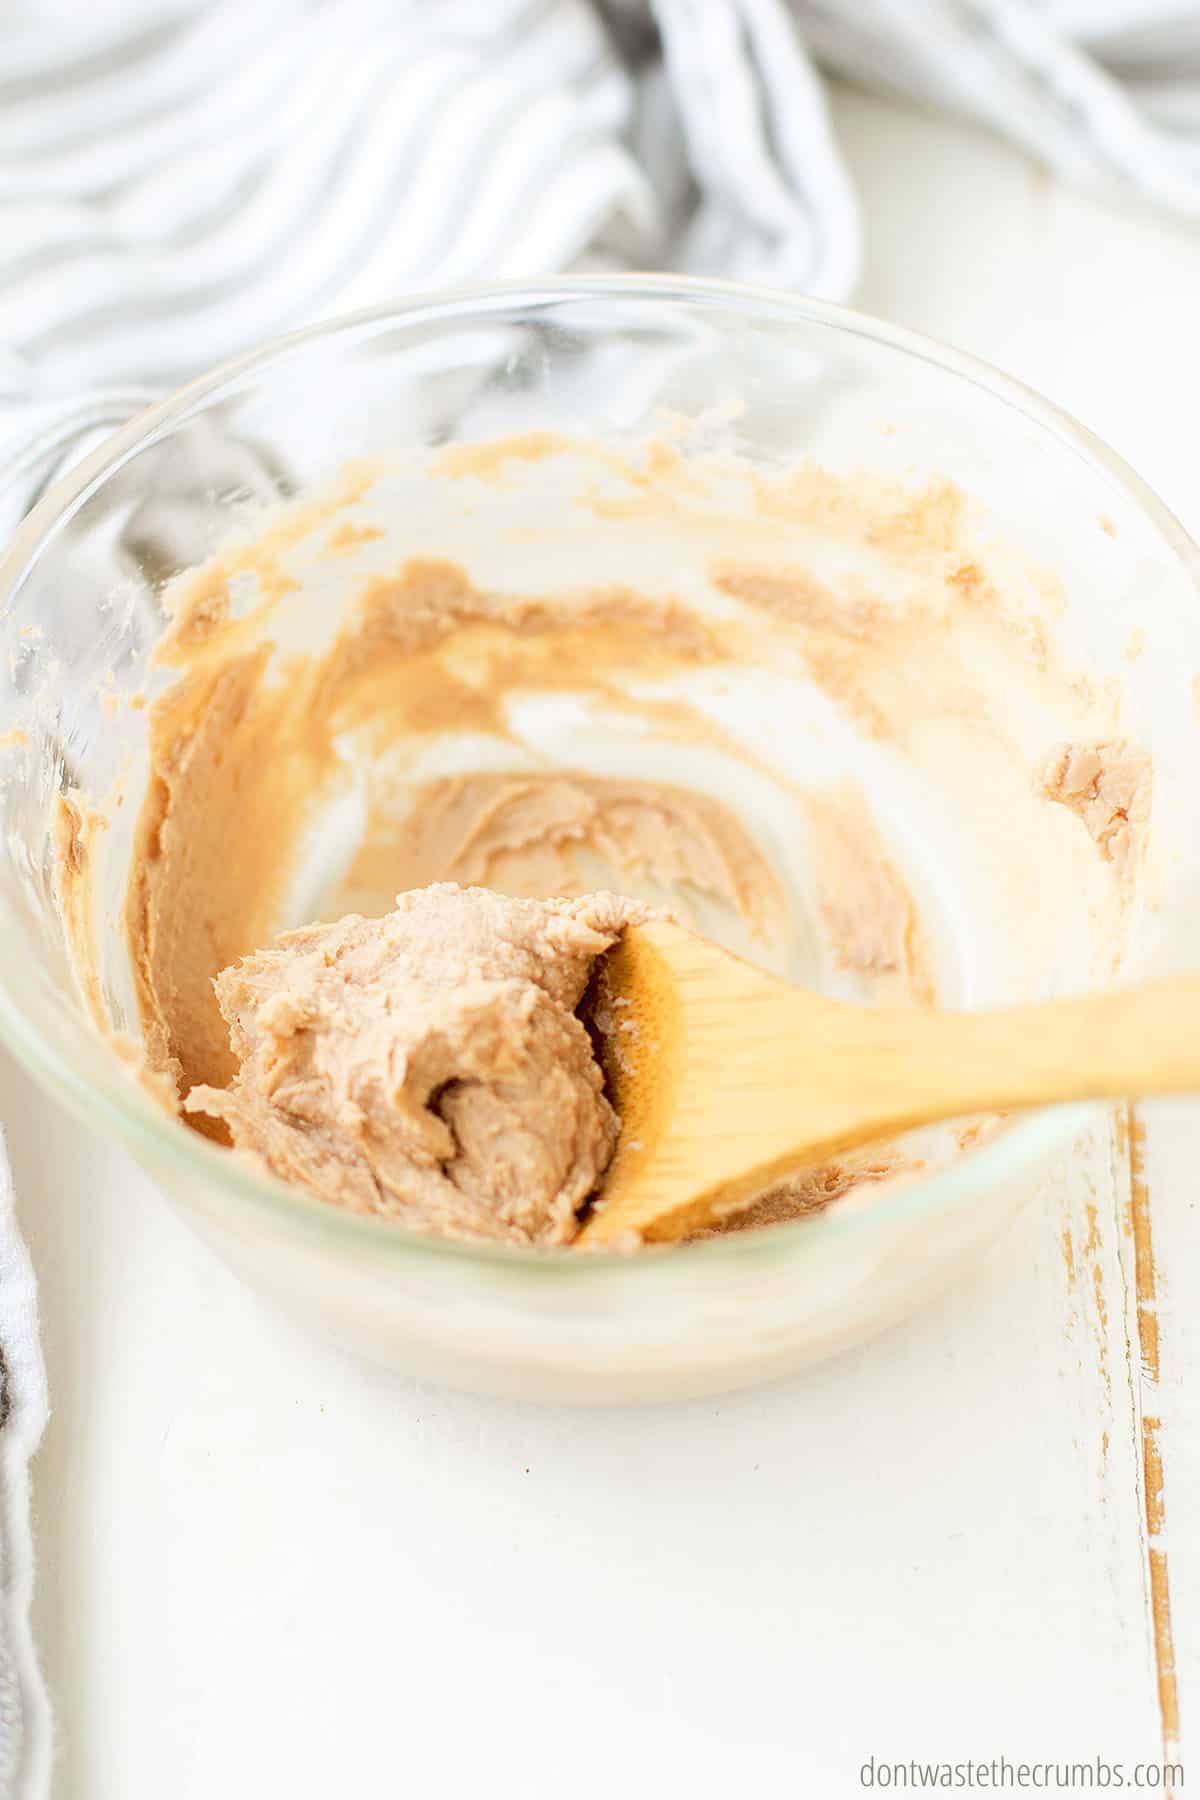
I used my original face lotion bar recipe as a starting point and tweaked from there, trying to make it solid enough so that it wasn’t runny and gooey, but soft enough so that I didn’t need to keep a butter knife in my make-up pouch.
The color issue turned out not to be an issue at all since the powdered foundation is tailored for my exact skin tone, and I could just scoop some out from that jar. Two recipes from one bowl?! Me likey.
I also researched what oils would be great for skin, and Frankincense is touted to help keep your skin radiant. Finally, a homemade tinted moisturizer recipe that’s healthy for my skin!
If I could high-five myself, I would!
But that would look weird. And kinda nerdy.
So let’s talk about this homemade tinted moisturizer instead. First, it’s super healthy – and not just because I made it. Because it’s based on coconut oil, it’s super nourishing for your body. The colors are made from spices in your own cabinet. The essential oils are as pure as well! Nothing fake or artificial about it.
Second, a little bit goes a long way. Once you dip/scoop some out, it spreads really easily thanks to your body heat – so merely a pea-sized dollop (or perhaps half of a pea) will cover your whole face. One single batch of the recipe below will last at least a month, but likely closer to two. If it weren’t for the fact that I needed to verify measurements for this post, I would still be working on the same batch I made when I whipped up some toothpaste back in early February.
Finally, this takes the “ordinary make-up day” and kicks it up a notch. For me, there are two types of make-up days: church day (which also includes date nights and special occasions) and every other day. I was using just the powdered foundation for “every day” make-up – and that worked fine – but using this homemade tinted moisturizer underneath the powdered foundation makes me feel downright glamorous while browsing the market or cleaning the bathroom!
Sold yet? Awesome – let’s do this!
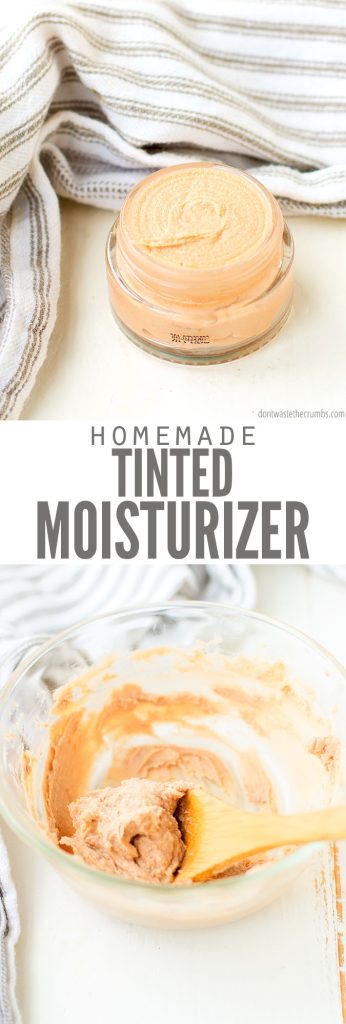
Homemade Tinted Moisturizer

Supplies
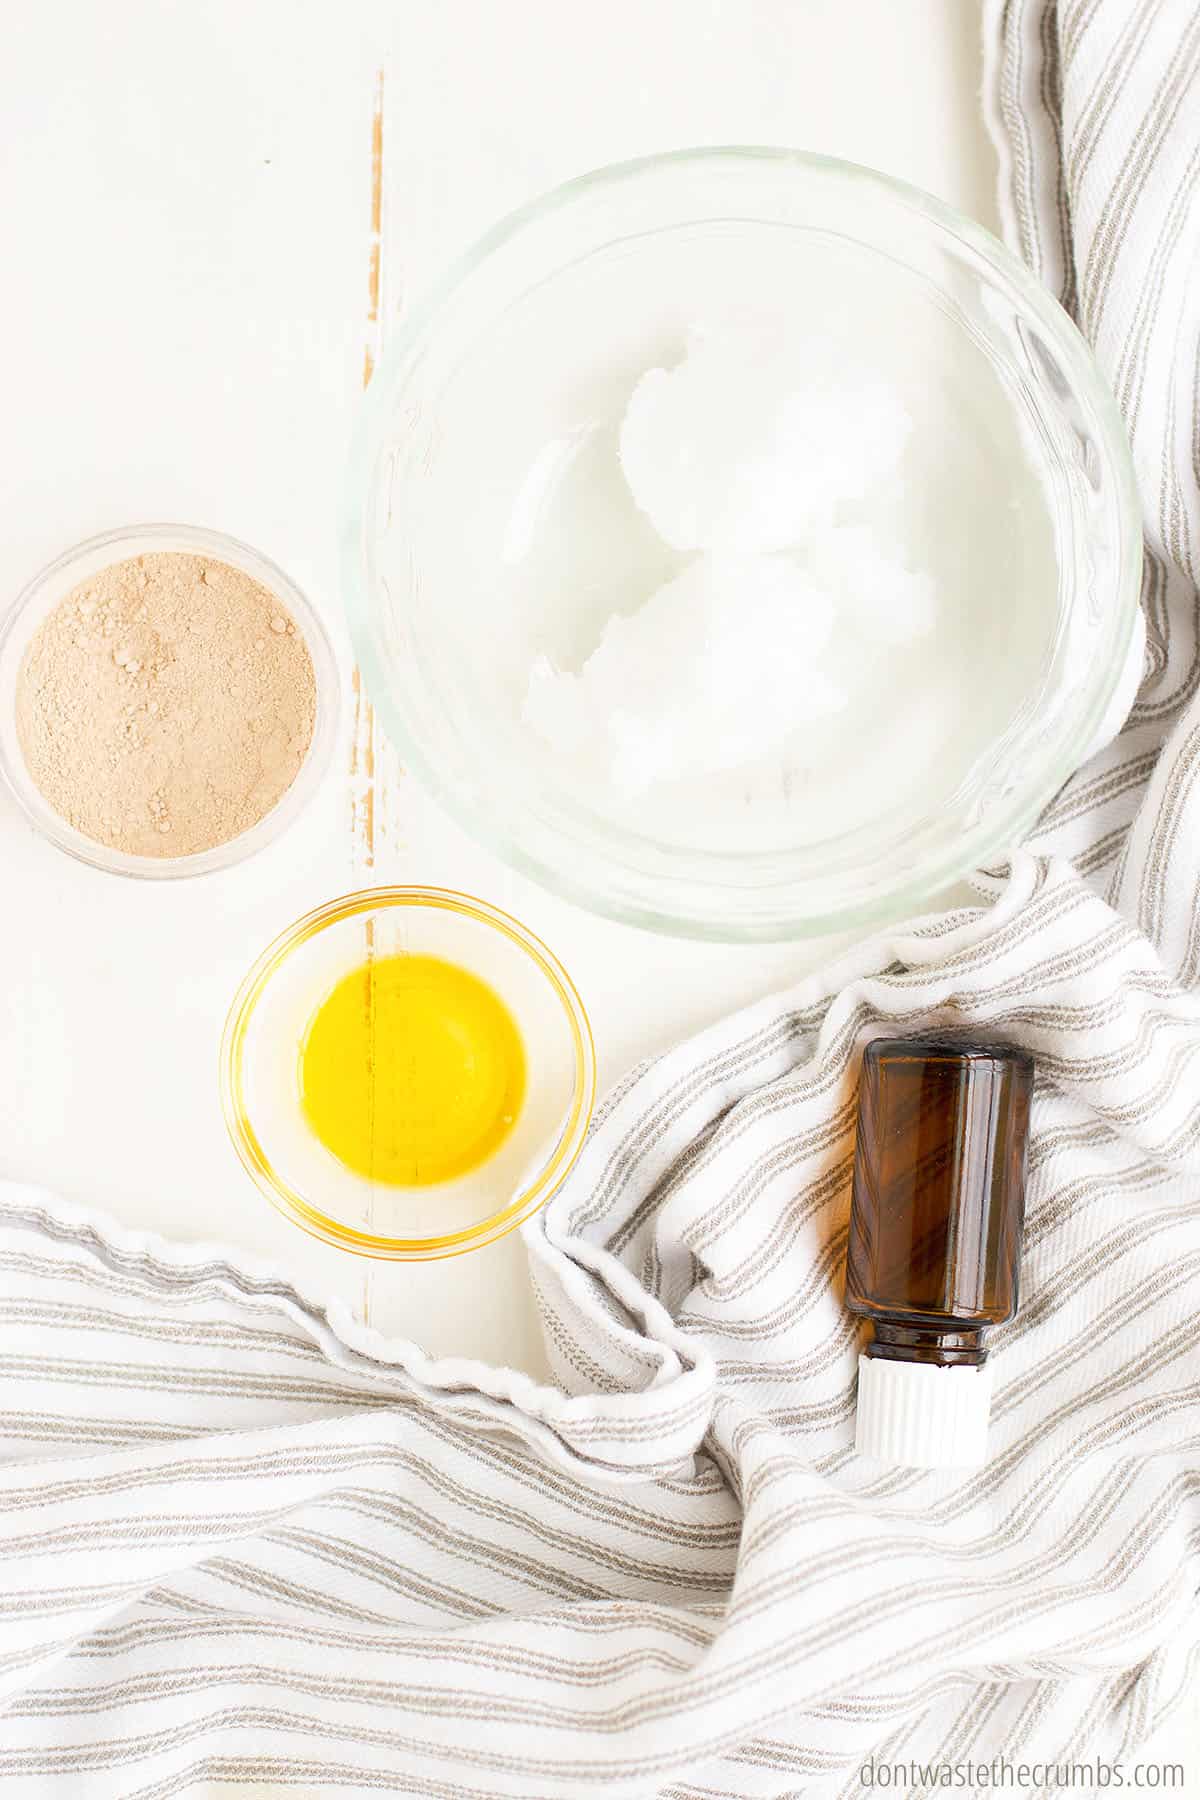
- 2 Tbsp coconut oil
- 5-15 drops nourishing oil (jojoba oil, sweet almond oil or vitamin E oil)
- 10 drops lavender essential oil or frankincense essential oil**
- 1/4 – 1 tsp homemade powdered foundation
Note: I really like Young Living essential oils and this is why however, I understand not everyone needs a subscription. Plant Therapy are a great runner up. You can find their shop here.
Method
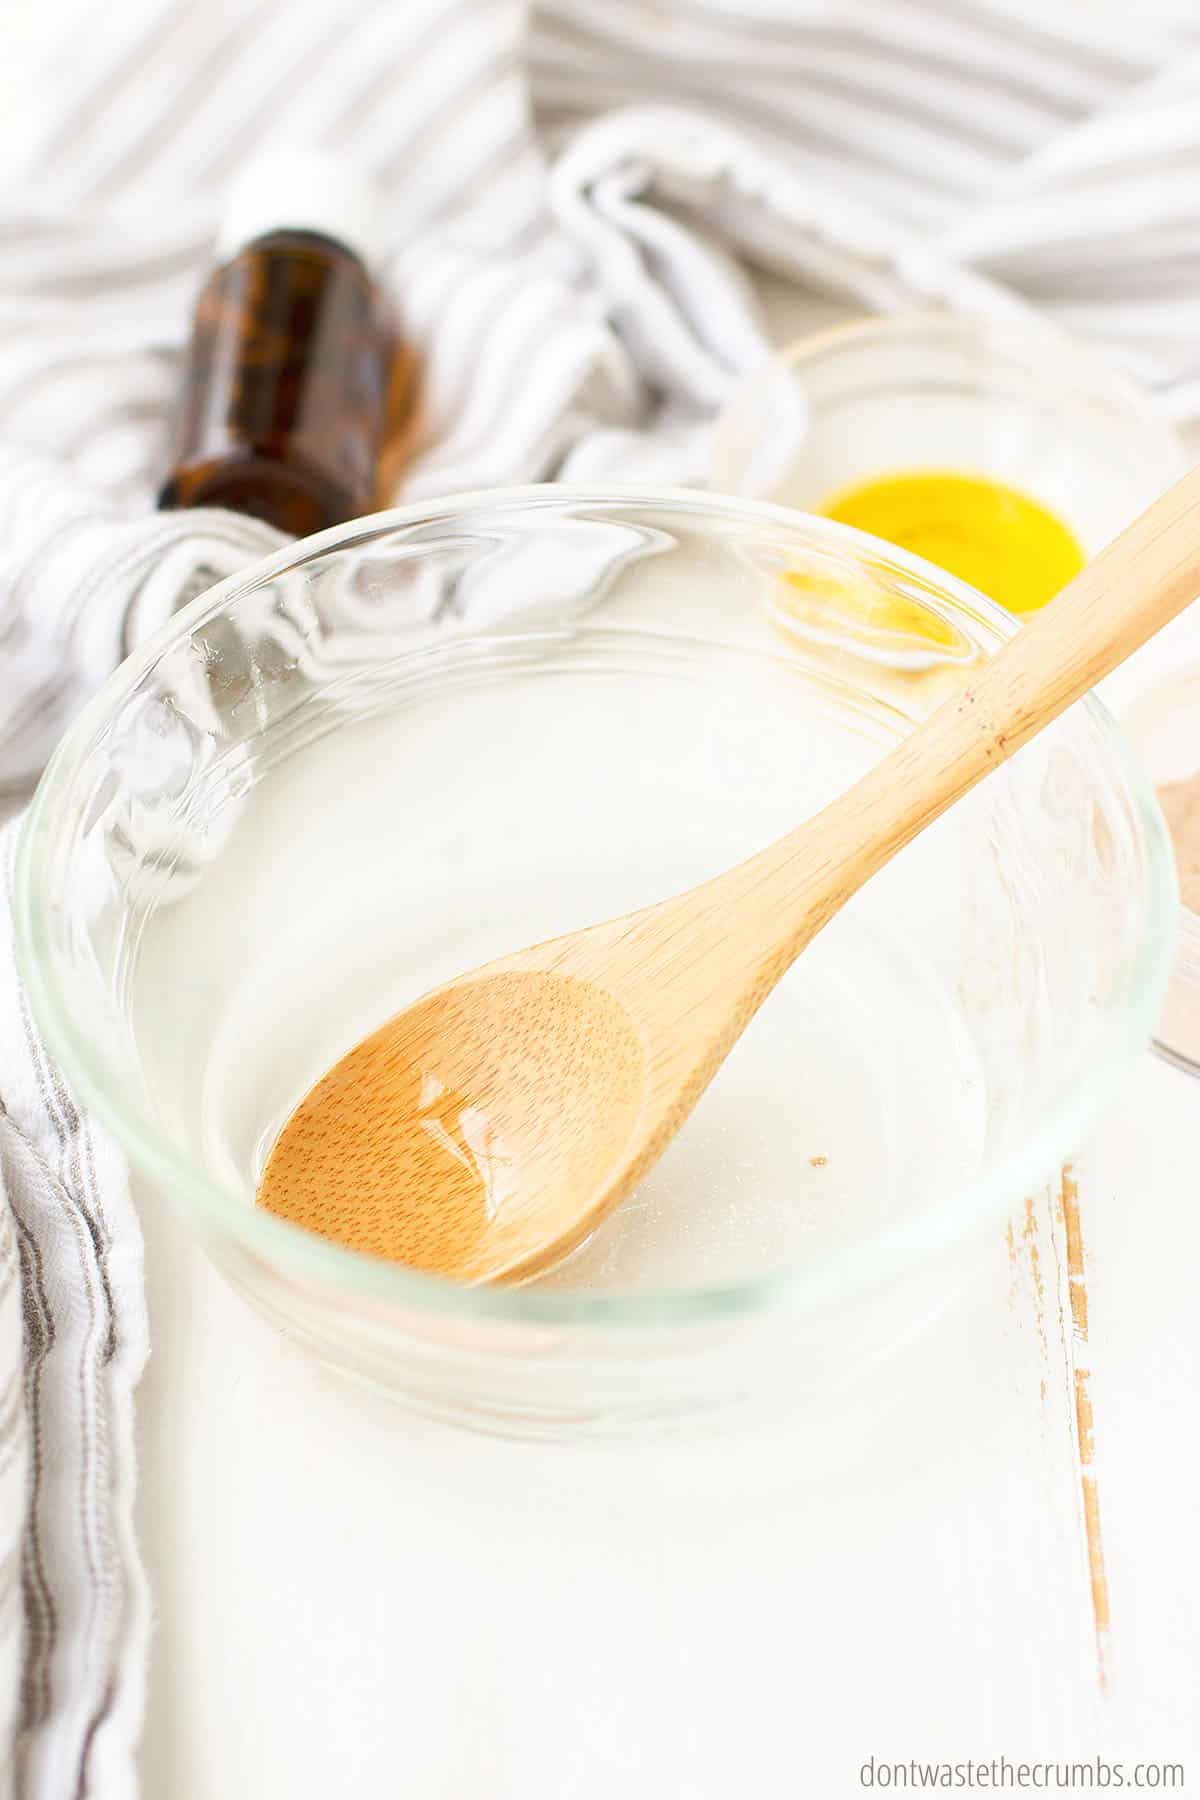
In a small glass bowl, melt coconut oil in the microwave or over a double boiler. Add 1/4-1 tsp of homemade powdered foundation, depending on how dark you want the tinted moisturizer to be. (You can re-melt the oils and add additional color if needed.)
- For oily skin, add 5 drops of nourishing oil, plus 1-2 drops frankincense or lavender essential oil.
- For normal and/or dry skin, add 15 drops of nourishing oil.
- You can also mix the levels of lavender essential oil and nourishing oils to best suit your skin type.
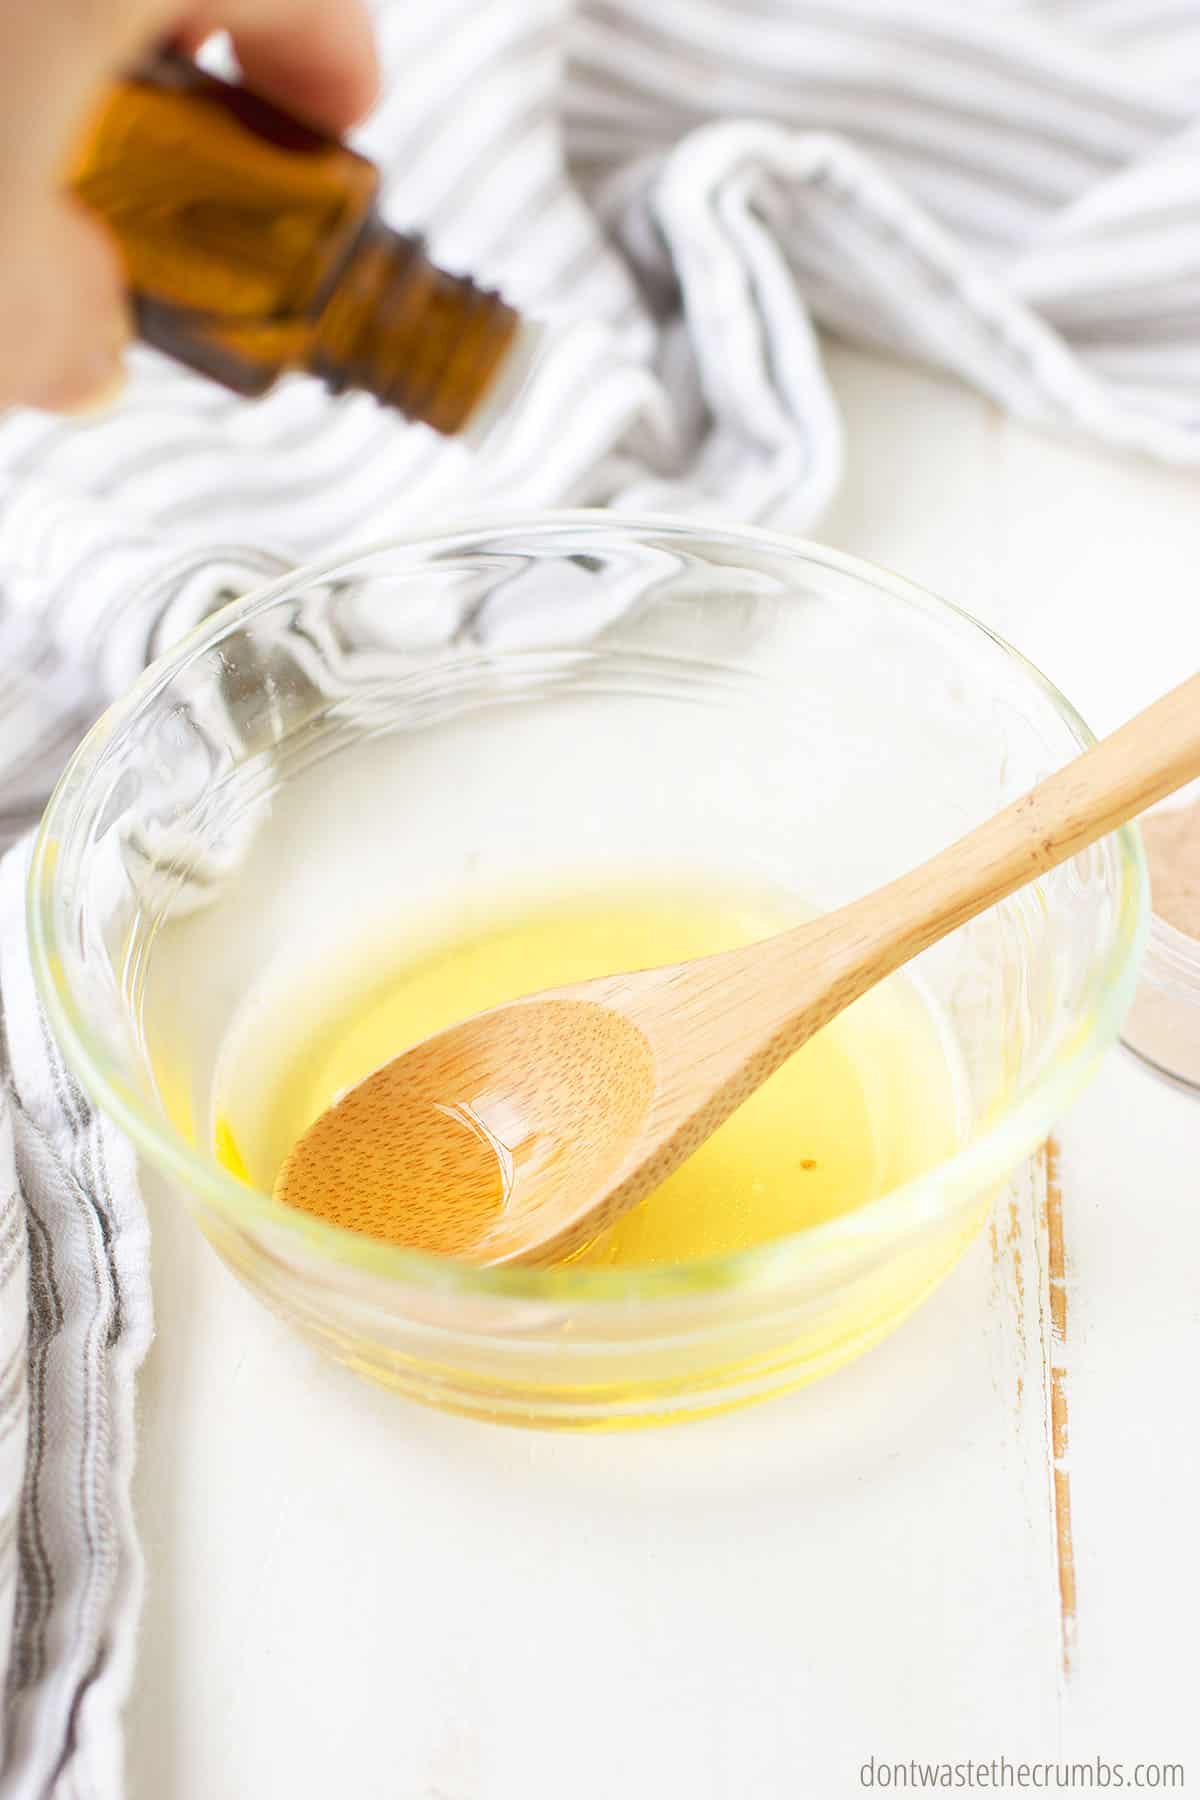
Using a whisk or a spoon, mix well. Allow to cool to room temperature and whip until the moisturizer is a smooth consistency and to ensure there are no clumps of color.
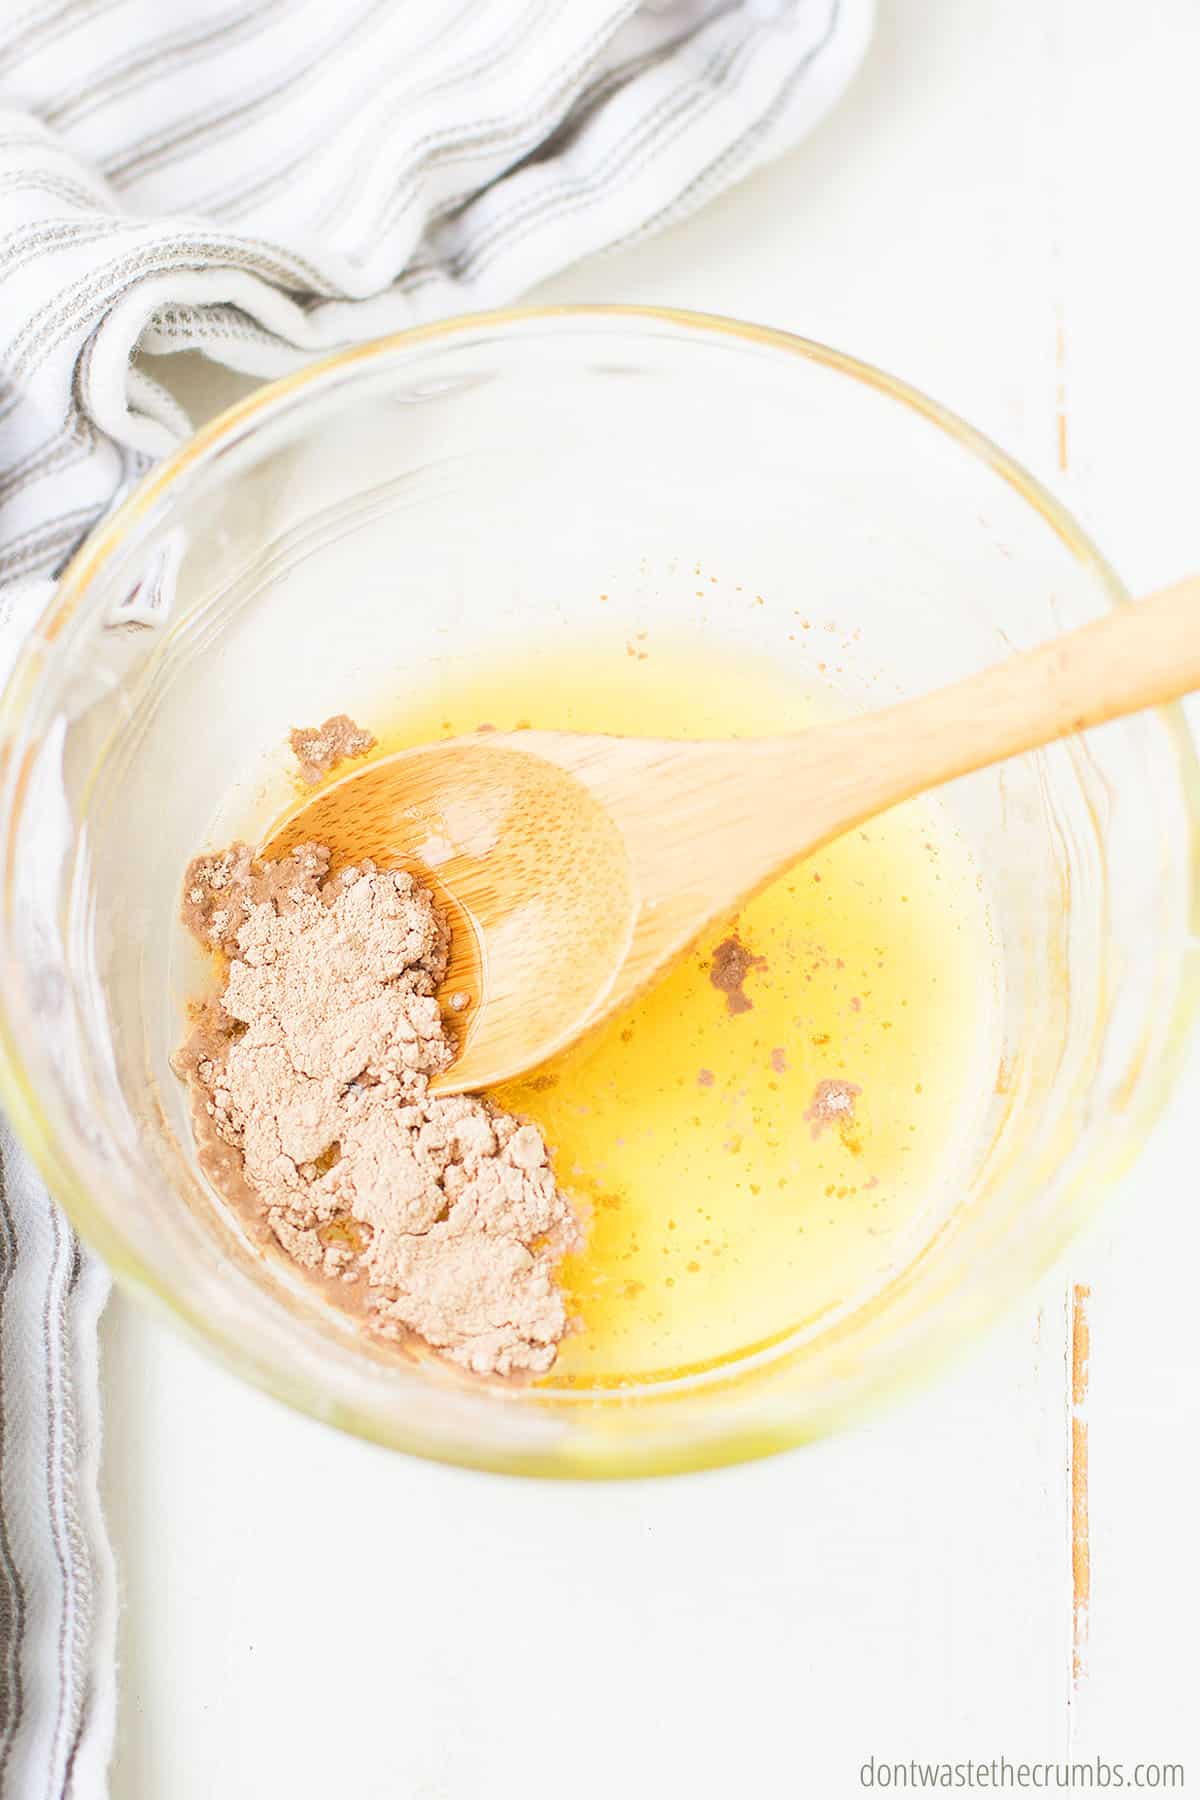
If you want a thinner moisturizer, add additional nourishing oils 3 drops at a time, up to 10 additional drops, stirring well after each addition. Spoon into the storage container and store with a lid. Placing the moisturizer in the fridge to speed up the cooling process.
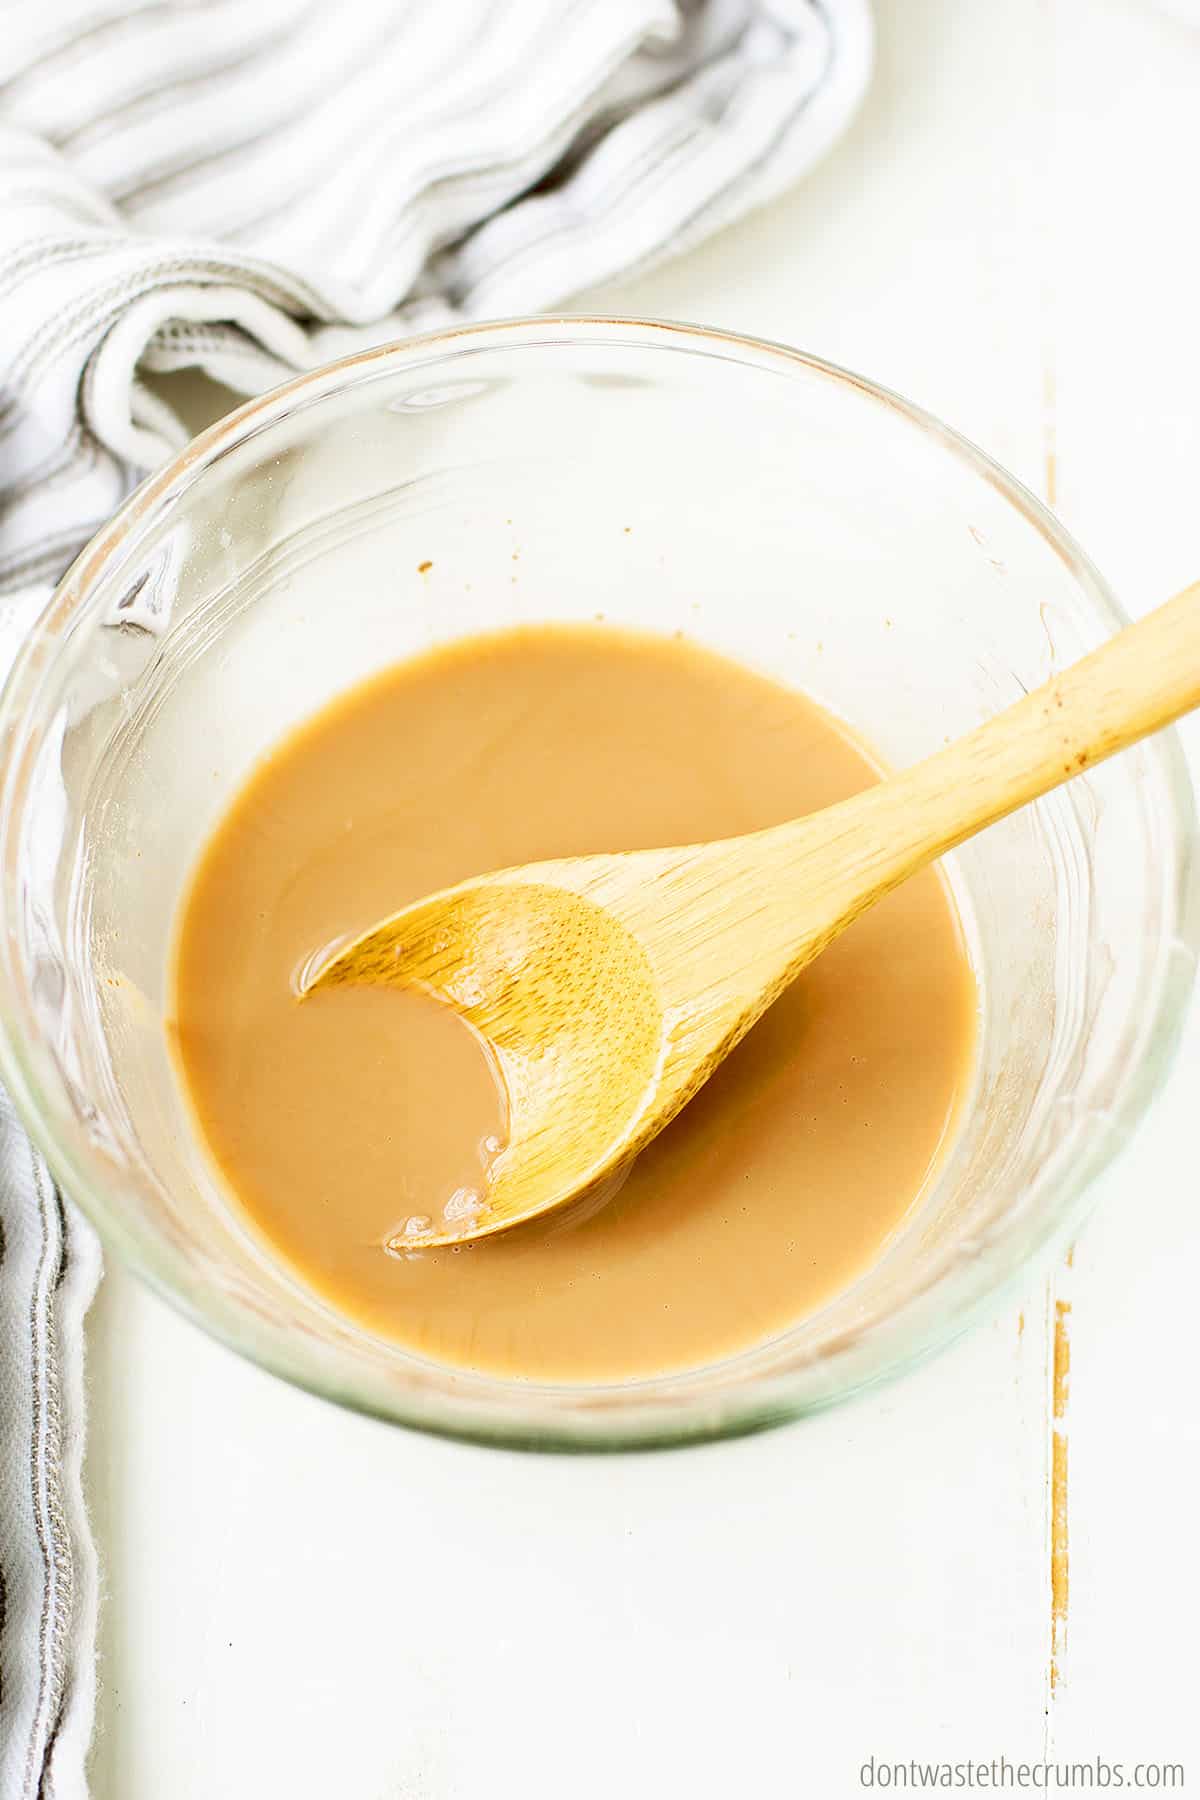
I’ve made three varieties of this, each with different amounts of powdered foundation. I actually prefer 3/4 tsp in this recipe, but I am confident that you can add up to 1 tsp if you prefer more color and coverage. I also use the full 10 drops of lavender oil and 5 drops of jojoba oil.
Cost Breakdown
This Physicians Formula tinted moisturizer costs $8.99 for a 1.5oz bottle. This is not the top of the line, but it’s not the bottom of the barrel either. It’s a good, run of the mill product that many of us would likely use since it’s an organic product by a fairly reputable company.
Are you sitting down? If not, you might want to. This next part could come as a shock.
You can make the same amount of homemade tinted moisturizer – customized to YOUR skin tone – for just $1.20. It’s only 80¢ per batch – talk about affordable!
By far, the biggest expense in this homemade tinted moisturizer recipe is the coconut oil. I buy my coconut oil from Amazon, but the key is that I don’t buy it exclusively for this recipe. I use this stuff All.The.Time. in the kitchen. Essentially, there isn’t an additional expense to make this moisturizer – I’m just using what I already have on hand. Hopefully you’re reaping the benefits of coconut oil and have some on hand too!
Some of the essential and nourishing oils can be costly up front, which is why I’ve offered a few to choose from. They’re all equally as nourishing, so use whatever you can afford or what you already have.
The other oils can be found for a reasonable price both on Amazon and in some local stores. Considering you’re only using 15 drops total and one 1oz bottle can make 590 batches… making one batch each month means one 1oz bottle will last you over three years!
Using Homemade Tinted Moisturizer
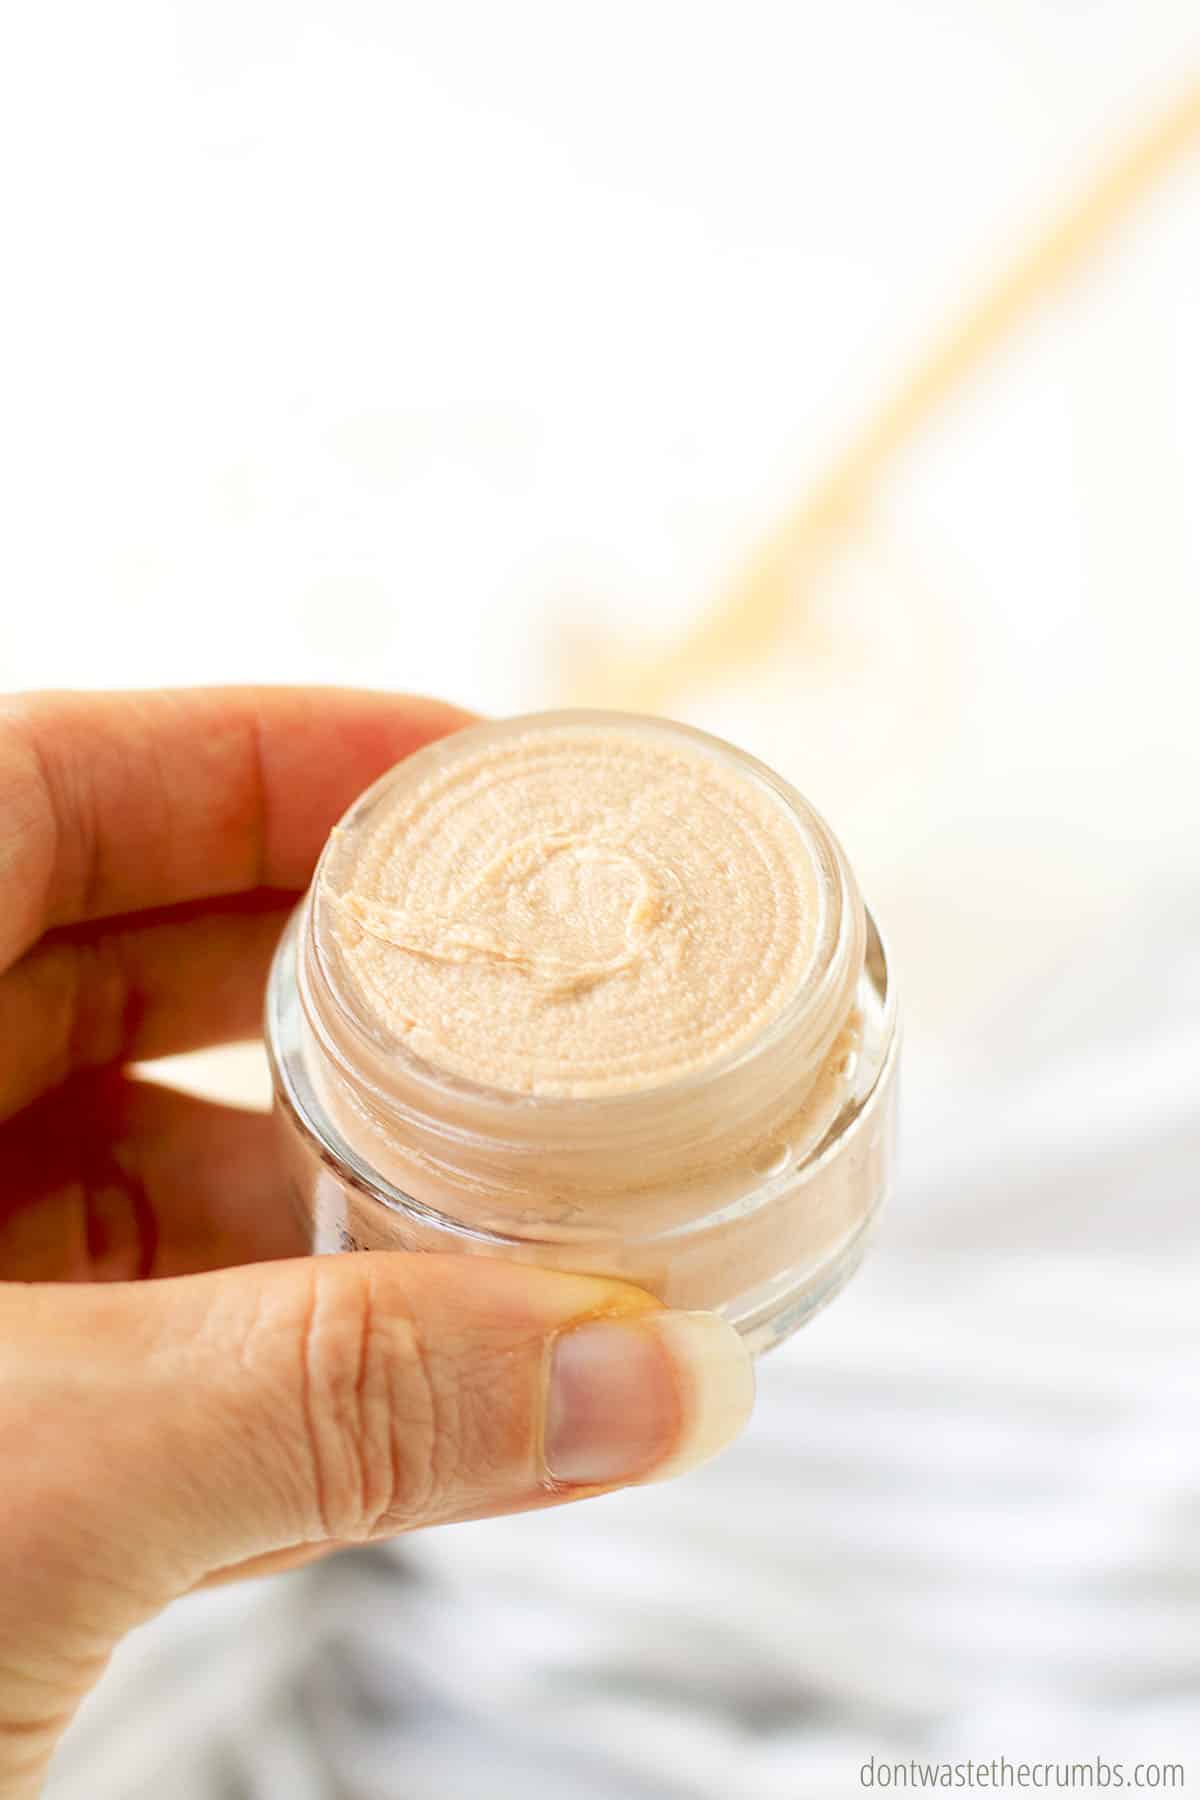
To use this moisturizer, use the back of your fingernail to scrape a little out of the tube. Put it on your face and rub over. Your body heat will melt the oil, making it easier to spread as you rub.
Another option is to rub the lotion with your finger while it’s still in the container, and then apply to your face. You’re essentially melting a little bit first before applying. I tried this method at first but felt like it was harder to get it out of the container this way.
Lavender essential oil will slightly dry out your skin, which is why it’s ideal for oily skin. Because of this though, you will want to exfoliate at least every other day. I keep a washcloth in my shower so every other day when I wash my face, I use the washcloth to gently wash and rinse the soap off. That little effort makes the world of a difference with flaking and drying skin.
Storing Homemade Tinted Moisturizer
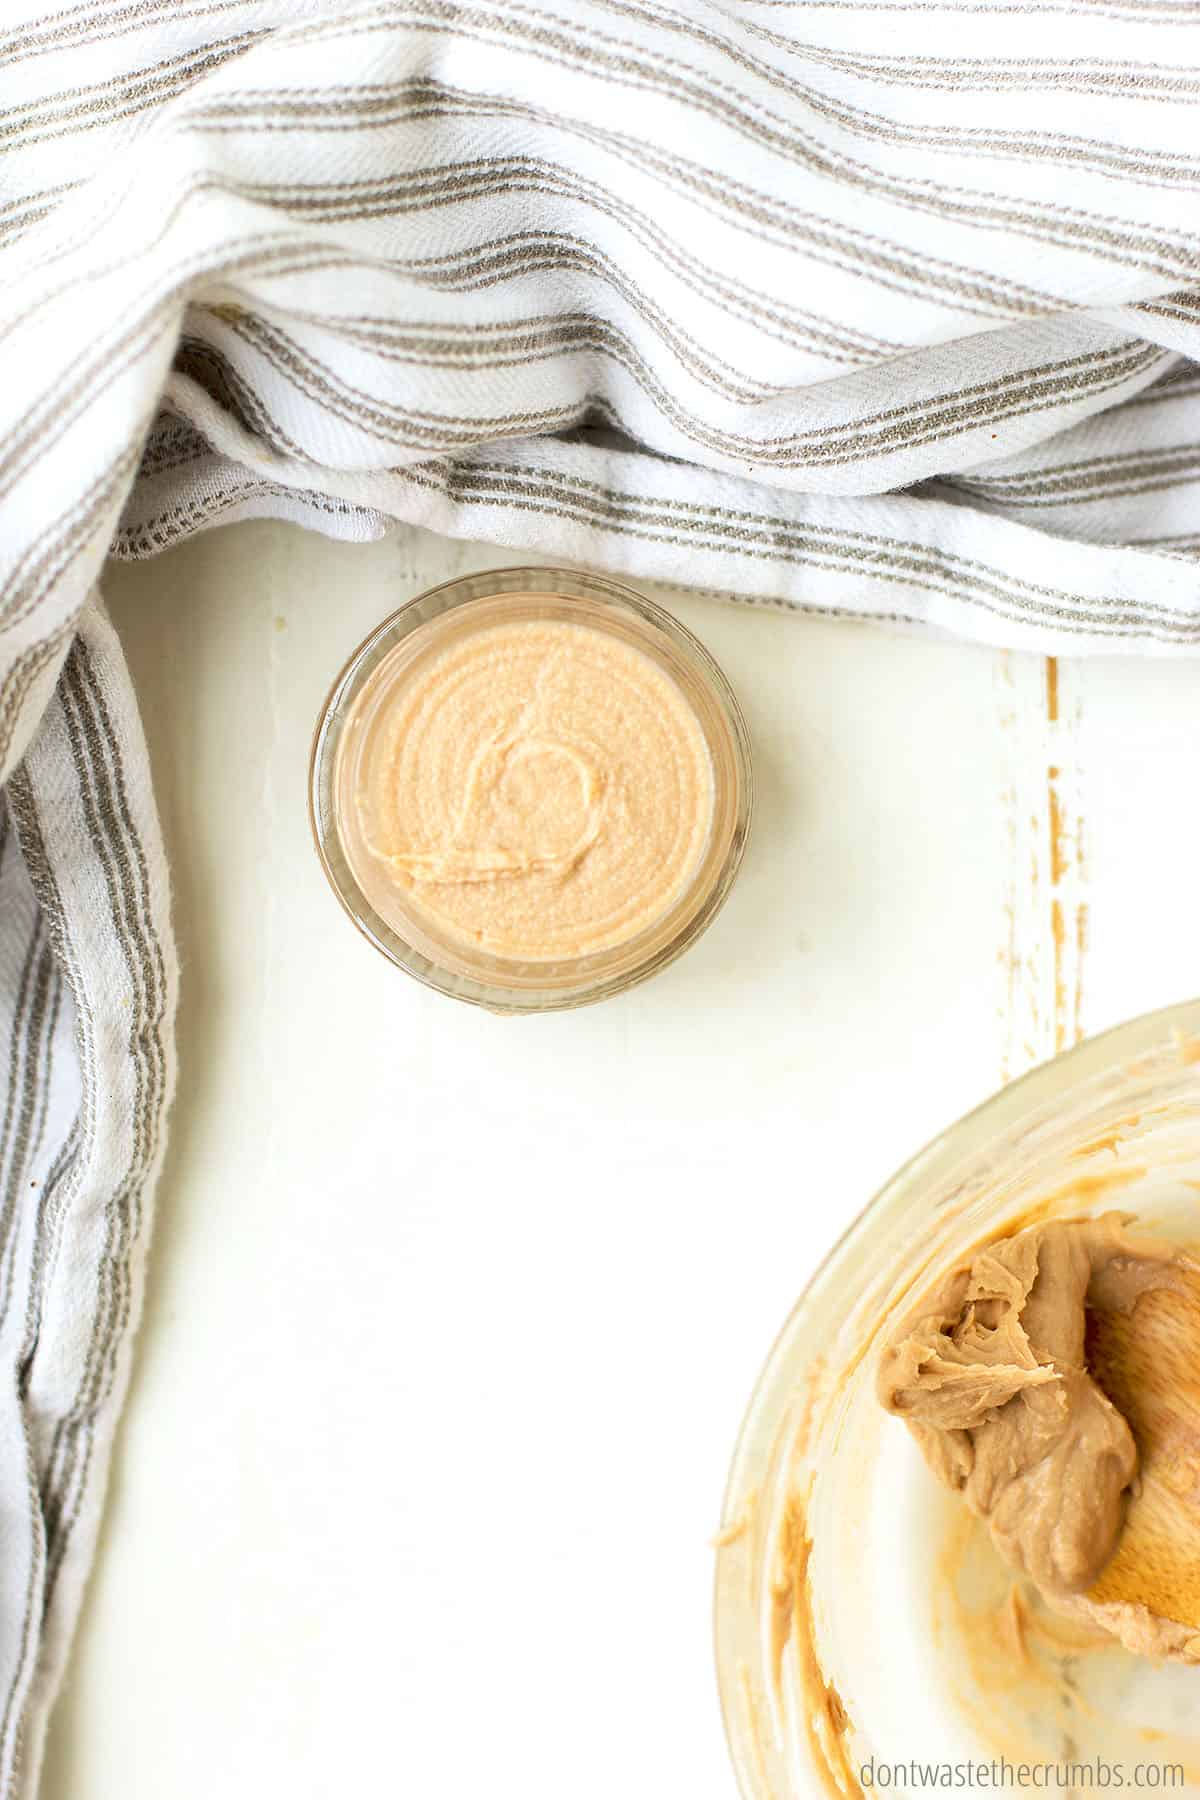
Depending on how much you make, you have a few different storage options:
- Mini Plastic Pots: This is what I use. They’re roughly the size of a single eyeshadow container and fit perfectly in my make-up bag. One batch of this recipe will fill two pots and because they’re plastic, I’m not concerned about glass breaking during traveling.
- Small Glass Jars: Each jar is 4oz, so you’ll have to make at least two or three batches of moisturizer to fill a entire jar. I wouldn’t recommend this option, but it will work if that’s what you have on hand.
- Mini Glass Jars: Similar to the small glass jar, except that each jar is only 2oz and comes with a plastic lid. This would be much better suited for a single batch.
If you live in a very warm climate, you will want to keep this in a somewhat cooler place. Coconut oil solidifies below 76F, but adding the additional oils reduces this temperature just a bit. I keep mine in my make-up bag, under the bathroom sink and that seems to do well.


Hi Tiffany!
I’ve just recently discovered your page, and I have just been LOVING all of your posts. I am super excited to try this recipe and the powdered foundation. Thank you for putting up such a motivating blog! I’ve already used your shampoo and handsoap recipes for our house (though I’m going to try the goat’s milk soap next). 😀
Hello Sara!
We’re so glad you enjoyed the posts mentioned! Thank you for posting. 🙂
I created a brow pomade with coconut oil but I wouldn’t would Ike it to be a little more matte. Do you have any tips to matte the formula more?
I’m sorry Shaina – I’ve never made a brow pomade before!
I love your logic. 🙂 This + zinc oxide for tinted sunscreen would be EPIC as well !
Oh thanks for that idea! My (very toxic) current makeup has sunscreen- so that would be nice to keep that up! Have you made this recipe and added the zinc oxide yet? Just wondering how it turns out. 🙂
Do you recommend any particular brand of sweet almond oil? One of the brands on Amazon says “hexane free”. Is that something I should look for? Thanks!
Hi Autumn! To be honest, I haven’t looked into hexane or many brands of sweet almond oil. Of all the things that I worry about for me and my family, this one is pretty low on the priority list. Not to make this sound unimportant at all, but there’s only so much brain space, you know? It’s just one thing I’ve chosen not to be overly concerned with at the moment. 🙂
Hi Tiffany, I’d like to make a non-tinted version of this–do you think it would work to sub the homemade tinted foundation powder with 1/4 tsp bentonite clay? Or should I also be adding arrowroot powder and such as well? Thanks!
Hi Margaux! You can definitely sub bentonite clay for the foundation powder. You *can* add arrowroot powder, but it would only be to help thicken the moisturizer up a bit. If you’re okay with it being quite soft, just the clay would be fine!
Thank you so much, Tiffany! I appreciate the response. I also just bought goat milk soap from Bend Soap and I’m super excited about it, thanks for the recommendation!
You’re very welcome!
I’m currently cooling my moisturizer in the fridge, but I noticed one problem. IN order to get the powder foundation to not be too light I had to add a fair amount of spices. Only trouble is when I add this mix to the coconut oil it darkens several shades. I’m interested to see if it works but have a feeling it makes a better artificial tanning lotion than a tinted moisturizer. Tips on this? Thank you.
Hi Lauren! I think you might notice that as you apply the moisturizer, it will look darker in the container than it does on your face. Remember that the colors are concentrated in that small pod, and you only use a pea (or two) sized amount to cover your entire face. 🙂
HELLO,
I AM EXTREMELY EXCITED ABOUT MAKING ALL OF MY OWN MAKE UP PRODUCTS BUT DO HAVE ONE QUESTION,
BECAUSE I HAVE OILY SKIN NORMALLY I AM IN IN THE PROCESS OF MAKING A MATTIFYING MOISTURIZER AND WAS WONDERING IF I COULD REPLACE THE COCONUT OIL AND USE THE MATTE MOISTURIZER INSTEAD FOR THE TINTED MOISTURIZER RECIPE?
Hi Vanessa – I haven’t tested that myself, but you’re welcome to try!