Save money with an indoor clothesline! Quick & easy to install, line dry your clothes despite small yards, HOA rules, and bad weather.
Did you know you can reap all the benefits of line drying your clothes by building an indoor clothesline?
I had no idea, and to think that all these years, I could have been line drying my clothes inside AND making my own laundry detergent!
INDOOR CLOTHESLINE
As it turns out, you don’t have to have a ton of space or even your landlord’s (or HOA’s) permission to set up a line to dry your clothes. There are many ways you can make it happen, with just a little bit of creativity!
Now I know there are some good portable options for clothes drying indoors that don’t require much building or using complex tools. Things like drying racks, wall-mounted retractable clotheslines, or accordion-style wall-mounted racks.
These can be good options depending on your space, your volume of laundry, and your needs, but there is a great money-saving option that you can make yourself requiring only the skill of turning a screwdriver!
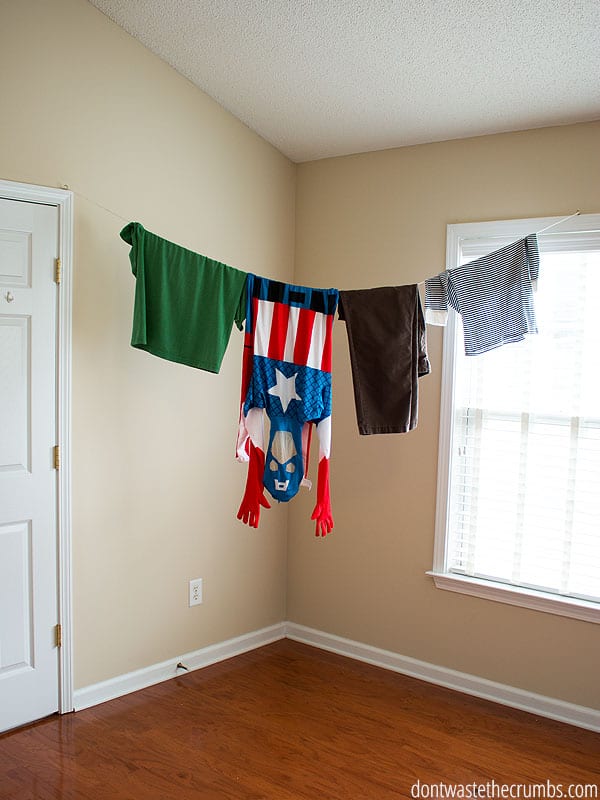
HOW TO MAKE AN INDOOR CLOTHESLINE (STEP-BY-STEP)
STEP 1. EVALUATE YOUR SPACE FOR AN INDOOR CLOTHESLINE
Before you actually build the indoor clothesline, you’ll need to determine where in your home or apartment an indoor clothesline wouldn’t be in the way of your day-to-day living, with enough sunlight and/or air circulation for the clothes to dry. A living room is not the best spot!
All you really need is a solid piece of wood at each end of the line, so use your imagination! Consider spaces such as:
- infrequently-used door openings
- the space between the joists in your basement (if your basement has an open ceiling)
- in any open loft space like the foyer entryway
- in between the railings of stairs or even above the stairs (depending on the layout of your home)
- mounting on the wall in an infrequently used room (like the guest room)
- above the washer and dryer
- underneath the front porch or back porch (outside, but still a good idea!)
- in the bathroom over the bathtubs
You’ll need to know how much line to buy, what type of hardware will best suit your plans, and how much of the hardware you’ll need, so take a few measurements of the space you’ve chosen.
Generally, you’ll need about 8 inches of space between each line and a way to secure the line at each end.
STEP 2. CHOOSE THE HARDWARE FOR AN INDOOR WASHING LINE
All of your big box home improvement stores will have a great selection of what you can use to build your indoor clothesline. Check the aisles that have rope, chains, and hooks. In my local Home Depot, it is the same section where you buy the screws, nuts and bolts.
No matter how your indoor clothesline will be set up, here’s a basic list of components to choose from and how they can be used:
- 1/8” coated cable: Like typical clothesline rope, but stronger
- Cable Clamps: Depending on your knot-tying skills, these little pieces of hardware will let you create a loop on the end of your line to put hooks on
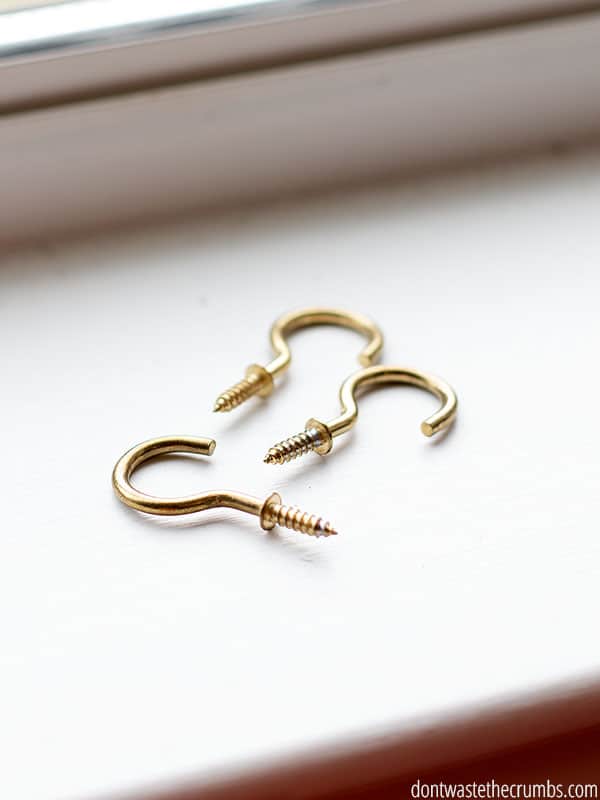
- Eye screws and Hook screws: These are small, unobtrusive, strong, and easy to install. Installed in a solid piece of wood (joist, wall stud, etc.), these will give you places to which you can hook your lines (permanently or temporarily).
- S-hooks or Carabiners: With the loop you’ve created on the ends of your lines, you can use S-hooks or carabiners to attach them.
All of these components are inexpensive, easy to install with very basic tools (screwdriver, hammer, and/or wrench), and work great for permanent or temporary lines. Consider buying stainless steel, or at least zinc-coated components. They will hold up better over time.
Also, buy plenty of line and some extra hardware to be safe, then plan to return what you don’t use. And don’t forget the clothespins!
Note: The coated cable, if sold by the foot, is often not returnable.
STEP 3. INSTALL YOUR FAMILY CLOTHESLINE
Depending on your creativity, there are myriad ways to create an indoor clothesline. Here are three basic ideas on how you can use the hardware mentioned above to make an indoor clothesline in your home:
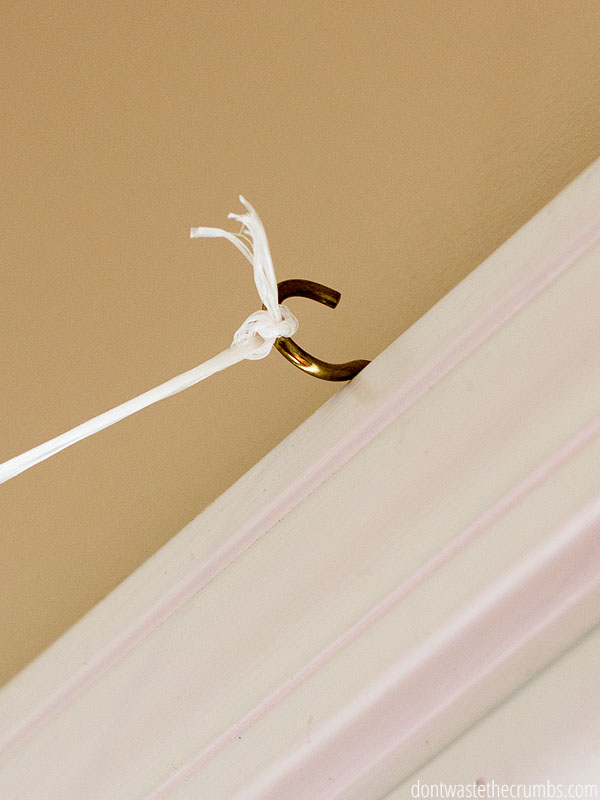
- Screw an eye screw or hook screw into the bottom of a floor joist for the floor above and screw another one 6-8’ away. String line between them.
- Screw an eye screw or hook screw into the bottom of the handrail on opposite ends of an open railing. Use a carabiner or s-hook on both ends of the line to make it removable when not in use.
- Screw an eye hook at opposite sides of an infrequently-used door opening, near the top (be sure you do this on the side of the door that won’t interfere with its ability to open/close). String a line between them (permanently or temporarily).
Installation Tip: Use a screwdriver as a lever to install these hook screws. If you have a drill, create a pilot hole. If you don’t, use a hammer to get the screw started, then tighten it down with the screwdriver.
SAVE WITH AN INDOOR CLOTHESLINE
You don’t have to be hindered by an HOA or not having a yard in order to line dry. Building an indoor clothesline is a great way to save money and take advantage of the sun’s natural disinfecting and bleaching power. By investing a few dollars and a little creativity, you can set up an indoor clothesline (or few) that will serve you well, and help save money.
FAQs For a DIY Clothesline Indoors
Can you use a clothesline indoors?
Yes! It’s very easy to set up a simple clothesline indoors to save money and maintain your clothes. Just follow the steps in this post for a quick and easy alternative to a drying rack.
What is an indoor washing line called?
An indoor washing line is simply another name for an indoor clothesline, or a clothesline indoors. Of course, there are indoor installations called Sheila Maids, but this simple DIY indoor washing line is much more budget-friendly.
How do you dry clothes without a dryer?
Just make a quick & easy DIY clothesline if you don’t have a dryer. Follow the simple steps in this post for a cost-effective alternative to a dryer or a drying rack.
Want a Cleaner Laundry Soap?
Making your own laundry detergent is a great option for non-toxic laundry. But I get that DIY isn’t everyone’s cup of tea.
There are a few brands of laundry detergent out there that have non-toxic ingredients. One that I like is Truly Free. They have a variety of household cleaners, laundry soap, kitchen cleansers, and related products. All made in America, free from toxins, and sold in re-usable packaging!
You can use the coupon code CRUMBS30 to get 30% off anything in their shop. This is a HUGE discount! No subscription required. Simply order through this link.
More Money Saving DIYs
- Homemade Laundry Detergent
- DIY Homemade Stain Remover
- Homemade Bleach Alternative
- DIY All-Purpose Cleaner
- DIY Furniture Polish


When I have dried clothes inside they end up being stiff. How do you avoid this?
Drying laundry inside a house may be the only option for some. Be aware though, that damp air has to go somewhere & this can make your living space colder & damp. Best if windows can be left open if possible.
That’s a good observation, and something not everyone thinks about. The extra moisture can be good or bad, depending on your climate. I found this site searching for ideas to dry my clothes inside and help boost the humidity in our house. Now that temps are below freezing outside, the ground source is running more often and the humidity level gets down to 20% or lower if I don’t run a humidifier. We have wood ceilings and floors, and they need a certain humidity level to stay in good condition. Not to mention we humans need a good amount of moisture in the air to stay healthy and avoid winter sinus problems. 🙂 Anything I can do to add moisture to the air is a bonus. Making broth, opening the dishwasher after it runs and while it’s still steaming hot, and drying clothes out in the open rather than in the dryer. 🙂
I use a dehumidifier in the room where I dry clothes – it takes longer but with some sunshine though the window it ensures you can still dry things in winter without causing a mould issue – and most things dry within 24 hours. Then I can use the water on the plants and it’s still a handy device to deal with excess humidity or condensation over summer/winter. It’s great because it’s actually fixing the problem of excess humidity – vs a dryer which is usually unvented and may lead to mould over time.
Love the article. I went looking for a quick solution to line drying my clothes indoors and found this site. I greatly enjoy the information and the clear way it was presented. Thanks!
Also wanted to say: I have been using basic twine for all my clothes lines cause it’s cheap, or free (IKEA!). And it lasts me…..well at least a year in all weather and moving it around. Plus i have two kids and cloth diaper so I CONSTANTLY have laundry drying somewhere.
Good luck! God bless!
Glad you found it helpful Amanda!
I’ve been line drying our clothes for many years without a “proper” outdoor clothesline. I love the fact that it saves electricity and makes the clothes smell fresh. My main set-up is hanging them on hangers from the wire shelves in the laundry room and on a makeshift clothesline tied between the posts on the back porch, which can easily be removed. If it is wet outside, I will hang clothes on hangers from the shower rod in the bathroom or just drape them over the backs of chairs at night.