Simple recipe for homemade fruit leather and homemade fruit roll ups. No sugar added and no dehydrator needed. Perfect for a snack or packed school lunch!
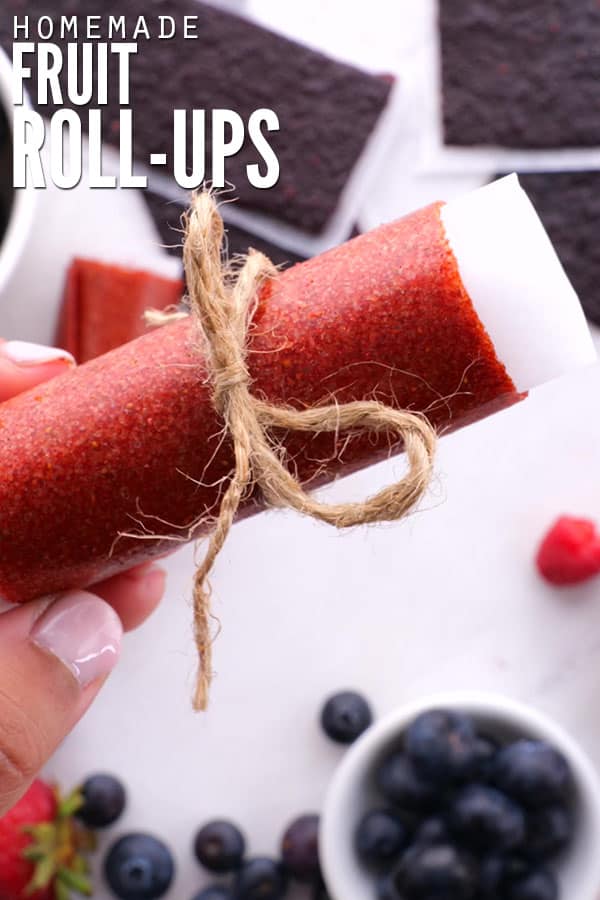
After you’ve been reading food labels for a while, you start to become a bit immune to the junk that agribusiness puts in their “food-like products.” Despite this, every now and then my eyes do a double-take and only one word can accurately describe what’s going through my brain:
“Really?!”
This happened for me while reading the list of ingredients on a package of strawberry fruit roll-ups.
Here’s why: I was getting creative with recipe ideas when were gifted several pounds of fresh berries. We began to preserve them the best we could with our small freezer and dehydrator, but once those were full and there were still a lot of berries, I turned to the oven as a make-shift dehydrator and made homemade fruit leather (aka: homemade fruit roll-ups).
I mean, really?! Do manufacturers really think that they can put all that sugar and additives into a cute little package and think we consumers will turn a blind eye and assume they’re healthy because they say “fruit” on the box?
Yes they do – because they keep doing it!
Homemade Fruit Leather and Fruit Roll-ups
Until then, I’ll keep making my own fruit roll-ups because:
- it’s SO easy.
- they’re SO good.
- it’s SO frugal!
Seriously folks, if I knew how easy it was to make homemade fruit roll-ups, I would have done this AGES ago when my kids were teething and gumming food.
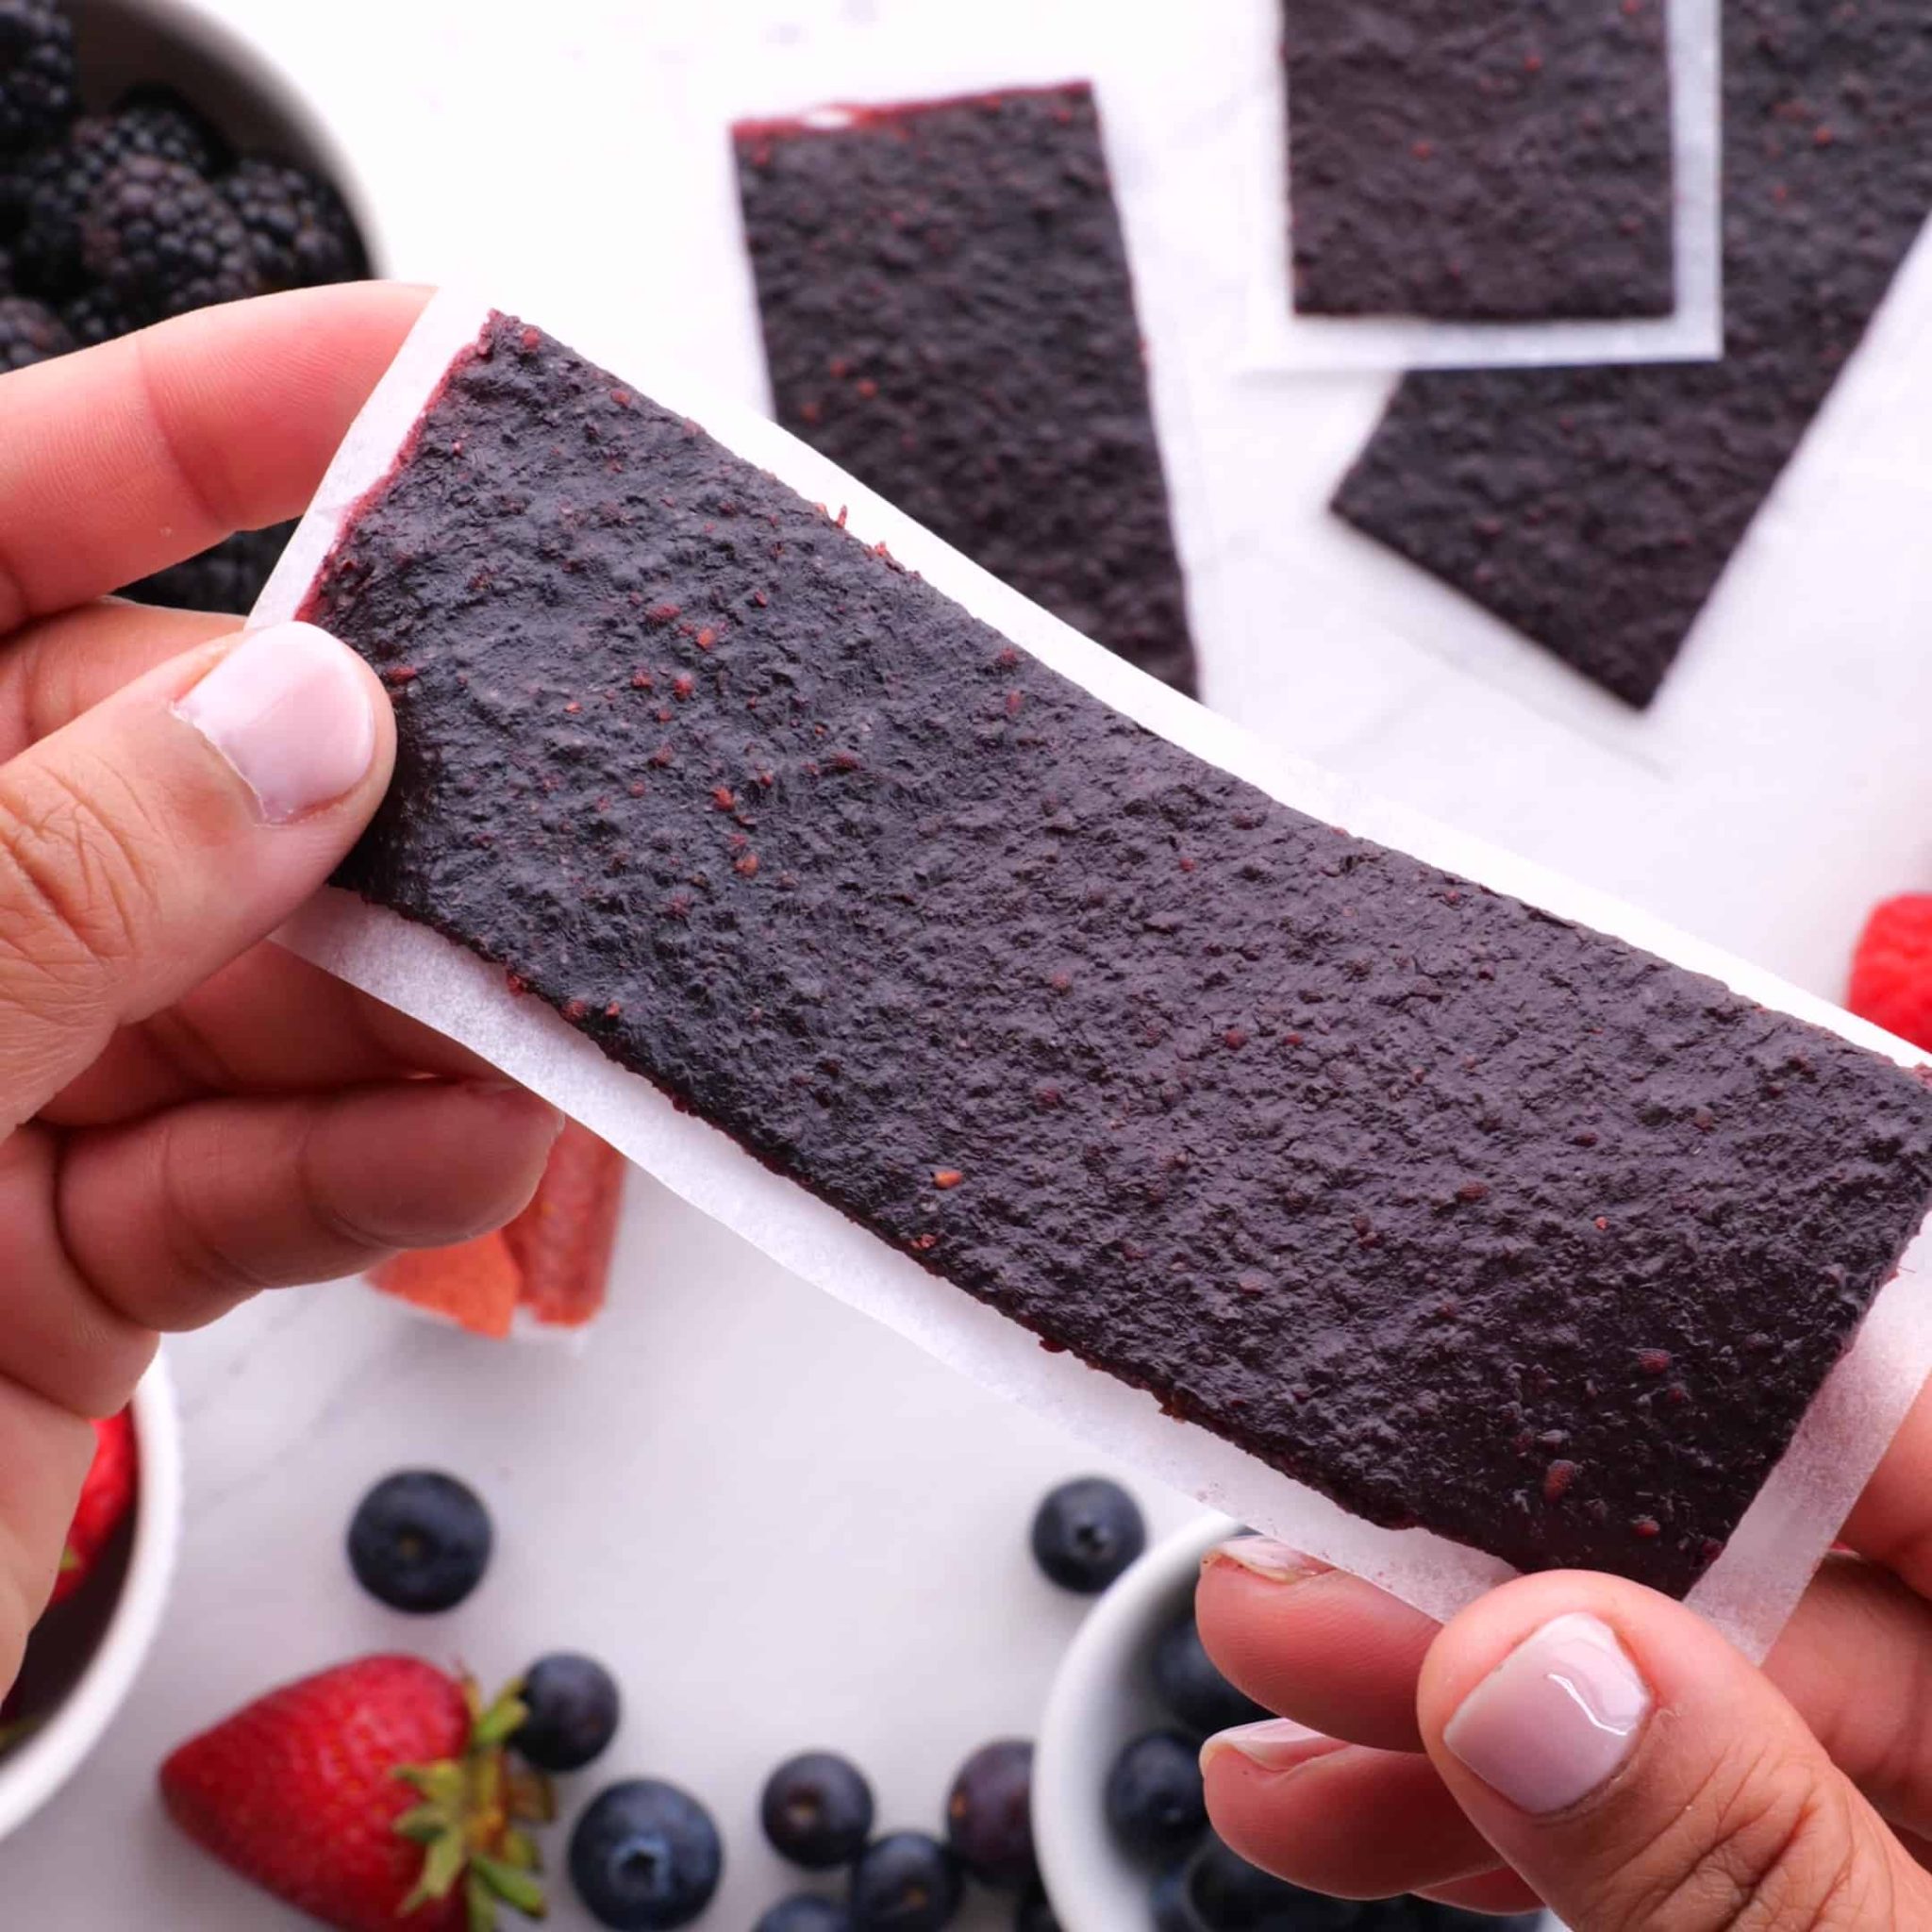
Simple Ingredients For Fruit Leather and Fruit Roll Ups

- fresh fruit, washed and dried, pitted
- lemon juice (optional, if using light-colored fruits)
Note: See recipe card for details – the measurements are slightly different for fruit leather and fruit roll-ups.
How to Make Fruit Leather and Fruit Roll-ups
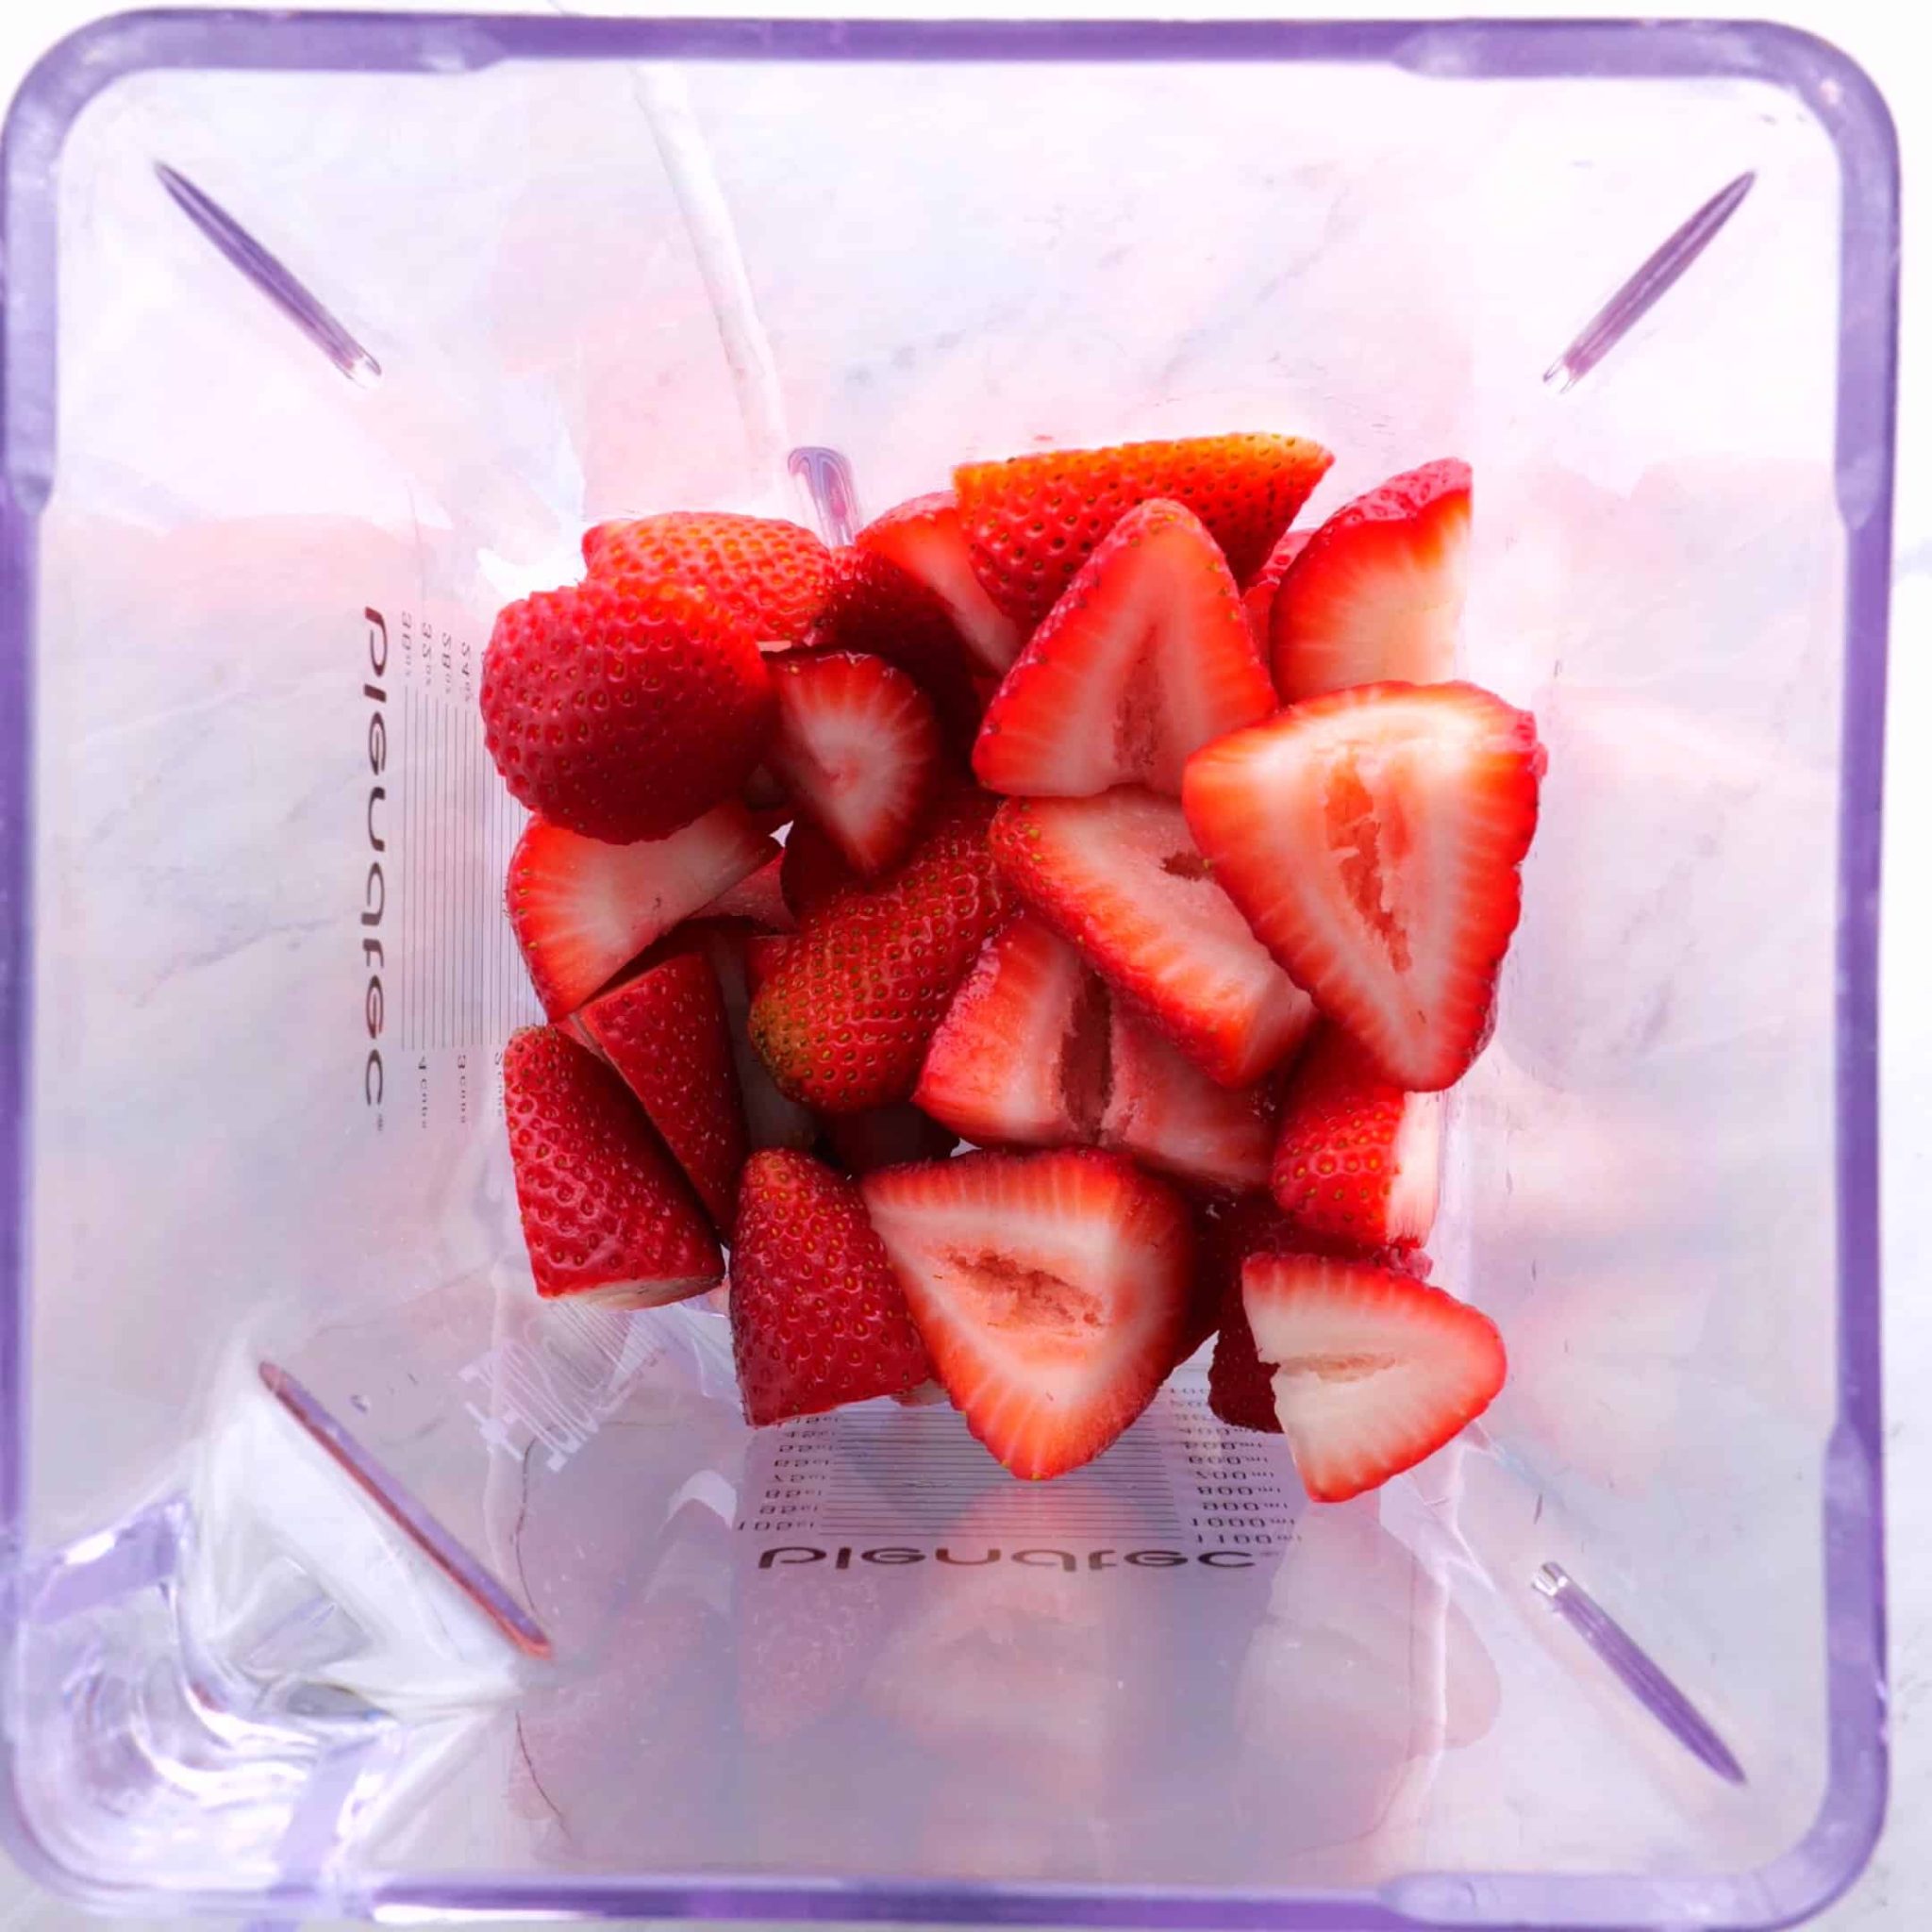
Step 1. Puree foods in a blender or food processor until smooth. If the fruit contains seeds (like strawberries or blackberries), you can press the mixture through a fine mesh strainer to remove them.
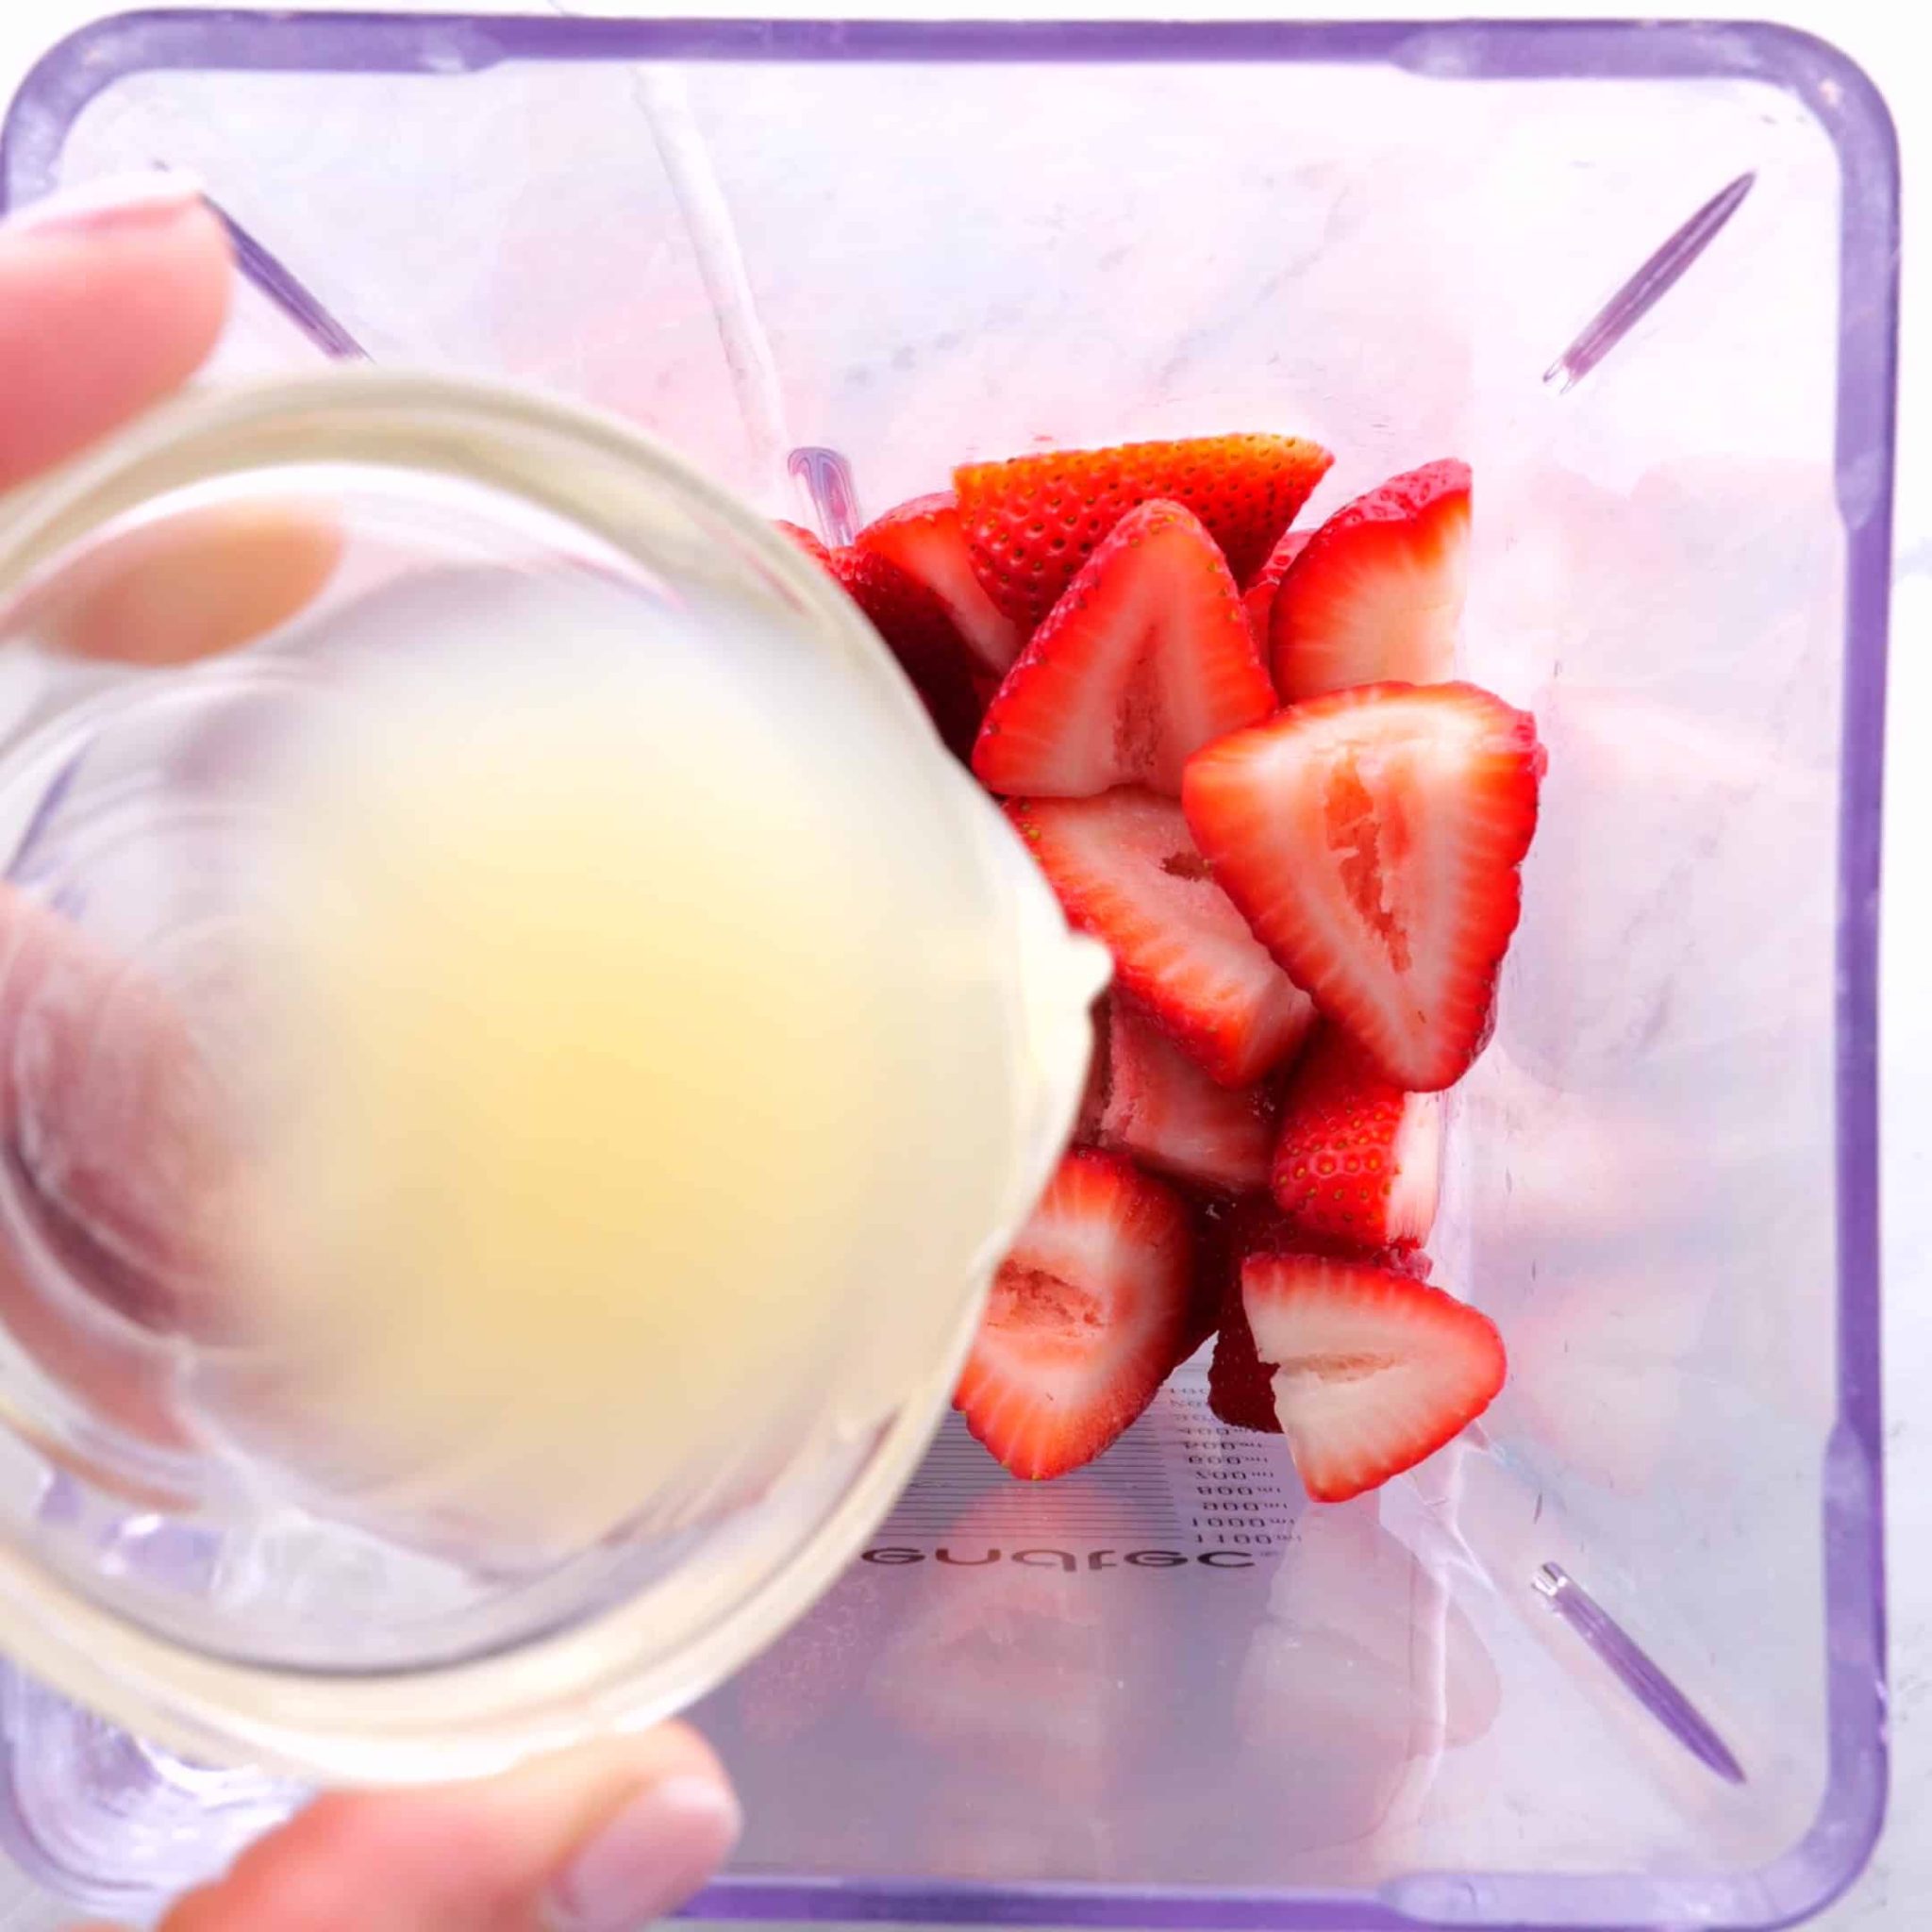
Step 2. Line a baking sheet with either plastic wrap, parchment paper or a silpat mat. If you’re using plastic wrap or parchment paper, allow just enough to overhang so the roll-up is easy to remove later.
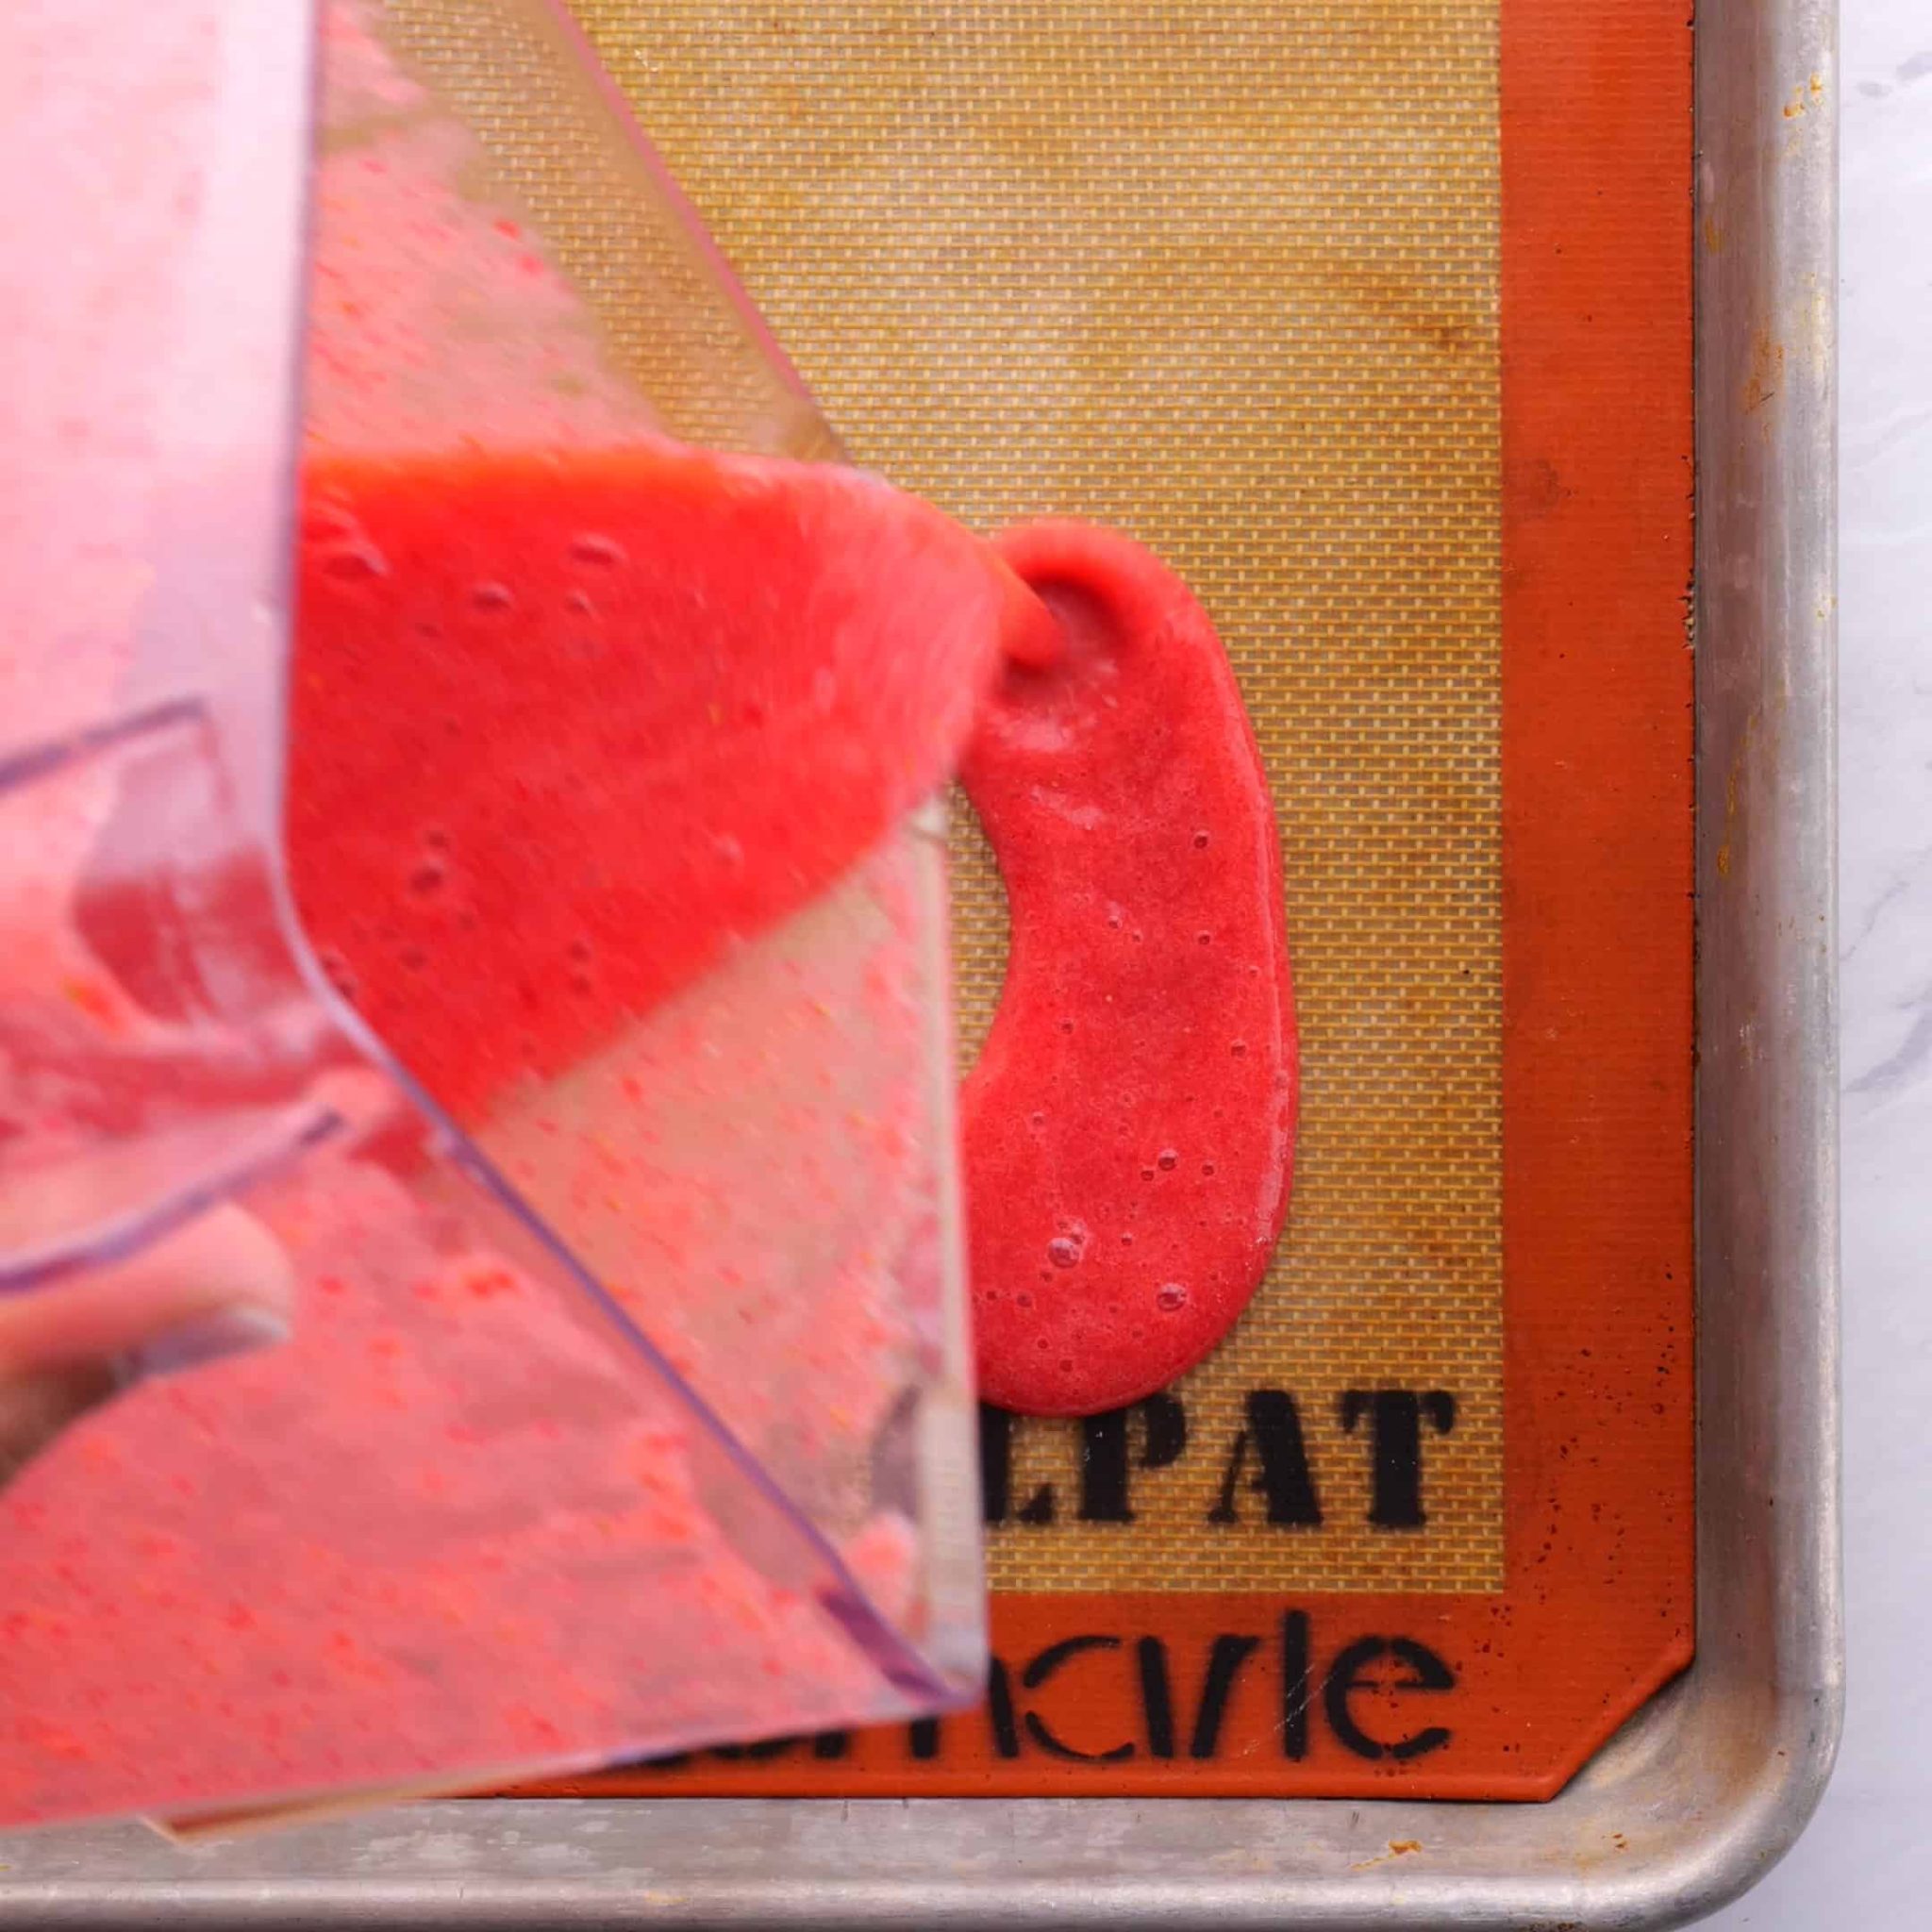
Step 3. Pour fruit puree on a lined baking sheet to about 1/8″ to 1/4″ thickness for fruit roll-ups OR 1/4″ to 3/8″ thickness for fruit leather. Gently tap the sides a few times to remove the air bubbles and ensure the mixture is level.
Step 4. Place in the oven and turn the heat to approximately 140-150F. If your oven doesn’t have a setting this low, see additional recipe tips below.
Step 5. Allow fruit puree to dry for 4-12 hours, checking every 4 hours for doneness. The fruit leather is done when it is dry and smooth to the touch, not tacky and set in the center, and easy to remove from the wraps or mat.
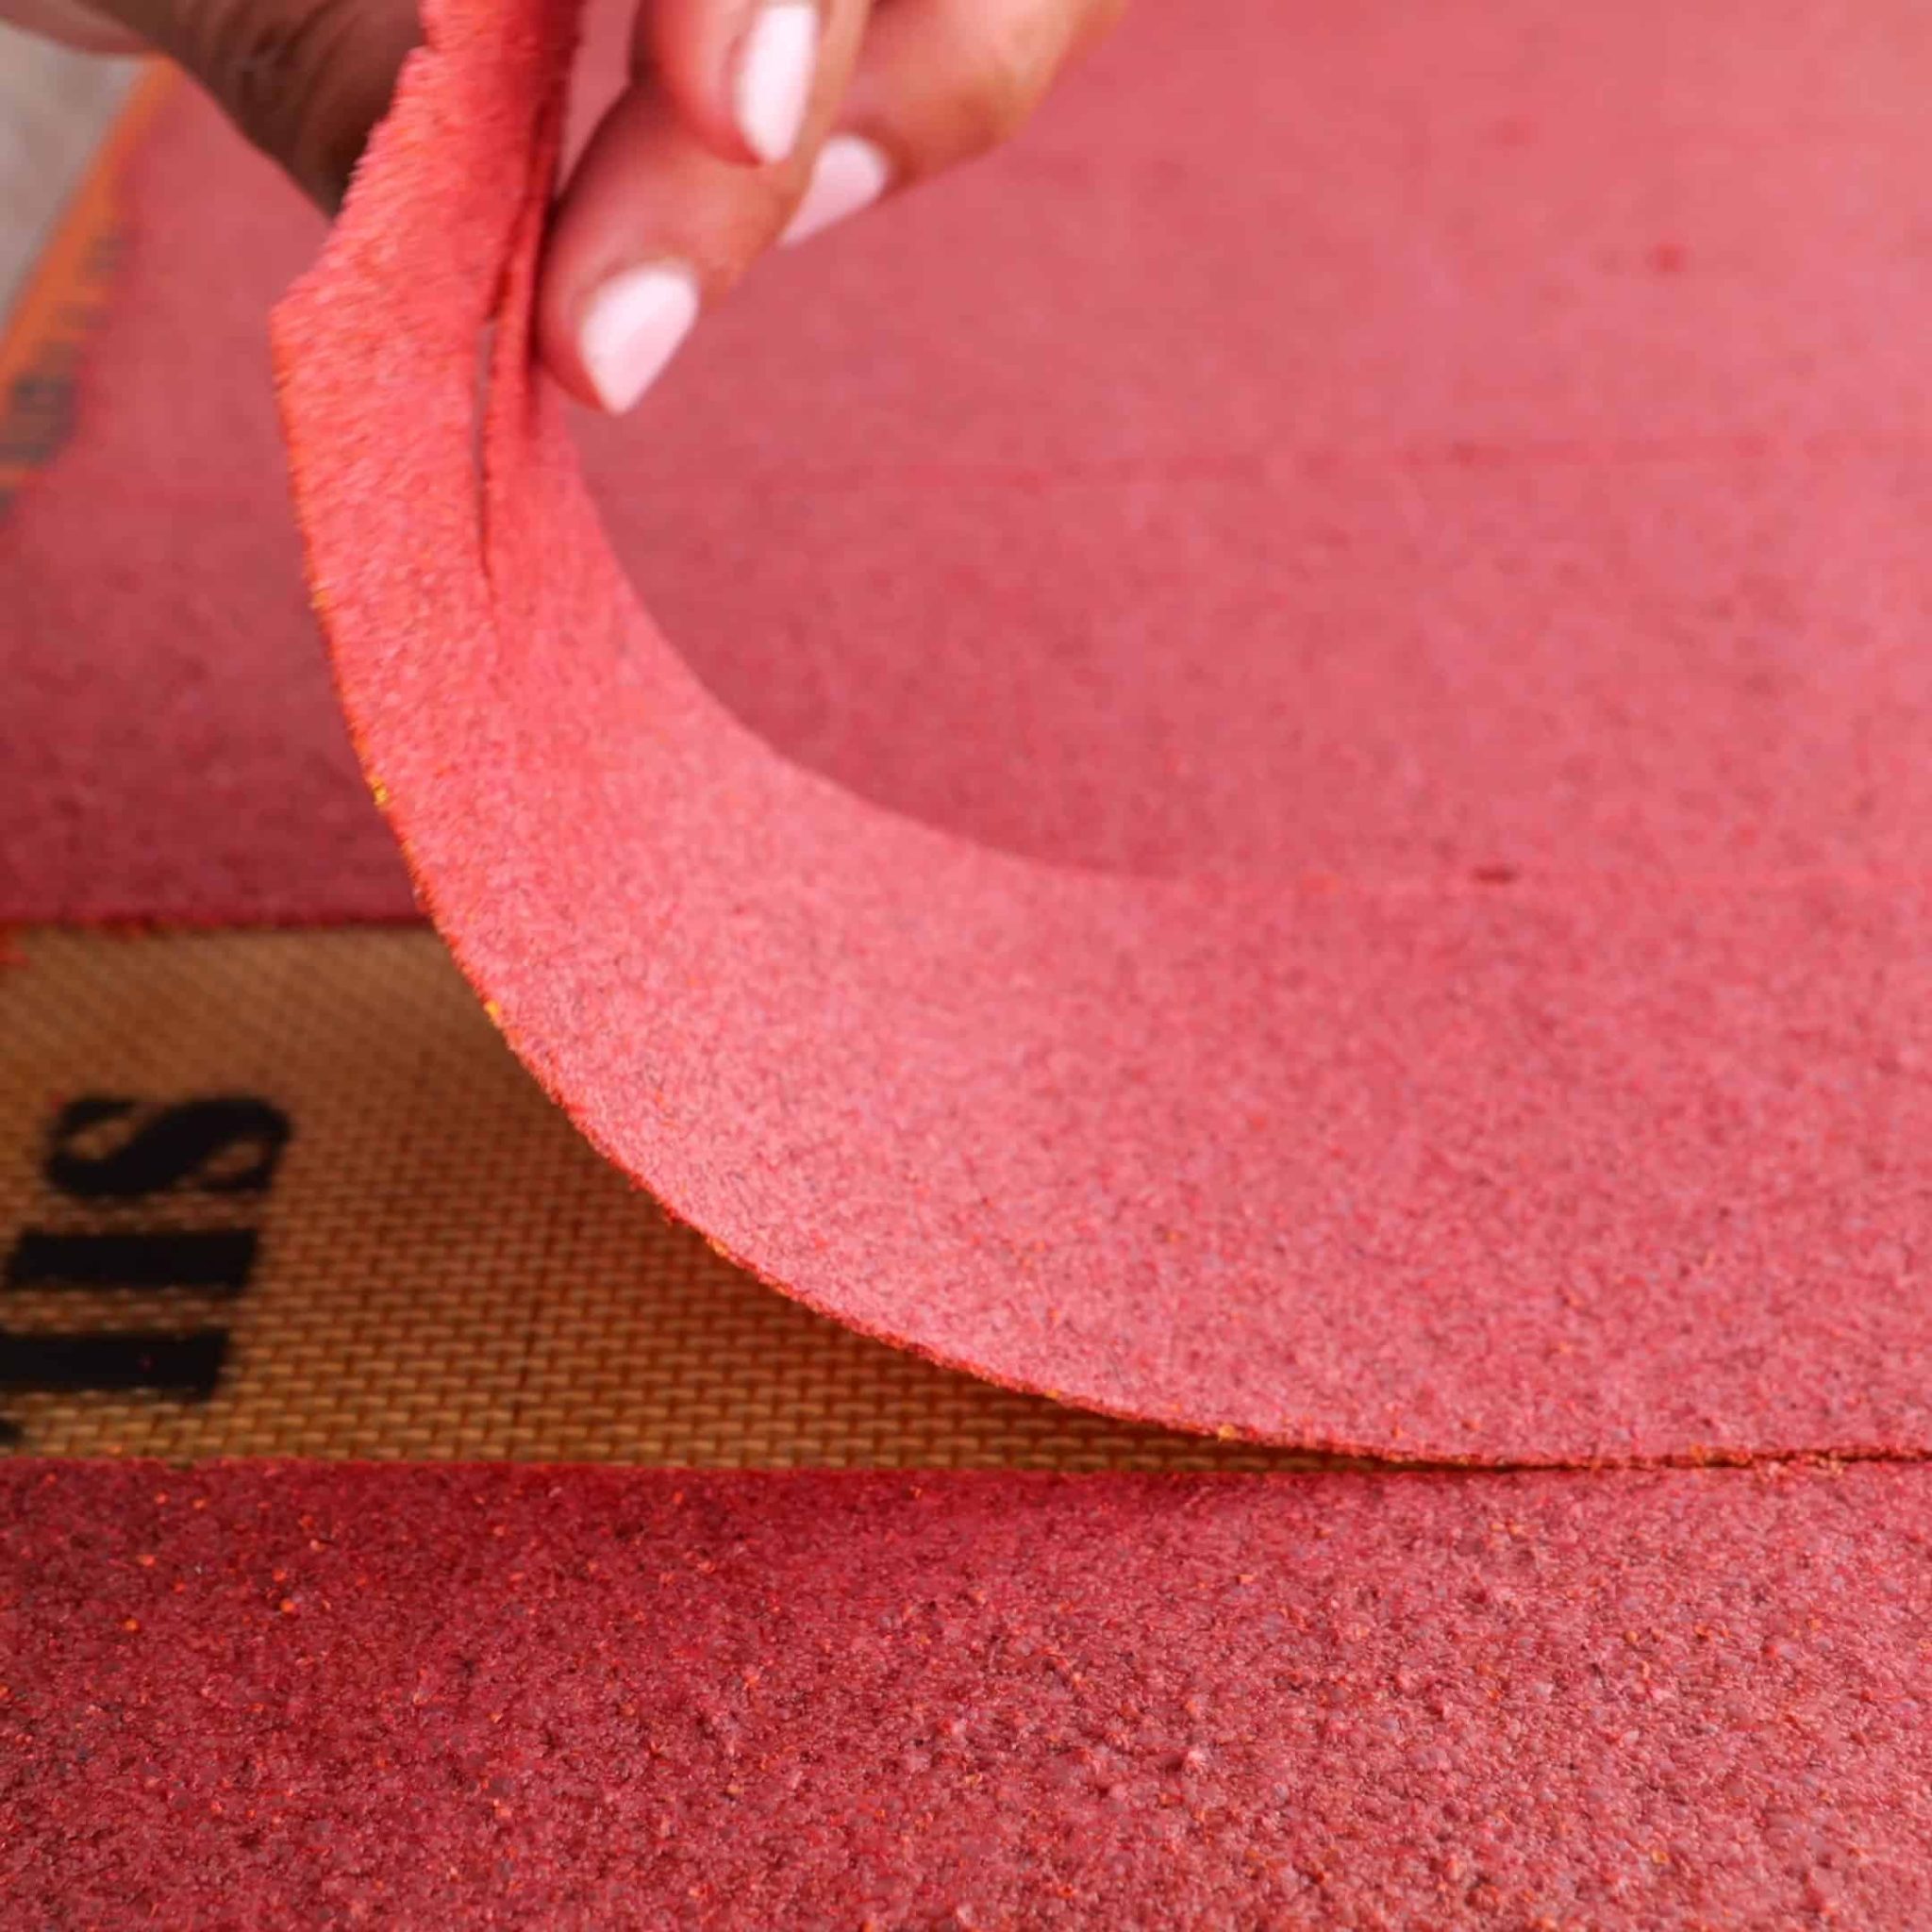
Step 6. Remove the fruit roll up and using a pizza cutter or sharp knife to cut into strips about 4-6″ in length and 1″ in width.
Step 7. Store fruit leather in the refrigerator for up to one month.
Fruit Roll-ups Recipe Tips & Tricks
- Use a meat thermometer (traditional, not instant-read) to help you gauge the temperature of the oven.
- If your oven is digital, set the temperature to the lowest setting, and crack open the door.
- If your oven is not digital, turn the nob until it turns on. In both cases, check the thermometer every 15 minutes or so until you’re close to 140F.
- You might have to open the door/close the door to try to maintain the temperature, so it’s best to do this at home when you don’t need the oven for anything else.
- Mix/match fruit according to what you have on hand. If two fruits taste good together fresh, then they’ll likely taste good together dried. I’m thinking mixed berries, coconut mango, cinnamon apple, peach raspberry.
FAQs For Fruit Leather & Fruit Roll-ups
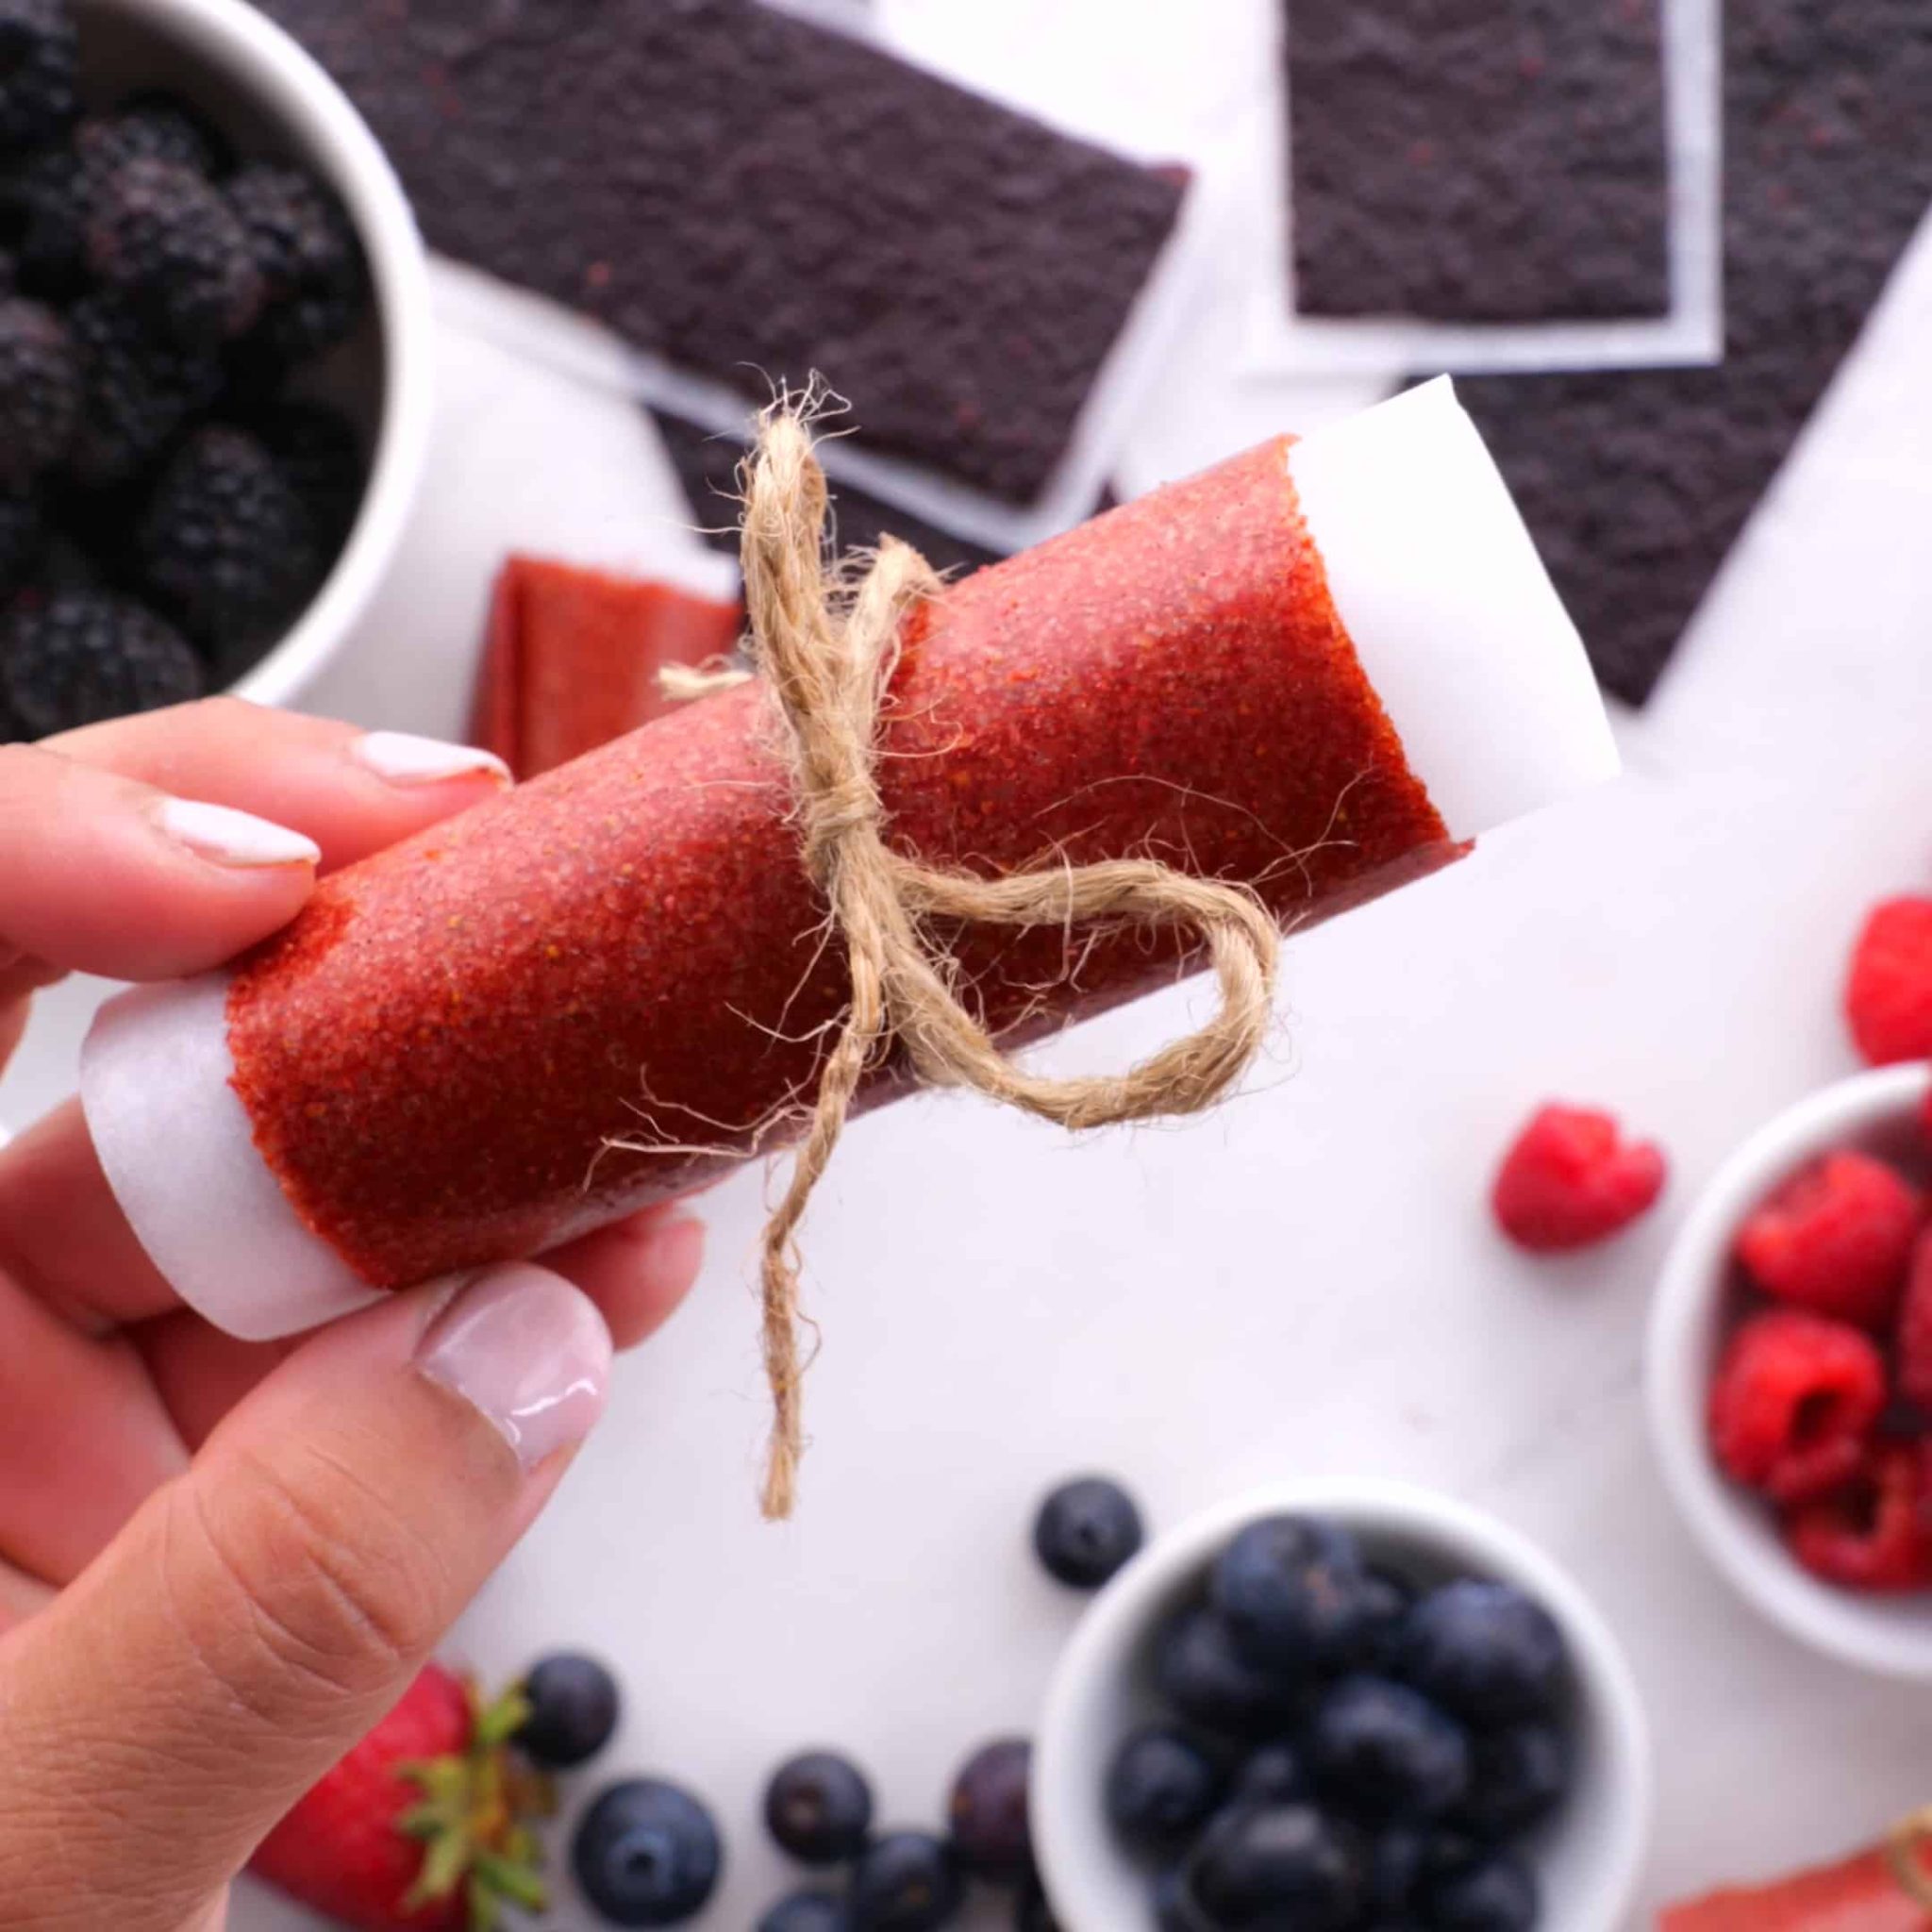
In case you didn’t know, the only difference between fruit leather and fruit roll-ups is the thickness of the fruit when you put it in the pan. Thicker fruit gives you leather; thinner fruit gives you a roll-up.
The recipe is the same in either case and only requires one ingredient: pureed fruit.
You don’t need any special equipment. You can use a dehydrator for homemade fruit roll-ups, but the recipe below gives instructions for an oven since my dehydrator was already packed to the max.
Those with a dehydrator will need a jelly tray instead of parchment paper, but the temperature stays the same. Just check the roll-up sooner, since a dehydrator is a bit more efficient with drying.
You might find other recipes out there that add sweeteners or cinnamon or other fun things to the pureed fruit, but with the exception of the lemon juice, none of those are required.
The only exception would be the lemon juice, and it’s only needed when you want to preserve the color of the fruit, like in apricots, peaches, or apples, so it doesn’t turn a not-so-lovely shade of brown when it’s dried.
More Healthy Back-to-School Recipes

30 Minute Dinners Sample Meal Plan
Sign up to get instant access to my 30 Minute Dinners Sample Meal Plan, complete with recipes and step-by-step instructions!Fruit Leather
Homemade fruit leather is easy to make (no dehydrator necessary), with only 1 ingredient and no added sugar! Use your favorite combination of fruits to make a sweet treat for the lunchbox or any time!
- Prep Time: 10 minutes
- Cook Time: 4-12 hours
- Total Time: 4-12 hours
- Yield: 24 1x
- Category: Snacks
- Method: Oven
- Cuisine: American
Ingredients
- 4 cups fresh fruit, washed and dried, pitted (if necessary) and chopped into approx 1″ pieces
- 2 Tbsp lemon juice (optional, if using light-colored fruits)
Instructions
- Puree fruits (and lemon juice, if using) in a blender or food processor until smooth. If the fruit contains seeds (like strawberries or blackberries), you can press the mixture through a fine mesh strainer to remove them.
- Line a baking sheet with either parchment paper or a silicone mat. If you’re using parchment paper, allow just enough to overhang so the fruit leather is easy to remove later.
- Pour the fruit puree onto the lined baking sheet to about ¼″ to ⅜″ thickness for fruit leather. Use a spatula to push the fruit mixture to the edges. Gently tap the sides a few times to remove the air bubbles and ensure the mixture is level.
- Place the tray in the oven and turn the heat to approximately 140-150F. If your oven doesn’t have a setting this low, see the additional recipe tips below.
- Allow the fruit puree to bake for 4-12 hours, checking every 4 hours for doneness. The fruit leather is done when it is dry and smooth to the touch, not tacky, and set in the center, and easy to peel from the parchment paper or mat.
- Remove the fruit leather and use a pizza cutter or sharp knife to cut it into strips about 4-6″ in length and 1″ in width.
- Store fruit leather in the refrigerator in an airtight container for up to one month or in the freezer for longer storage. You can wrap individual servings in plastic wrap for easy lunch box treats!
Notes
- Use a meat thermometer (traditional, not instant-read) to help you gauge the temperature of the oven.
- If your oven is digital, set the temperature to the lowest setting, and crack open the door.
- If your oven is not digital, turn the nob until it turns on.
- In both cases, check the thermometer every 15 minutes or so until you’re close to 140F.
- You might have to open the door/close the door to try to maintain the temperature, so it’s best to do this at home when you don’t need the oven for anything else.
- Mix and match the fruit according to what you have on hand. If two fruits taste good together fresh, then they’ll likely taste good together dried. I’m thinking mixed blueberries and raspberries, coconut mango, cinnamon apple, peach raspberry, pear apple, and strawberry kiwi would all make delicious fruit leathers.
Nutrition
- Calories: 80






Do you need to crack open the oven door as it driesfor either recipe? I’m so Excited to try these! Thank you so much for sharing!
I wonder if an Air Fryer would work as a dehydrator. Or would the fruit possibly make a mess of the machine? I have a Farberware Air Fryer, and I want to try making fruit roll-ups in there. I wonder, what’s the difference between fruit leathers and fruit roll-ups?
Generally peaking Annabelle, leathers are very tough and thick (think jerky) while roll-ups are softer and thinner. I’m not sure if this would work in an air fryer or not, but that would be an interesting experiment!
I am one of those girlies who absolutely loooooves fruit roll-ups! I would sure love to make a homemade version of them! I bet they’d taste a lot better than
the store bought kind, and I bet they’re better for you! The first time I tried a homemade fruit roll-up is when my mom made ones with comice pears. Deeeeee-licious!
When my sweet love, John and I live together, I’m going to have him try something like this, as both of us want to eat stuff that’s all natural. I wonder
how much a dehydrator would cost for me to buy? I know mom has one, but I’m not sure if it’s too big to fit in my apartment where I’m living now. I would try it in my air fryer, but there are a couple downsides to that. First, you can’t put any trays into the machine other than the basket holder and the frying basket. Second, the lowest temperature my air fryer goes is 175. The thing I’m afraid of is that the fruit puree would just drip into the bottom pan as though it were grease, and it would then be horrible to clean! Are there dehydrators small enough to fit in a studio apartment’s kitchen?
I wanted to ask if you can substitute fresh fruit for frozen fruit?
Probably Zena, but let it come to room temperature first in a colander to drain excess water. Your drying time might be a bit longer too, but it should work!
Yes! I found some strawberry fruit leather at the store and it is real food, but they cost .25 each and I’d love to bring that cost down! Super excited to try this recipe!
I also lost it when I read the label for Twizzlers. The Mr. brought them home to surprise the kiddos. I expected all the sugar in its various forms, but what made me scream was Glycerin. I mean Come ON!
My kids LOVE homemade leather. Because it’s concentrated fruit, it’s like dessert for them. And it’s so easy to pack in lunches!! I hope you enjoy them as much as we do!!
I’m a blind young woman who absolutely loves fruit roll-ups! I would sure love to make a homemade version of them! I bet they’d taste a lot better than the store bought kind, and I bet they’re better for you! The first time I tried a homemade fruit roll-up is when my mom made ones with comice pears. Deeeeee-licious! When my sweet love, John and I live together, I’m going to have him try something like this, as both of us want to eat stuff that’s all natural. I wonder how much a dehydrator would cost for me to buy? I know mom has one, but I’m not sure if it’s too big to fit in my apartment where I’m living now.
I was looking for a recipe for a homemade fruit roll up and found your web site. “Don’t waste the crumbs” resonated with me because I, too, try to stretch a dollar as far as it can go. Plus, we have alot of black berries frozen in our freezer. Can’t wait to try this recipe 🙂
Wonderful Ruthie! I hope you like it. We’ve still got a few in our fridge, and now that I know they’re so easy to make, I’ve got my eyes on early Spring fruits!! 😉
Do you think you will ever try and make fruit snacks? Like Annie’s Bunnies-type ones that are gummy.
I think I will, but it requires gelatin (I think). I tried just dehydrating, and it took a REALLY long time, and the texture wasn’t quite right. This was done during our no-spend challenge, so I couldn’t buy what I needed! 🙂
I’ve been doing some reading, and made one recipe with gelatin. I’m not sure if I’m just not used to the taste of it or what but it was yucky 🙁 Hate wasting ingredients, but none of us liked it. I am going to try a recipe using Pomona’s pectin next
My ex-stepdad loves Twizzlers! I used to get them in big tubs for him for Christmas each year! I myself don’t have an afinity for licorice, but I do love fruit snacks and fruit roll-ups. As for the gelatin, do you buy grass-fed gelatin? If you buy it at a farmer’s market or a whole foods market, you can ask the sales agent there if the gelatin comes from locally raised cows. Grass-fed gelatin, they say, is better than corn-fed gelatin, which I read somewhere was one of those products in a category they call CAFO (Concentrated Animal Feeding Operation). If a product is in the CAFO category, there’s a pretty good chance it’s not 100% natural! According to http://www.butterbeliever.com/choosing-gelatin-powder/, there are two kinds of gelatin. collagen (gelatin), and collagen hydrolysate.
Hi Annabelle! Actually, gelatin IS collagen, it’s just cooked! 😉 https://dontwastethecrumbs.com/2017/08/benefits-of-collagen/
To answer your question, I do buy grass-fed gelatin and collagen.
Cottage cheese. The “all natural” container at one store had among other things, food coloring. FOOD COLORING! Still can’t wrap my head around that one.
LOL – that would baffle me too! The fact that the cheese WASN’T white in the first place should definitely be a red flag!
Really? Is a term I use quite often. I’m under no illusion anymore.
LOL – I hear you Jennifer. To those who are no longer deceived, it’s scary to think manufacturers can do so much and get away with it. 🙁
We used to get empty frosting buckets from SAMs to use on our farm. “Spread n fill but ‘r cream” was the name on the label if that gives you any indication to the artificial ingredients used.
Hi there. I LOVE this idea and am getting ready to do it now! Love your blog so much. I was going to say to be careful when cutting on a silpat. They have glass woven into them so if you cut into it, that can be trouble. I use one of those plastic cake cutters with a serrated edge. Or just a plastic knife. Anyway…off to put those frozen strawberries to good use. Thanks!
Thank you so much for the tip Merry! I had no idea!
Can you use a dehydrator? I would love to make these but don’t want the oven on that long in the summer. Also can they be frozen?
Yes, you can use a dehydrator and I haven’t tested freezing. The leather is likely fine, thawing to fridge temps, but the roll up might be a bit too thin. Or maybe it was just my batch. It would be worth putting one of each in the freezer though, to see what happens. 🙂
I just found you a few days ago and am LOVING your blog! We’ve been making the switch to real foods over the summer and I’m already noticing improvements in my younger daughter’s health. She’s also stopped fighting for the most part and is having fun participating in choosing and preparing the food. School lunch is going to be good this year (and coincidentally how I found you via an email from Mighty Nest) :).
I started making fruit leathers earlier this summer when my older daughter started buying the so called organic/all natural fruit leathers. We looked at the ingredients and were floored to see all the juices from concentrates and sugar. No trans fats, but still. Shortly after that we came into a ton of blueberries and decided it was time to make our own. A quick search at Amazon to get the solid mats for my dehydrator and off we went.
They taste sooo much better than the packaged junk. Now the arguments are between the girls trying to agree as to what fruits to try next. I suppose I can live with that!
Thanks Erica! What a nice argument to have on your hands! I agree that they really are SO much better – cleaner, fruitier and I love that they’re not really sweet. It’s just fruit! I’m looking forward to our no-spending challenge ending so I can make more with a few extra fruits that we collect. I’m anxious to try some fun flavor combinations. I’m glad you found Crumbs Erica – welcome!!