Looking for simple ways to save electricity and reduce your energy bills? I’ve got you covered with these 5 easy and effective tips that will help you conserve energy and make a positive environmental impact while saving money.
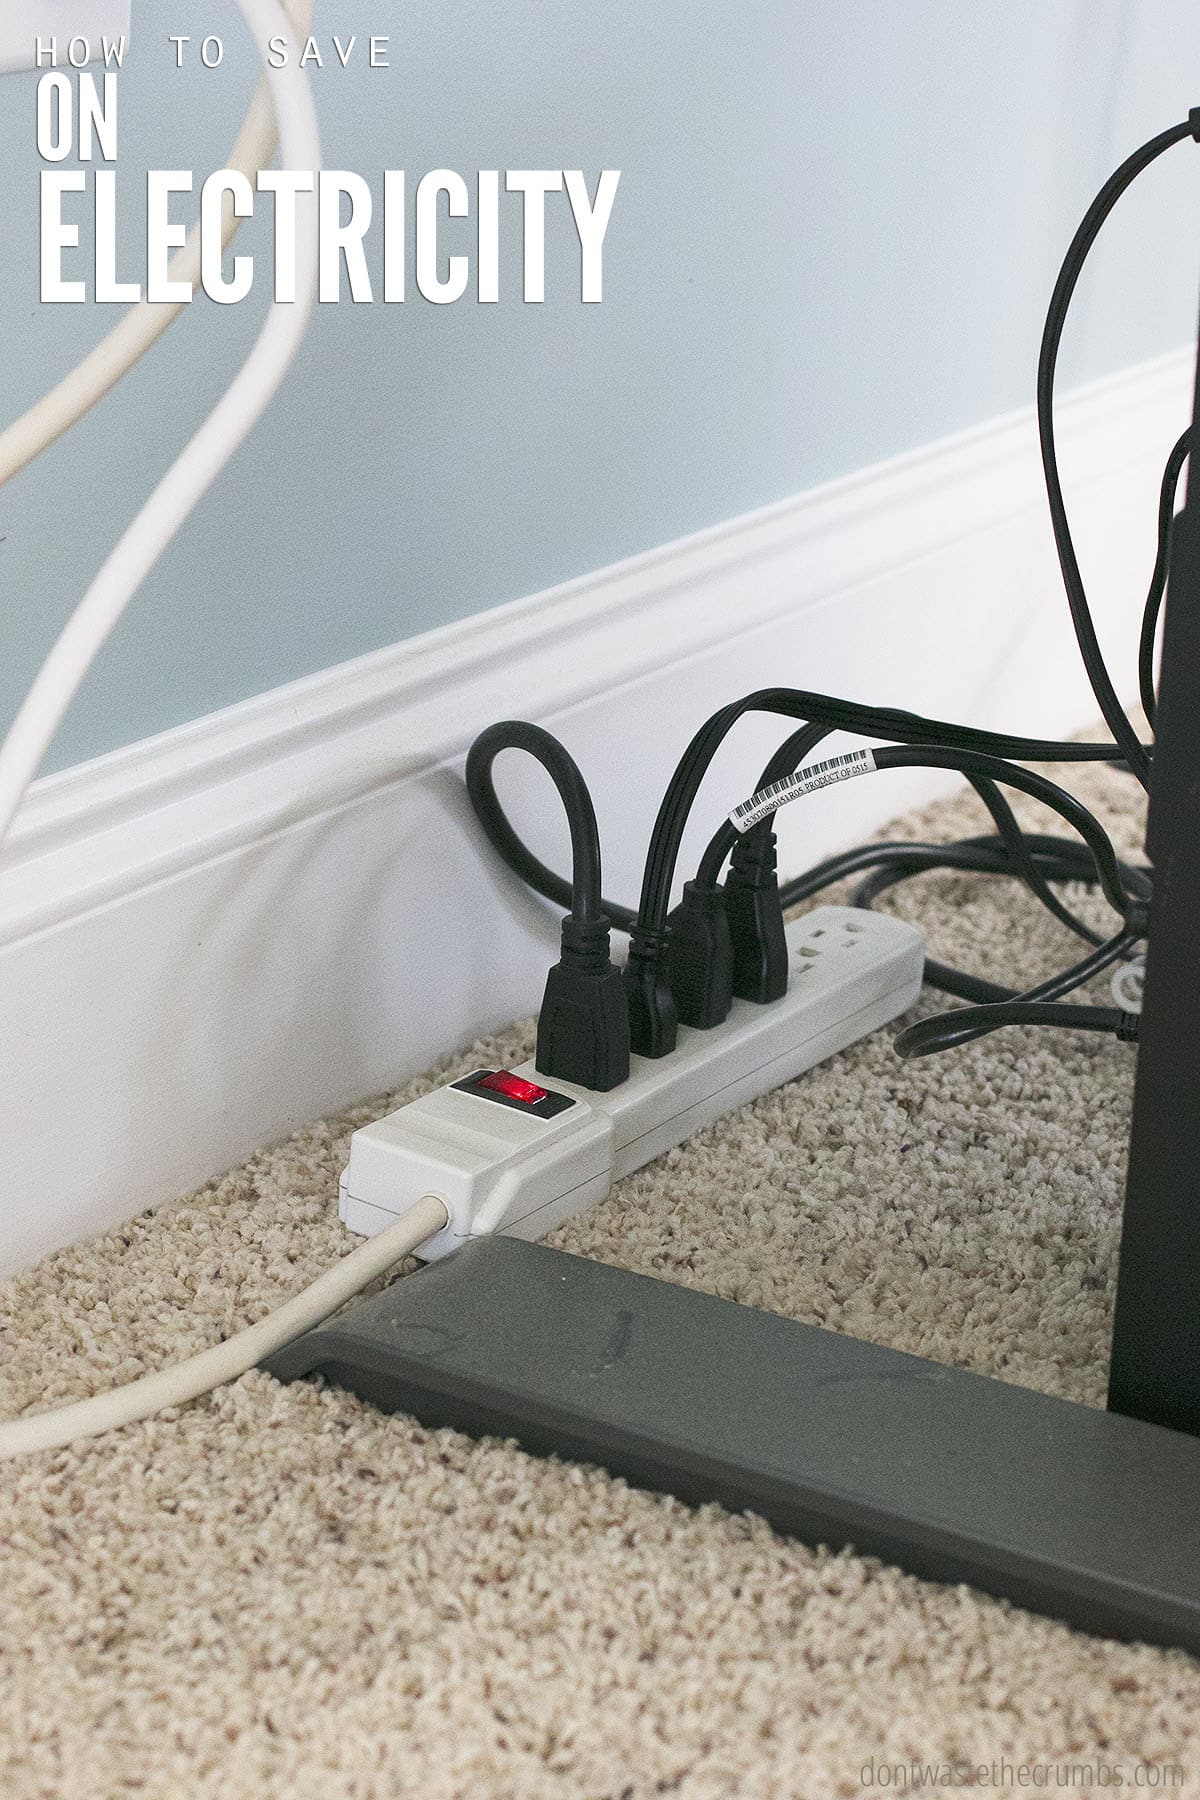
Our last electric bill was for April, and it was $76.75. While that’s not super high, we still figured we could reduce it by cutting down on our energy usage. So, the next month, we committed to reducing energy use by identifying things in our house that were using too much energy. We figured out there were a few “energy vampires” sucking the life out of certain appliances and causing our energy costs to climb.
In this post, I’m going to share with you how we identified those pesky energy vampires and discovered more energy-saving tips to help you use less energy and save money!
What Are “Energy Vampires?”
Energy vampires might sound like something out of a spooky story, but they actually refer to those sneaky electronic devices in our homes that consume energy even when they’re not in use. These energy vampires are often the reason behind those unexpectedly high electricity bills.
Energy vampires are electrical appliances or devices that continue to draw power from electrical outlets even when they’re turned off or in standby mode. They include televisions, game consoles, computer monitors, phone chargers, coffee makers, and many other gadgets with a standby function. These devices often have transformers or power supplies that keep drawing small amounts of electricity to maintain features like clocks, timers, or instant-on capabilities.
How to Save Electricity: 5 Ways
While the power consumed by each individual device might seem insignificant, the collective energy drain from multiple energy vampires can add up over time, leading to a higher electricity bill. But fret not! Here’s how you can unplug those energy vampires and reduce your electricity usage:
#1 Identify the culprits:
Take a stroll through your home and keep an eye out for those sneaky energy vampires lurking in standby mode. Look for devices with little lights that stay on when they’re not in use, such as your trusty TV, game console, computer peripherals, and chargers. Identifying these culprits is the first step in reclaiming your energy and saving some cash!
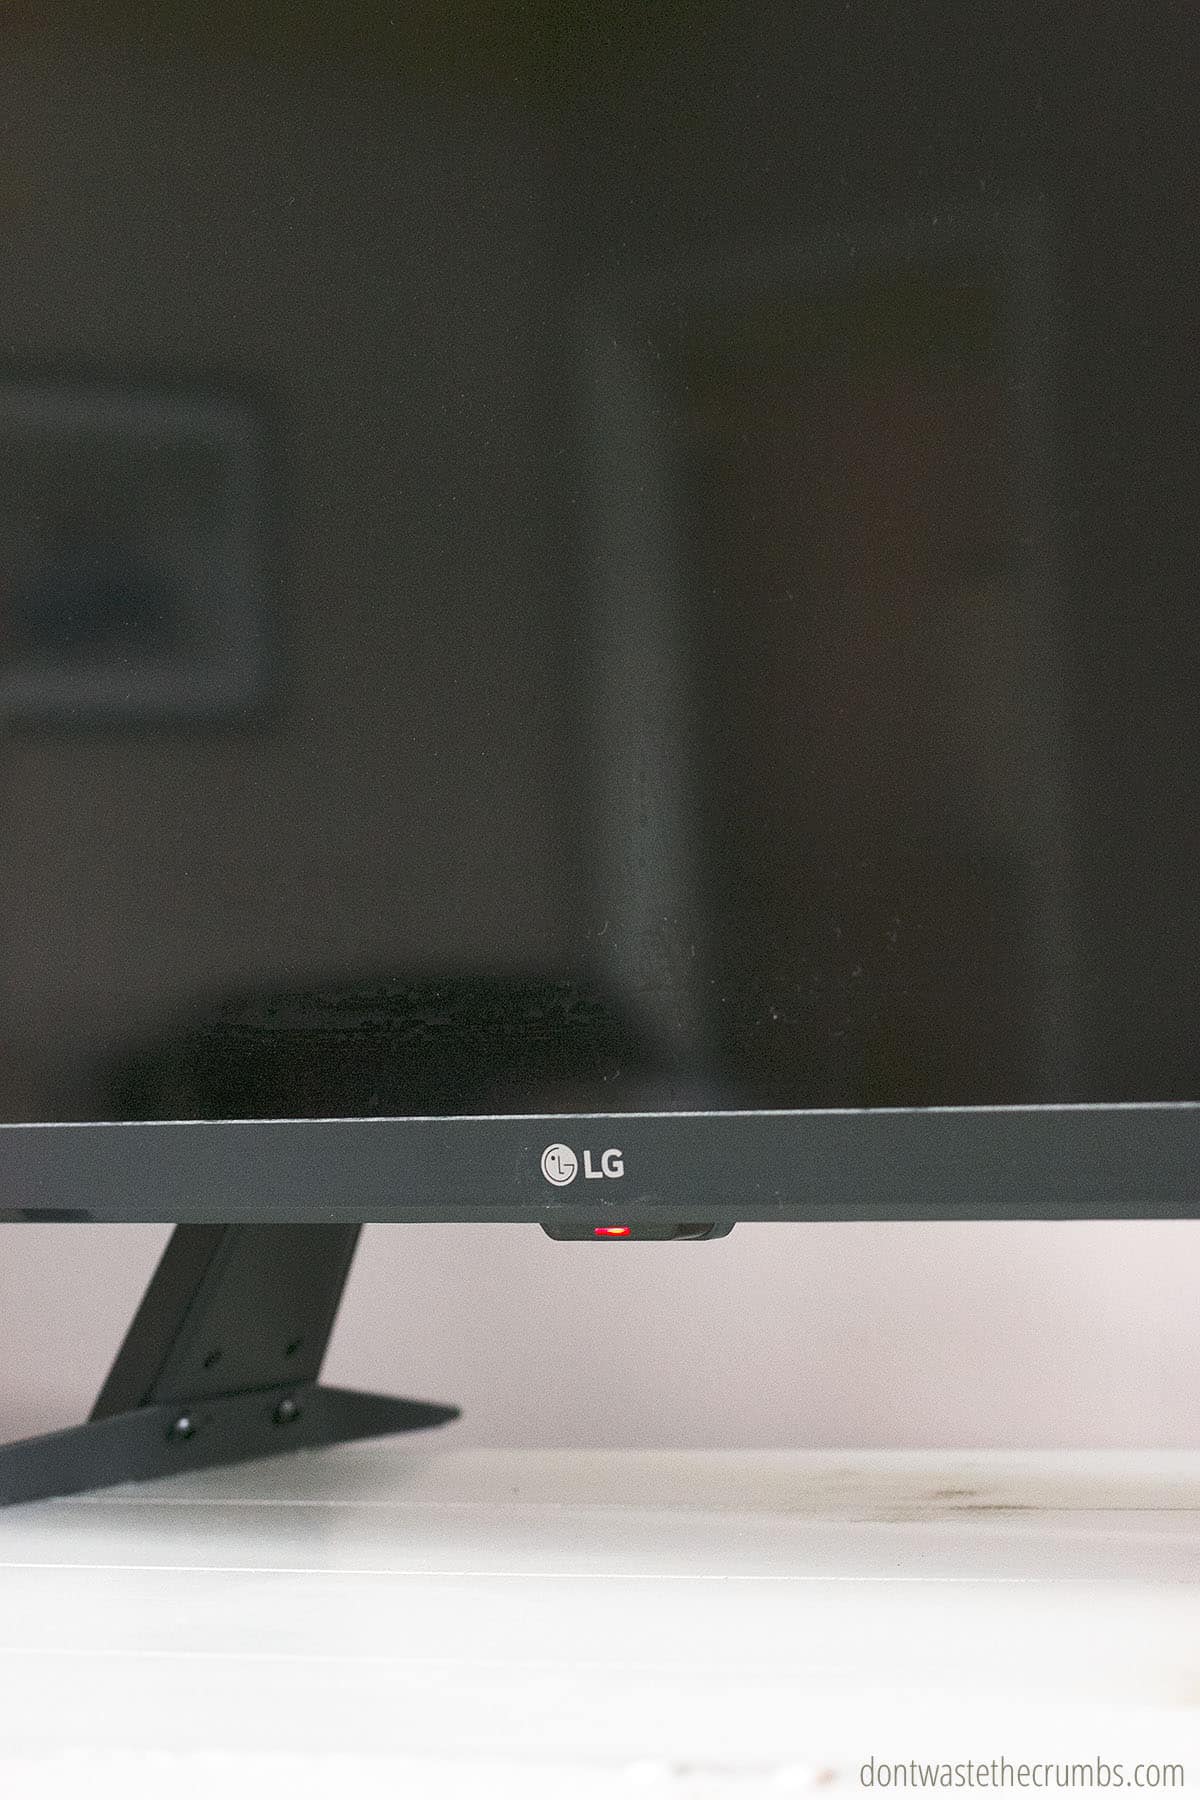
I went around my house to identify the energy-draining culprits and noticed LOTS of things plugged in and unused. Here’s just a handful of items I found when I went through the house, room by room:
- Television (we don’t have cable, so I’m not sure why we even kept this plugged in!)
- Laptop charger (unless it’s actually charging, this is just silly)
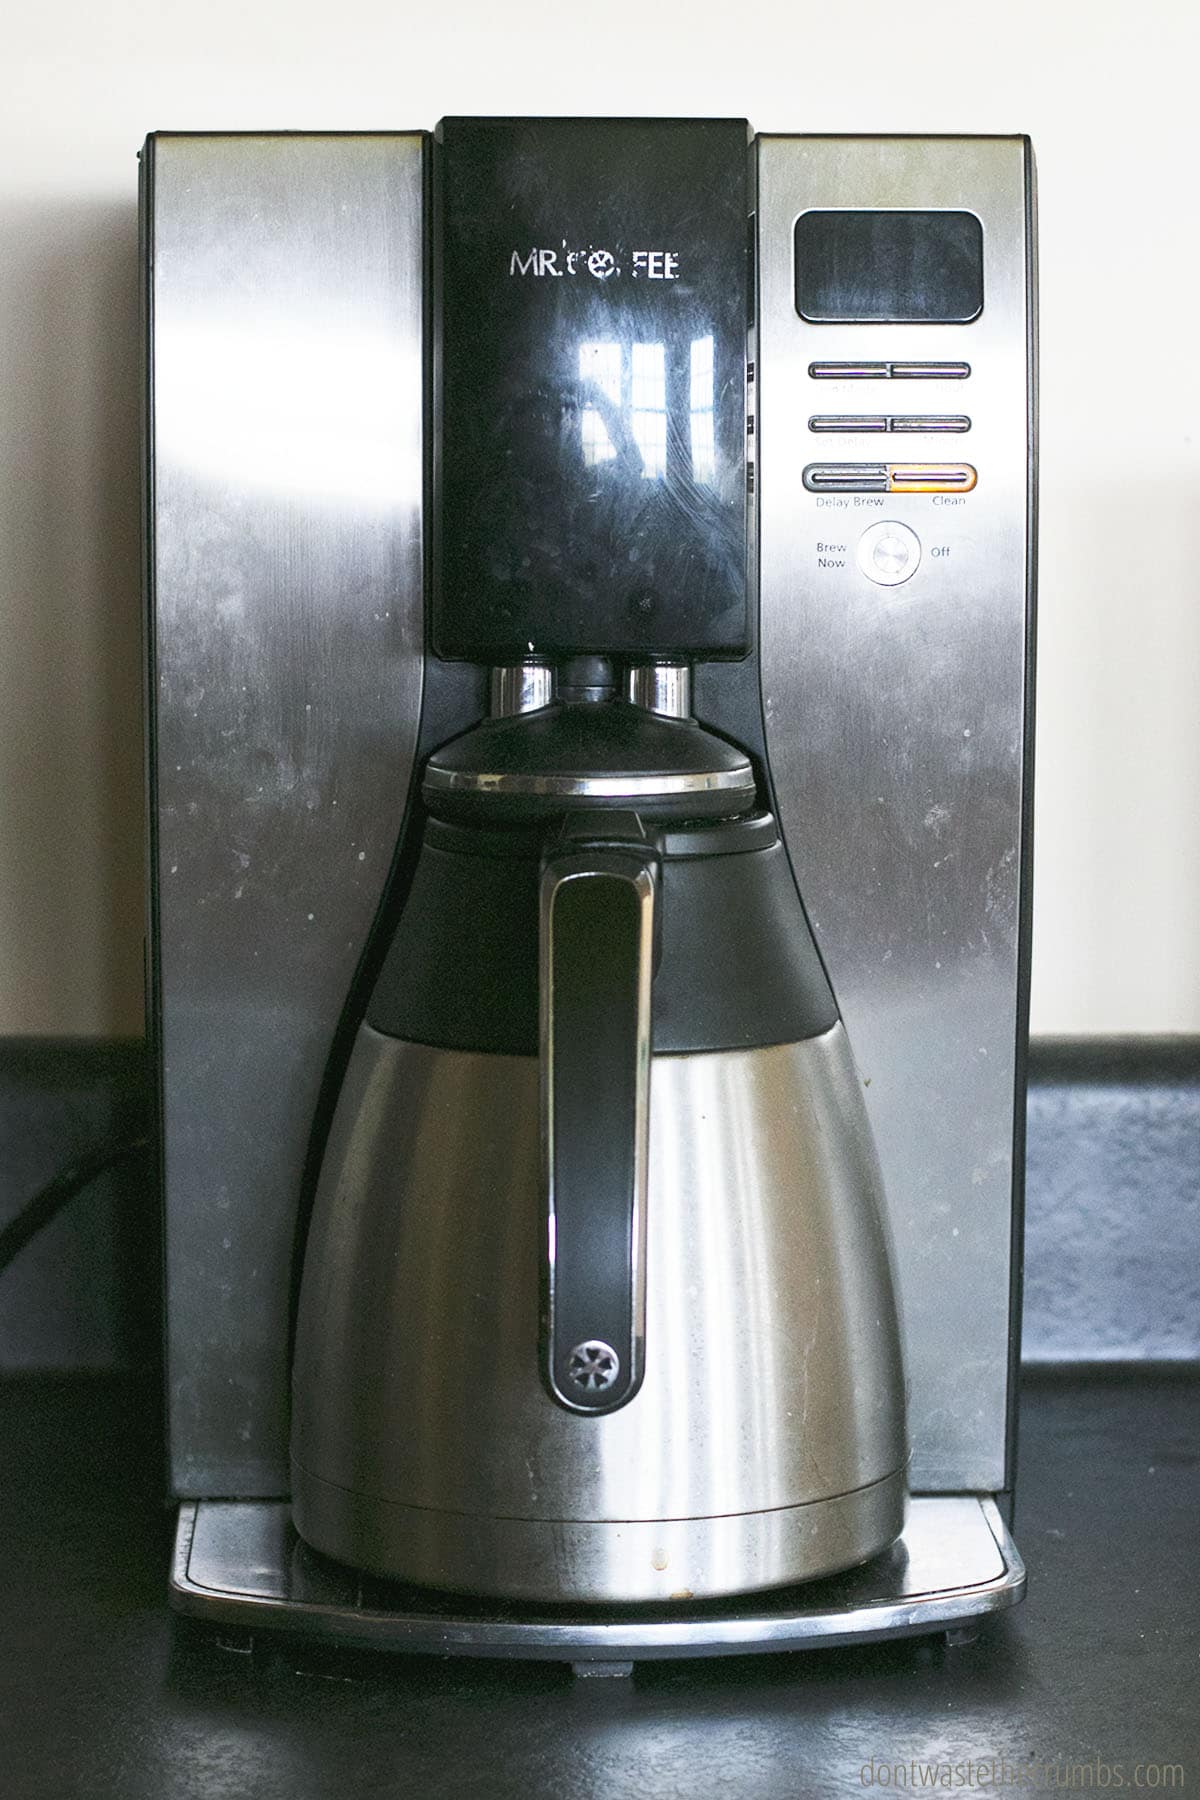
- Coffee pot (our coffee brews into a carafe, meaning we don’t have a burner… once it’s brewed, there’s really no need to have it plugged in!)
- Microwave
- Lamps (can you believe we had some plugged in, in rooms where they rarely get turned on because we only use the room during the day?)
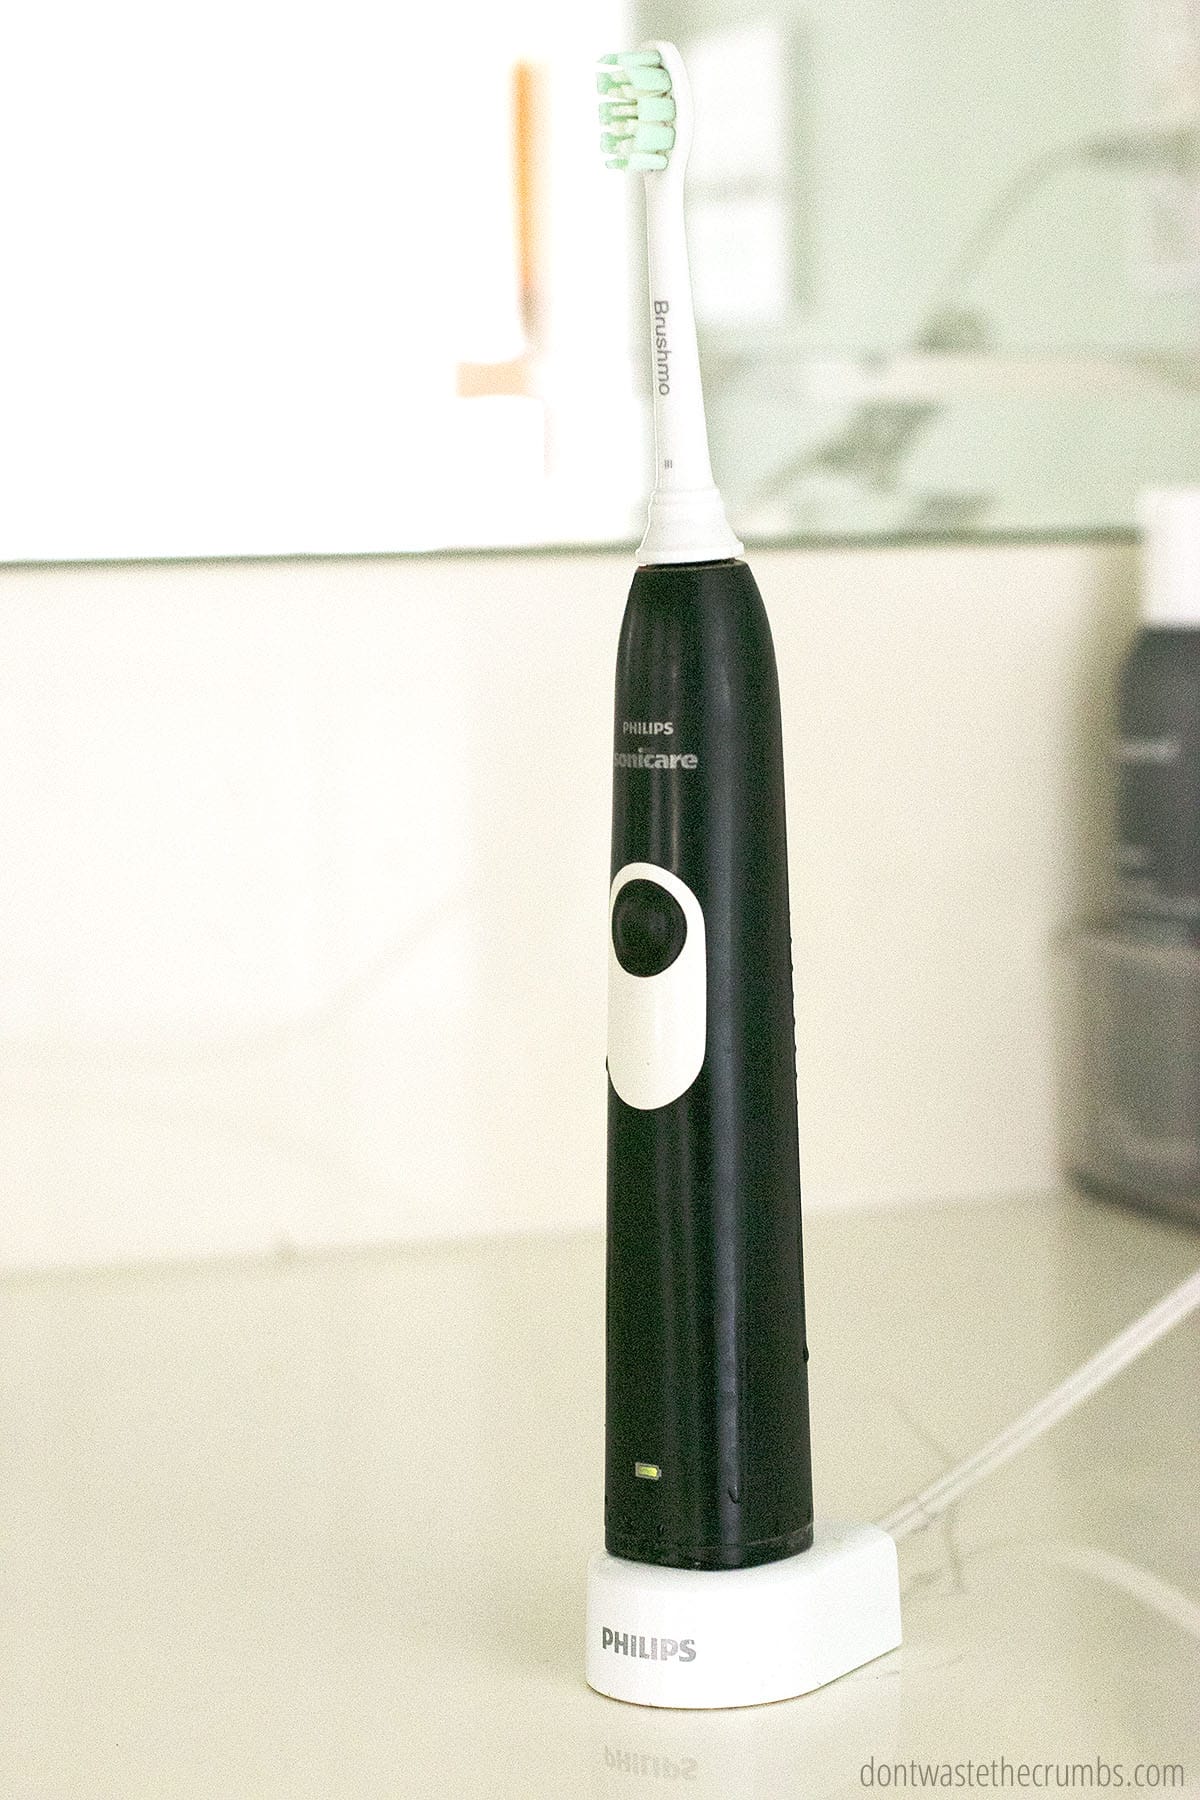
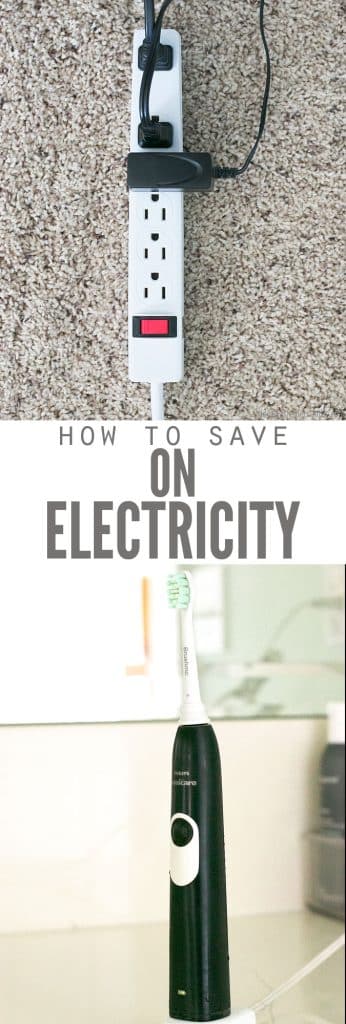
- Toothbrush charging stations
While having these items plugged in might not seem like a big deal, none were in use, draining unnecessary energy.
#2 Use power strips:
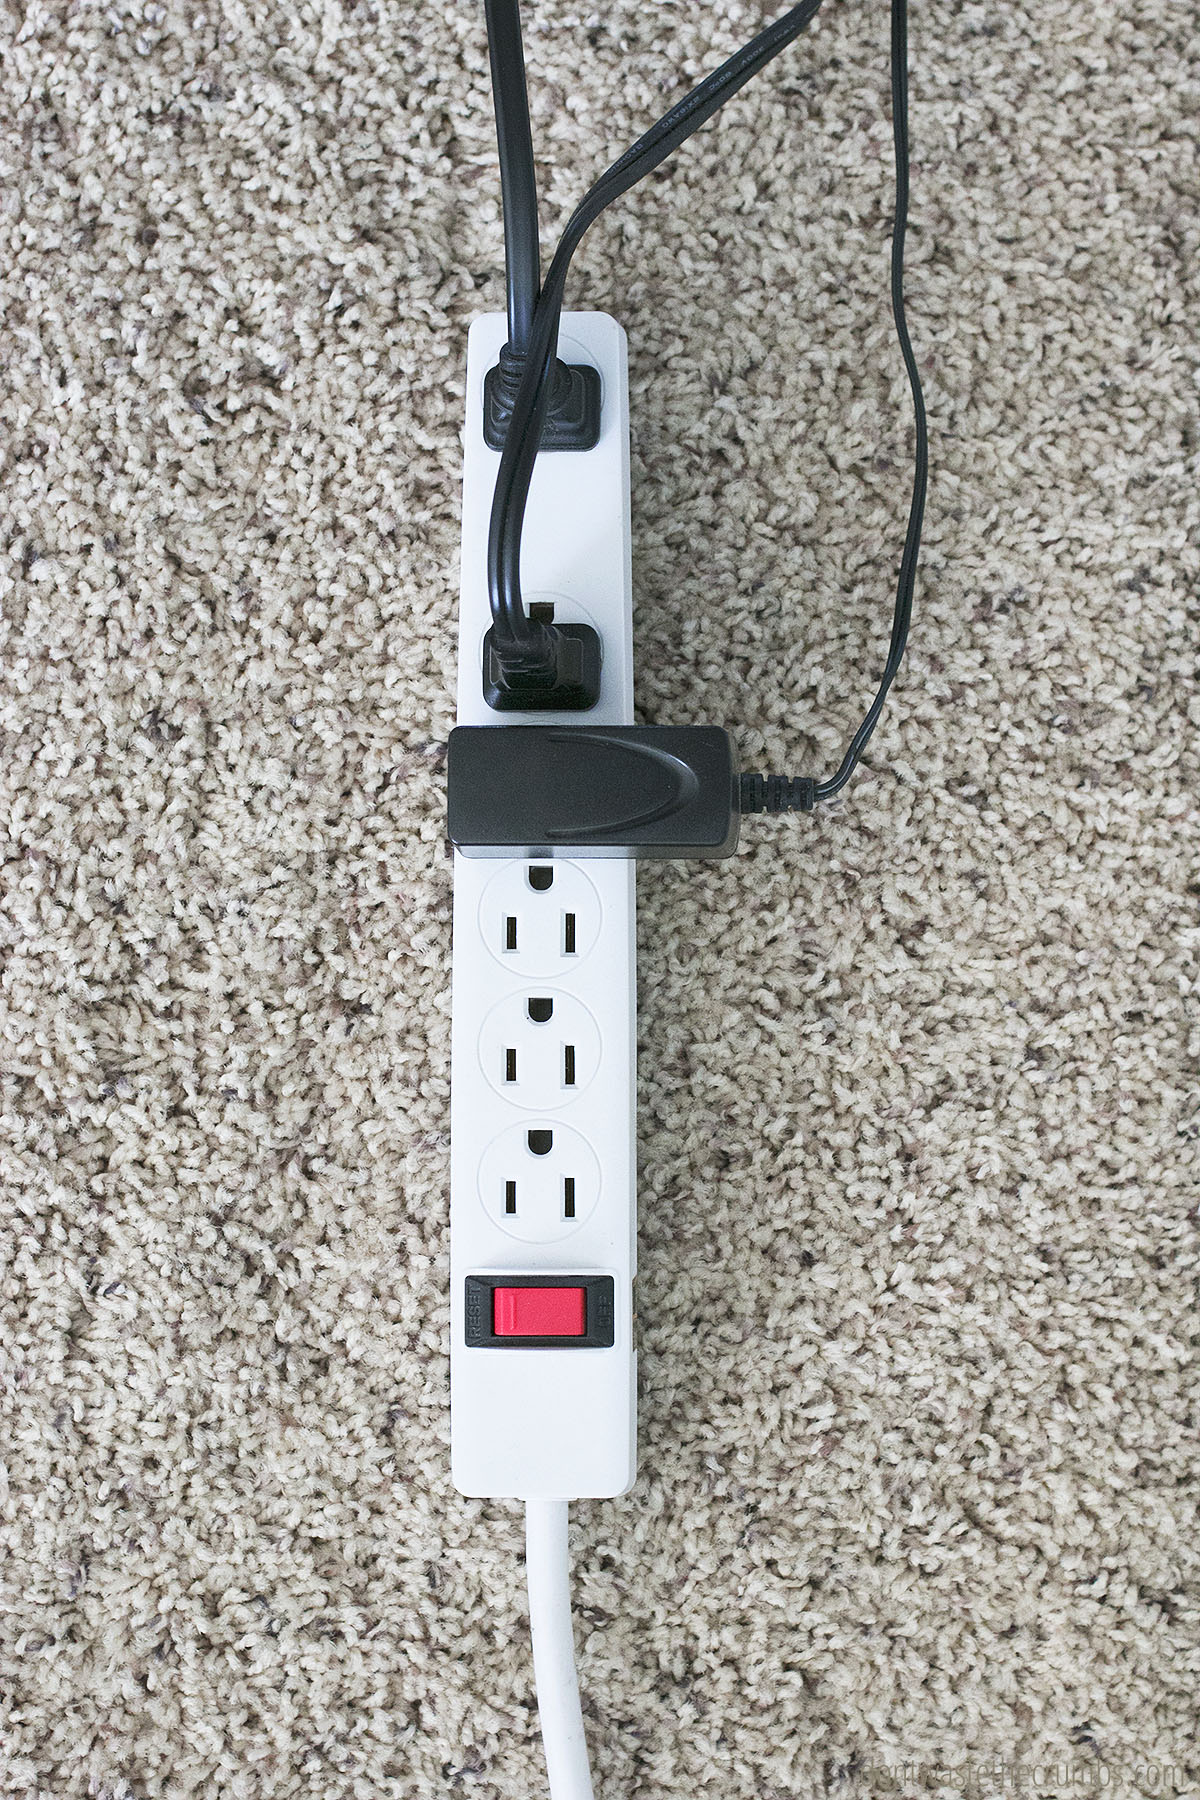
Power strips with switches are like the superheroes of energy savings. Simply plug those energy vampires into the power strip. With a flip of the switch, you can turn off multiple devices at once, putting an end to their power-draining antics. It’s an effortless way to cut off their power supply completely and stop the unnecessary drain on your electricity bill.
We use a power strip for the entertainment center. The TV, Wii, and DVD player are all plugged into it. When we want to watch something or play a game, we simply flip the red switch and turn it on. The TV and Wii turn on automatically. The DVD player is the least used electronic, but since it still requires the power button to be pressed, we’re not wasting money by having it plugged into the power strip.
#3 Unplug when not in use:
If power strips aren’t your thing, or you have a few lone energy vampires that resist the strip’s charm, don’t worry! A simple and effective solution is to unplug these energy-sucking culprits when they’re not in use. By disconnecting them from the outlet, you’re preventing any standby power consumption and taking a stand against wasted energy. Plus, it’s a quick and easy habit to develop that can lead to significant savings.
#4 Consider smart power strips:
Smart power strips are like energy-saving wizards that automatically detect when a device is in standby mode or not in use. They work their magic by cutting off power to these devices without you lifting a finger.
#5 Opt for energy-efficient alternatives:
When it’s time to upgrade your home appliances or add some new gadgets to your collection, keep an eye out for the energy-efficient superheroes of the electronic world.
Here are some home improvement examples:
- LED Light Bulbs: Replace traditional incandescent bulbs with energy-saving LED bulbs. They use significantly less energy and last much longer.
- Energy Star Appliances: When shopping for new home or kitchen appliances, look for the Energy Star label. These appliances, like a hot water heater or washing machine, are designed to be energy-efficient products, reducing both energy consumption and your electricity bill.
- Smart Thermostats: The air conditioner and heater can draw a lot of energy. Upgrade to a smart programmable thermostat that allows you to easily program and control the temperature in your home. They optimize energy usage by adjusting settings based on your schedule and can lead to substantial seasonal energy savings.
- Energy-Efficient Windows: Check for air leaks in your windows and doors. Add a weather strip to cover leaks or consider upgrading to energy-efficient windows, which are designed to minimize heat transfer. They help regulate indoor temperature, reducing the load on your heating and cooling systems.
- Solar Panels: Explore the option of installing solar panels to generate your own renewable energy. While it requires an initial investment, solar panels can significantly reduce your reliance on the grid and lower your electricity bills in the long run.
- Energy-Efficient HVAC Systems: If your heating, ventilation, and air conditioning (HVAC) system is outdated, consider upgrading to an energy-efficient model. These systems are designed to use less energy while maintaining a comfortable indoor environment.
- Power-saving Settings on Electronics: Take advantage of power-saving settings on your electronic devices, such as computers, TVs, and gaming consoles. These settings help reduce energy consumption during periods of inactivity.
Some appliances can’t be unplugged, like the dishwasher, refrigerator, washer and dryer. Using energy-efficient products will help reduce the utility bills.
Additional Ways to Save Energy
- Consider using cold water for washing dishes and doing laundry to reduce the energy put out by the hot water heater.
- Install ceiling fans using a stand-up fan in bedrooms and main living areas to cut back on A/C use.
- Keep your air ducts clean so that the air moves efficiently through the vents.
- Keep your blinds or drapes closed during the hottest parts of the day for better insulation against direct sunlight.
FAQs on Ways to Save Electricity
Is it inconvenient to unplug appliances constantly?
The biggest issue people have when I share this great way to save electricity is that they think unplugging items is inconvenient.
Honestly, I haven’t found this to be the case at all.
Fortunately, most of our plugs are not behind heavy furniture, but I know that’s an issue for some families. This surge protector with an 8-foot cord might be helpful. Or, if you have a very large entertainment center, consider this massive 3-foot-long power strip on a 15-foot cord!
Do I need to replace all my appliances to save electricity?
Not necessarily. While energy-efficient appliances are great for long-term energy savings, you can still make a significant impact by adjusting your energy habits. Unplugging devices, using natural light, and running appliances with full loads are simple changes that can save energy regardless of the appliances you have.
How much money can I save by implementing these energy-saving tips?
The amount of money you can save depends on various factors, such as your current energy consumption, the size of your home, and local electricity rates. However, implementing these tips consistently can lead to noticeable reductions in your electricity bills over time, putting more money back in your pocket.
For example, our next electric bill was just $56.44!
We saved 26 percent less on our electricity bill in a month! For simply unplugging and/or turning off items we didn’t use. That’s a big difference!
Saving Electricity
By implementing these simple and effective tips, you can reduce energy bills and have a positive impact on the environment. Lower costs, a smaller carbon footprint, and a sustainable lifestyle are within reach. If you try any of these simple tips, let me know in the comments below!
More Money Saving Tips




Great tips! Thank you. But in addition to duct cleaning, every homeowner with a central heating system should also ensure that their ductwork is properly sealed and insulated. Neglecting duct insulation is one of the most common mistakes people make when trying to save energy around the house.
We were using mostly halogen lights, but switched to all LED. It saves a few more pennies (and I don’t have to worry about breaking them). ‘A penny saved is a penny earned.’
We rent and I have noticed that there is no caulking around the windows, nor around the molding around the windows. Both allow air through, which we can feel the HVAC pulling through the house when trying to heat or cool. This is a great reminder for me and my hubby to put the caulking at the top of the list for the fall!
Thank you for your research and articles, Tiffany!
Our microwave isn’t built-in above the oven. Rather it sits on the kitchen counter. Whenever we want to use it, we simply plug it in, use it, and unplug. It’s really that simple.
I found it interesting when you said to unplug items that you’re not using. For some reason, our energy bill is increasing and I want to lower the bill every month. I’ll be sure to use these tips to lower my energy bill next month.
It sounds weird when you say that just by unplugging the appliances we can save electricity. Doesn’t modern electronic circuitry detect if the appliance is idle or not?
No, it doesn’t! Appliances are smart enough to turn on and off with a switch, but there’s a constant flow of electricity from the outlet… so it can be turned on at any time! It’s up to us to cut that flow, and in turn, we save money!
I turn off my water heater and that is a good saver. Except for stove/microwave, refrigerator, and now WiFi EVERYTHING else is unplugged. If the WiFi makes the bill go up too much I will put that on a strip. Now I will be turning off the stove by the breaker. I am single and have leftovers or frozen leftovers, so stove goes unused for weeks.I hope this will help a little because my Rinnai will be on for heat. It is no trouble plugging in items as used .
more or less, it works!
even simple devices includes capacitors at the “entrance” of their circuits, and these let current flow thrugh, which we have to pay, even if we have no use of them.
I think saving energy is not a difficult task, you just need to a keep a few things in mind like; unplug your appliances when they are not in use, switch off the lights if no one is in the room and make the design of your room in a way you can use natural light in the daytime. Install LEDs, as they are relatively cheaper in long run than CFLs or halogens. And if you can afford initial cost, installing solar panels is the best thing you can do to save maximum bills.
There is no mention of switching to LED lightbulbs. Has anyone switched? We live in a small apartment in an older building. There are electrical baseboard heaters which proved to be main portion of our bill. We shut the thermostats off; one in the living room but the one in the bedroom was on. Huge difference in our bill. We bought an infrared heater for the living room and this year will get one for the bedroom. We do have an upright freezer and noticed the increase but didn’t mind because the savings from shutting off the baseboard was huge. We do keep everything plugged in including the iron, sewing machine, computer, laptop, toaster, microwave and lamps. Unplugging these when not in use won’t be much of a difference is our case. But, I am going to give the challenge a go and see for sure. Oh, I should also mention my hubby thinks that LEDs are the way to go. He seems to think that he can start leaving lights on and not have to worry about the power usage. But I keep reminding him, but what about the life of the lightbulb and the price. LOL. It all factors in there.
To the best of my knowledge, LED light bulbs save energy over time, but you won’t see the savings right away. They do not emit heat though, so maybe you’ll see savings in the room temperature? Let us know how the small changes add up for you Eugenia!
I am curious after coming across a few posts on your blog-have you and your husband considered installing solar panels for the long term savings and benefits? If not, do you not think it’s worth it? We plan to do this when we purchase our home soon.
26%?!? That’s phenomenal!! I knew about vampire electricity but had no idea it could add up to that much! You’ve inspired me to start unplugging things when I’m done with them. I’m looking forward to the savings!
After reading a lot of these comments, I’m starting to see that us Florida residents get screwed on our electric bills. I run on average $200 a month with ac at 84. I have tried the unplugging and it helps but it’s a pain…so…I got smart. I just got to the electric panel now and switch everything off when I leave the house except the fridge and only switch things back on when I need them. Even turn the water heater off, it takes a while for ours to cool the water down so an 8 hour work shift with it off surprisingly still have hot water. They say the water heater is the second most expensive appliance to run.
Way to outsmart the company Leah!!
We’ve been unplugging our microwave for years now because of the kids can easily put something in it and also to save electricity..when we first moved in to our house the light bulbs are yellow and i think it was 60 watts..we bought 13 watts day light bulbs and change everything in the house and this saves us a lot in electricity bills..thanks for sharing