Last fall my son woke up and greeted me with a nasal-y “morning Mom.” In my experience, other upper respiratory issues aren’t too far behind.
Since we try to use natural remedies first whenever possible, I reached for my essential oils and applied R.C. topically and diffused Eucalyptus in the room before he left for school.
That helped almost immediately, but I wanted him to be able to breathe easily throughout the day at school. Not just when he’s at home.
Obviously though, I can’t just send a bottle of essential oils with my kid to school and tell him to have at it.
The key to using natural remedies is to catch it early (which we did) and continue to use them regularly, just like you would with typical medicines.
But his going to school left a several hour gap – a time frame where he’s missing essential oils to help keep his body well.
I had heard of essential oil diffuser necklaces before, and even bought one! But the quality was poor – it wouldn’t close well and I wasn’t sure how well it would hold up after being under a boys shirt all day. I also wasn’t sure if the metal would hold up to being touched by the essential oils over time.
I found a tutorial to make an essential oil diffuser necklace out of clay, which is definitely an affordable route to take. A 1 lb bucket of modeling clay costs $3 at Target and you can make at least 30 necklaces out of it, likely more!
But here is where I got tripped up. In theory, you’re supposed to apply the essential oils directly on top of the clay portion. However, this necklace was going to be worn by my son, under his shirt.
This meant that there was potential for the oils to touch his skin – which isn’t recommended for many oils.
There was also potential for the oils to touch his clothes – which also isn’t recommended for many oils.
Without some sort of modification, that essential oil diffuser necklace wasn’t going to work either.
Then I realized that if I could put the oils INSIDE the necklace, they wouldn’t touch his skin OR his clothes… AND he could wear the necklace to school all day while the oils helped him to breathe easier!
I documented the process so you can do the same for your kids – or yourself – so you can now take the power of essential oils with you everywhere!
DIY Essential Oil Diffuser Necklace
DIY Essential Oil Diffuser Necklace: Supplies
- modeling clay
- something small to cut out shapes (shot glass, bottle cap, mini cookie cutter, etc.)
- bamboo skewer (or something similar, for poking a hole)
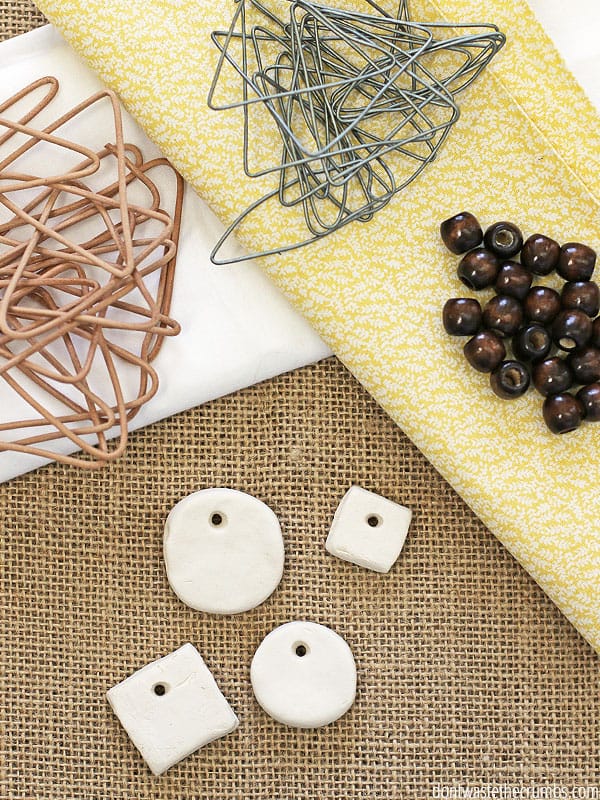
- leather or twine straps to go around the neck (something like this or this will work)
- decorative beads (optional)
- essential oils**
**Note: I know there are a lot of essential oil companies out there and I’ve certainly tried my fair share of brands. But after testing and researching and more testing, only one is worth spending money on (in my opinion). For a couple years now I’ve been committed to Young Living oils, and you can read more about their oils and my decision HERE.
However if Young Living is out of your reach, I’ve heard great things about Plant Therapy on Amazon.
DIY Essential Oil Diffuser Necklace: Method
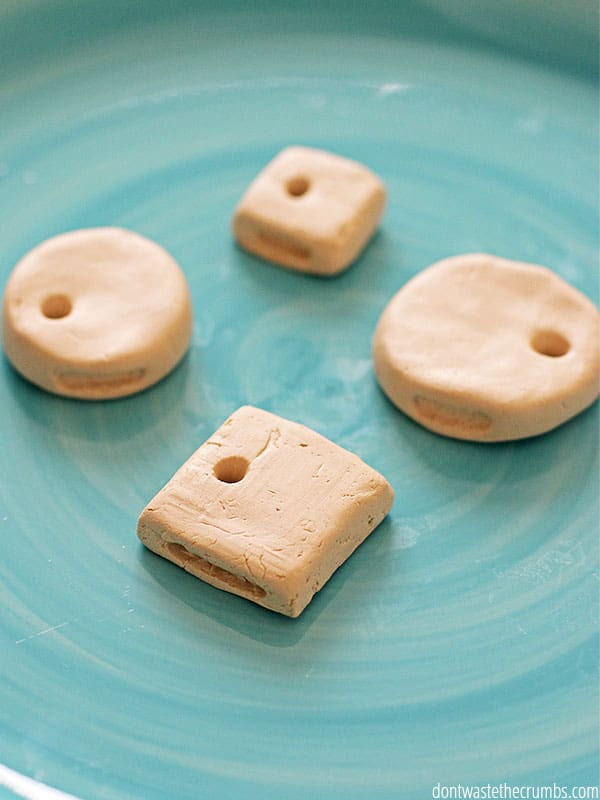
Pinch off a small portion of modeling clay, maybe 1/2″ round. Roll it into a ball in your hand and then gently flatten to about 1/4″ – 1/3″ inch thick. You can keep it round-ish, or you can use something small to cut out a particular shape.
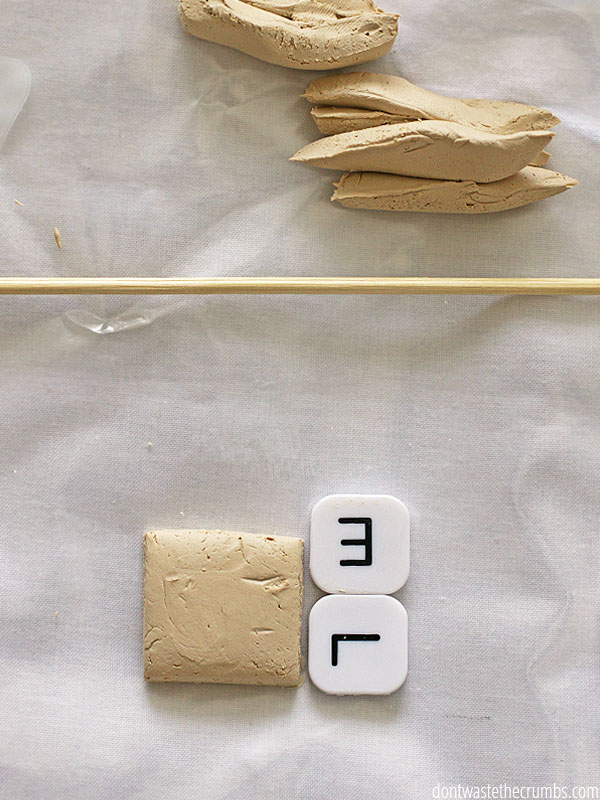
I hand-shaped the circles, but used square scrabble tiles to outline the squares while using my library card to cut away the excess from the sides. Hey, just keepin’ it real!
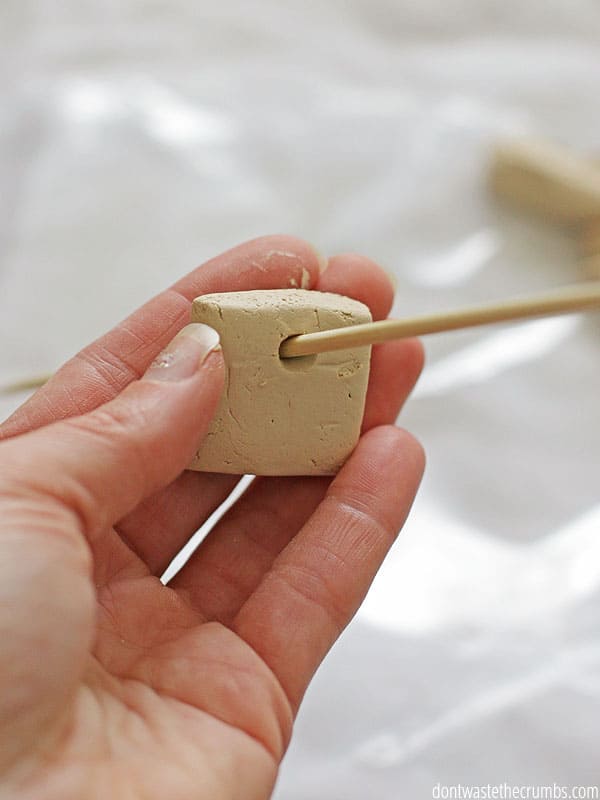
On one side of the shape, about 1/8″ away from the edge, use a bamboo skewer or something similar to poke a hole through the clay. While the skewer is poked through the clay, move the skewer in a very small circle to gently make the circle larger. Make sure the hole is big enough to be able to fit the leather or twine through (once or twice, depending on how you want to tie it).
Next, make a small trough on the edge of the shape. I used the flat end of the skewer stick to do this, but the handle end of a knife or fork would work as well. Gently make a trough that goes in about 1/4″ while doing your best to maintain the original shape of the necklace. Repeat for the other side so that you have 2 troughs, one on each side.
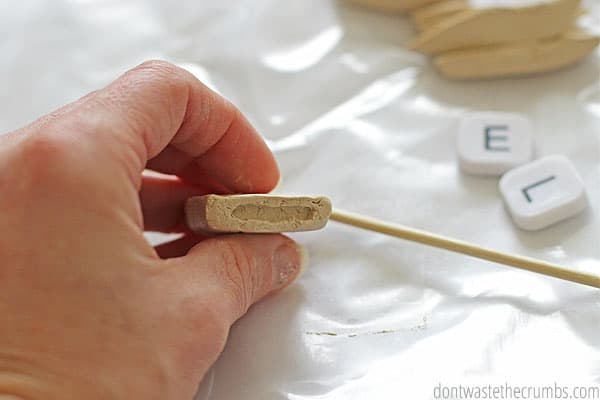
I recommend making more than one necklace at a time, since you’ve already got the supplies out. Plus it’s best to have several pendants available in case the whole family starts to get sick at the same time, or when you don’t want to overlap multiple scents on one necklace.
Set the pendants aside to dry for 3 days.
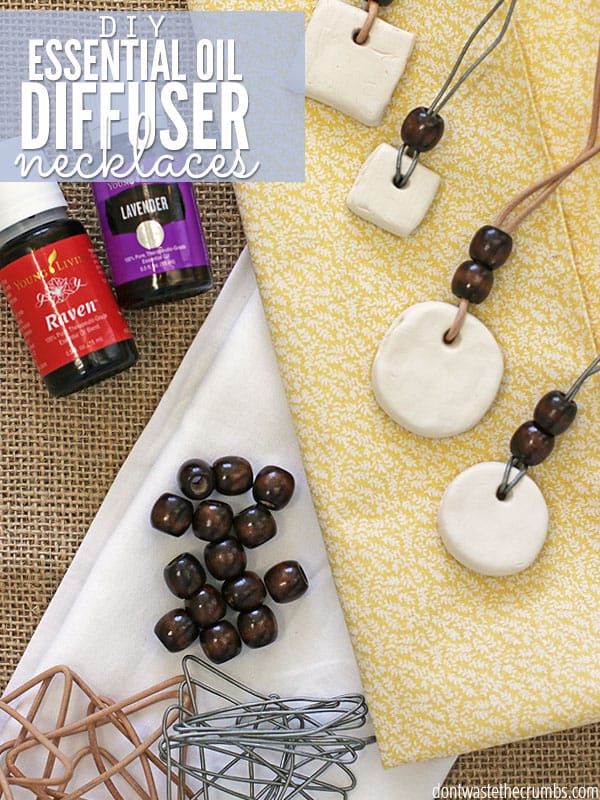
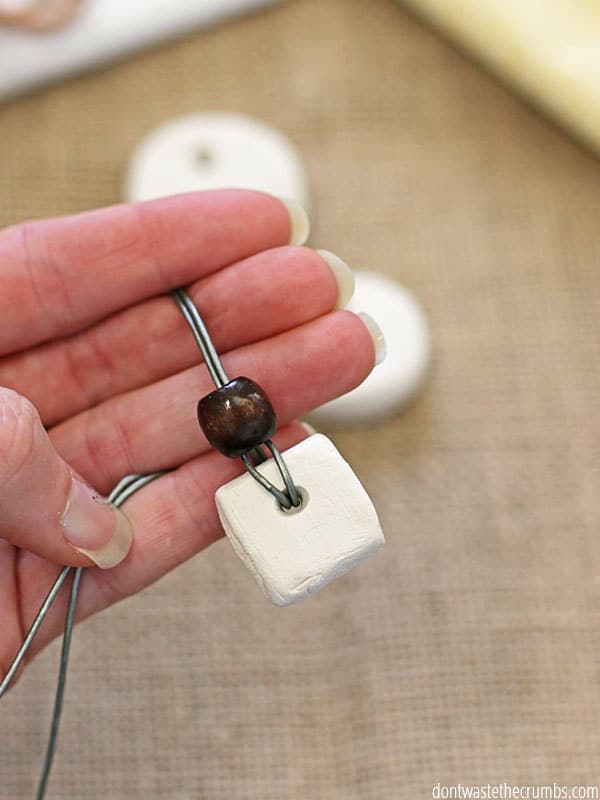
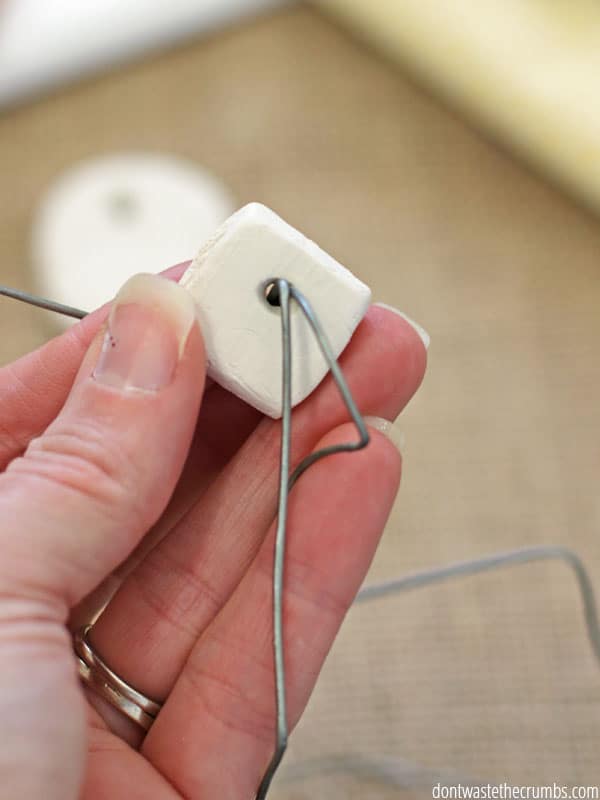
When the pendants are dry, lace the leather or twine through the hole. You can do it the easy way, which is simply sticking one end through the pendant (the brown leather in the very top picture). Or you can put both ends through and then put them through the loop at the end of the twine (the grey twine in the very top picture).
If you’re using a decorative bead, thread it onto the twine.
You don’t have to use beads, but I like that they added a little bit of weight and made the necklace a little more fashionable for the kids.
To use, drop one single drop of essential oil into one trough. Set it down on the counter for about 1 minute so the clay has a chance to absorb the oil.
Tie the necklace around the child’s neck and allow the oils to diffuse throughout the day!
Tips for Using:
To prevent using multiple, conflicting oils on the same pendant, I recommend marking them in some fashion. Some ideas are:
- delegating one shape for one purpose, like round for when you need some immunity support (which would use similar oils that don’t conflict)
- writing “respiratory” or “calmness” on one side of the pendant
- writing the first 1-3 letters of the specific oil on the back (like “euc” for eucalyptus or “RC” for R.C.)
Note: I know there are a lot of essential oil companies out there and I’ve certainly tried my fair share of brands. But after testing and researching and more testing, only one is worth spending money on (in my opinion). For a couple years now I’ve been committed to Young Living oils, and you can read more about their oils and my decision HERE.
However if Young Living is out of your reach, I’ve heard great things about Plant Therapy on Amazon.
Are you ready to detox your home?
Join the 5 Days to DIY Natural Living Challenge! In only 15 minutes a day you can take the next steps to a cleaner, healthier home. Whether you’ve been on a natural living journey for 2 years or 2 days, you will benefit from the practical steps to detox your home. The best part? It’s completely FREE!
Sign up HERE to join the 5 Days to DIY Natural Living Challenge!




How durable are these necklaces? Did they crack or break apart? What is the lifespan?
I do love how you made a trough on the side of the necklace. Smart thinking!
Could u use one of the home made doughs like salt or corn starch for this necklace? I make ornaments with those every yr and then the kiddo can play with the leftovers. Must wondering if they would absorb as well. Also could u oven dry them or would that stop absorption?
You could definitely try Tammany! I’d take a small amount, air dry or oven dry, and add a drop of oil to see what happens!
Awesome idea with the necklaces! I have been looking into making diffused essential oil necklaces. This seems so simple and I can’t wait to make some necklaces! Thank you for sharing this!
You’re very welcome!
I’m going to try this for a bee repellent necklace. I’m allergic to them & can’t afford an epi-pen.
You can get free Auvi-Q injectors through the mail, up to 4/year.
And now I must get to Target! I have hemp necklace making supplies, so will use those. Super excited.
Did the necklace help him? I would think the oil would evaporate out within a few hours. Also we have never had a problem with the oils staining clothes, even with a carrier. That is a little puzzling to me. When the kids have to wear oils out of the house, we put the oil on their feet, then socks and shoes, then the smell isn’t as strong. Our friends have told us we have have “woodsy” smell in our house:) Please update us or respond if it really helped for a whole day of school. That would be amazing.
It did! He came home, we continued with the diffusing and topical application and by morning, he was all better! The scent lasts so long that I pulled out a necklace for my daughter today and you can still smell the remnant eucalyptus on the one he used. I haven’t had the issue of staining clothes personally, but I’ve heard of it and didn’t want to chance it in his school uniform since they’re pricey.
Please. What is RC oil?
RC is a Young Living Essential Oil for respiratory support, containing myrtle, marjoram, pine, eucalyptus, and cypress and a dash of peppermint.
You beat me to it! Thanks so much Catina. Let me know if you have any other questions Mari!
Such a great idea! I often use a chest rub, but that’s tricky at work to find time to reapply and avoid staining my shirt. I’ll definitely have to try this.
Let us know how it turns out for you Erin!