Homemade Fish Sticks (Freezer Friendly)
Homemade fish fingers are super easy to make (oven or air fryer) and so much better than store-bought! The kids love these crispy fish sticks – make a double batch and freeze the extra for another meal.
- Prep Time: 15 minutes
- Cook Time: 14 minutes
- Total Time: 29 minutes
- Yield: 30 fish sticks 1x
- Category: Main Meals
- Method: Oven
- Cuisine: American
Ingredients
Scale
- 1 pound cod filets (defrosted if frozen)
- 1 cup all-purpose flour (place in shallow bowl)
- 4 large eggs, beaten (place in a 2nd shallow bowl)
- 1 heaping tsp sea salt
- 2 ½ cups store-bought or homemade seasoned Panko bread crumbs (place with salt in a 3rd shallow bowl or gallon-size plastic zipper bag)
- melted ghee or avocado oil
Instructions
- Preheat oven to 400 degrees.
- Prepare 2 roasting pans, each with a wire cooling rack placed inside so fish can cook on top of rack, while any crumbs fall into the pan.
- Brush the racks lightly with melted ghee or avocado oil.
- Slice cod into 25-30 thin strips (mine were about ½” wide and 3-4″ long). Pat dry with paper towels if needed.
- Working in batches, dredge the cod strips in flour (1st bowl), then coat with egg (2nd bowl), then cover in Panko crumbs (3rd bowl).
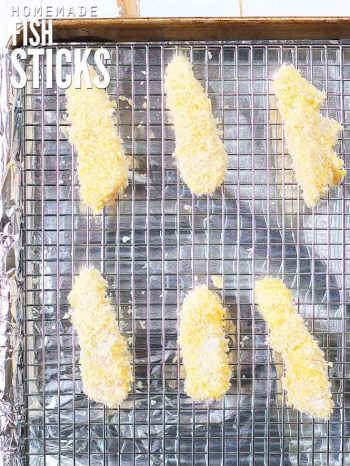
- Place breaded strips evenly on the wire racks inside the roasting pans.
- Once all are breaded and on racks, bake for 8 minutes. Flip and bake on the other side for another 6 minutes, then transfer to the broiler for about a minute (just until some of the crumbs begin turning a darker brown). Watch these very closely to prevent burning.
- Note: You can also make them in the air fryer, but all air fryers are different so you’ll need to watch closely so they don’t overcook. A general guideline for the air fryer is 400 degrees for 8 minutes, flip fish tenders, and cook for another 2-4 minutes until crispy. Take care not to overcook or burn.
- Serve with fresh lemon for squeezing and/or tartar sauce for dipping.
Notes
- The trick to getting perfectly smooth edges is to slice the cod when still partially frozen (defrost in the fridge for several hours before getting started).
- Slice them first, then start on the bread crumbs – your sliced fish will finish defrosting quickly on the counter while you work.
- Store leftovers in an airtight container in the fridge for up to a few days. To reheat, place on wire racks in a 350 degree oven for about 15 minutes.
Nutrition
- Serving Size: 4 fish sticks
- Calories: 309
