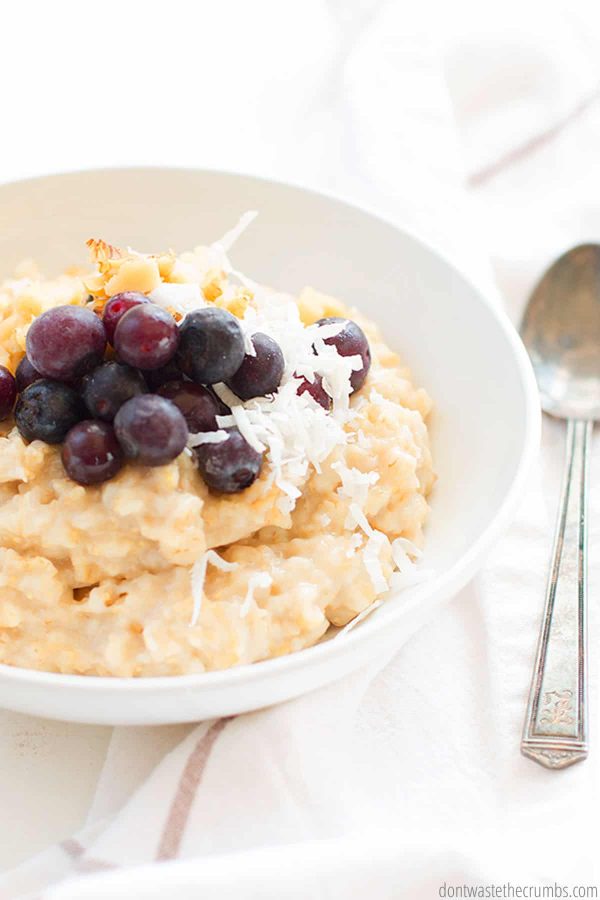
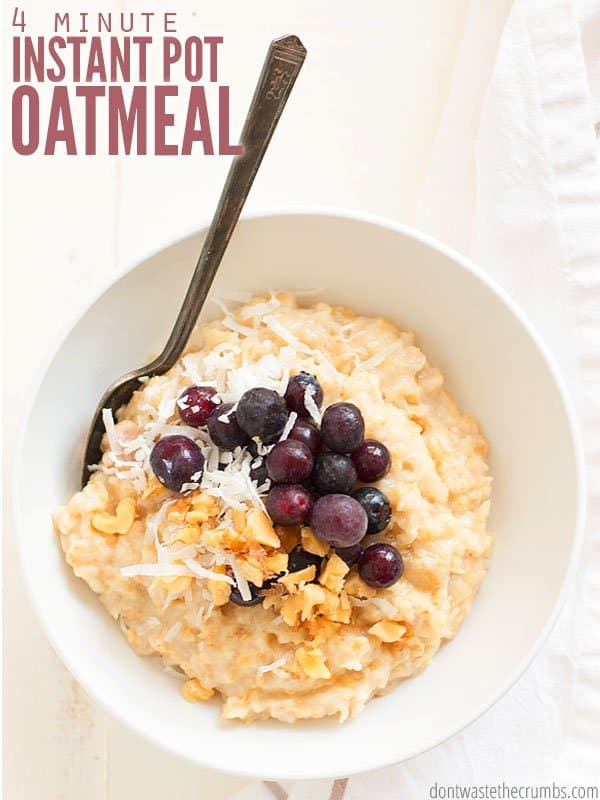
Oatmeal is one of our favorite quick and easy breakfast options, but Instant Pot oatmeal is even FASTER and EASIER! Make this frugal family favorite that turns out perfectly creamy every time and customize it with your favorite toppings.
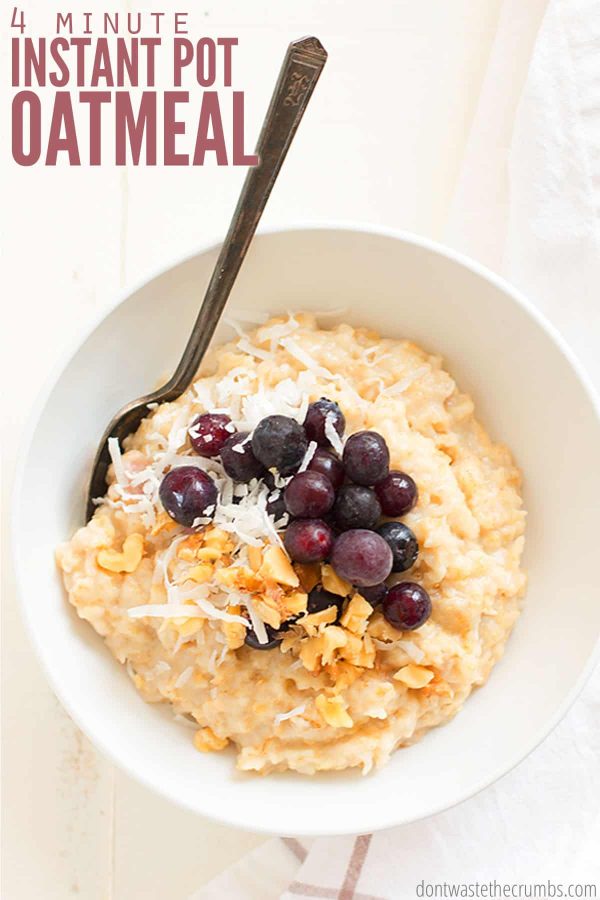
I made oatmeal on the stove top for years because that’s the only way I knew how to make it (other than in the microwave using DIY Instant Oatmeal Packets).
Now that I know how to cook Instant Pot oatmeal though, I don’t really want to make it any other way!
Don’t get me wrong – cooking oats on the stovetop isn’t hard…But being able to dump the ingredients into the Instant Pot, turn it on, and walk away? Game changer!
INSTANT POT OATMEAL
Not only is Instant Pot oatmeal a HUGE time saver, but it’s also:
- Completely customizable
- Super frugal
- Perfect to make ahead in big batches
- Cleaner than using the stovetop
- Doesn’t require babysitting or stirring while cooking

INSTANT POT OATMEAL RECIPE INGREDIENTS
You only need to have two ingredients to make this instant pot oatmeal recipe: rolled oats and water. But since adding a bit of butter and a pinch of salt really amps up the flavor, we always add both.
- Old fashioned rolled oats
- Water
- Butter (optional)
- Salt (optional)
Psst! If you’re going to add salt, I highly recommend Ava Jane’s Kitchen. You may think all salt is created equal, but unfortunately, 90% of the salt produced around the world contains microplastics (gross, right?). Ava Jane’s Kitchen is an exception. Their salt is 100% microplastic-free, and it’s SO GOOD! Plus, you can get a free 8oz. bag of sea salt (just pay shipping and handling!)
THE BEST PRICES ON OATS
My buy-price for old fashioned oats is 50¢ per pound and I usually buy this package from Costco (generally Costco’s price is better than Amazon’s).
If you need certified gluten free oats, these are the best places I’ve found to order them (check the price per ounce to see who has the best deal):
HOW TO COOK OATMEAL IN THE INSTANT POT
Step 1. Combine all the ingredients in the Instant Pot or electric pressure cooker.
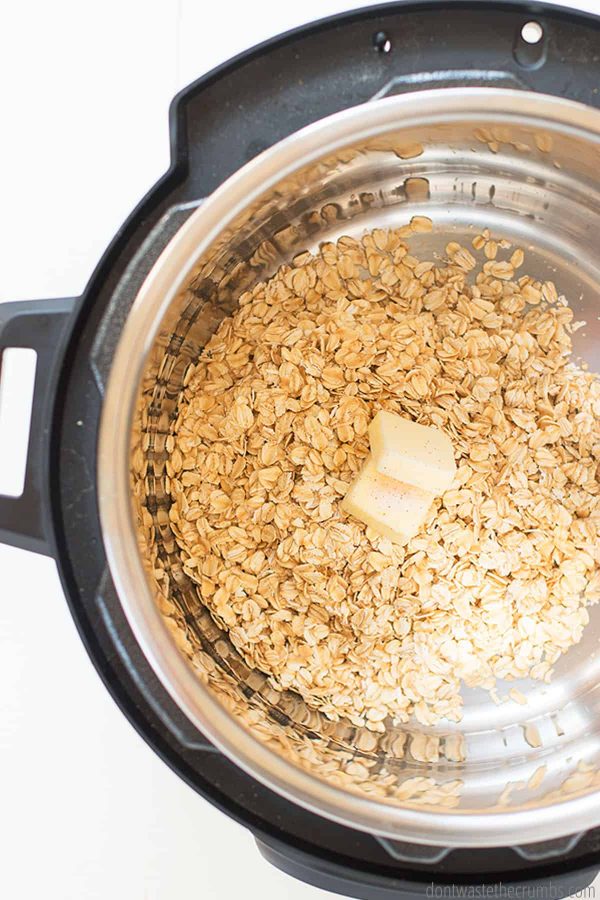
Step 2. Close the lid, and turn the pressure valve to “sealing.” Manually select High pressure and adjust the timer to 4 minutes.
Step 3. When the oatmeal is finished and the timer beeps, use the Quick Release method. This means turning the pressure valve to “release.” Steam will come out of the valve, so be careful! If you get a lot of splatter coming out of the valve, let the pressure natural release for a few minutes, and then try again.
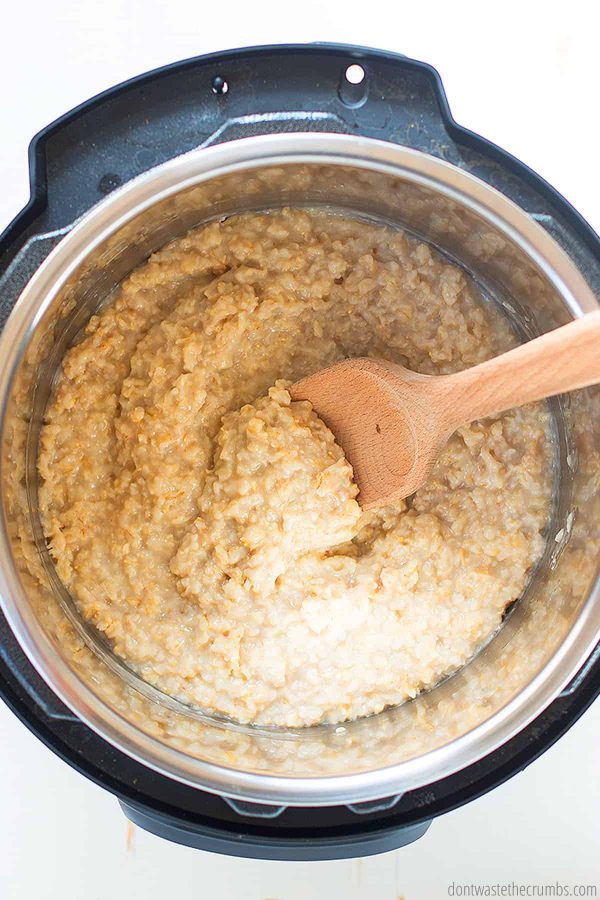
Step 4. Stir the cooked oatmeal in the instant pot and serve with your choice of toppings! I love a touch of almond milk and strawberries!
INSTANT POT ROLLED OATS TIPS
Instant pot rolled oats are another great make-ahead breakfast for families on the go!
- Make a big batch. You can make as much as you want, and the cooking time doesn’t change! Do be careful to not fill past the max-fill line and if you make any more than a double batch (i.e. 4 cups of oats or more), use the Natural Pressure Release (i.e. do nothing) instead of Quick Pressure Release to avoid splatter.
- Use leftovers! I intentionally make leftovers so I can make Oatmeal Pancakes or Oatmeal Bread or Chocolate Oatmeal Cake. My kids LOVE all of them!
- You can also reheat the leftovers for breakfast. Make the big batch and have breakfast for multiple days in a row! Instant pot oatmeal keeps in the refrigerator for up to 5 days – perfect for quick breakfasts before school or work. You can reheat it in the microwave and add a bit of unsweetened almond milk if the oatmeal seems dry.
- Don’t add milk… at least not to the Instant Pot. Cooking with milk is one of the big Instant Pot no-nos that can lead to a burn message. If you want to add milk (or heavy cream or coconut milk), stir it in at the very end after the oatmeal is done cooking.
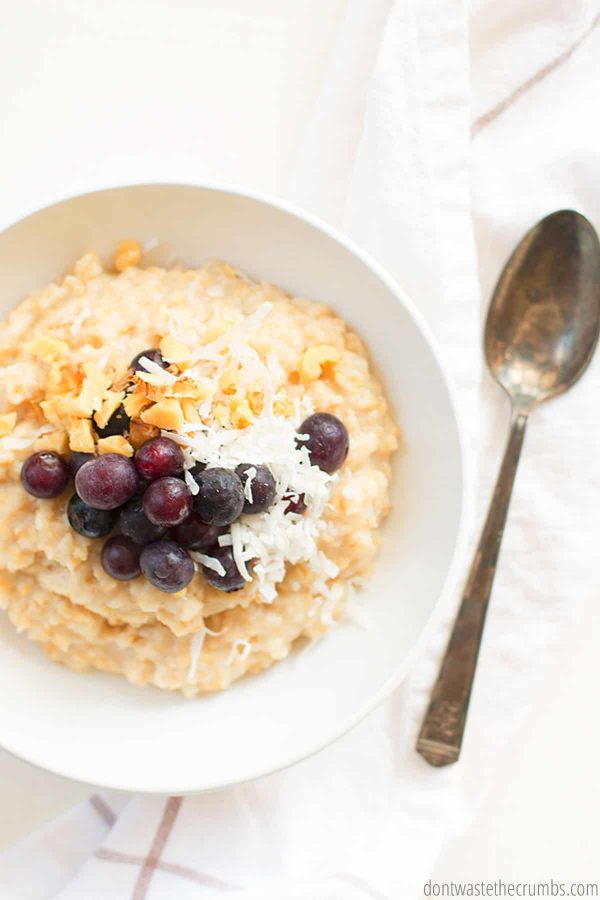
TO SERVE OATMEAL INSTANT POT
The beauty of this oatmeal Instant Pot recipe – it’s entirely customizable!
- Add raw or frozen fruit and spices with the oatmeal and they’ll cook at the same time…just like stove-top oatmeal. Instant Pot oatmeal with apples and cinnamon is so good!
- Some people like to make oatmeal with brown sugar, but if I wanted to make it sweet, I’d prefer to drizzle a little natural sweetener like maple syrup or honey over my bowl of oatmeal.
- Or you can make it plain as written and add your toppings separately – it’s completely up to you.
- Spoon on some Homemade Nut Butter. We love peanut butter and almond butter.
- Add dried fruit: apple or banana chips add a fun crunch, and dried cranberries add a bit of sweet and tart.
- Make a trail mix bowl: add pecans, walnuts, sunflower seeds, raisins, and whatever else you like in your trail mix!
- Mix in some superfoods! Flax seed, chia seed, and collagen all stir into oatmeal in the Instant Pot after it cooks.
- Frozen blueberries and raspberries thaw quickly in a hot bowl of oatmeal, and they also help cool it down for kids to eat quickly.
INSTANT POT PORRIDGE FAQS
How do you keep oatmeal from burning in the instant pot?
First, you’ll want to make sure that your Instant Pot is sealing properly and the sealing ring is secured in place and clean. Make sure that the sealing valve is clear and be sure to add the full amount of water the recipe calls for.
Any optional sweetener (like maple syrup or honey) should be added to your FINISHED oatmeal, not into the Instant Pot while it cooks. Also, add milk to the finished oatmeal as well. Adding sweeteners or milk to the Instant Pot porridge before it cooks may cause a burn notice.
What is the oats to water ratio?
2:5 – That means for every 2 cups of oats, you need 5 cups of water. Yes, this is different from the traditional stove-top ratio, but you need the extra water for the Instant Pot to work properly.
Can I make steel cut oats in Instant Pot?
I’ve seen recipes for Instant Pot steel cut oats, but I haven’t tried it because my Perfect Steel-cut Oatmeal Recipe is just that – perfect. I don’t want to mess up a good thing!
MORE EASY BREAKFAST RECIPES
- Instant Pot Breakfast Casserole
- Oven-Roasted Hash Browns
- Breakfast Sweet Potato Apple Bake
- How To Make the Best Scrambled Eggs
- Homemade Mini Bagels Recipe (2 ingredients)
- 50+ Fast Healthy Breakfast Ideas
Fight Inflation Workshop!
Sign up for my FREE Fight Inflation Workshop and learn simple strategies to save money, even with rising food costs!WATCH HOW TO MAKE INSTANT POT OATMEAL
Instant Pot Oatmeal Recipe
Oatmeal is one of our favorite quick and easy breakfast options, but Instant Pot oatmeal is even FASTER and EASIER! Make this frugal family favorite that turns out perfectly creamy every time and customize it with your favorite toppings.
- Prep Time: 5 minutes
- Cook Time: 4 minutes
- Total Time: 9 minutes
- Yield: 4 servings 1x
- Category: Breakfast
- Method: Instant Pot
- Cuisine: American
Instructions
- Combine ingredients in the Instant Pot.
- Close the lid and make sure the sealing valve is turned to the sealing position.
- Press the “manual” button and make sure the Instant Pot is on HIGH pressure.
- Adjust the time to 4 minutes.
- When the oatmeal is finished, use the Quick Pressure Release method by carefully turning the sealing valve from the sealing position to the venting position. Make sure your face and hands are not over the valve when you do this.
- When the pressure has been released, serve and top as desired!
Notes
- Topping Info: Drizzle some homemade nut butter and my tutorial on how to dehydrate fruit.
Nutrition
- Serving Size: 1
- Calories: 181
Keywords: instant pot oatmeal




Thank you for your thoughts. I’m skittish now and not sure if I will try again. What a mess!
I tried this and when I released the pressure the “oatmeal juice” came flying out of the pressure dohicky. It was a mess to clean up and took longer than the cooking part. Oatmeal was good, with leftovers, but I don’t know what I did to make such a mess.
I’m not sure Nancy! I’ve heard that sometimes that happens with things that get “foamy” inside as they cook. I’d suggest reducing the cooking time by one minute and let the pressure start to release naturally for 2-3 minutes before you switch the doohicky. 🙂
My IP Manual specifically says not to do a QPR with oatmeal for this reason. It might be nice to mention in the recipe that if you do choose to do a QPR, do so with caution.
I am an IP newbie, I just received one a few days ago for my birthday. Thank you for the step by step easy to follow directions. It is a little intimidating trying to figure out when to release pressure the first few times you use the IP. My IP is a 6 quart Nova that doesn’t have medium setting. I used pressure cook on low and did not adjust the time. I also made it plain so everyone can customize with their own toppings. It turned out perfect! We will definitely be having this again.
★★★★★
That’s wonderful Deidra! The best piece of advice I can give regarding the pressure release, is that if you use natural pressure release (NPR), the food keeps cooking… so if you’re making something that you don’t want over-done, like meats or steamed veggies or pasta or rice, go for quick pressure release. If you don’t care if it keeps cooking, like for soup or stews or beans you’re going to mash up anyway (i.e. refried beans), then NPR is fine!
I’m a newbie. Just bought my Instant Pot at Costco last week. My oatmeal turned out delightfully creamy! I cooked on low pressure (mine doesn’t have a medium option.) And I didn’t cook with fruit – just oats, butter, water, and a bit of salt. Thanks!
You’re very welcome Kathy!
Hello! I’m looking forward to making oatmeal with your recipe tomorrow morning. I’d like to use cashew milk. How much do you think I should use? Thank you in advance.
Hi Debra! You need the same amount of liquid regardless of what liquid you use, but I don’t recommend using all milk for the recipe as the milk will scald in the IP.
Do you change the time if you double the recipe?
Nope – cook time is still the same!
I made this in my LUX mini the other day and when I did the QR it splattered all over the place! The oatmeal came out great, but I’d rather not have the mess. Would it be okay to do natural release instead of the Quick Release?
I’d do a natural release for a few minutes, then QR. Too long on natural release will keep cooking the oats… which may or may not be a big deal to you, but just a heads up!
I use small mason jars. They m.j ake a perfect single serving and will beautifully. I layer my oats, almond milk, greek yogurt, chia seeds, blueberries, and a chopped nut topping. I cook it using the rice setting for sreel cut oats, our fav. My husband wirks crazy and long hours and he loves how they get him through the day.
P.s. thank you for the advice on the rolled oats. I prefer steel cut but needed some mushier oates after oral surgery.
★★★★★
WOW, Sorry about all the typos! Hope its its understandable!
Thank you for this recipe! Oatmeal is definitely a staple in my house too. I have the 8 quart pot, so I don’t have a manual setting. I made a few adjustments. I tried it with using 2 cups water and 3 cups milk, and cooked on low pressure for 4 min. It came wonderfully creamy and soft! It did burn a little on the bottom, but not too bad. I’d definitely use his again! And thank you for the topping tip for maple syrup and vanilla! It was divine, and made breakfast extra special!
★★★★★
I’m so glad you enjoyed this Olga! ♥
I have an InstaPot with only low and high pressure settings. I just made a batch altering the ingredients to 1.5 cups milk and 3.5 cups water. Low pressure. 4 min. I also added chia seed & cinnamon. Quick release until pressure is gone and stir immediately. Added honey and it was stellar!
Ooh – chia, cinnamon and honey sounds DELICIOUS!!
😀 was yer instant pot a 6 or 8 qt…
Your Recipe sounds ideal .
I have an 8 qt. Ultra !
Why isn’t milk a good idea? I love the way milk gives it a creamier taste? Can you add cinnamon and brown sugar to the recipe or should season it later?
Milk doesn’t do well in the IP. 🙁 If you add cinnamon and sugar, add it afterwards so you don’t risk burning the sugar on the bottom of the pot. That’s why milk is not recommended – it burns fast.
Thank you for the great recipe. I’m new to Instant pot cooking. No Med. on my 6 qt pot. So I did High (debating if I should do low) but I thought I’d try. lowered the time to 3 mins and it turned out Fantastic!! I’m going to try it on low for the heck of it next time though just to see.
Thank you so much!
★★★★★
You’re very welcome!
Can you use milk instead of water?
I wouldn’t recommend it Julie. Milk and milk products tends to burn in the Instant Pot.
I make steel cut oats using soy or almond milk.
1 cup steel cut oats
2 cups of soy or almond milk
1 cup of water
Throw in a pinch of salt, splash of vanilla, handful of raisins.
Cook on manual, high 3 minutes, natural release.
When it is cooked I stir in a generous 1.5 cups of unsweetened applesauce.
Perfect every time! Breakfast ready for the week! Makes about 5 me sized portions!
I put leftover oatmeal in a small loaf pan and chill. Slice and brown in butter. Serve with syrup-my kids called these oatmeal cakes.
Interesting!! I’ve never heard of this before. I’ll have to give it a try – thank you for sharing Elaine!
Way easy idea . Thank you.
★★★★★
This turned out great! Thanks
I made this today. It was amazing! Thank you for your recipe. My first time making it as well.
★★★★★
I tried this this morning, and learned something new. The Instant Pot can spell burn. I made it with water, on high pressure, at the other setting on ‘normal’ the middle choice. What did I do wrong?
★★
I’m not sure Beverly. I had it burn on me the first time I made it, and I think I had the pressure on high. 🙁
This worked great for me on low pressure, no butter. Thanks so much!
★★★★★
You’re most welcome Monica!
My ultra just said ‘burn’ and quit. I had it on low, and I’d added some apples and cinnamon. 😭
I haven’t had any issues with 4 cups of water, but try 5 cups next time!
Mine said burn when I added apples but not when I added dry fruits. Maybe that is the difference. I have an 8 qt. IP. I cooked it on low too. But it did finish the last 2 minutes after it said burn for about 2 minutes. I debated stopping it instead of fi ishing the 2 minutes but it still turned out perfect!
★★★★★
I prefer to use Pot in Pot method for making oatmeal, because it comes out creamier. Maybe it’s because I have an 8 quart, but my oatmeal dries out on the bottom and I have to scrape it outta there if I cook it directly in the IP liner. But man, it makes mornings faster when you don’t have to babysit the stove!!!
Mine sticks a little (I have the 8 quart too), but cooking on medium or low made the biggest difference. Cooking on high was no bueno. Totally agree on not babysitting the stove!
I’m trying my first pot of oatmeal. I have an Instant Pot brand but i can’t get it to medium pressure using manual. So I’m doing low rather than high for 4 min and will see what happens. I added golden raisins and dried cranberries. I usually cook my oats in milk but used water for the first time. Do any adjustments need to be made for using milk? Thanks!
No adjustments made for milk other than lower pressure (high can build pressure too fast resulting in scalding the milk and the burn error). Good call on the pressure! To note, you can mix milk and water and use high pressure, but all milk might yield the error.
I used water for exactly three issues you raised but to enrich my recipe a bit l added 1/4 cop powdered sugar.
★★★★★
I use 1 oats to 3 milk, pot in pot, 4 min. Remember to pour water in the IP liner too. I have a LUX. So my way IS ’high’way :-). 2 of milk works too but it becomes hard. 3 of milk stays soft even after cooling.
Finally making oatmeal without the dreaded “burn” warning. Followed as directed. Added my flavorings to individual serving bowls as warranted. Thanks for the recipe. Pin. 🙂
★★★★★
So happy it worked for you, Michael!
Looking forward to trying this! We had a small disaster with the 5 cups of milk one. My only advice is to be sure you stir after adding the ingredients. I just dumped it in and went to town, thinking it was a Magic Pot instead of an Instant Pot, and burned oatmeal was the result. I also learned that my husband doesn’t like things that are “too creamy.” Good that after twelve years we can still surprise each other, I guess. 😉
LOL – Gotta love those husbands! ♥
My Instant Pot is rather Newer Model, and they don’t have “Manual “ setting. How can I adjust the pressure level to Medium?
What model do you have?
She prob has an Ultra…
Just press pressure cook them turn knob till it says med.
you could use saute on yer UP if you keep it out…. to heat up your day old oatmeal and add milk to it.
I love how the instant pot has that saute button.
oatmeal is even better the next day.
I’ve been doing steel cut since March can’t get over how good it is but we love our rolled oats too. 😃
★★★★★
So for those with the smart WiFi unit. Press porridge set it to low and cook for the 20 minutes it’s already preset to. Came out nice and creamy. You’ll have to mix it to incorporate the liquids. 20200915
Thank you, Heather. 🙂
I have an Ultra and a Duo and there is no option for medium. It only adjusts to low or high.
I would suggest low and slow. You will just have to keep a closer eye on it to prevent burning and get the right texture.
There isn’t a medium setting on any Instant Pot. High or Low only. And medium is not different on different models either.
It might be beneficial to post pics of your units settings on your recipes so that we can duplicate your device settings.
Can I put this in at night and use the delay start?
Ruth,
I haven’t tested it, but I’m sure you can. Let us know how it comes out!
I’m guessing there is some confusion between (1) the three settings offered for nearly all preset buttons, chosen by repeated presses of a button to cycle through the low, medium and high options, and (2) the two actual pressure options (high or low) SOMETIMES available. Some of the preset options don’t allow modifications, either of time or pressure; however, some do.
As they say in the customer support world: RTFM – if you’ll pardon my french – but the fact is, among all the different models, tweaks are NOT THE SAME.
For instance, I kinda like the HIGH option of the Multigrain option for beans or lentils – IF I have the extra time to spare. Yes, it offers a rather unique STUNT (that I’m not going to divulge here – I ain’t no SPOILER!)
I made it for the first time, and I got the burn notice. I then realized I was supposed to be on medium.🤦🏿♀️
It taste good after I let it continue on warm. I will try this agian.
Charyna, I hope you enjoy it next time!