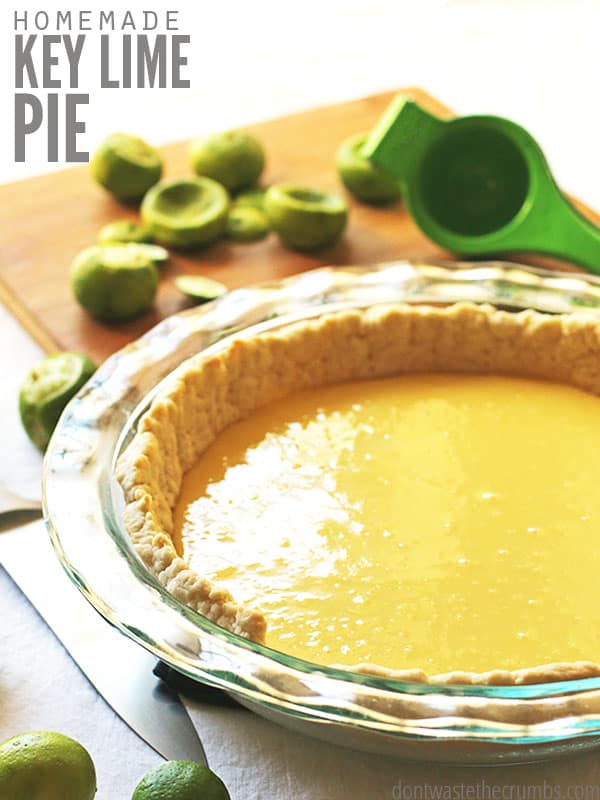
Easy Key Lime Pie, made with only 3 ingredients! Real food key lime pie recipe, without the preservatives of store-bought and so tangy you’ll come for more! Paired with homemade pie crust, you can’t go wrong with this tasty treat!
Quick: Name your top three favorite fruits of Spring!
I’m going to take a wild guess and say most of you chose one (or more) from the berry family, cherries and grapes. I’m even willing to bet there are a few of you who said asparagus, even though it’s not a fruit.
I don’t blame you though, asparagus is my personal favorite Spring vegetable too. I mean, who can resist the deliciousness of lemon butter asparagus? And the fact that it’s ready in 5 minutes or less? That’s a no-brainer side dish that’s become a staple in our house for as long as those beautiful stems show up at the market.
There is one fruit though that makes a very short appearance during the later Spring/early Summer months that deserves some love and attention. Introducing, the Key Lime – THE “key” ingredient in my delicious Easy Key Lime Pie recipe!
Easy Key Lime Pie
Aside from the fact that this great recipe for Key Lime Pie is incredibly easy to make, it is also:
- Simple. Made using only 3 ingredients.
- Homemade. Here’s my delicious homemade pie crust recipe.
- Versatile. For a more tropical flair, use coconut oil instead of melted butter.
- Dairy-free optional. Use full-fat coconut milk instead of sweetened condensed milk.
Ingredients for Key Lime Pie:
Here’s what you’ll need to make this simple and traditional Key Lime Pie recipe:
- Fresh-squeezed Key Lime juice with lots of fresh lime zest. This is the best way to go vs. using bottled key lime juice.
- Egg Yolks. Save the egg whites to brush the top of your Shepherd’s Pie!
- One 15oz can of sweetened condensed milk. Or use my homemade version.
- Plus 1 batch of my homemade pie crust. Some recipes call for graham cracker crusts, but I think a buttery homemade pie crust tastes much better combined with the sweet tartness of the key limes.
How to Make Key Lime Pie
This is the easiest recipe! You’ll never eat another grocery store key lime pie again!
- Make the Crust: While the crust is baking, prepare the pie filling.
- Prepare the Filling: Combine ingredients and whisk well.
- Fill the Pie Crust and bake.
- Cool: On a rack for 1-2 hours, then store covered in the refrigerator.
- Serve with homemade whipped cream and garnish with lime slices.
If you have extra limes, go ahead and squeeze the juice out of them and freeze the juice in ice cube trays. Store in a ziploc bag for a super-fast pie later on.
The more zest the better, in my opinion. Zest 4-5 limes at a time and then squeeze for juice. Continue until you reach 1/2 cup and toss in all the zest! (FYI this zester is amazing!)
What is the difference between a lime and a Key Lime?
Key limes are small, yellow citrus fruits that are extremely tart, and “extremely” is putting it mildly. Lemons and limes have got nothing on these babies!
The key limes you see in grocery stores are usually green and tend to be sold in 2 lb bags or so… but unfortunately, those aren’t really key limes. They’re a different breed called Persian limes, and they’re tart too, just to a lesser degree.
For all intents and (most recipe) purposes, Persian limes will work just fine unless you’re baking for someone who is a key lime fanatic. Then you may want to seek the real ones.
Since Persian lime just isn’t as catchy as key lime, I’m calling the green ones key limes anyway (plus the bag says so 😉 ).
What is in Store-Bought Key Lime Pie?
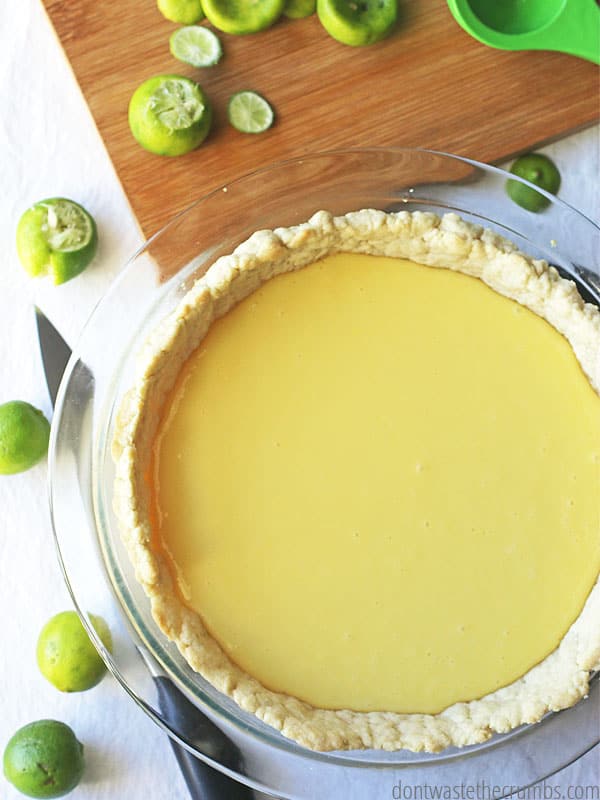
Key limes are most famous for their flavor in key lime pies, although I must warn you – any key lime pie that is actually green has artificial color added. And while this is a recipe for an easy key lime pie – there is no substitute for hard work! Remember that key limes are yellow, so pies should be more yellow than green. Remember the crayon color yellow-green? It’s kinda like that.
Most people either hate or love the tang. As you may have guessed, we’re lovers and ever since we realized how stinkin’ EASY they were to make, Sara Lee and Edwards haven’t earned one penny from us. Plus this easy key lime pie tastes WAY better. The two can’t even be compared! And the green food dye certainly didn’t help the issue. Not to mention all the other additives and icky stuff. Eew!
How Many Key Limes Does it Take to Make a Key Lime Pie?
The first time we made this easy key lime pie, we quartered the limes and tried squeezing the juice out of 5 limes with our bare hands.
Big mistake. HUGE!
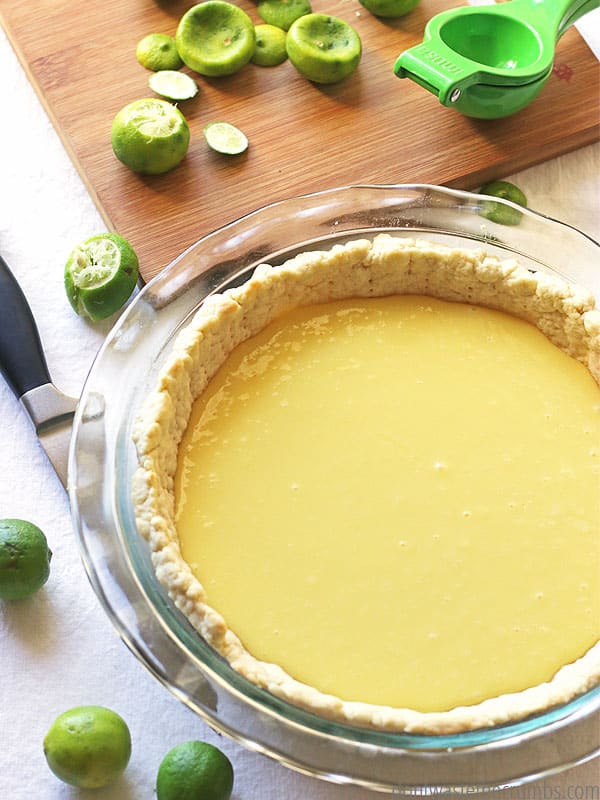
We’ve since splurged on a citrus squeezer – similar to the green one in these pictures. We found ours at a local Hispanic supermarket for $5 I think? Hands down, the absolute coolest little gadget we’ve ever randomly purchased. We seriously thought it was going to be a flop, but we purchased it anyway and lo and behold – it totally works! Instead of investing two hours into squeezing key limes, we now have all the juice needed in 5 minutes. Absolutely amazing! Why yes, I AM easily amused.
By the way, I’m recommending this tri-colored set in case you’re in the citrus squeezing business too. Those things will save you EONS of hours in the long run! Worth the investment!
More Easy and Delicious Dessert Recipes
- Healthy Homemade Chocolate Pie
- Healthy Homemade Pumpkin Pie
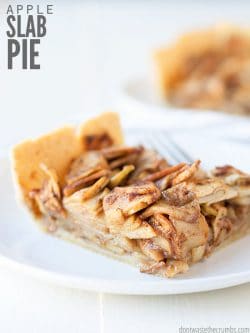
- Apple Slab Pie
- Blueberry Pie
- No Bake Coconut Blueberry Pie

Crush Inflation Challenge
Sign up for my FREE Crush Inflation Challenge and learn simple strategies to save money, even with rising food costs!Easy Key Lime Pie
Easy Key Lime Pie, made with only 3 ingredients! Real food key lime pie recipe, without the preservatives of store-bought and so tangy you’ll come for more!
- Prep Time: 5 mins
- Cook Time: 15 mins
- Total Time: 20 minutes
- Yield: 8 slices 1x
- Category: Dessert
- Method: Oven
- Cuisine: American
Ingredients
- One batch of homemade pie crust, baked
- 1/2 cup strained key lime juice
- 4 tsp grated key lime zest
- 4 large egg yolks
- 1 (15oz) can of sweetened condensed milk (or use this homemade sweetened condensed milk)
Instructions
- Preheat the oven to 325F.
- In a large bowl, combine lime juice, zest, egg yolks and milk and whisk well (or use an electric mixer). The mixture will thicken as the citrus reacts with the milk.
- Pour into a baked pie crust and bake for 15-17 minutes, or until the center is set but still jiggly (think thick Jell-o).
- Allow to cool on a rack for 1-2 hours, to room temperature, then store covered in the refrigerator.
- Serve with homemade whipped cream.
Notes
To make this recipe dairy free, substitute canned coconut milk for sweetened condensed milk. Or make this non-dairy sweetened condensed milk.
We love this easy key lime pie. Do you have a favorite dessert?




You’re absolutely right, the homemade stuff is always sooo much better than a frozen version. I’m so glad you shared this post on Natural Living Monday, although I am a little sad that I can’t immediately make a key lime pie, since I am at work.
The juicer looks very cool — I can attest to how much time is required to juice those tiny limes, so I may have to invest in one of those… especially now that I know of a really great recipe to make key lime pie 🙂
Off to go drool over your asparagus now, and to add it to my grocery list 😉
Tiffany,
This pie looks amazing! I think some of the recipe instructions are missing. What temperature and for how long to bake?? Thanks and love your blog.
Oh goodness! Thanks for pointing that out Joani! That would most certainly help, lol. 🙂
Looks delicious !!